
Eye Manipulation 3
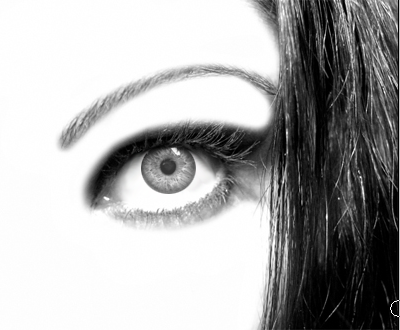
1. Get your eye picture.
2. Now using the Elliptical Marquee Tool, make a selection around the pupil.
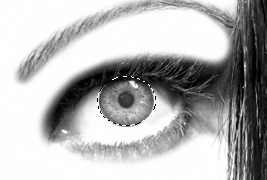
3. Now right-click the selection and choose, “Layer Via Copy”
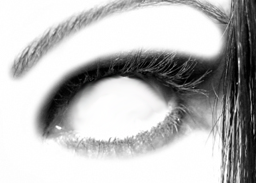
4. Now go back down to you first layer. (The original Picture) and smudge out the pupil. I used the “Smudge Tool”

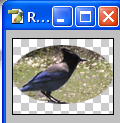
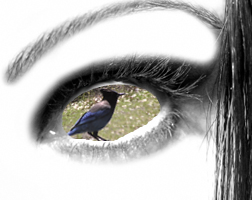
5. Now open the image that you would like the eye to reflect. and using the Eliptical Marquee tool, make an “Eye-Shaped” selection on your image.
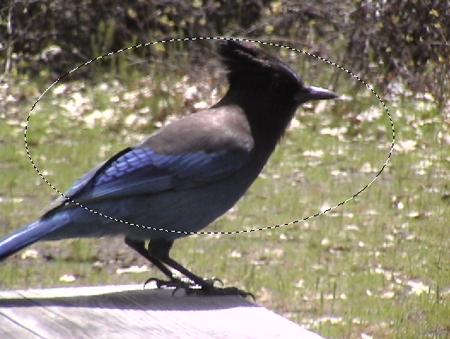
6. Now Right-Click the selection, and choose Select-Inverse. Now press Delete.
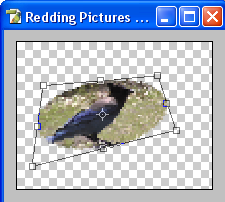
7. Now go, “Edit > Transform > Distort” and manipulate the pictue to give it some depth. here’s how mine looks:
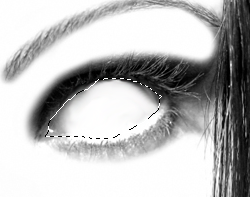
8. now go back to your eye picture, and using the lasso tool, draw around the perimeter of the eye.
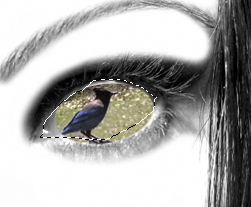
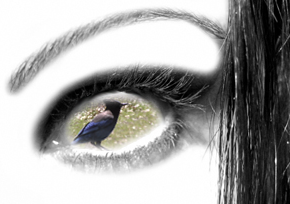
9. Now go back to your other picture, and grab the layer and drop it into the center of your eye. (try to align it before dropping) Should look something like this now.
10. now right-click the selection, and once again, choose “Select Inverse” now press delete.
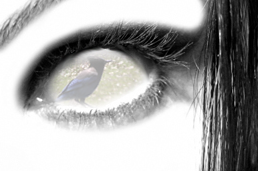
11. Now, “Ctrl+Click” that layer, and, right-click inside the selection, and select “Feather” (Radius of 5 Pixels) Now, right click, again, and choose “Select Inverse”, press delete three times.
12. Now, turn the opacity down to 40%.
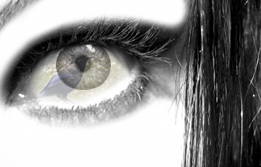
13. Now its time to turn your pupil layer back on. And on the pupil layer, drop your opacity down to 75%.
Comments