
Extra space comet Effects
Ok. What we are going to do this time is to make some kind of space and comet drawing. In this one I’m going to use a little bit of PS layer stiles techniques and a lot more hand painting techniques, so be careful.
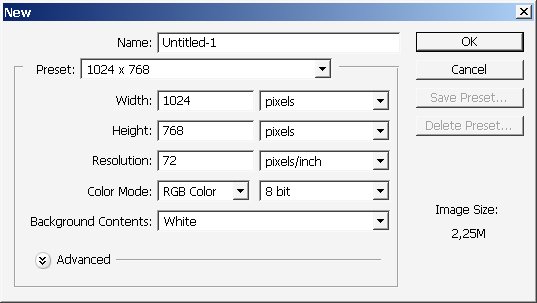
Let’s begin. Create a new PS document and a new layer (as usual) ? tap ctrl+n and ctrl+alt+n to create a new doc and a new layer. 1024 x 768 will be Ok.
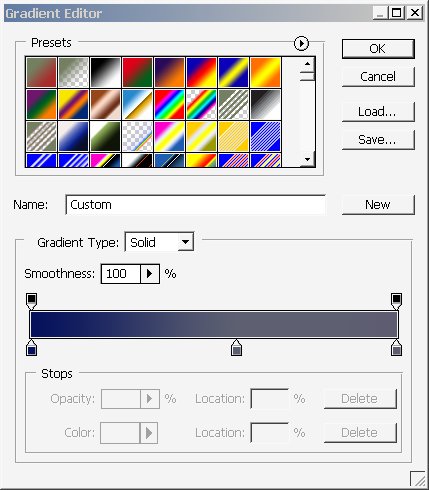
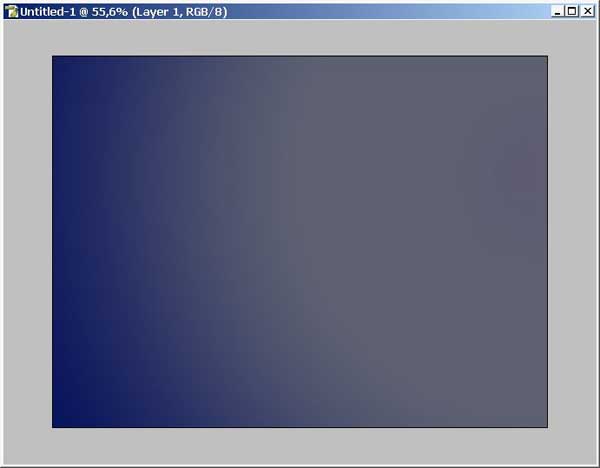
I decided to fill our layer with Rounded gradient like so.

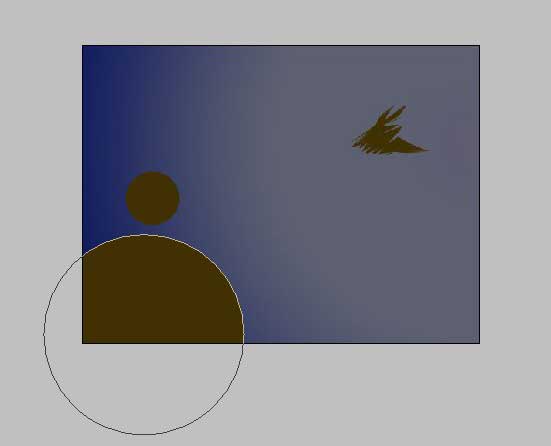
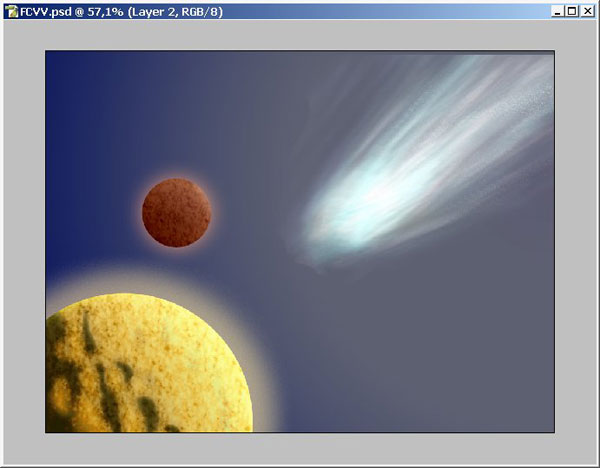
Using my custom shape tool and ellipse tool I have created 2 planets and 1 comet (it will be one) (on 3 separate layers).
Now let’s texture those. PS doesn’t give a complete range of styles. The image is no t fully realistic after using layer styles. But we give it a try. I always have my Wacom tablet not far from here).
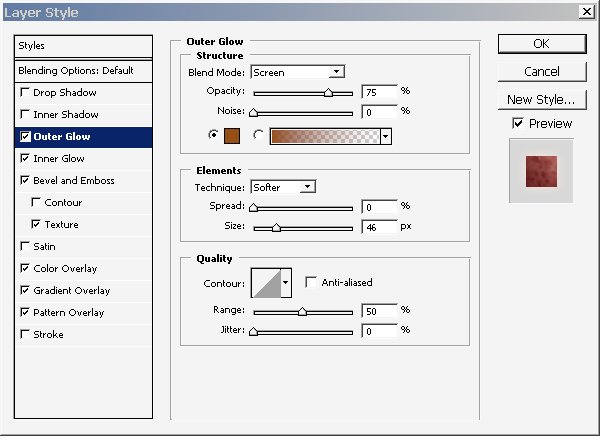
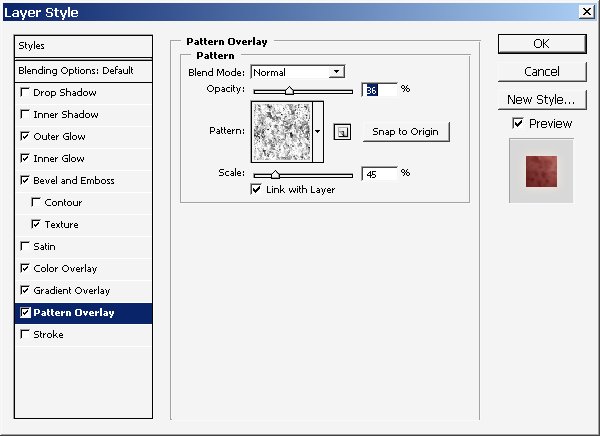
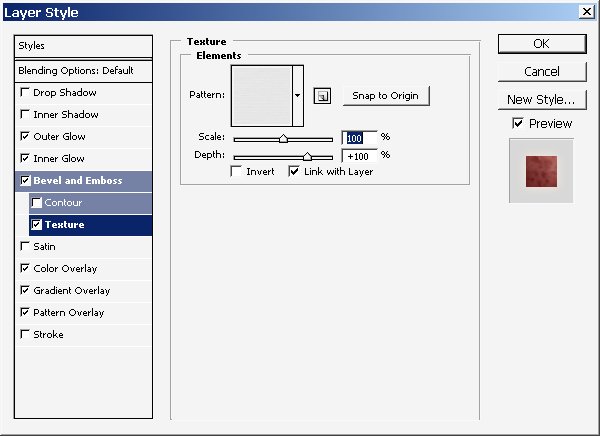
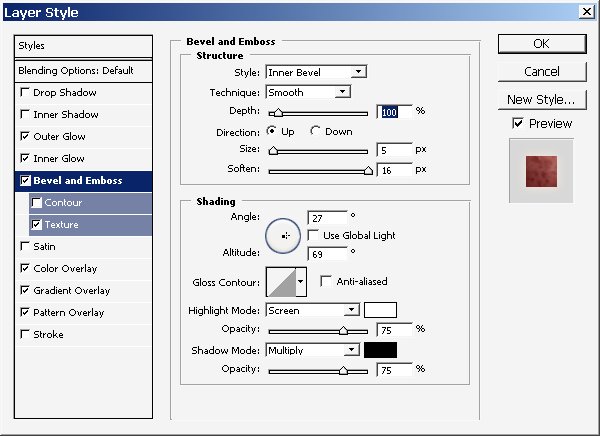
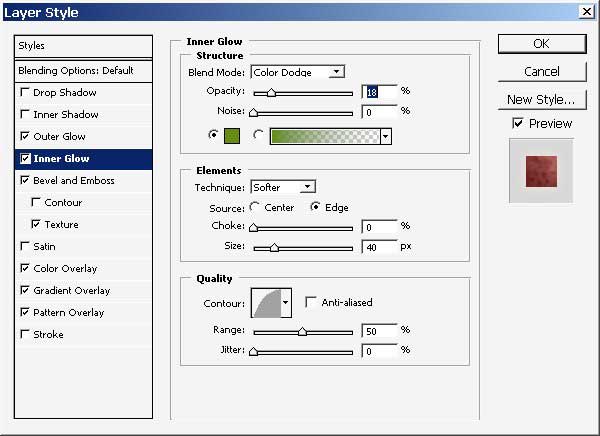
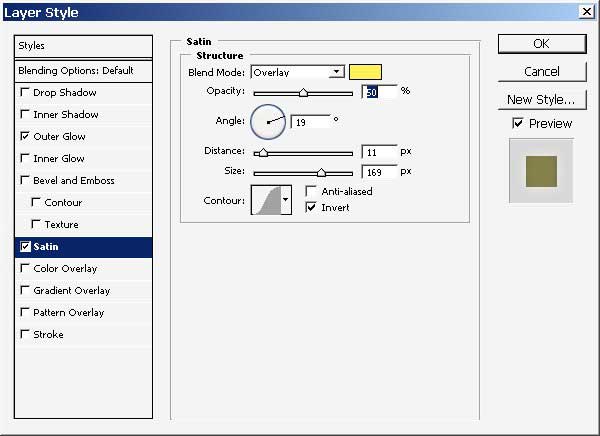
So here are my settings on my foreground Planet (the big one). All the settings were applied to this color (not black) (layer mode linear dodge).

Settings:


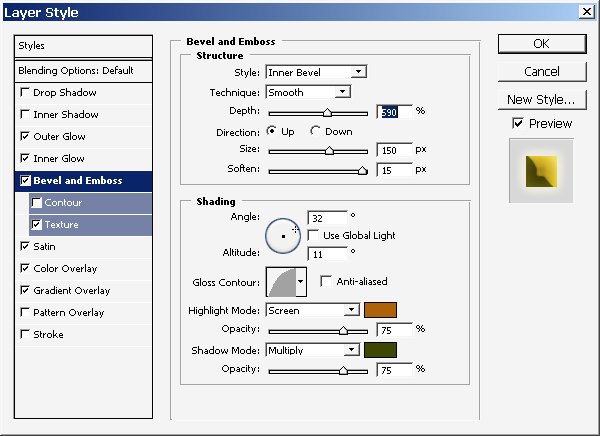
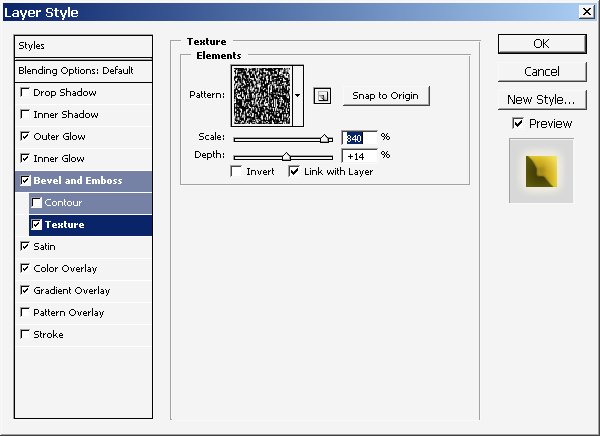
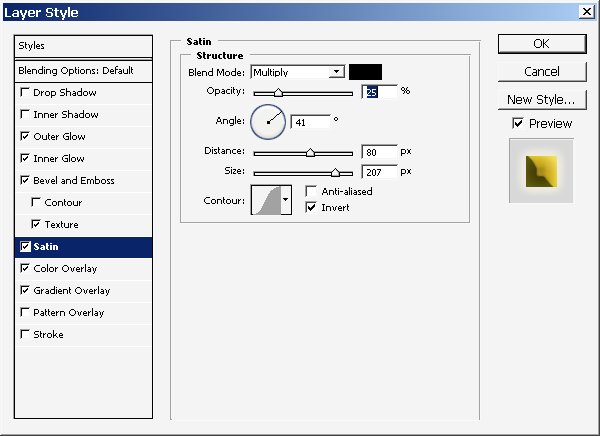
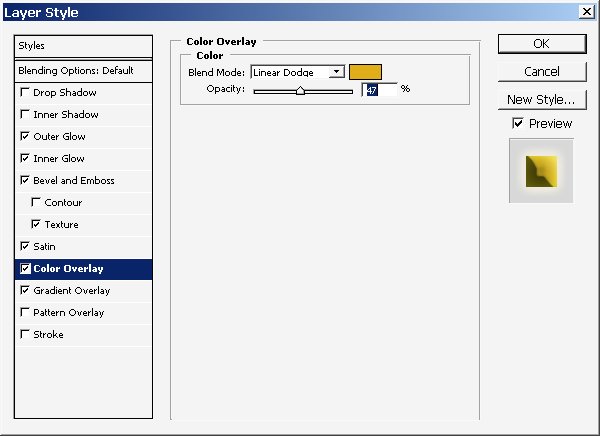
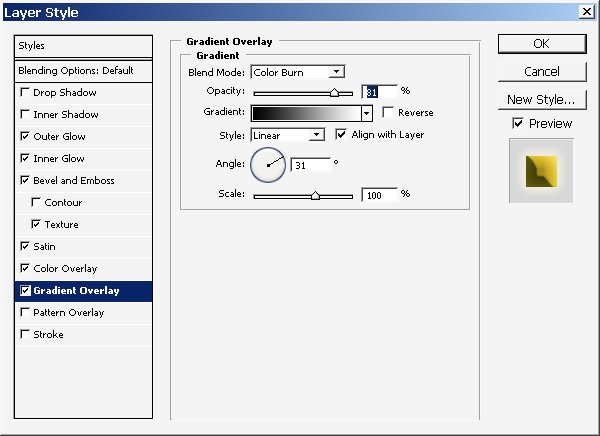
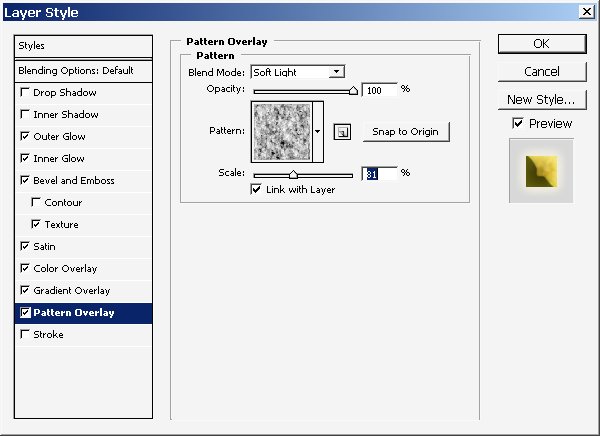
Result, good: (what you see is without Linear dodge mode, just normal).
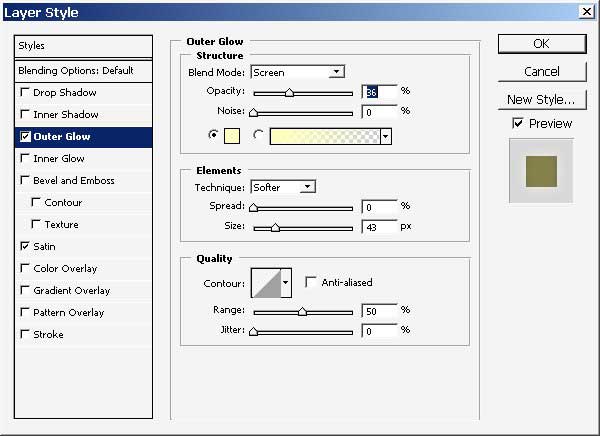
Now let’s see about our other planet (the little one).
Layer styles:


Result. (Mode Norman).
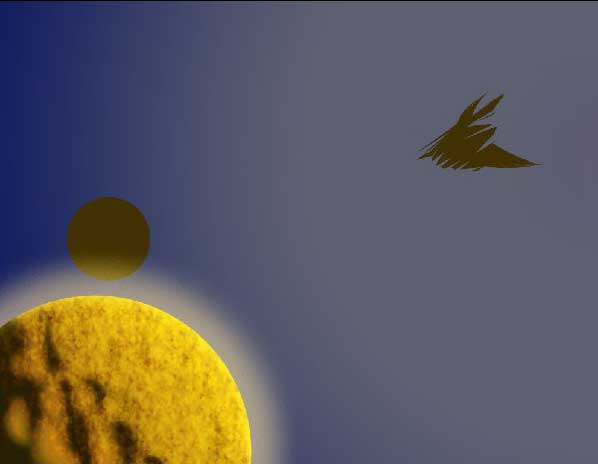
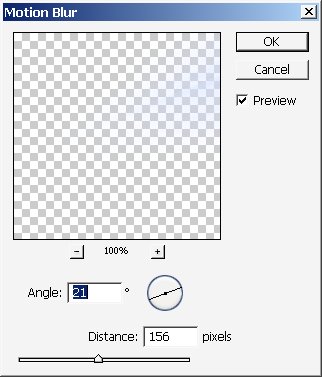
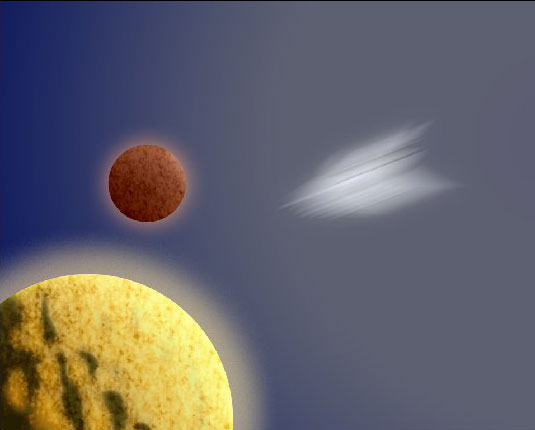
I?ve left the comet without any major changes: I’ve only changed the colors and have set some layer styles (not important because of the blur) + I’ve Rasterized it and have used Motion blur (21c).
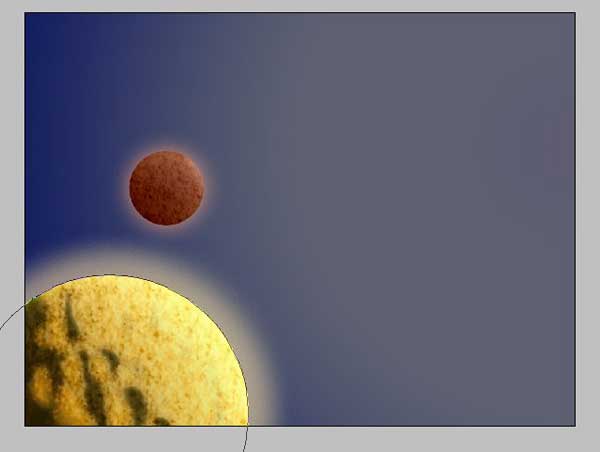
So here is my (raw) result:
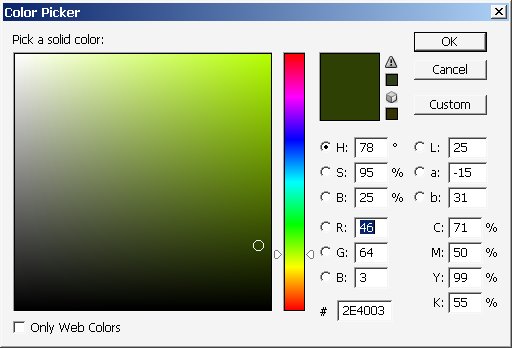
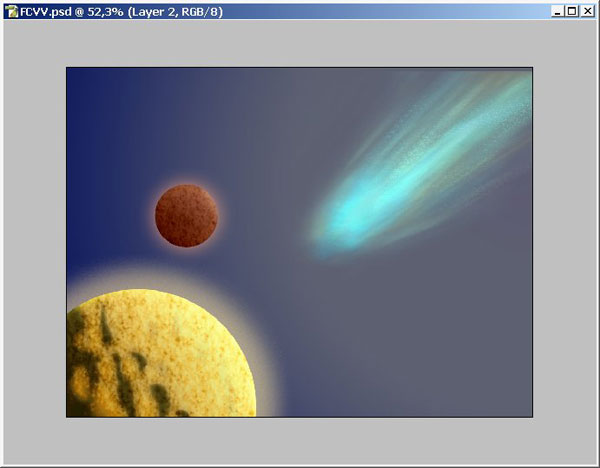
Finally I’ve finished the PS part now it’s time for some hand painting and Adjustments. I have used basic round brush with flow settings from 30% to 10 % with different blending modes (mostly Vivid Light and Screen).
+ Overall layer Mode is SET TO Linear DODGE.
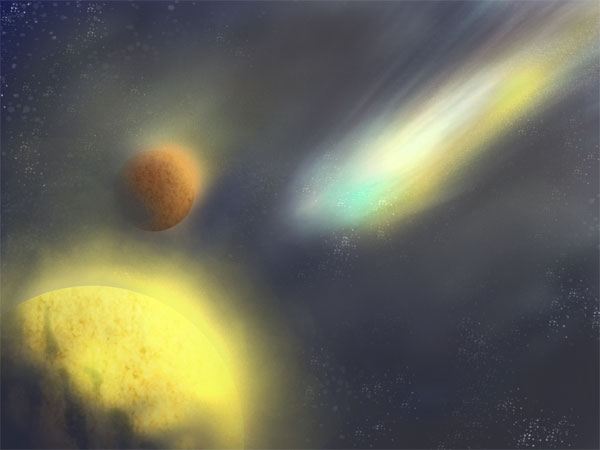
And here is the result.
DIFFERENCE: Normal < ?> Linear DODGE ? you choose which is better.
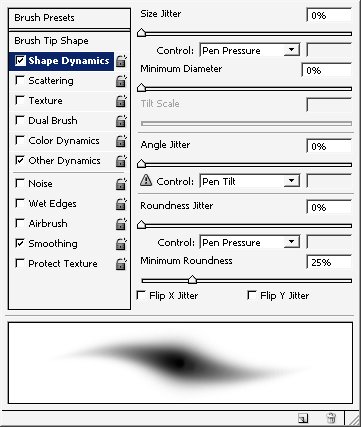
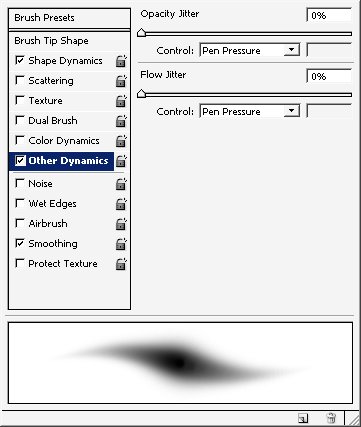
It all seems to look Unrealistic ? so let’s paint a little bit of atmosphere. For this purpose I suggest to use SOFT round brush (+ a new separate layer).
I used basic (hard and Soft brushes with this parameters to create this. + a have also set flow to 1%-7% and here is our result. The illustration is finished.
Enjoy!
Comments