Easy Two Tone Silhouette
May 21, 2006 |
0 comments
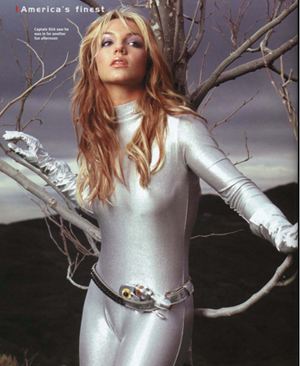
Start with a photo that you want to turn into a two tone silhouette.
Duplicate that layer by pressing CTRL + J, than desaturate it by pressing CTRL + Shift + U.
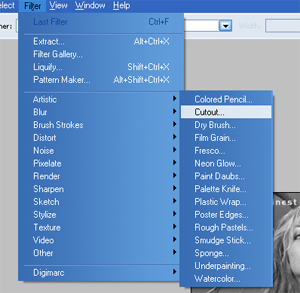
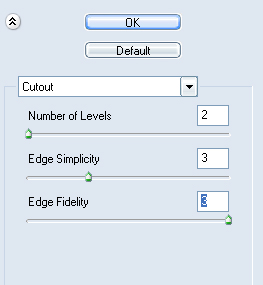
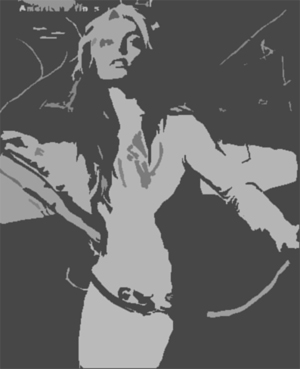
Go to Filter -> Artistic -> Cutout and apply these settings.
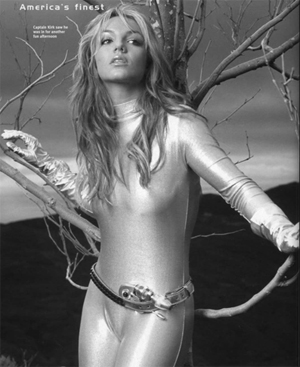
After applying the effect the photo should like like this
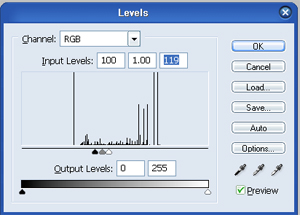
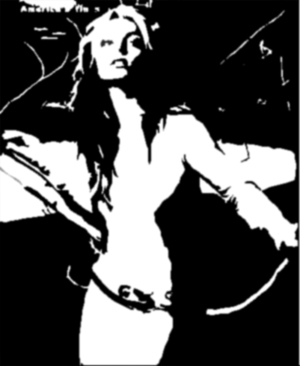
Press CTRL + L to bring up levels, drag the sliders together until the photo is just black and white.

Now go to Filter -> Blur -> Gaussian Blur and set it to 1.0 pixels to get rid of the jagged edges.

To smoothe the edges a little just bring up the Curve dialog by pressing CTRL + M and adjust it till the edges are crisp.
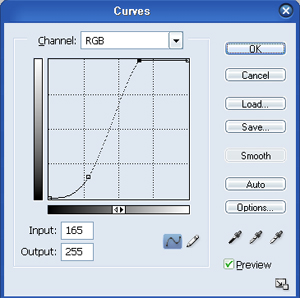
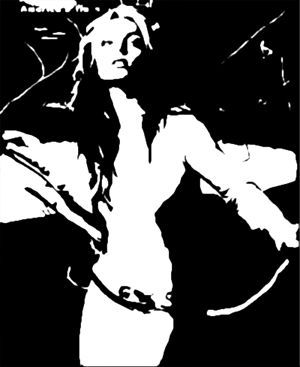
Your final product should like like this.
Comments


Comments