
Drawing a Nice Clock
Open a new 200×200 px document with transparent background. Set the foreground colour to #494D56 and fill the document. We do start with some rulers. Go to View > Rulers (ctrl + r). Then grab the Move Tool and pull downwards in the horizontal ruler. Then i line shows. Pull it downwards to the middle of the document.
Do the same with the vertical ruler.
Create a new layer and name it “W. Background” (doubleclick the “Layer1”-text and type the new name). Grab the Elliptical Marquee Tool and place the mouse-curser there were the rulers intersect each other. Make a circle while you hold down Shift and Alt. Make the circle a little smaller than the document. Then set the foregroundcolour to #E2E6E5 and backgroundcolour to #AFB3B6. Grab the Gradient Tool (linear) and fill the selection from top to bottom.
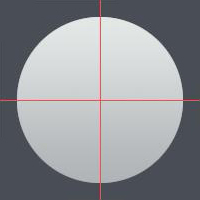
Create a new layer while you still have the selection from the circle, and name it “W. Border”. Go to Select > Modify > Expand and set it to 3 px. Fill the new layer with #95999A.
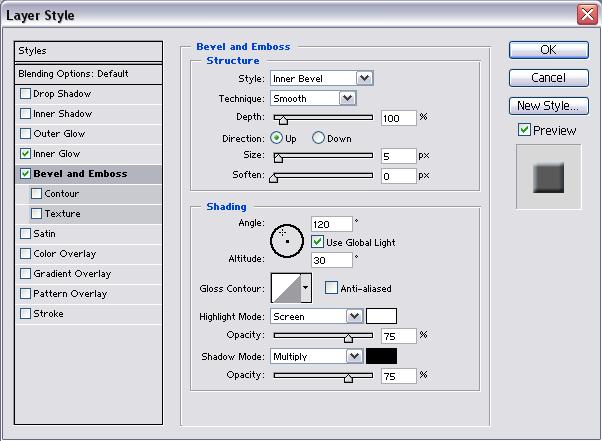
Go to Layers-palette and Ctrl + click the “W. Background”-layer. Then you bring it in selection. Make sure that the “W. Border”-layer is activated and hit Delete on your keyboard. Then we have a thin ring. Then activate the “W. Background”-layer and go to Blending Options
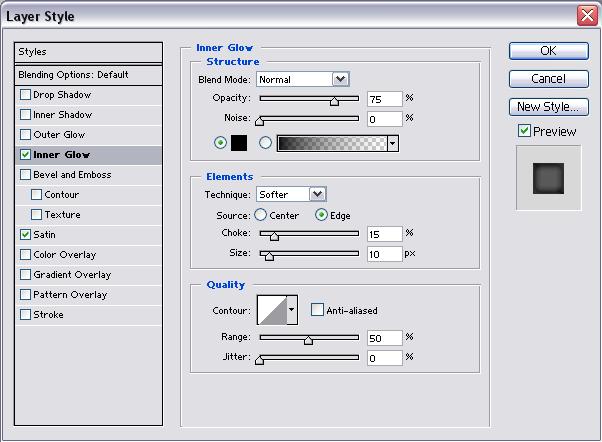

Hit OK.
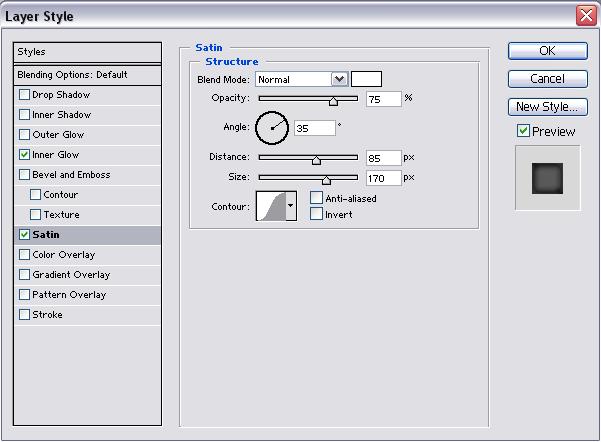
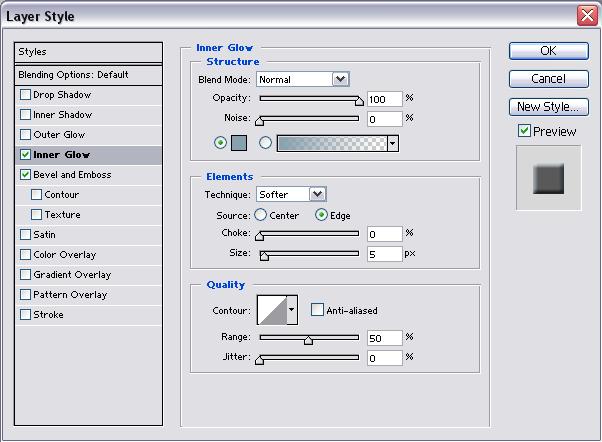
Then activate the other layer and go to Blending Options
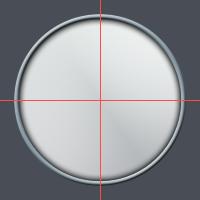
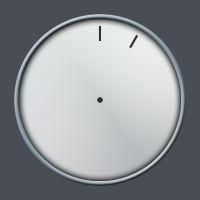
Create a new layer and grab the Elliptical Marquee Tool again. Make a very small circle in centrum of the document. Fill the selection with #323232.
Now we are going to the difficult step in the tutorial. We need some rectangles which replace the numbers on the clock.
Grab Zoom Tool and zoom into centrum AND 12 o’clock. There we are going to start.
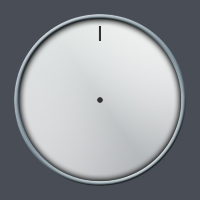
Create a new layer, grab the Rectangular Marquee Tool and create a small rectangle (my rectangle is 2 px in the width). Fill the selection with #323232.
Rightclick the layer with the rectangle in Layers-palette and pick Duplicate Layer. Grab Zoom Tool again and zoom into the centrum and the rectangle.
Activate the new rectangle-layer and place it right over the old one. Go to Edit > Free Transforms (ctrl + t). Now in the middle you can see a circle. The circle is the rotation-point. Place the small circle right in centrum.
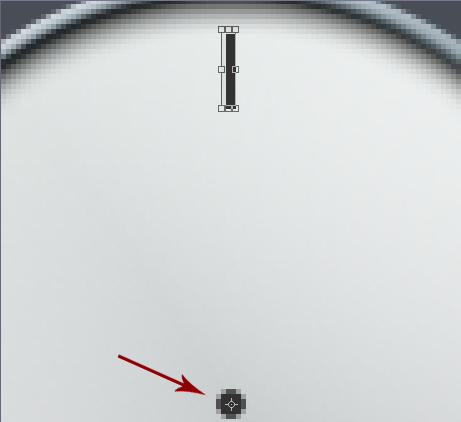
Go to Options Bar and set the rotation to 30,0°.

Your clock should now look like mine.
Continue the rectangle-steps until you have 12 rectangles.
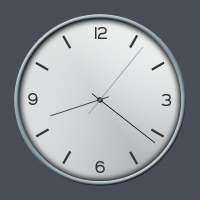
The last step is easy. We only need the hands.
Create a new layer and grab the Rectangular Marquee Tool. Make a thin rectangle from centrum and down. My rectangle is 1 px in the width. Fill the selection with #000000.
Continue the last step but this time, make the hour hand.
You are finish.
Comments