
Draw Santa’s Cap
This task I’ll tell you how to draw Santa’s cap!
So, let’s begin!
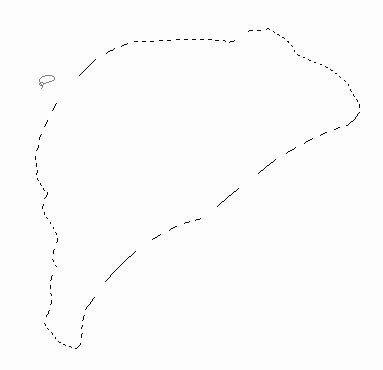
Create a new layer with 800×600 px or any other resolution. Choose on the tools’ panel the next instrument  (Lasso Tool) and draw the contour of our cap to be, the same way that is indicated next step:
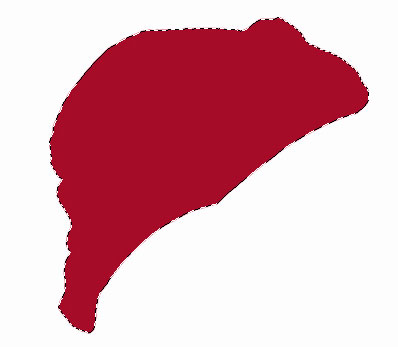
Choose next (Paint Bucket Tool)  and paint the contour in red.
Create a new layer then and choose again (Lasso Tool) to picture another contour above the cap, like it is shown next picture.
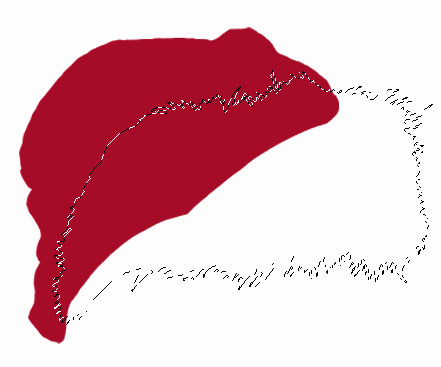

Keeping pressed SHIFT button, continue to draw one more contour.
Paint the marked place almost with the same color you can see in the next picture with the known instrument (Paint Bucket Tool) .
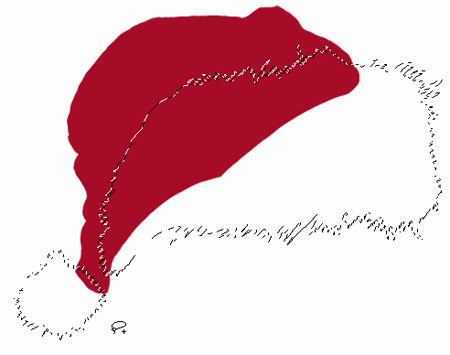
Choose the layer with the red cap and apply the next instruments and adjustments: (Burn Tool)  with parameter (range: shadows) and (Dodge Tool)
  with the parameter (range: highlight). Picture the pleats on the cap, the same way it is shown in the picture, the Exposure of these instruments must be of 10% till 20%.

Choose the layer with the fur and make several highlights with (Dodge Tool) . Make the edge of our cap darker a little, like it is demonstrated next picture, with (Burn Tool) .

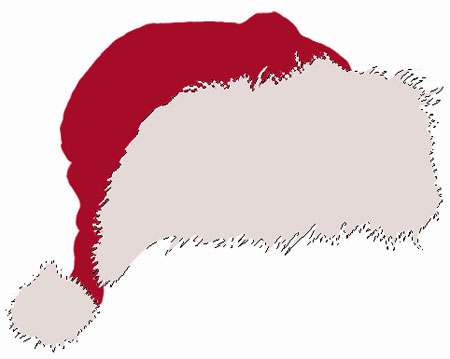
Using the brush with blurred edges and the next color – CCCCCC, represent the shadow under the cap.

That’s it! Santa’s cap is ready. It can be easily put on and then celebrate Christmas.
Comments