
Draw Background of Flowers and Butterflies – part 3
Then copy the already copied first group and displace everything like it is demonstrated in the picture with the parameters’ change in the appropriate ones.

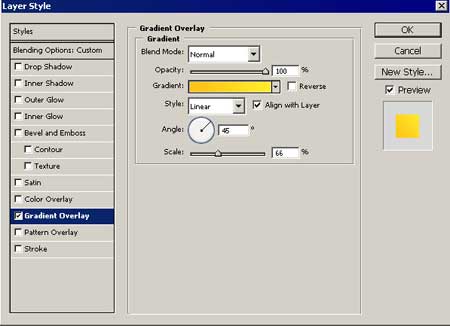
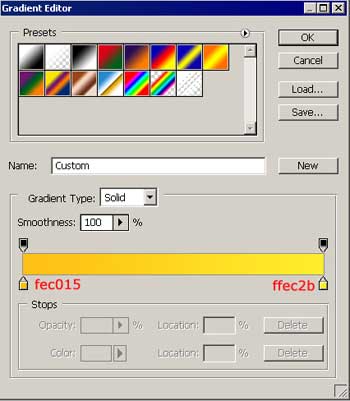
The flower’s petals
Apply Gradient Overlay:
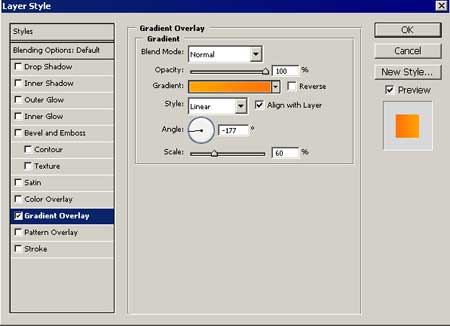
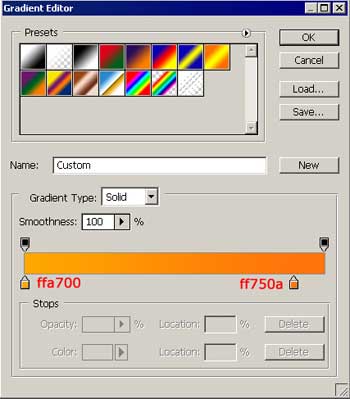
Gradient’s parameters:

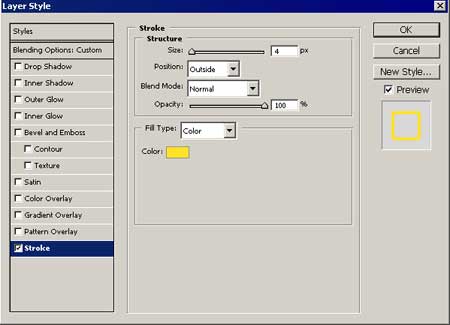
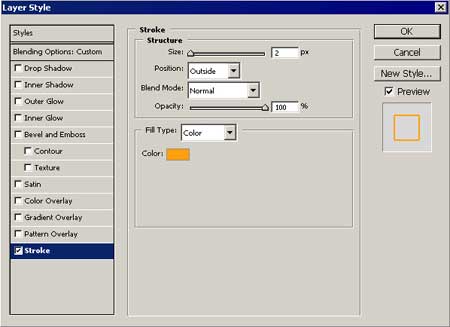
Displaced petals’ outline
Stroke:
The inside circle has no changes
Fill 0% on the layers
Use the instrument  to draw one more flower’s silhouette with the shown parameters below:
The flower’s petals
Apply Gradient Overlay:
Gradient’s parameters:
In layers Fill=0%
Displaced petals’ outline
Copy the flower silhouette’s layer and Fill0% on the copied layer. Displace, using of the function Free transform. Apply the parameters below.Apply Stroke:
The inside circle
Using the instrument  , draw a circle (ffdb56) within the flower.
Continue.Now we shall copy the small flower’s layer and change its dimension with Free Transform function. Set everything out like in the picture (not forgetting to place the layers one under the others):
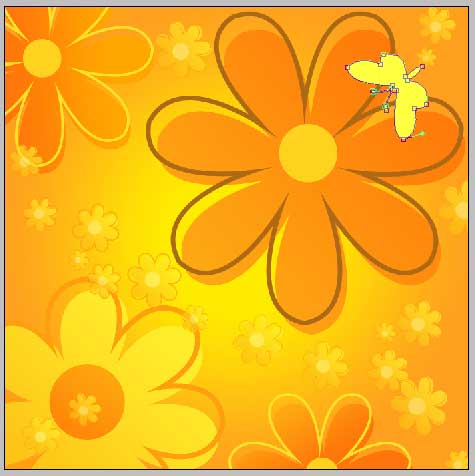
We’ll add several butterflies to our composition.Use the instrument to draw a butterfly’s silhouette with the color fff3f
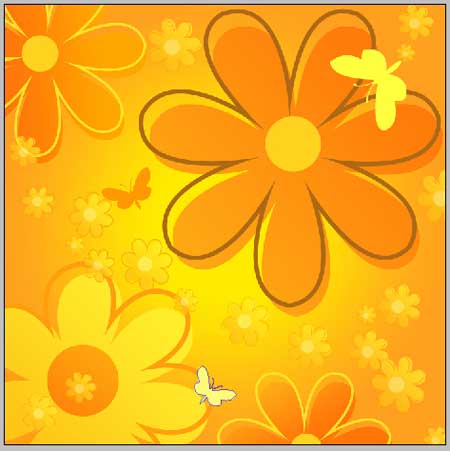
Copy the butterfly’s layer, change its dimension, using Free Transform option. The color should be fe9901. Place everything like in the picture:

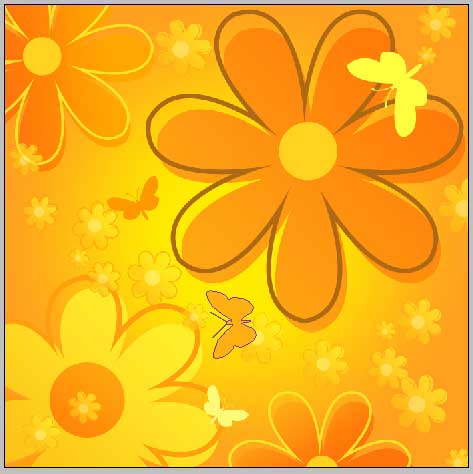
Copy the butterfly’s layer, change its dimension, using Free Transform option and the color must be fdfa79. Place everything like it is shown in the picture:
Using the instrument , draw a butterfly’s silhouette with the color ffb011.
Using the same instrument, create a new butterfly’s silhouette with the color fefe3e
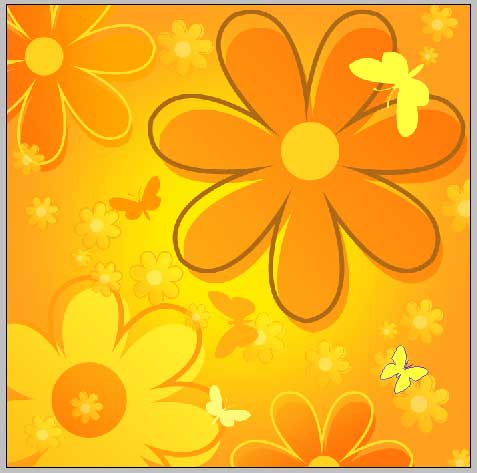
Copy the butterfly’s silhouette, change its dimension with Free Transform function and the color should be ffdd57. set everything out like in the picture.
Crate a new layer and place it above the rest of the layers, but in front of the butterflies’ layers. They should be above all the rest. Take the brush , opacity – 10% and the color code fff3f and with big dimension, click 3-4 times on the mouse.

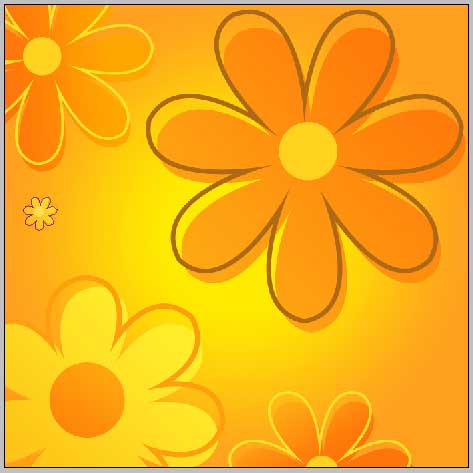
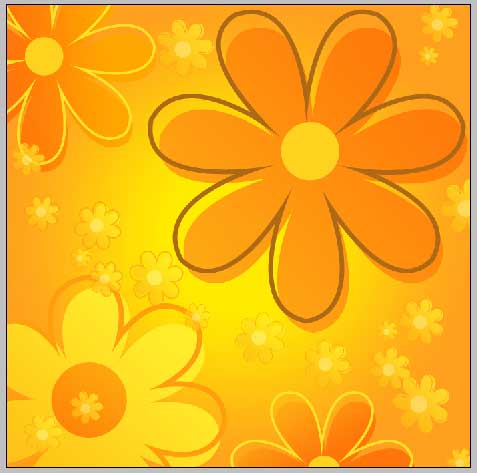
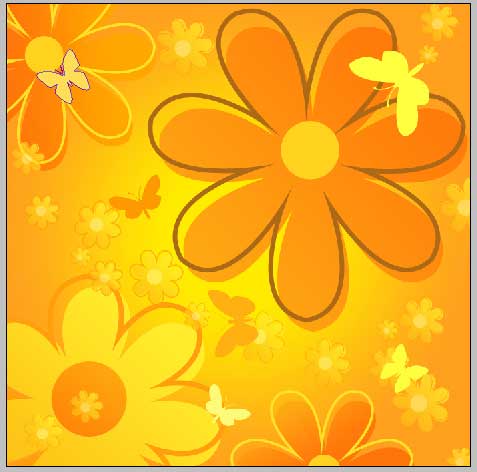
The final result.
Comments