
Digital Painting
This is a tutorial about making digital paintings using PS standard tools and Wacom tablet. Our tutorial will concoct from 2 parts.
In part 1 I will use only standard PS tools to create the idea and basic shapes.
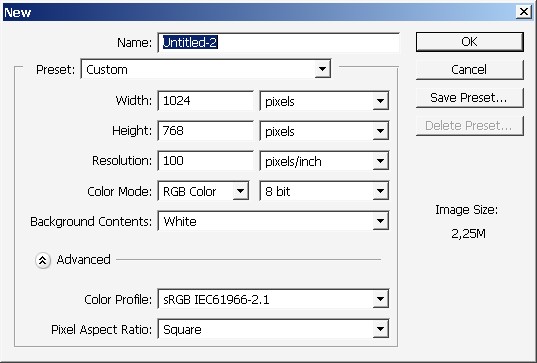
So let’s begin. Create a document.
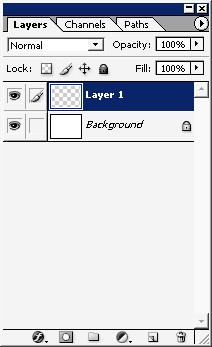
Add a new layer. Try to figure out how to use layers in PS. If you will some day understand this you will discover that if can give you absolutely awesome flexibility.

Choose custom shape tool.

See the options:

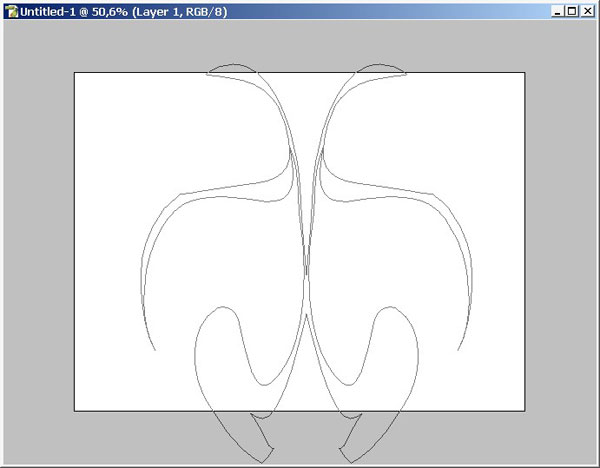
And paint a custom shape.
I’ve chosen this one.
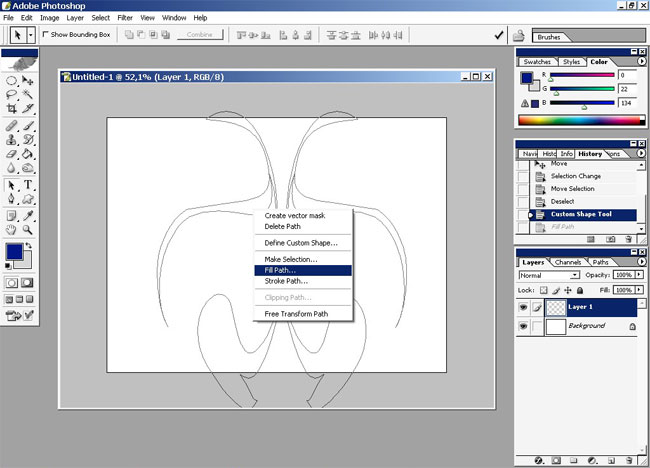
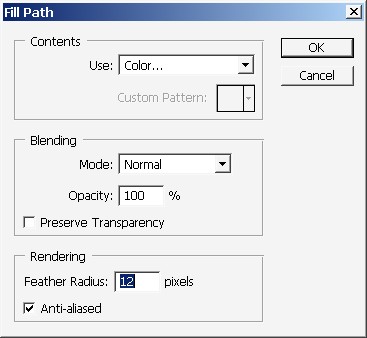
Now fill the path tapping A to switch to Path Selection Tool.
Settings:
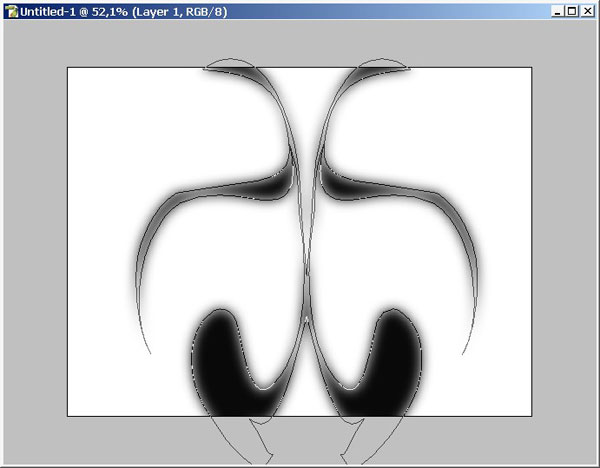
Result:
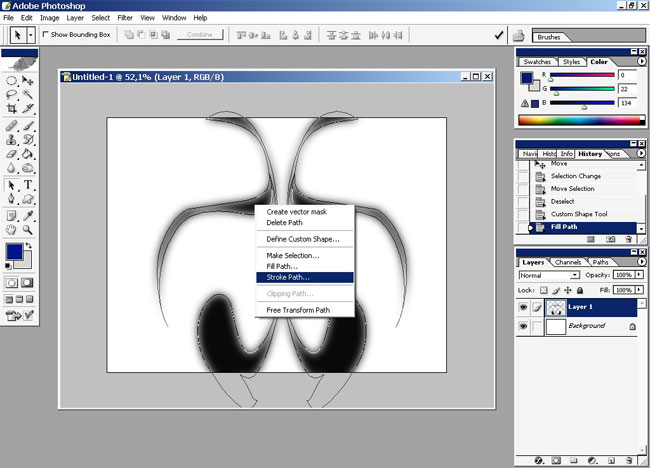
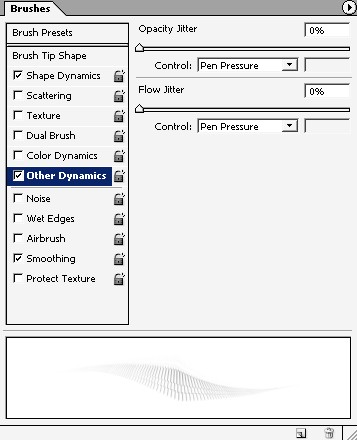
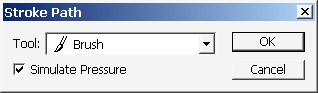
Then Stroke the path. Don’t forget to chose the brush and brush settings Before I stroking.
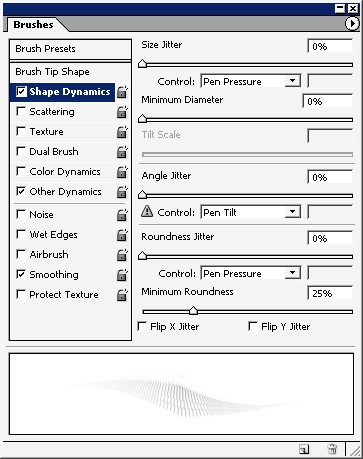
And here is what brush I have used.

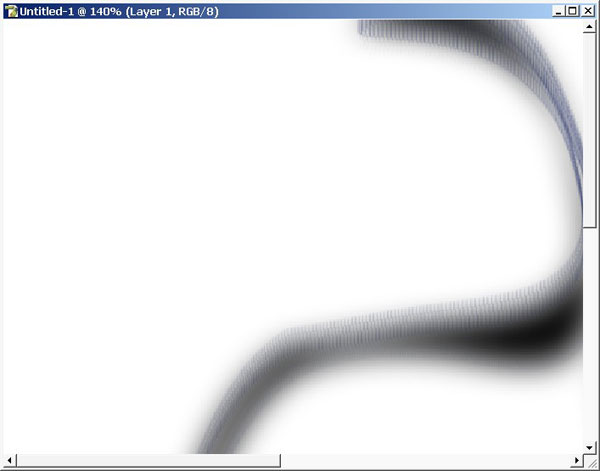
Result. Not the best but it’s surely gives some texture and edge carving.
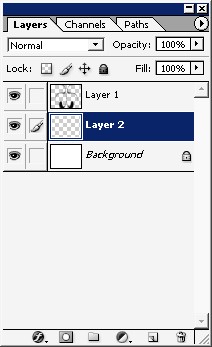
We have almost forgot the background. So create a layer and in the middle. Now you see what I mean about all these layers.
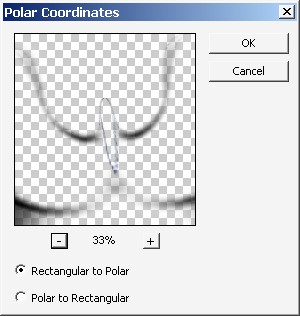
Switch to the layer 1 (top) and apply the polar cord lines filter.

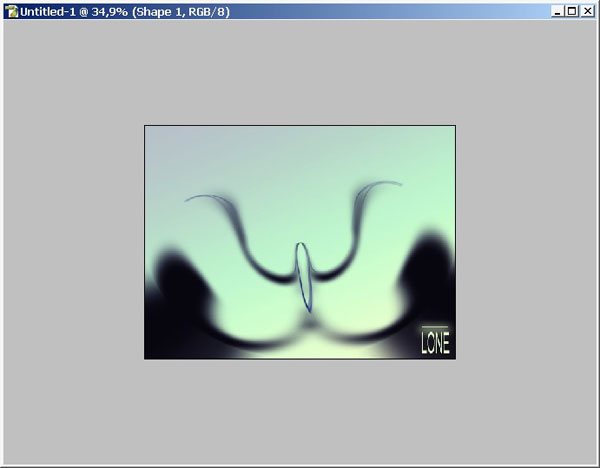
And here is our good result.
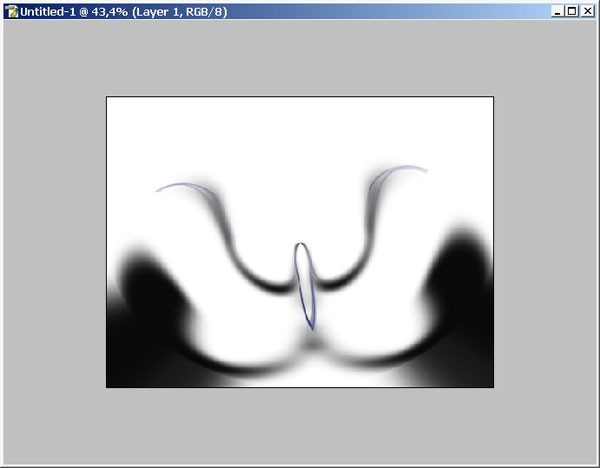
Now I definitely know, this will be a bird.
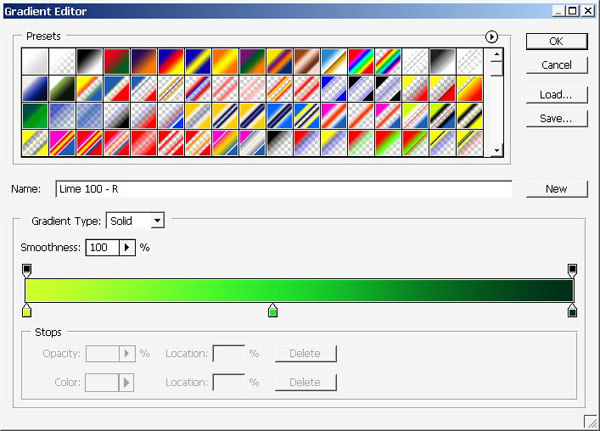
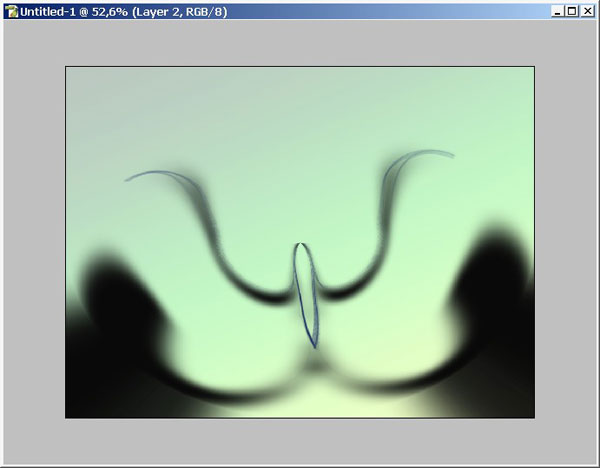
Choose the Gradient and fill our background layer (middle).

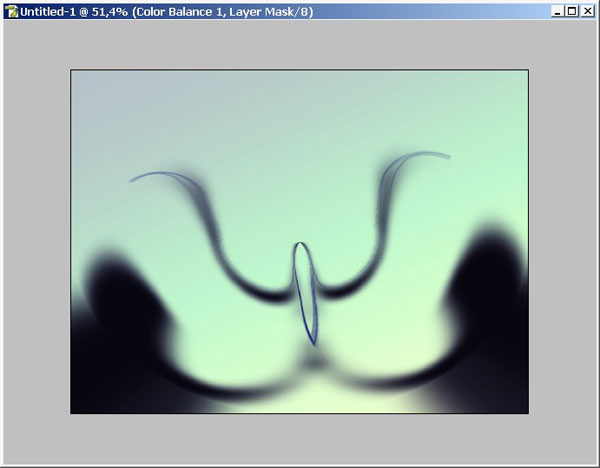
And there we have it.
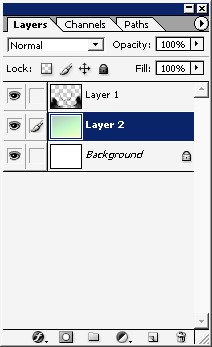
Layers order:
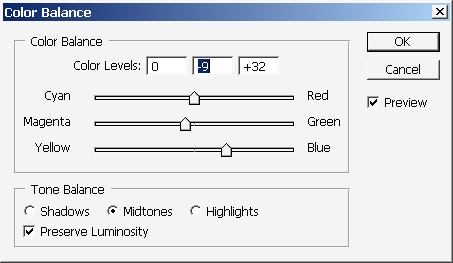
I would like a little bit of color change. You can change the colors here as you want.
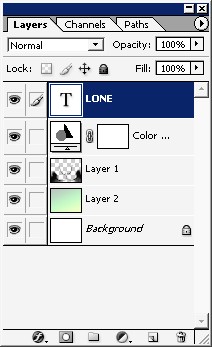
Final layers order:
Now, our basic concept is done here. Follow me in Part 2 of this tutorial when I will paint the basic details and objects using my Wacom tablet. Soon will be available.
Comments