
Digital Life
Welcome in making digital still life picture. In this tutorial we will cover some of PS standard techniques and
do a lot of transformation to our layers. We will play with colors and try to make an outstanding picture. Oh ea,
I’m also texting new CS4 this time. Hope it is fast.
So let’s do this.
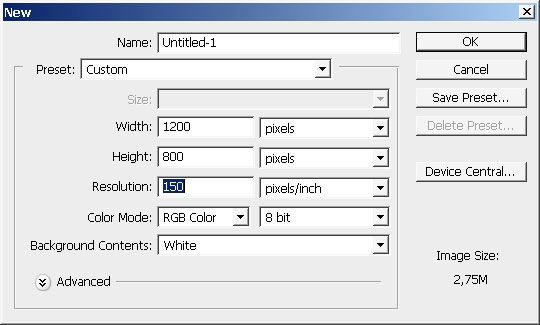
I will shoes something like Wide aspect ratio document with 150 dpi pixel resolution.
I’ve chosen to start form the very end. What I mean as I’m putting the textures right now and they are usually is

painted in the end of the process. I’ve also setting the tone to my background.
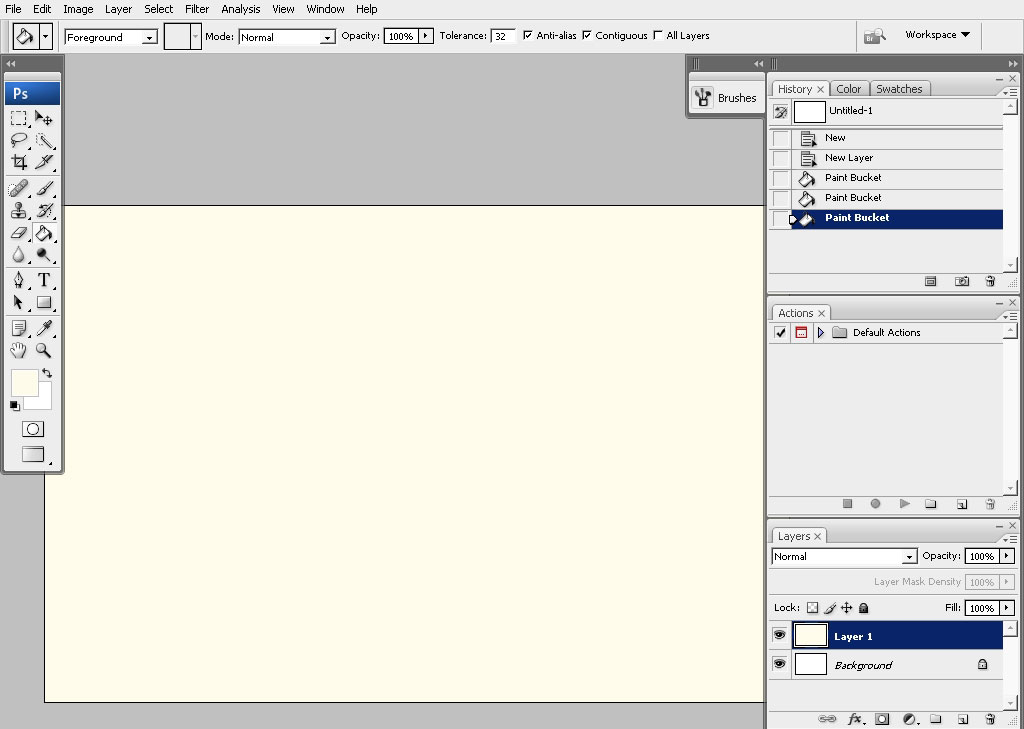
The texture is done by a brush that I have.
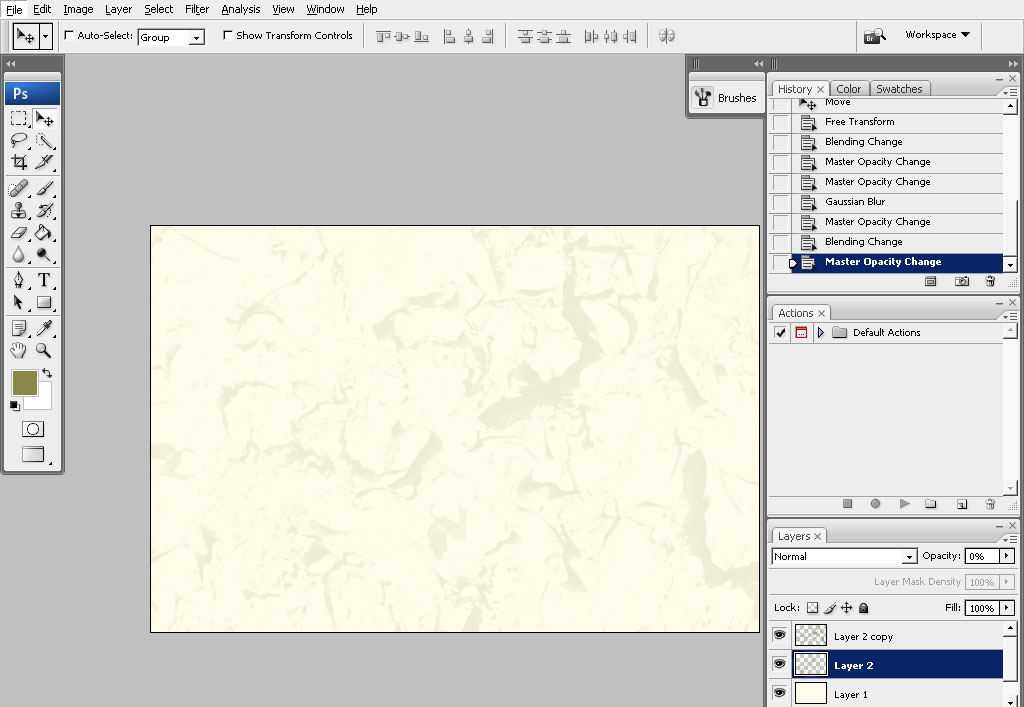
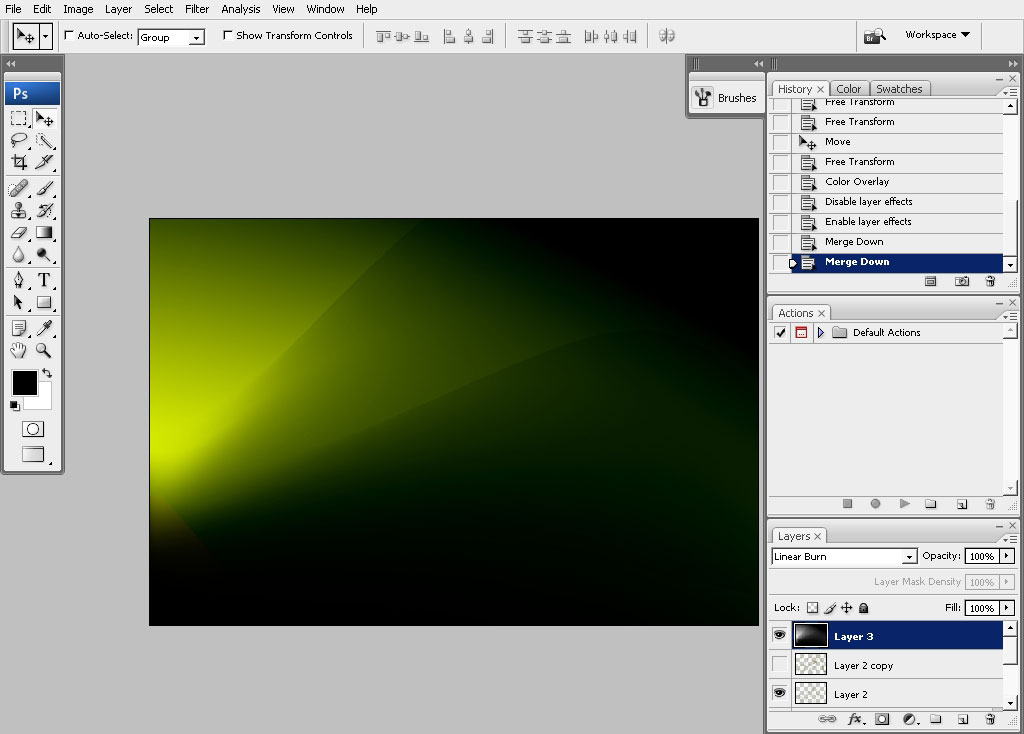
Now we will tint the image a little bit. I will create a new layer and fill it with black leaving only the left
top edge filled with gray and white.
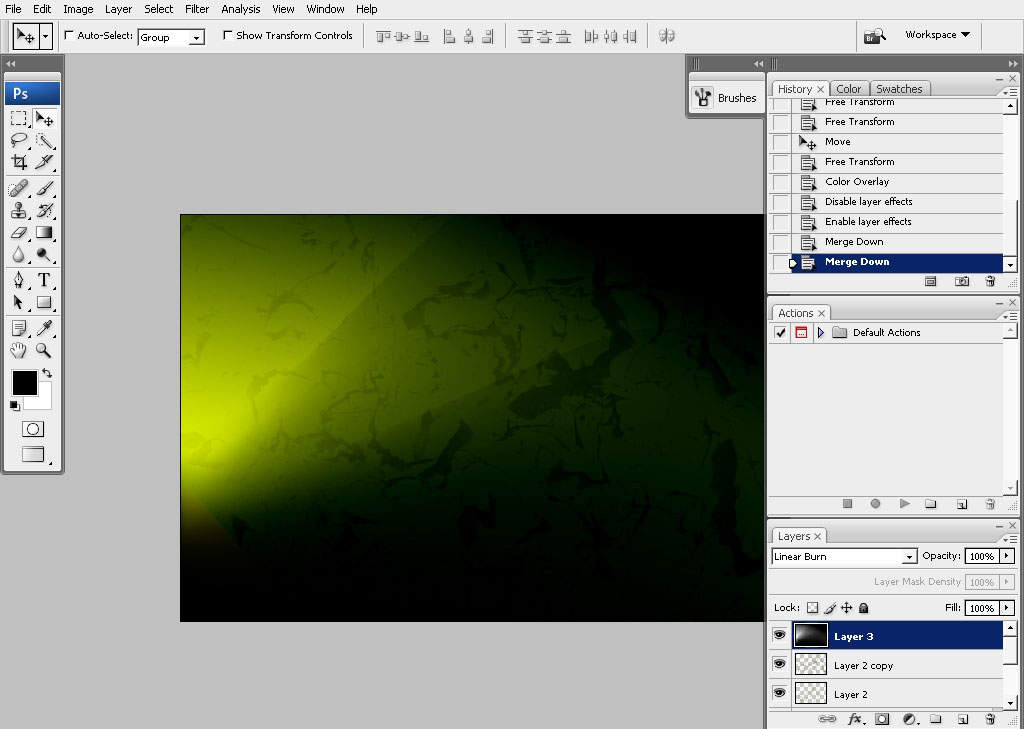
Set the layer mode to linear burn. Setting the layer blending mode to linear light gives the picture amazingly
green colors. Now you can control the gamma with Hue and saturation jitter if you like.
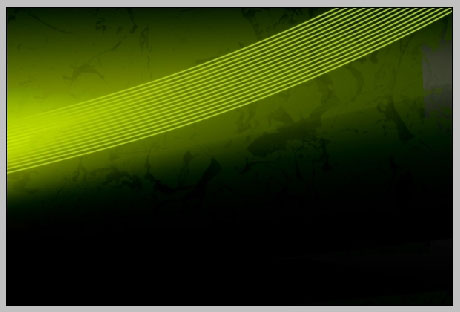
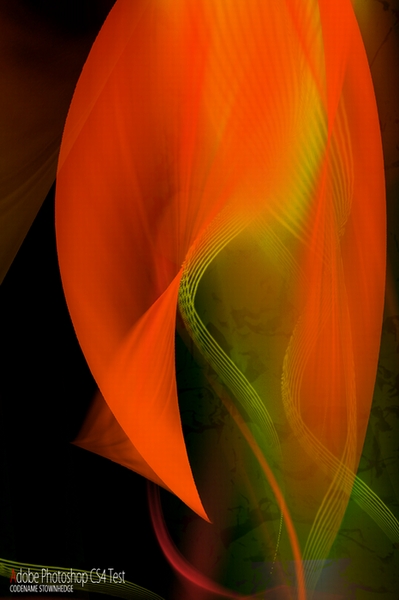
Here is the current view: with and without texture.
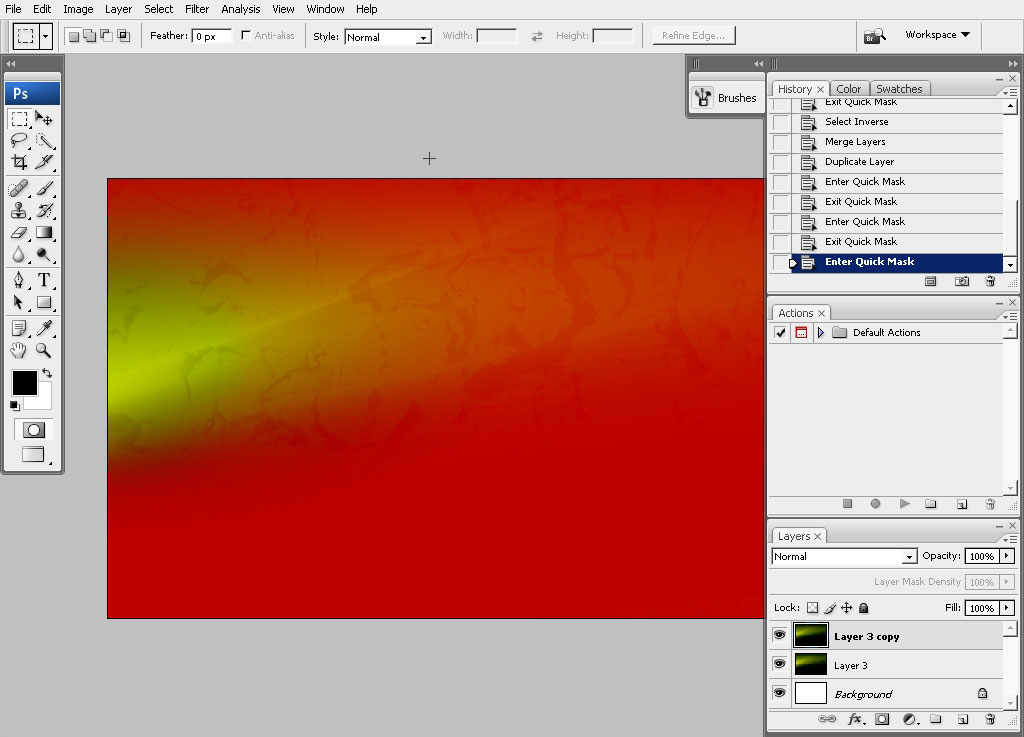
Now I think that green gamma has mostly singletons, I really want to make it different. I will use a quick mask
for that.
Here is my quick mask on. I’ve used rounded gradient for that.
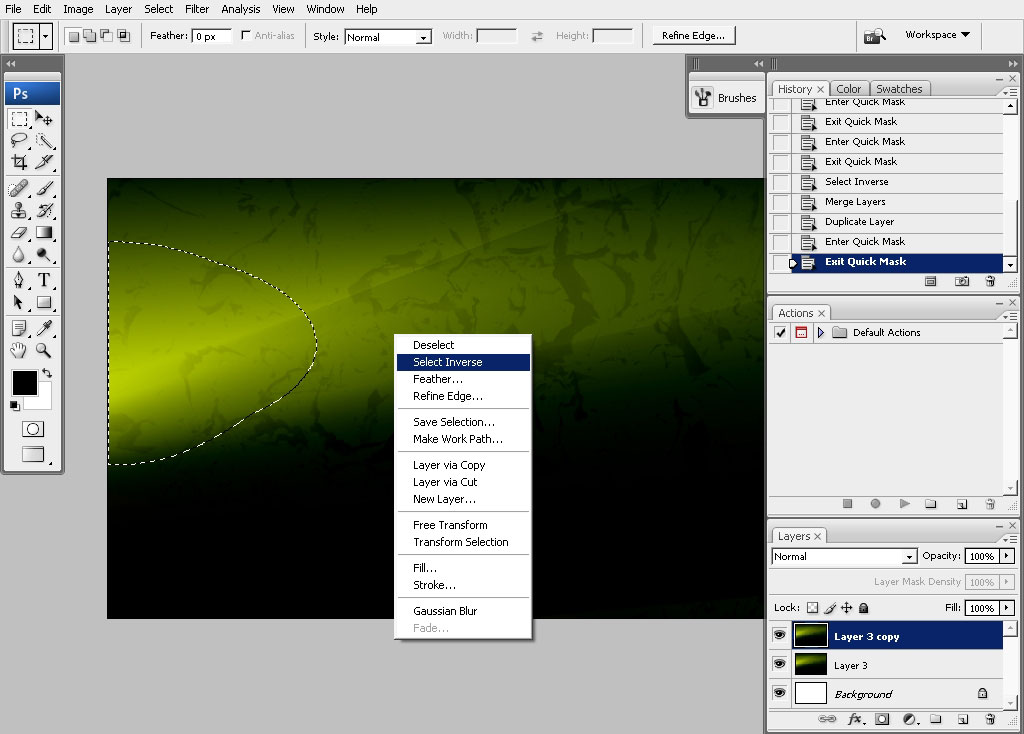
Select inverse.
Here is how the mask supposes to lay down if inverting the selection.
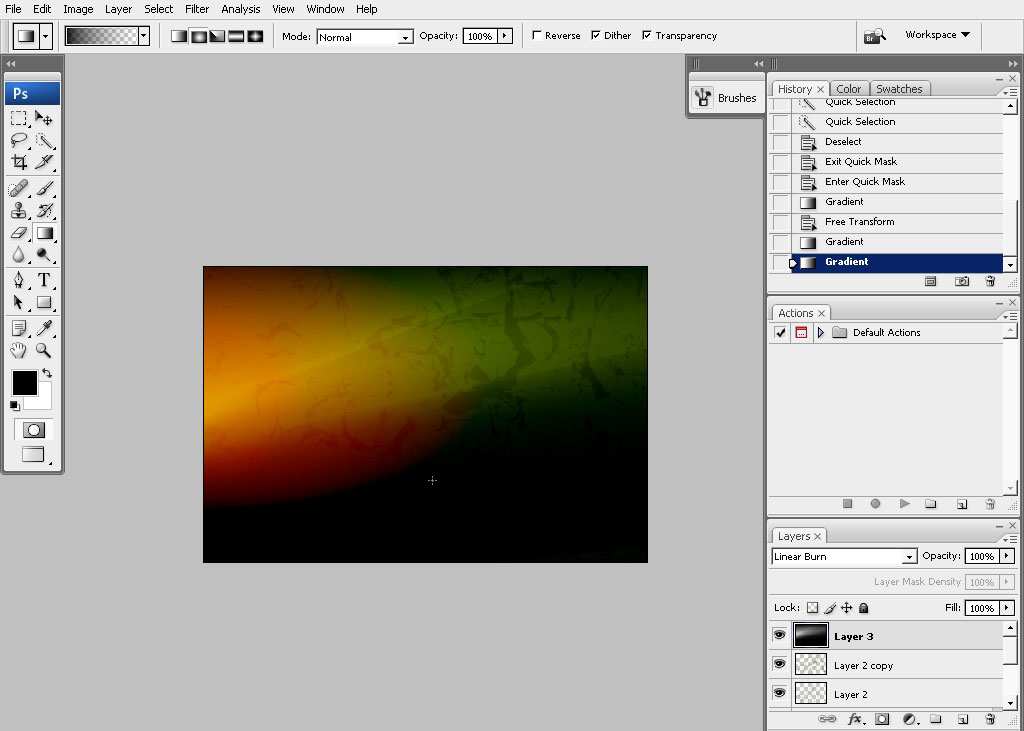
Apply some Saturation adjustments to the selected area.
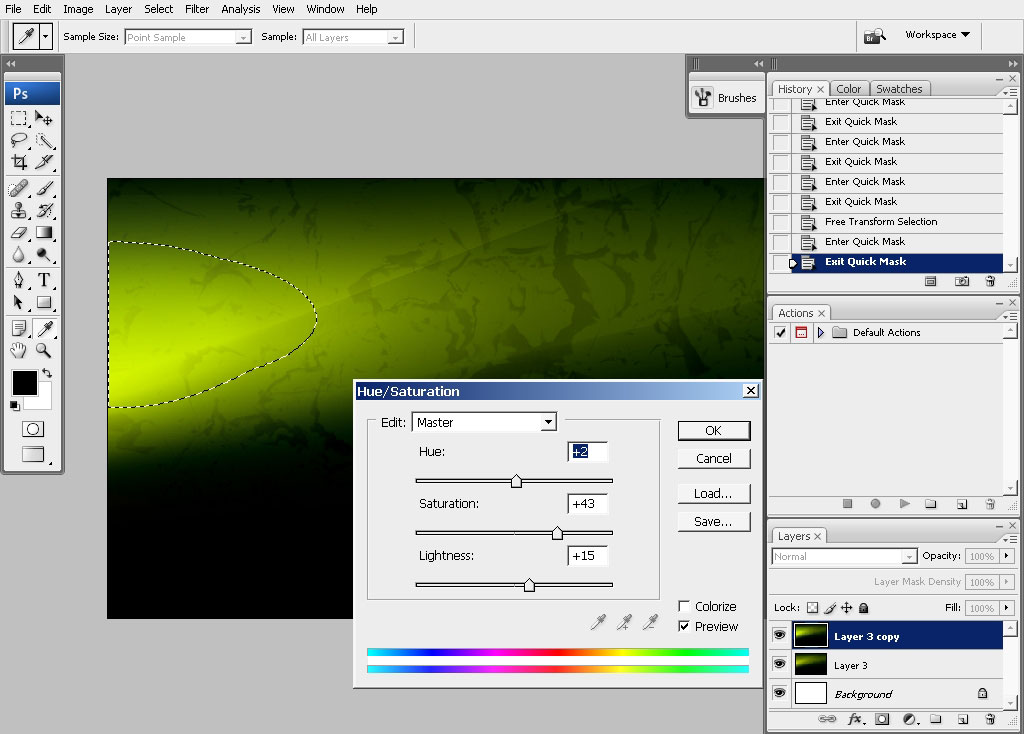
It’s getting shinier in the corner there. So now we have something like tone variety.
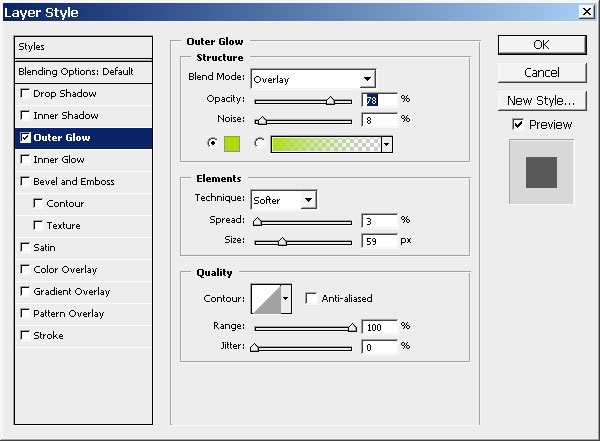
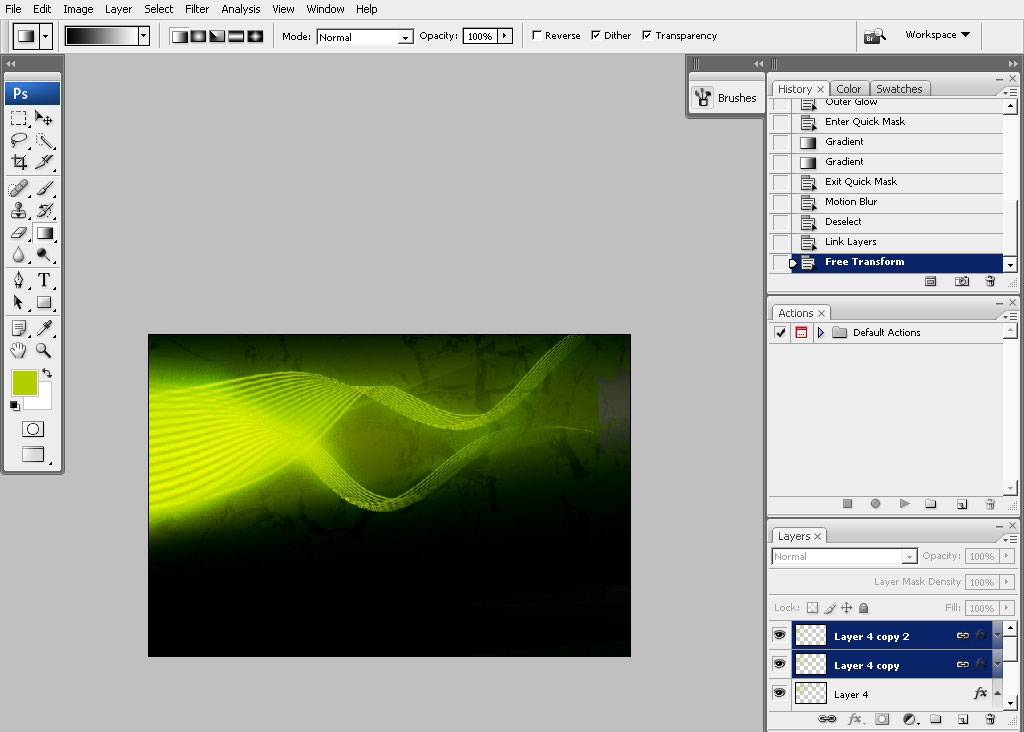
Ok let’s now drop some elements – details.
This brush has a little bit of outer glow in layer styles options.
Warp and transform IT.
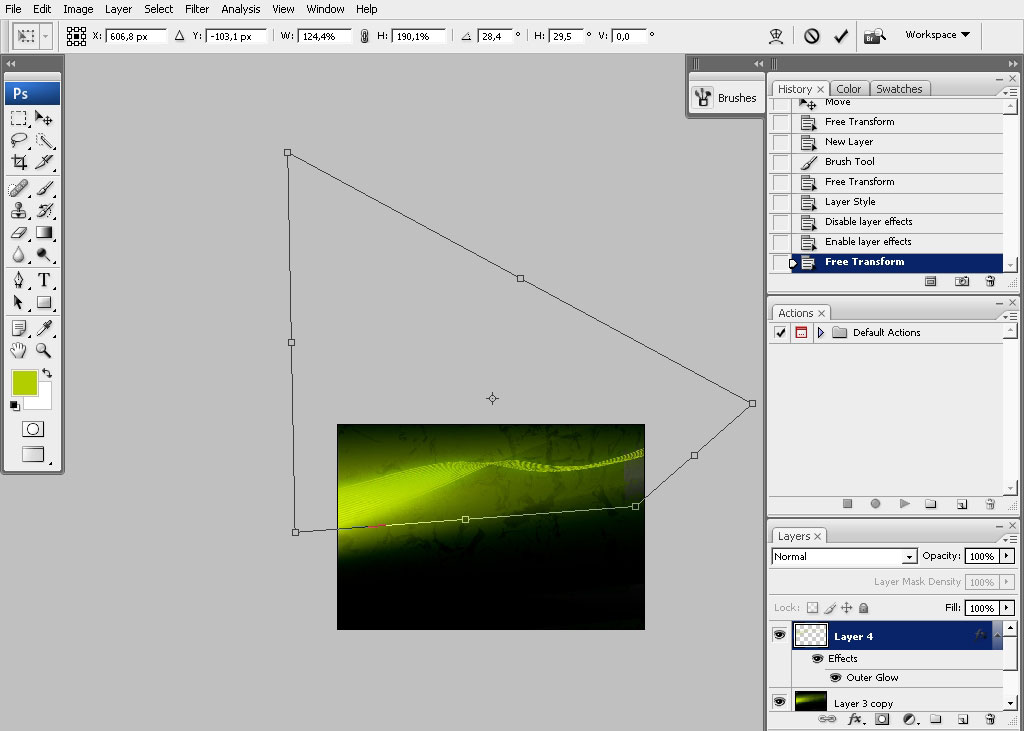
Drop the second one.
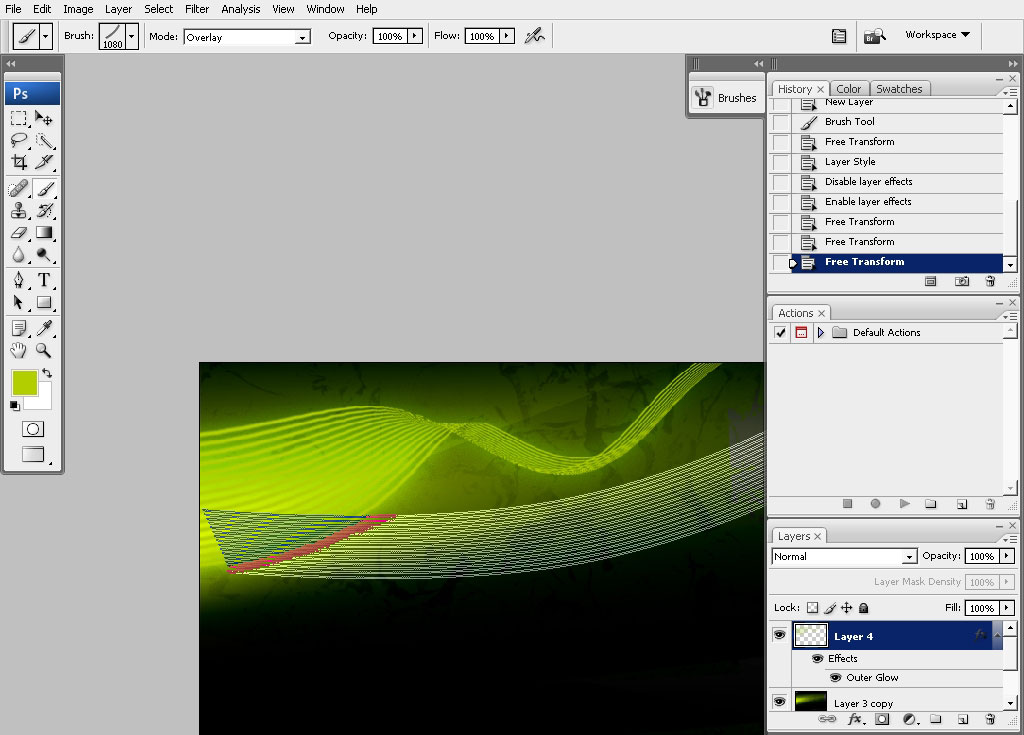
I’m trying to fit it normally.
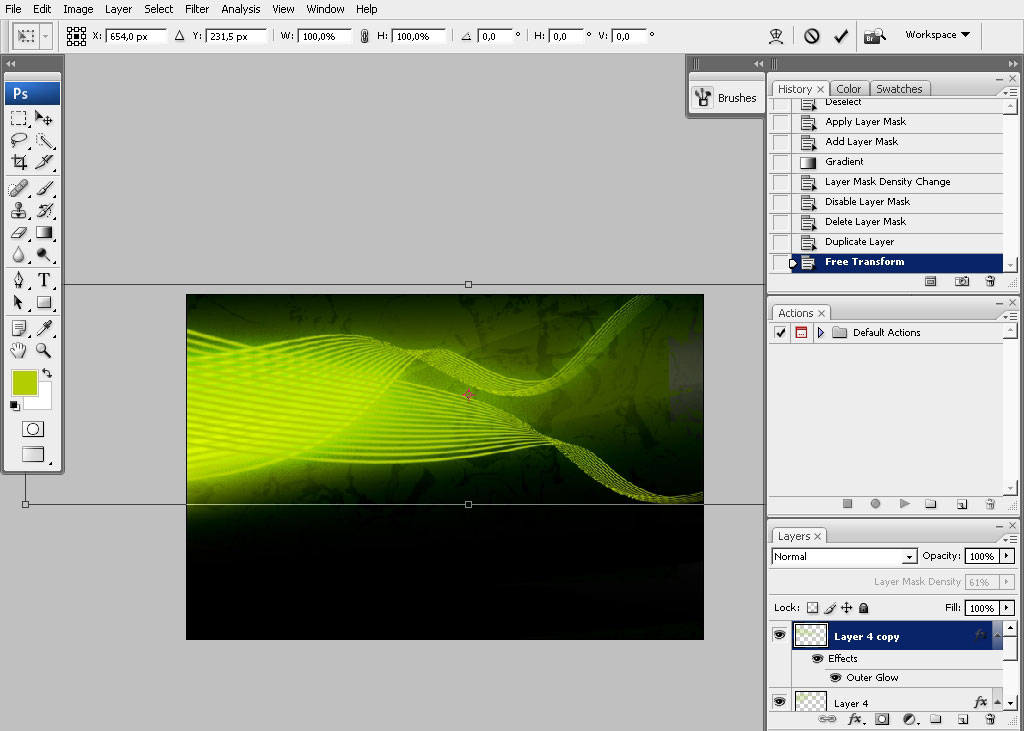
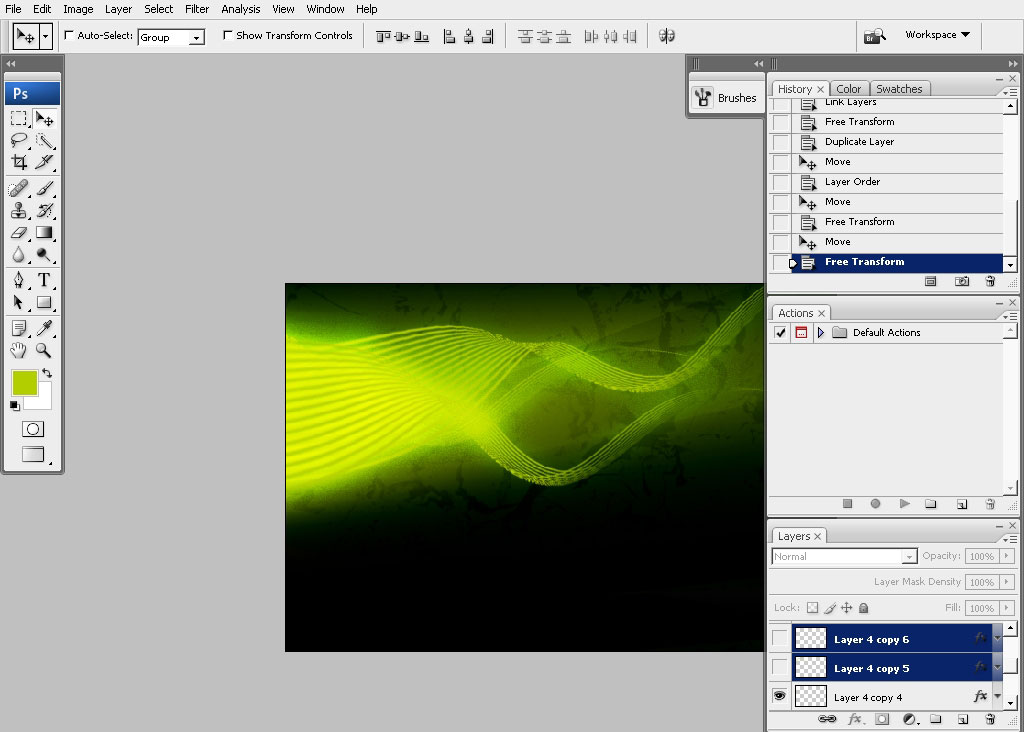
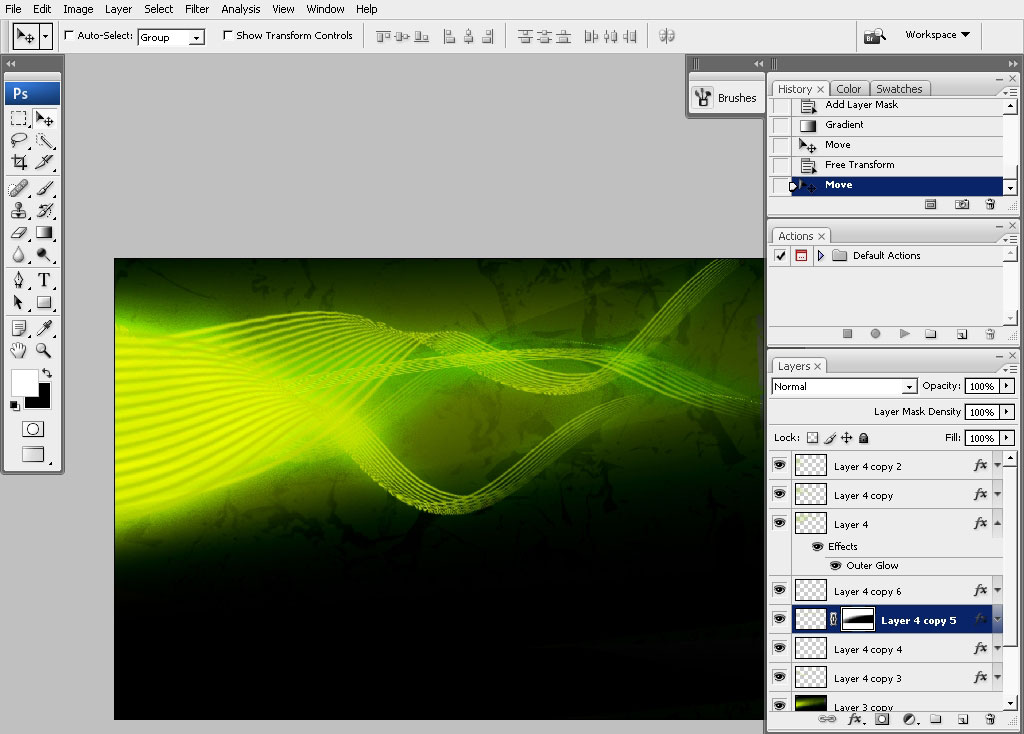
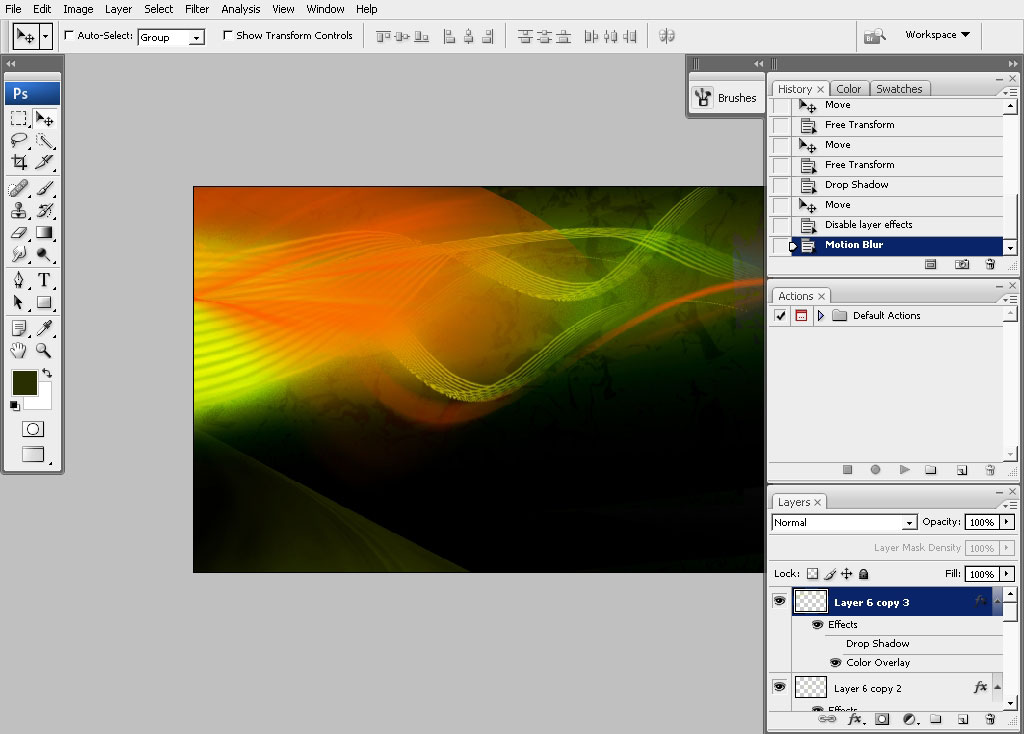
Add some more wave stripes. Just copy the stripes you already have. Transform and warp them if you need to
position them for good.

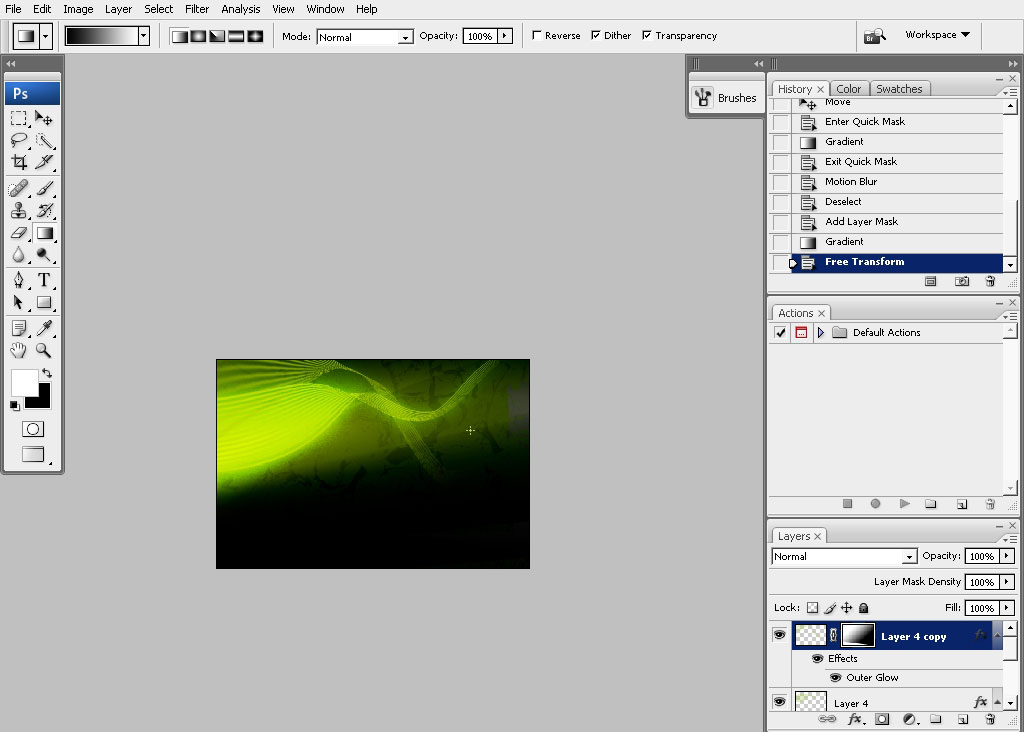
I’ve painted this … this round something on a new layer.
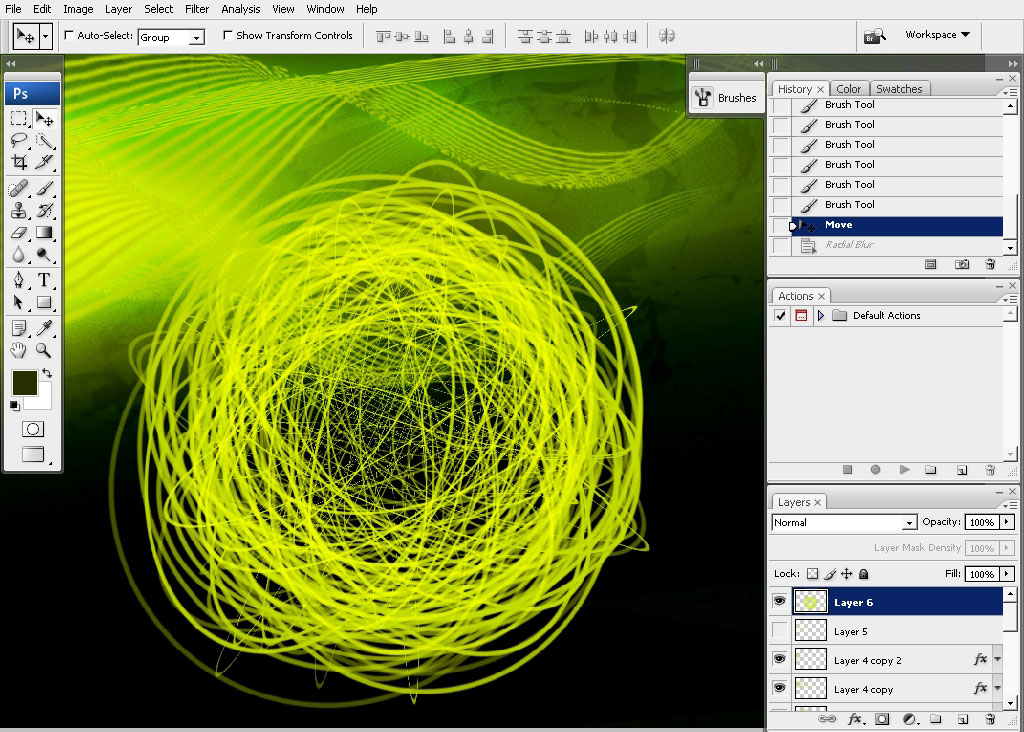
To this round something I’ve used a Radial blur – Zoom filter.

Change the color of this something and position it in the left top corner. Warp if needed.
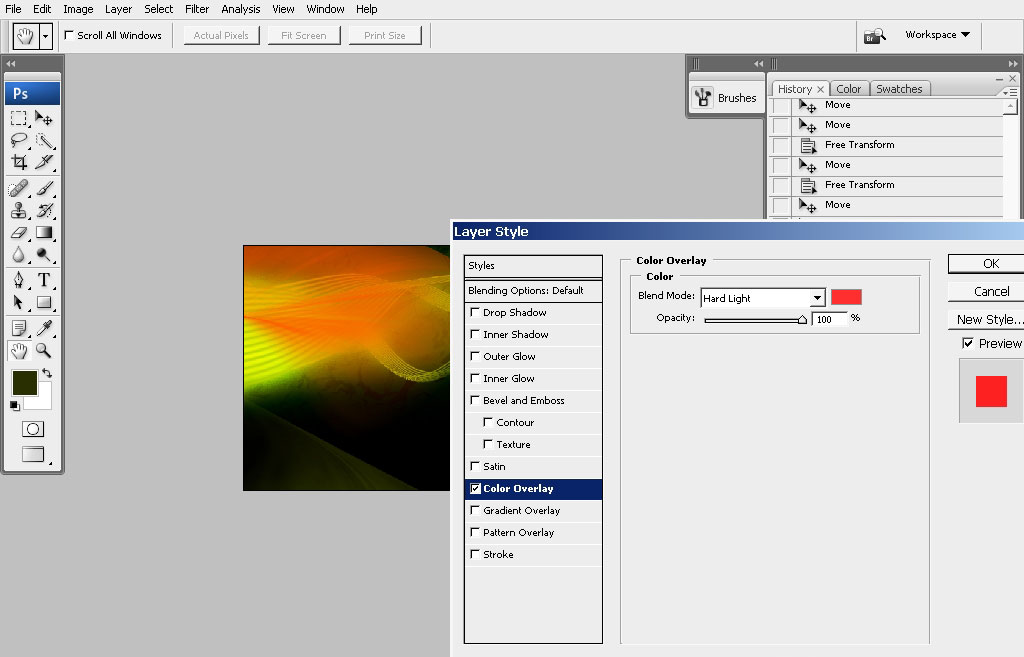
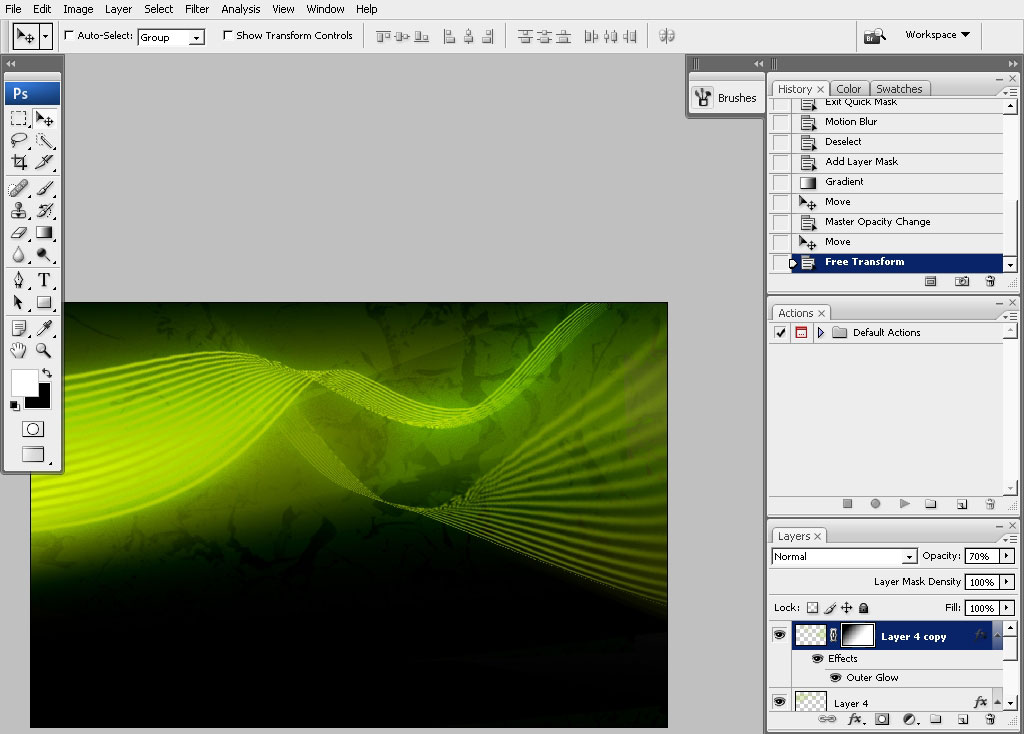
More red.
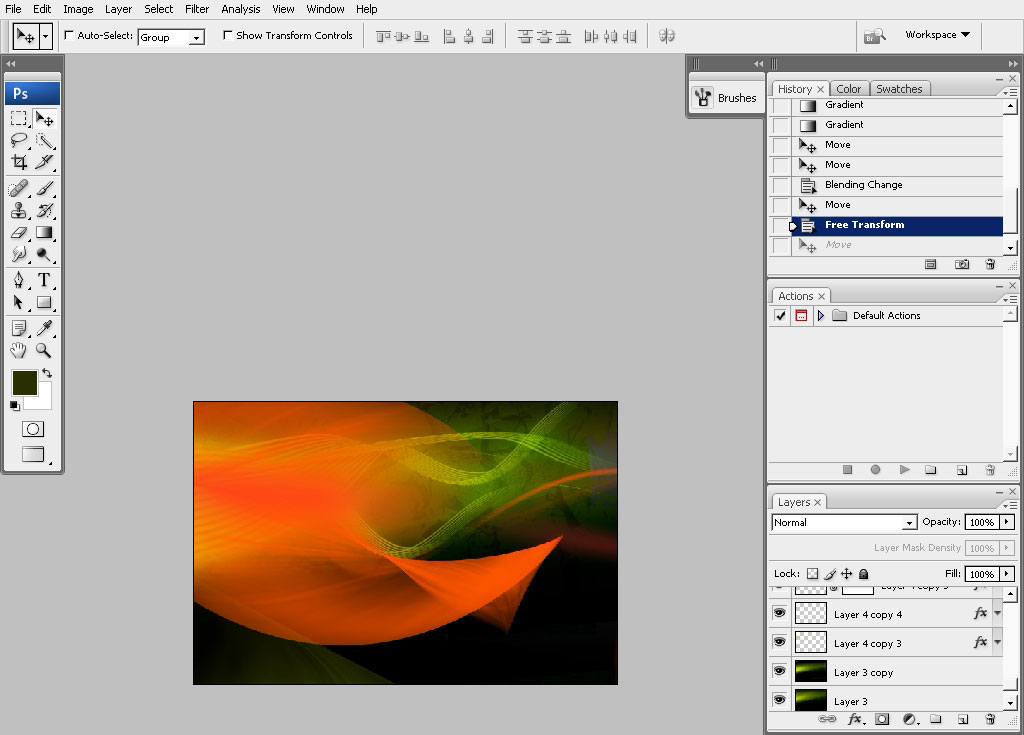
Another red element: it was done from the same thing created several steps ago and warped then. The warping grid
was too complicated to show. Just try cris-crossing the borders of the warping grid.
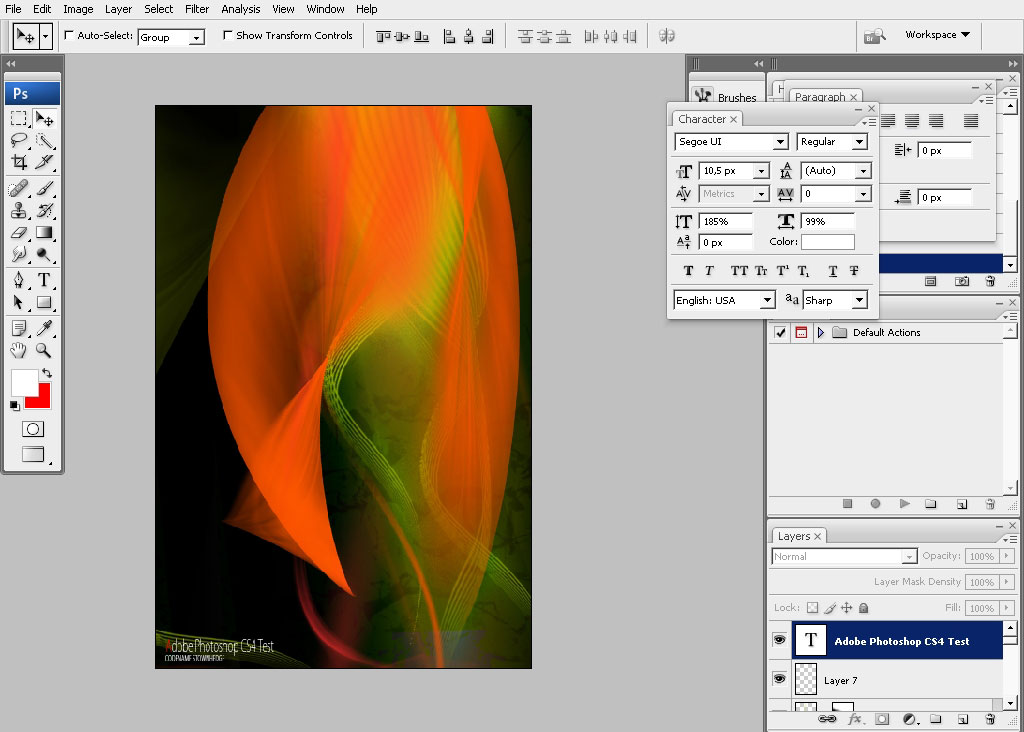
So I hope you enjoyed this one. It is better to try than to read of course. The result is pretty good.
Comments