
Digital character design and painting
Hello. Today our tutorial will be about digital painting. Only few things here that you’ l be able to create without a Tablet. I will begin my work with doing a scan copy of my quick sketch painted on the paper. You should know this ? if you are or becoming a digital artist, the scanner is the thing you should always have. Many and many ideas can come during just easy sketching on the paper. Plus to that painting on paper is still the most convenient way to draw (well if you don’t have a Wacom Cintiq or something like that.
So let’s finally start to do something.
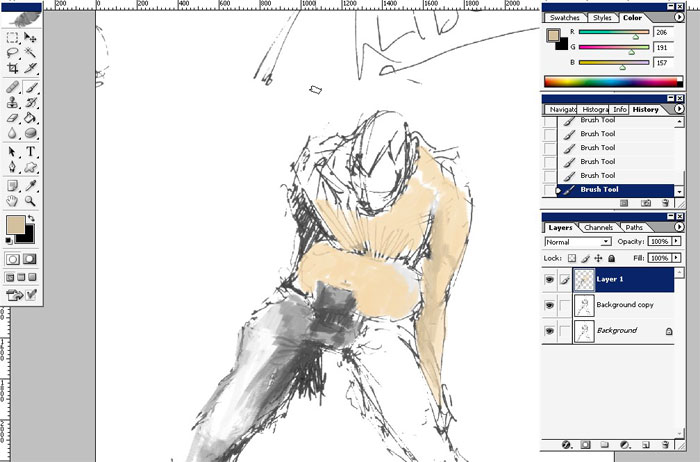
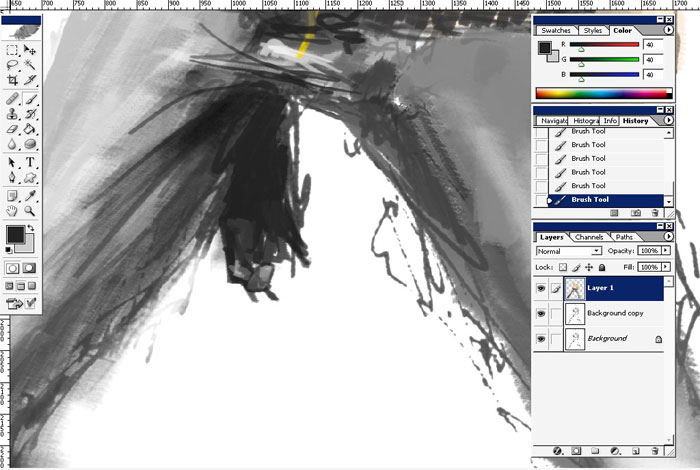
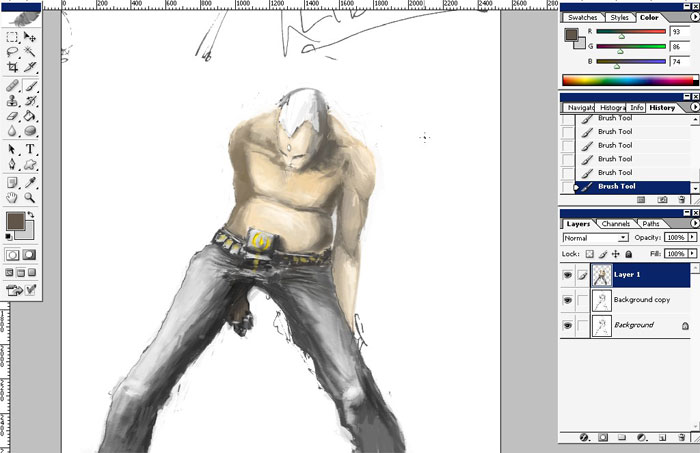
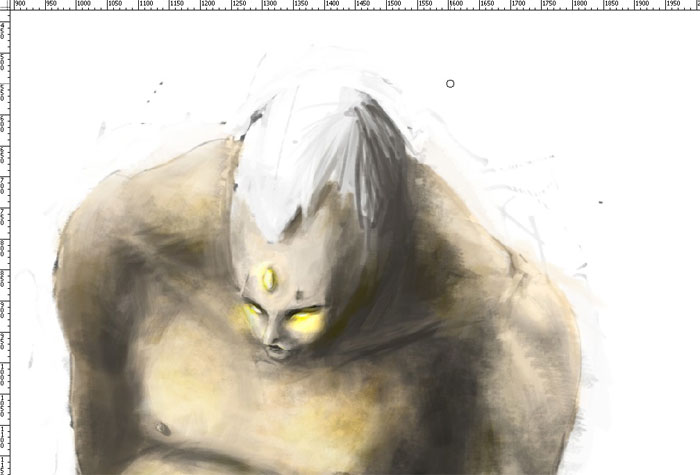
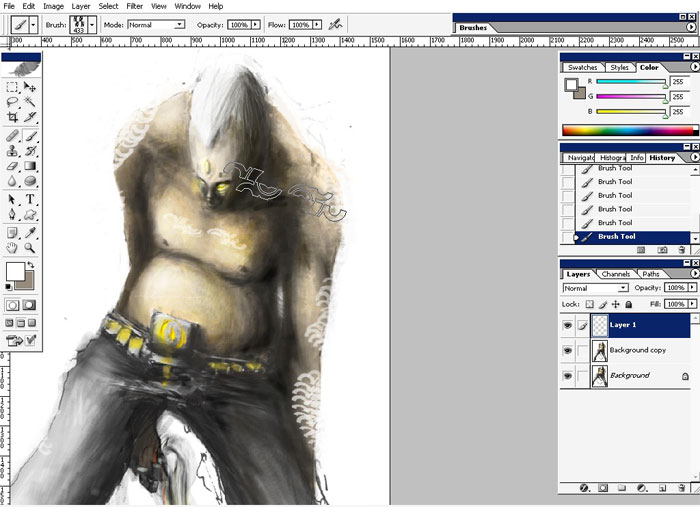
Here is my scanned copy already in Photoshop.
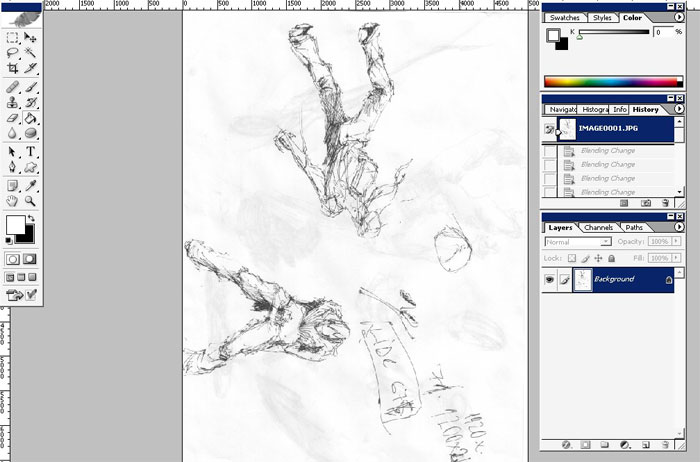
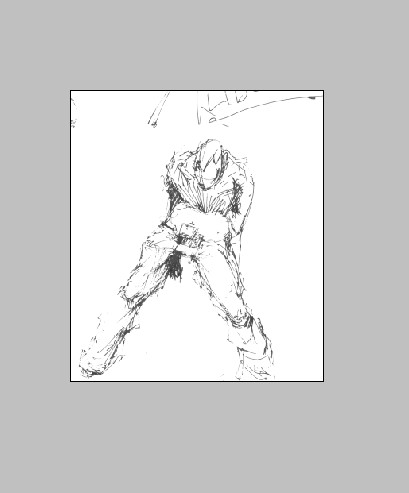
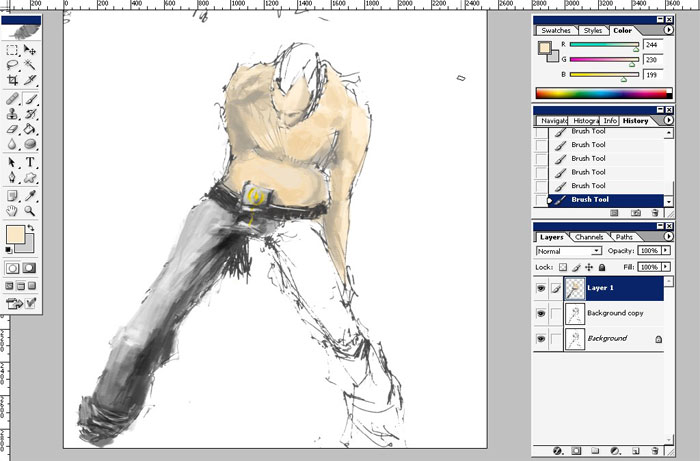
I will choose the bottom part figure. I really don’t like the top.
And here it is:

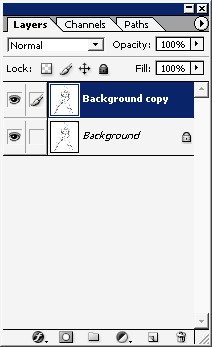
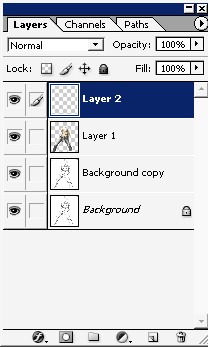
Create a copy of a background.
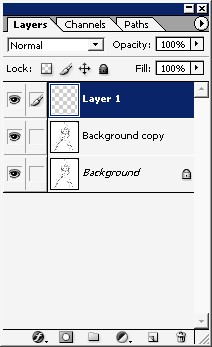
Create a new layer. It is our base painting and coloring layer.
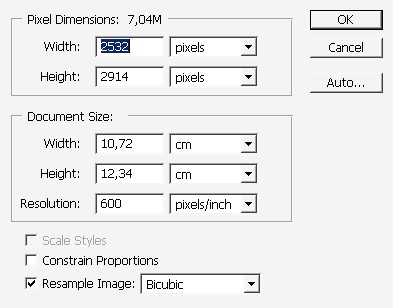
The other good thing about the scanner, it does a high res. Format just from the beginning.
For example my painting has such dimensions from the very beginning and it is not the best of it.
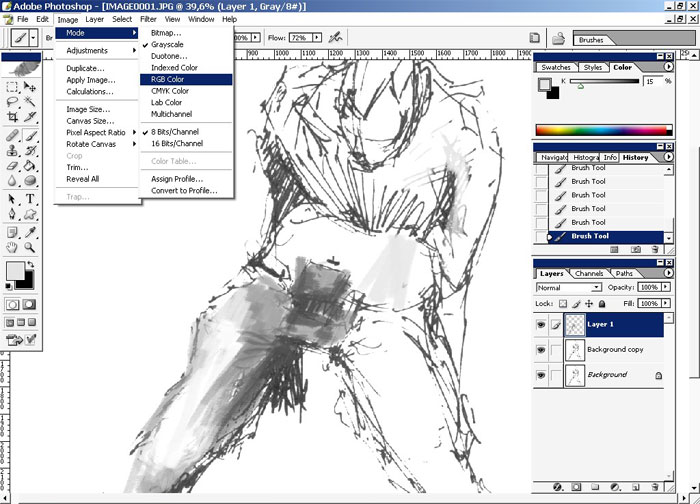
If you will begin to paint you’ll probably notice that you can’t grab any color (only black to white). This is because I’ve chosen Grayscale mode when doing the scanning. Convert.
Now chose a brush.
And set the opacity and flow near this.

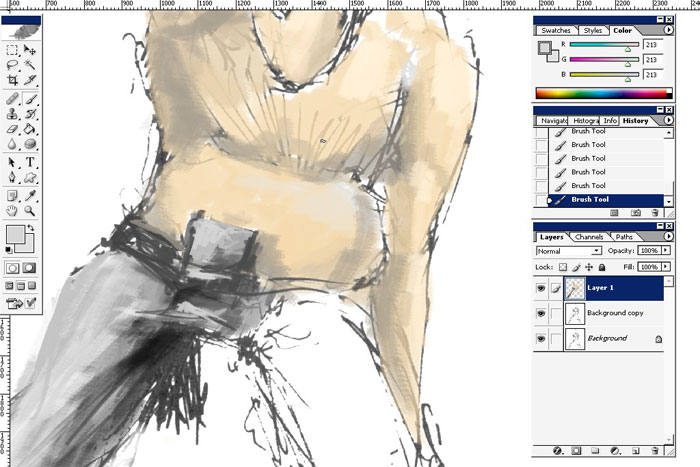
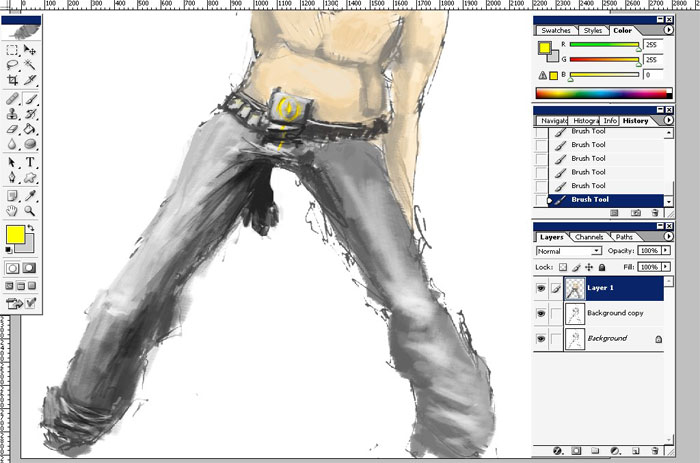
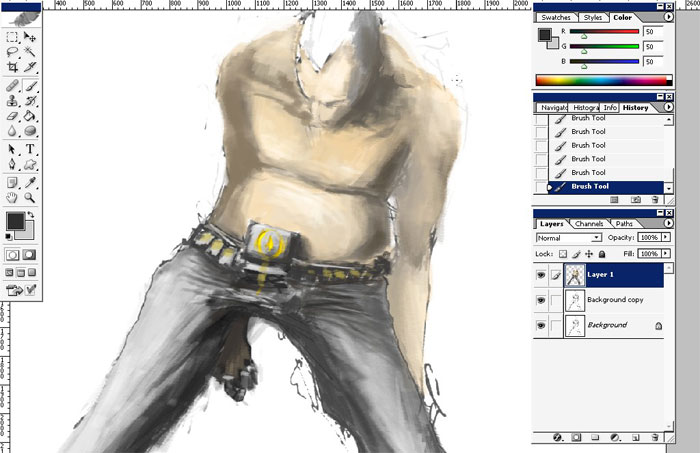
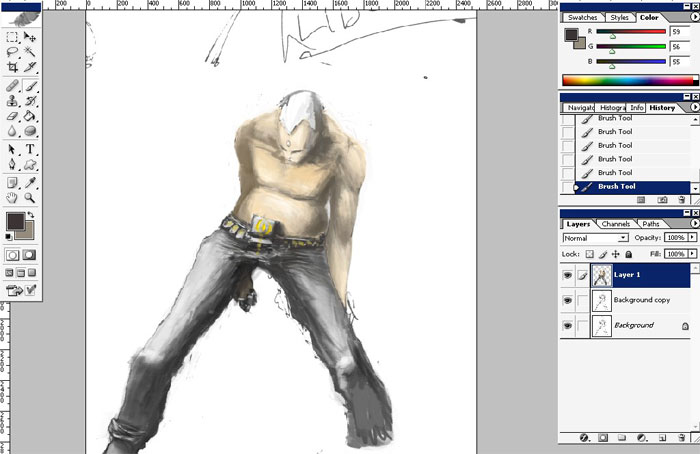
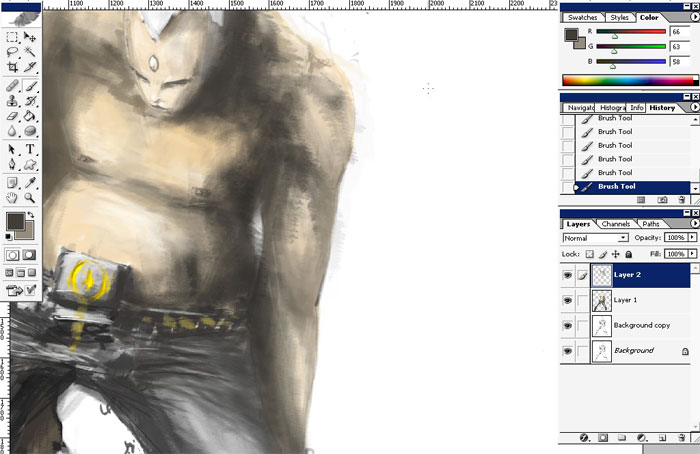
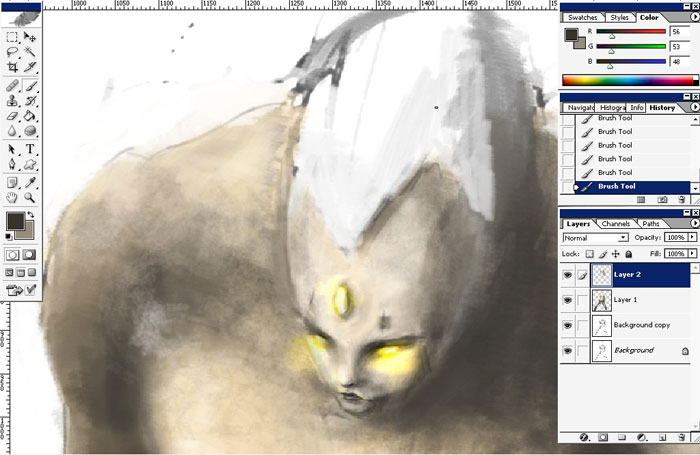
Begin to paint. Just basic tones for now:
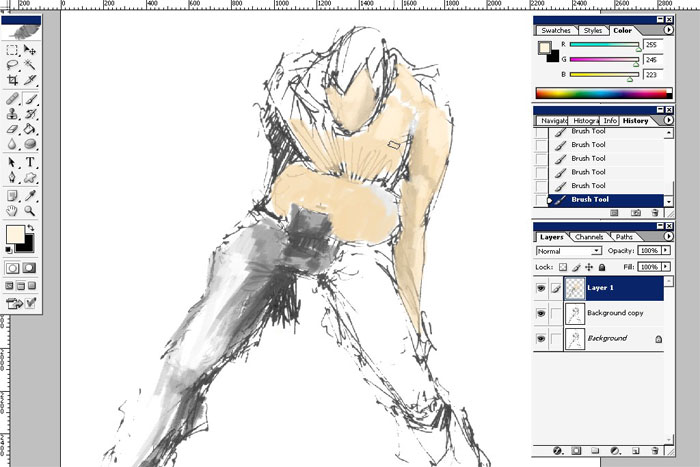
Maybe change the settings for better blending.
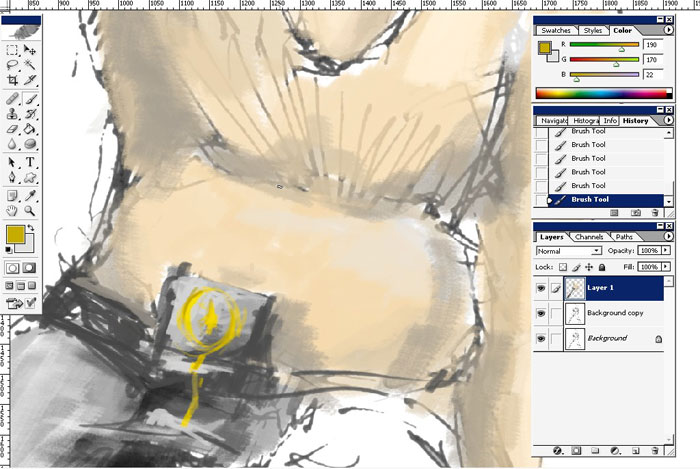
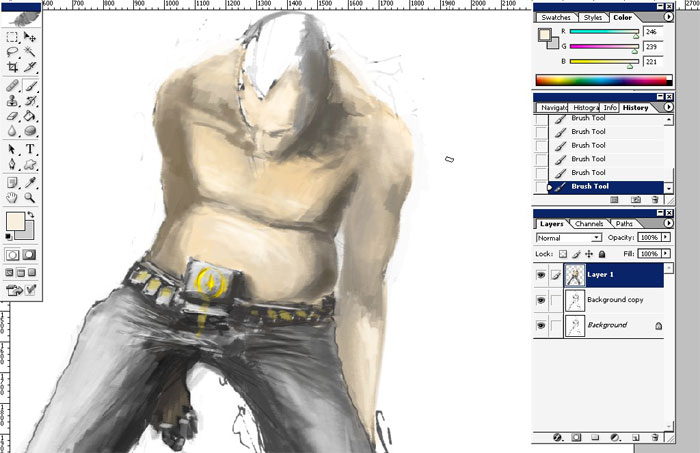
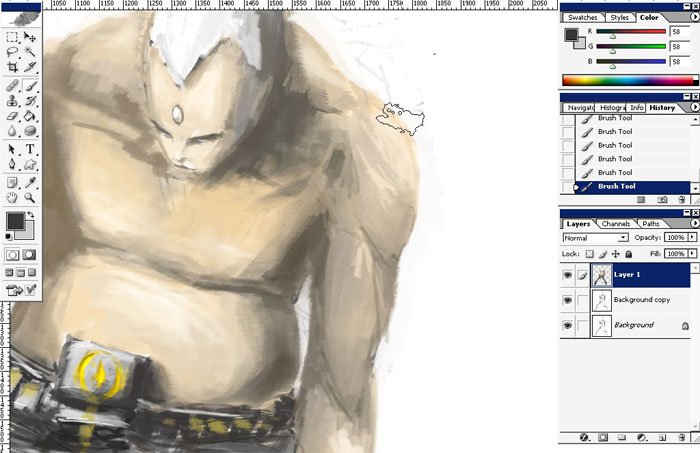
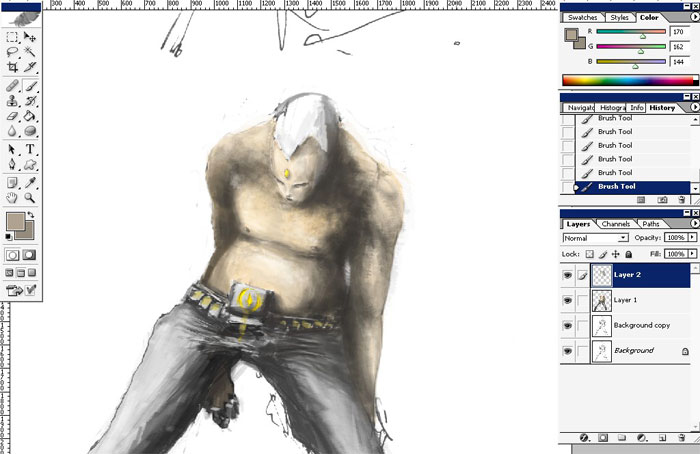
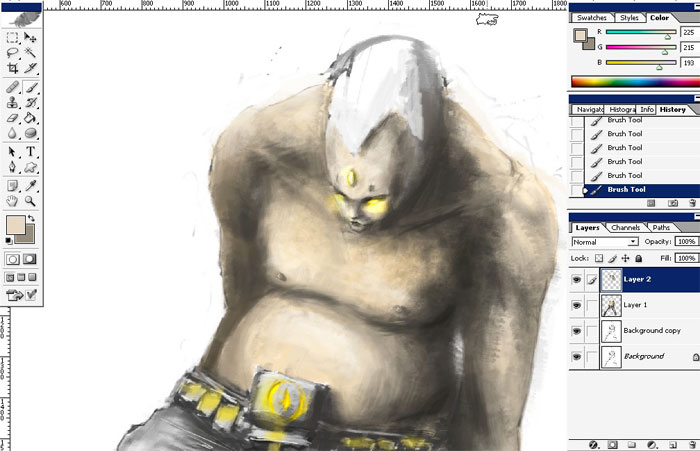
Now begin to define you shapes and even the lighting.
Remember: when you are doing the first levels of your painting you Should Not!! care about the details. It can take your attention for good. I can even say that it is some king of disease. Take Care of the Details in the very end.
Well speaking about disease ? some times you can’t help yourself because you already see the detail.
Some hand details:
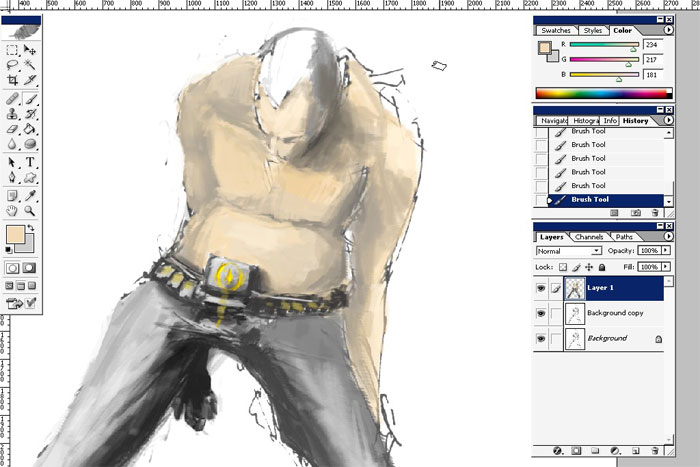

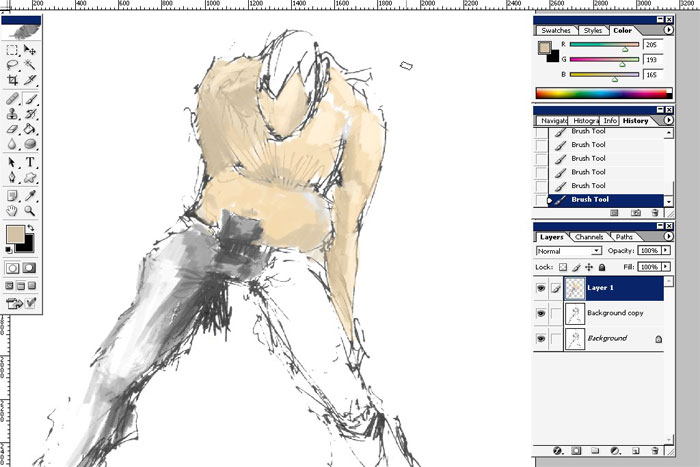
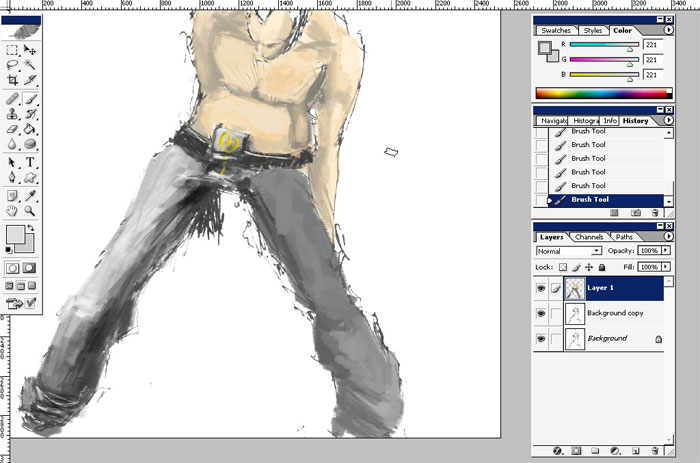
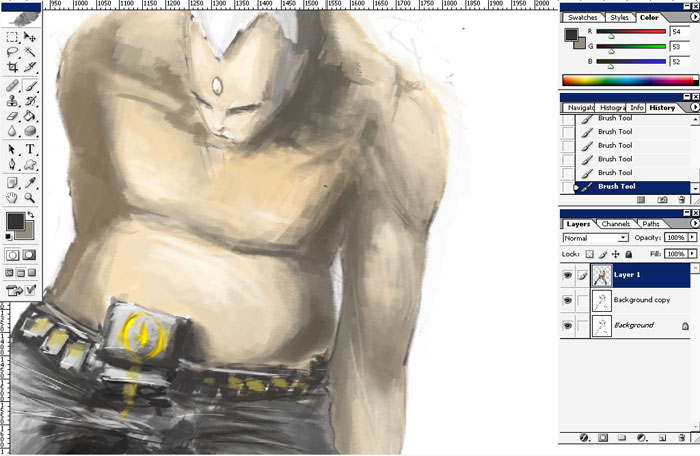
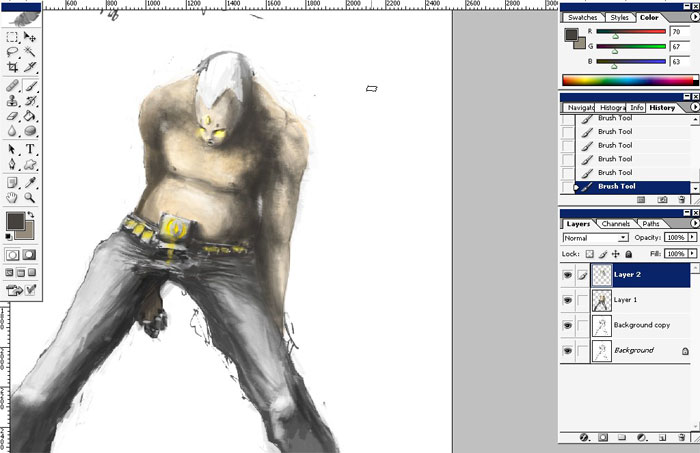
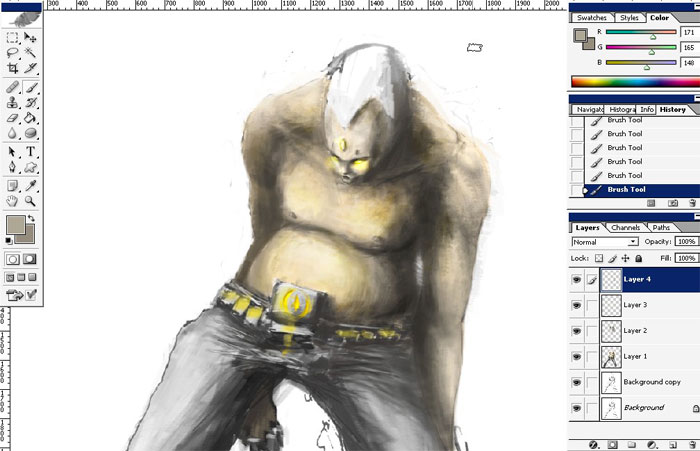
When the basic shapes are done, you now can take care of the details, lighting, dropping the colors, balancing black and white and refining the edges. This is all you will have to do every time, painting digitally from the very beginning of the process.

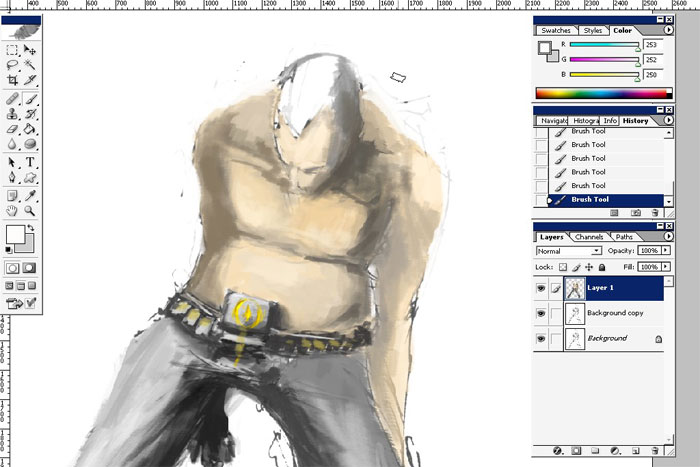
More and more realism:
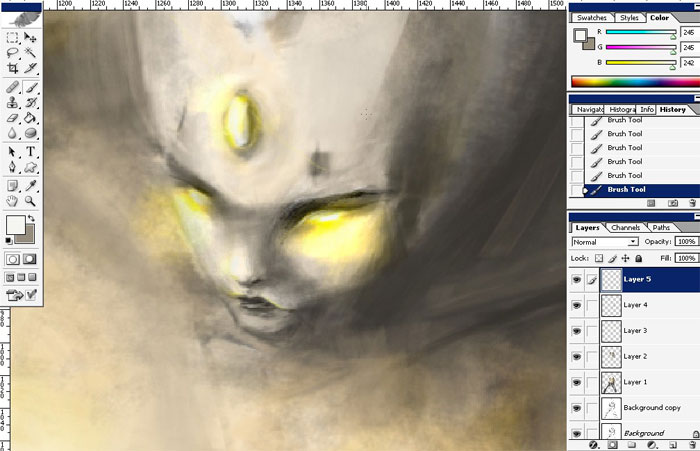
Face details:
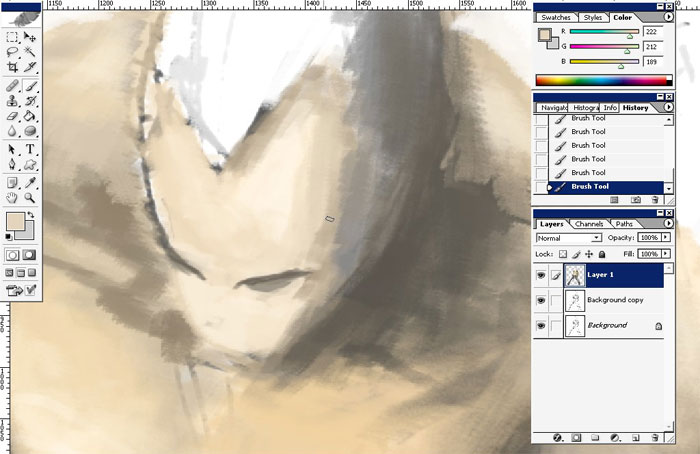
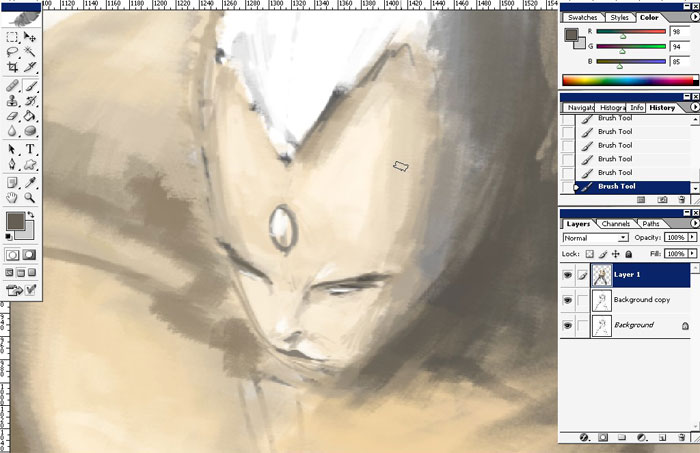
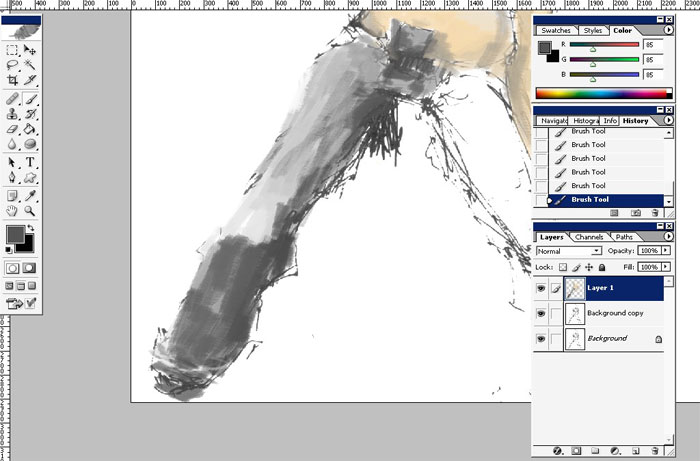
Lighting:
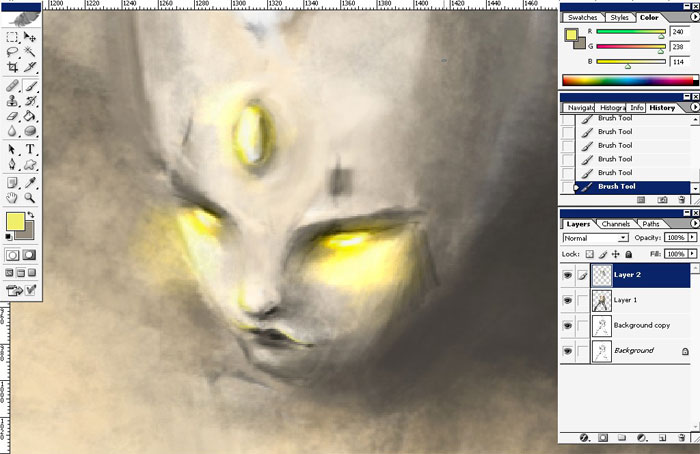
Create a new layer. That is when I’m unsure about the detail. But this time it will be our skin texture layer.
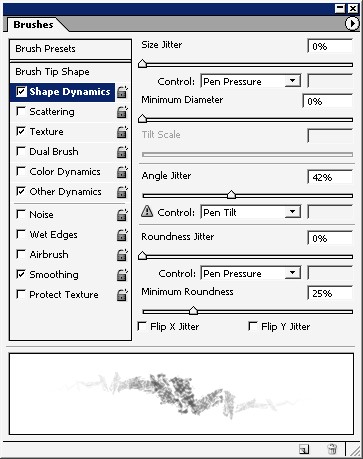
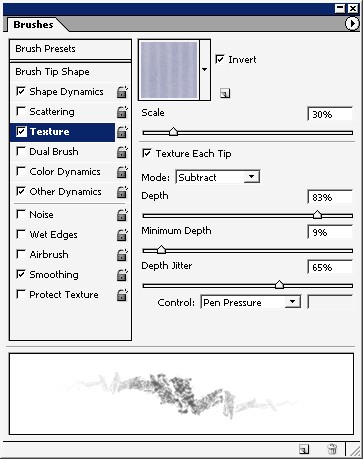
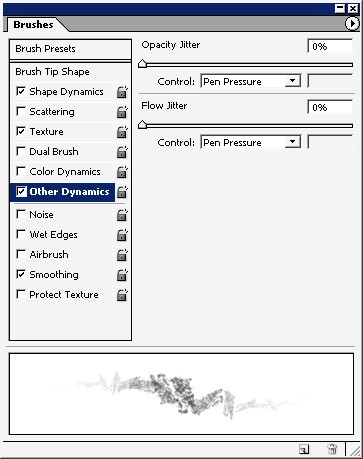
In PS texture can be done in several ways. I will show you how a simple brush can be used to create a texture to any object. It’s really a lot of fun. Notice how the picture is changing.
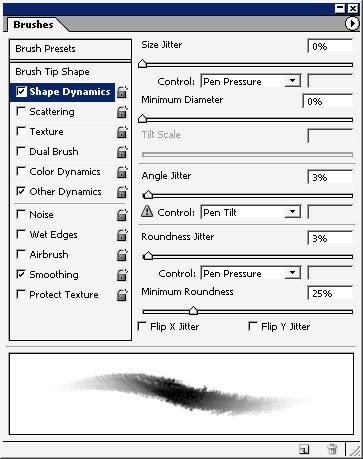
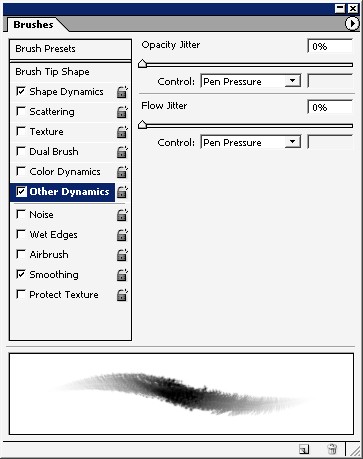
And here is my brush and brush settings.

Face texture details.
Hair:
And final head design. Not the best shape.
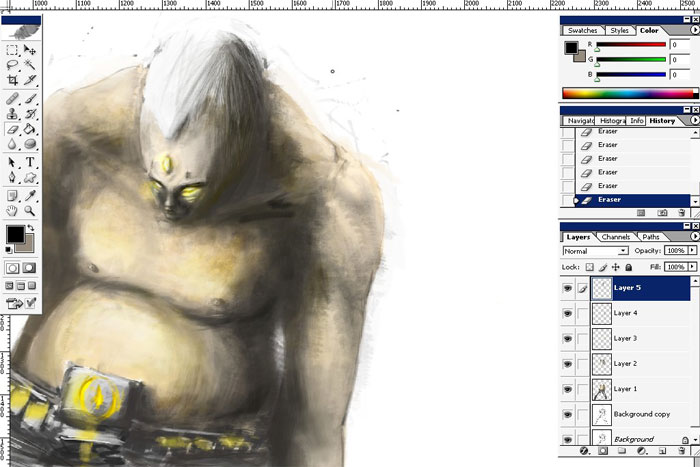
Let’s accessorize the picture.

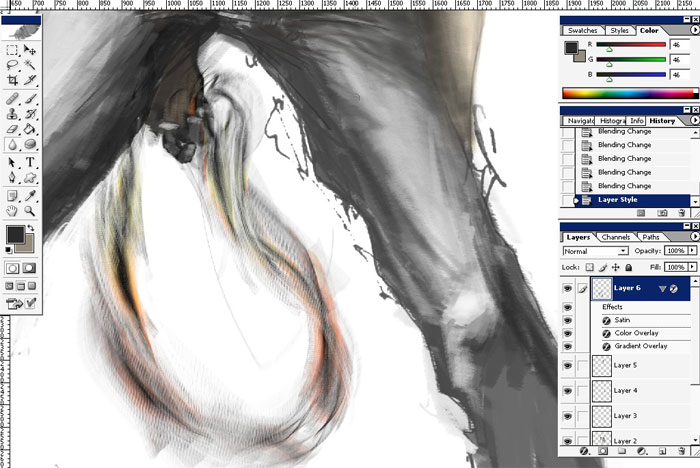
This is – something like magical bliss was painted on a separate layer.
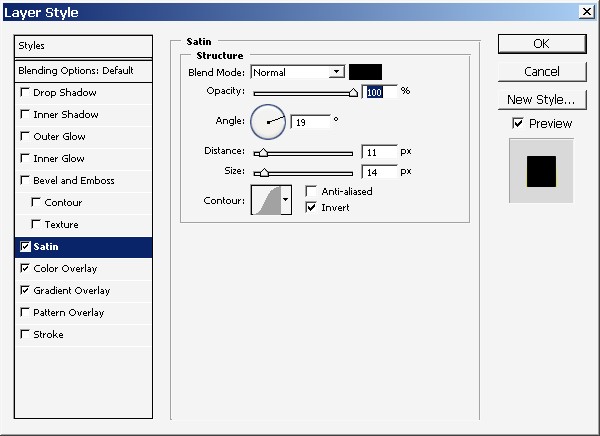
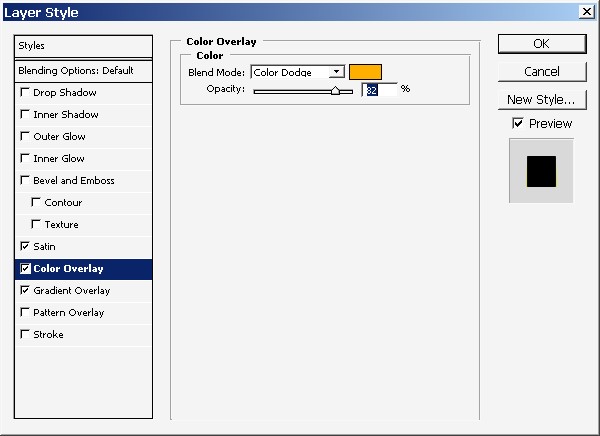
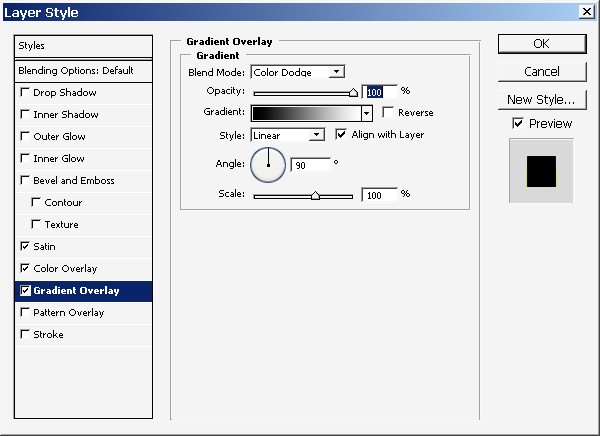
I’m going to experiment with layer styles here.
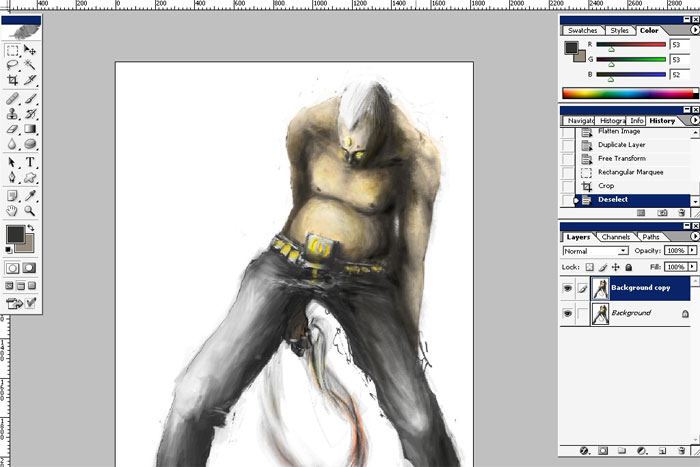
Well to me the picture look a little bit distorted. So just make a selection and crop the image following with the a little bit transformation.

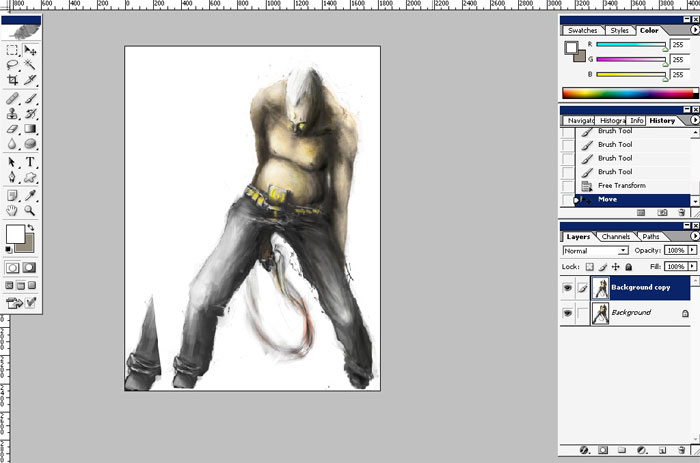
A little bit of tattoos of some king sing the brush you see.
And we have done. Enjoy.
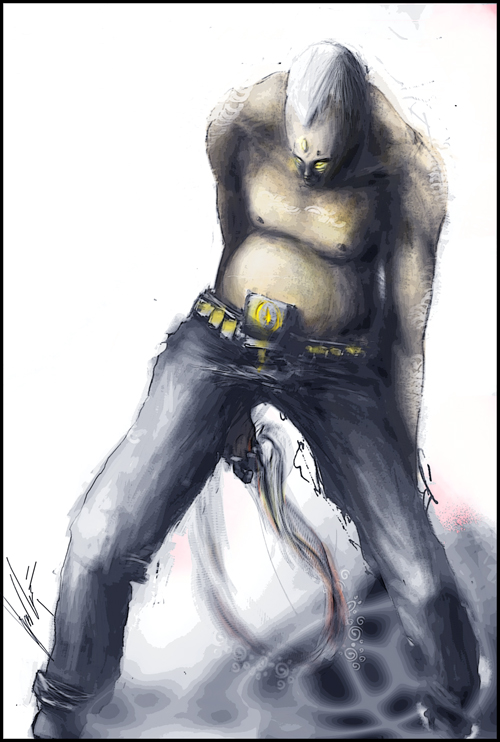
Pained by: ME )
Comments