
Digital Beeings
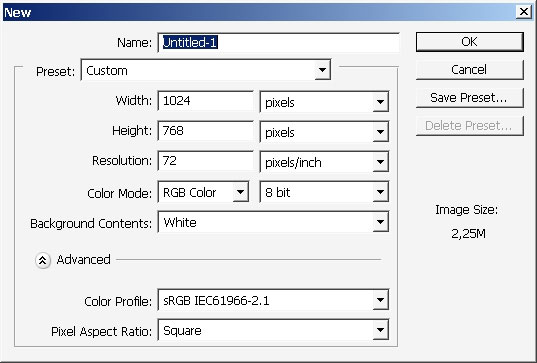
Welcome in making digital beeings (supposed to be beings) wallpaper. I did this one in about 40 minutes from scratch – no color adjustments were used, and I think it is a good thing because I got the exact colors that I wanted. So I’ve used my beloved Photoshop CS2 – which I think is the best version so far. Moreover i got used to use Illustrator for my text work- I even have 2 illustrators installed on my PC – Illustrator 10 and CS2. Actually I had CS4 installed to – but it was on the trial period (the best version I think). I often use AI 10 (the fast one) if a want to past some text (only) and other versions like CS2 (the slowest one) and CS4 (the best) if I want to create something more that text.
Oh, I’ve got far from the point. Let’s start this one.
I’ve filled my background with desiderated blue tone. I’ve created a new layer and made a round selection.
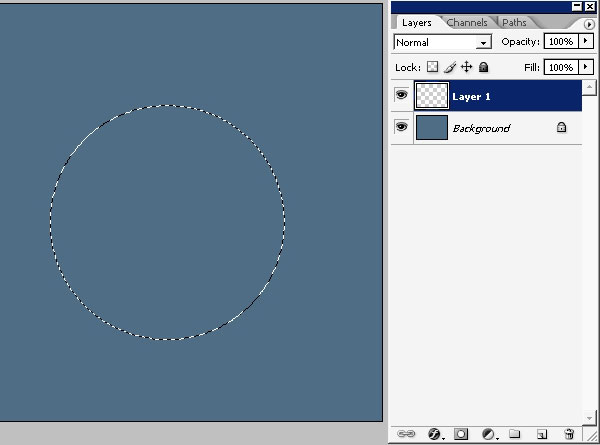

Create a new layer before filling to skip the part where you suppose to copy the layers (too long), so do these things before you fill the selection.
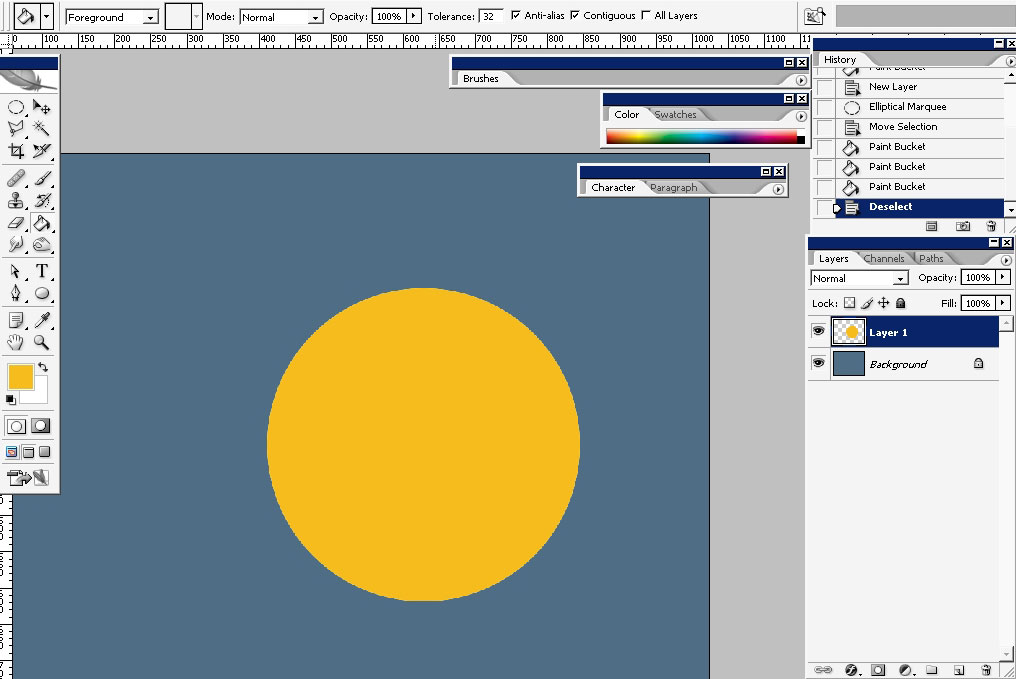
I’ve filled the selection with yellow color. Now we have a new layer with yellow circle on it.
Next thing will be the so called eyes made with the help of the same round marquee tool.
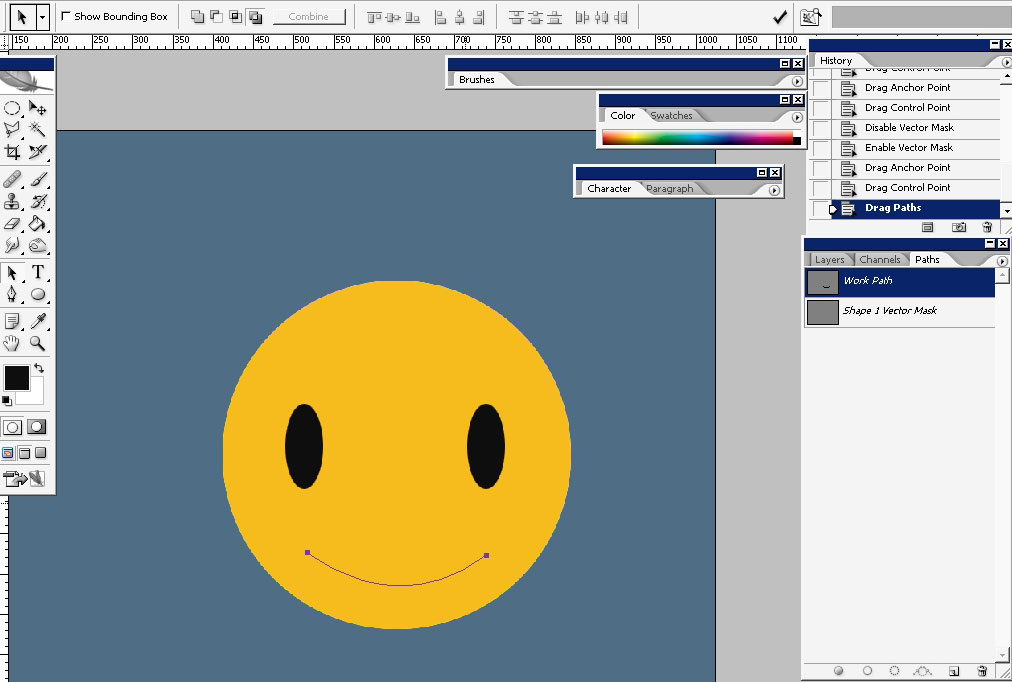
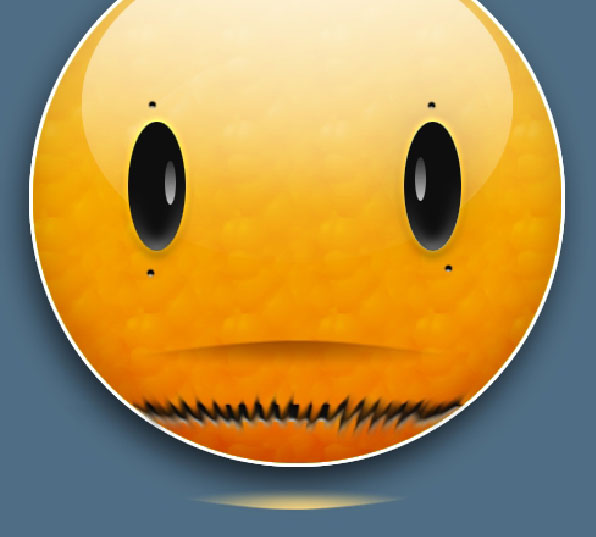
I’ve did the mouth thing with the help of the pen tool and the path (no fill).
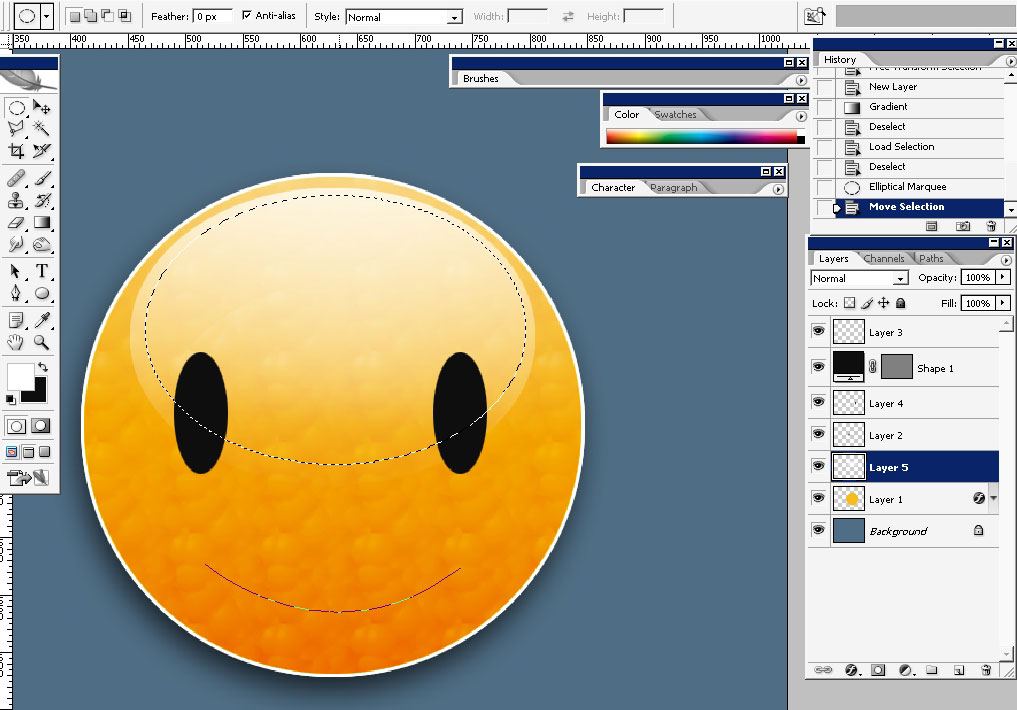
This is actually my sketch with primary colors and basic shapes on it. Let’s bring this thing to light. We still got to create some shadows, highlights and reflections and well as background elements.
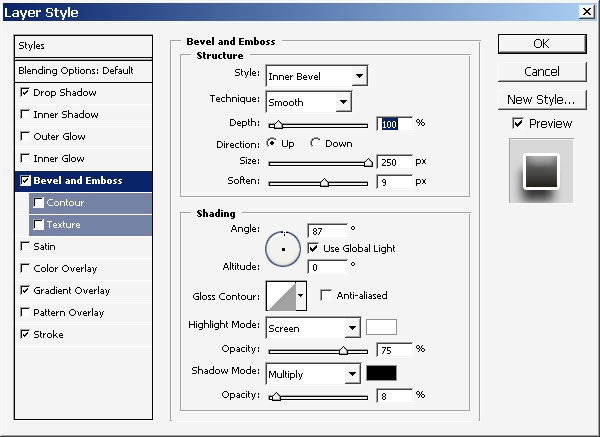
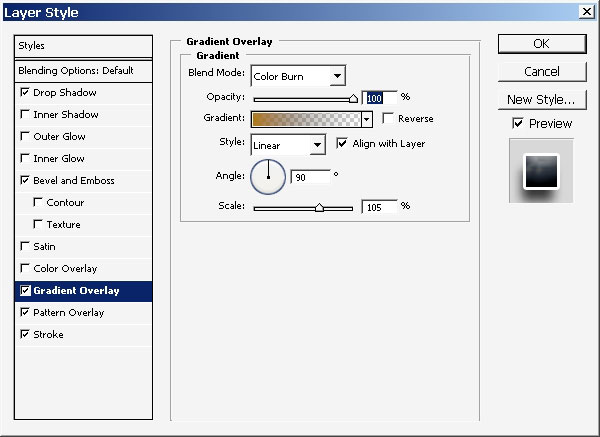
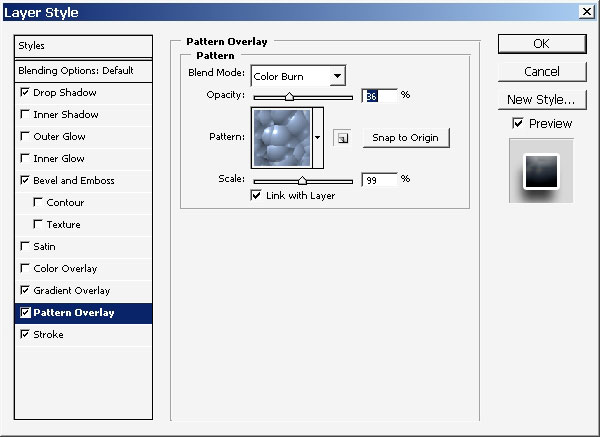
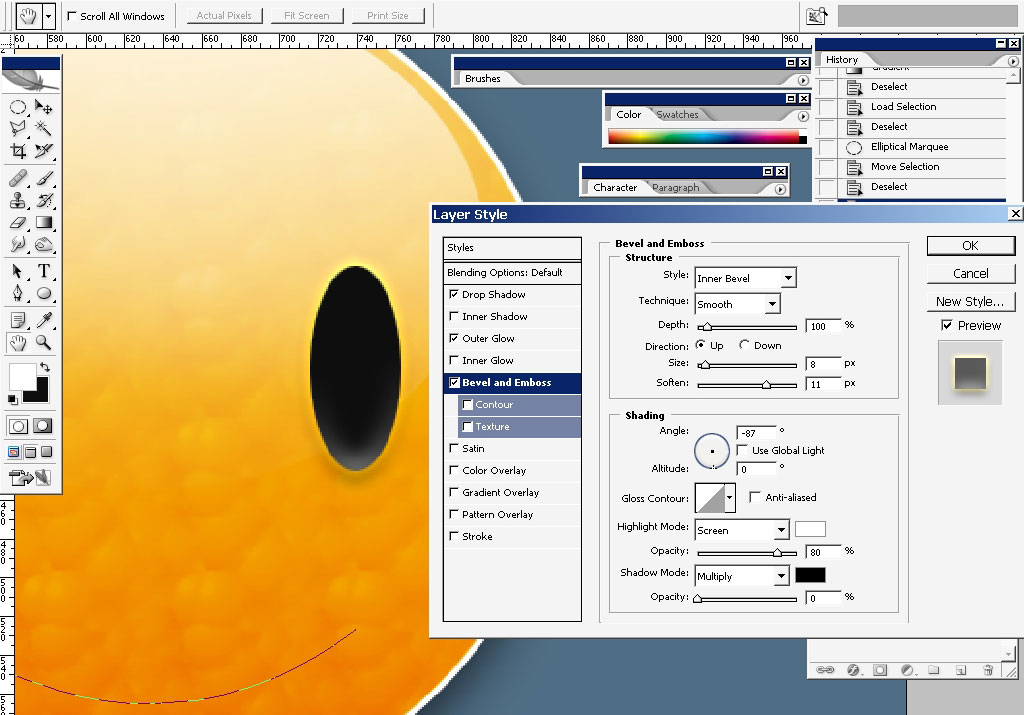
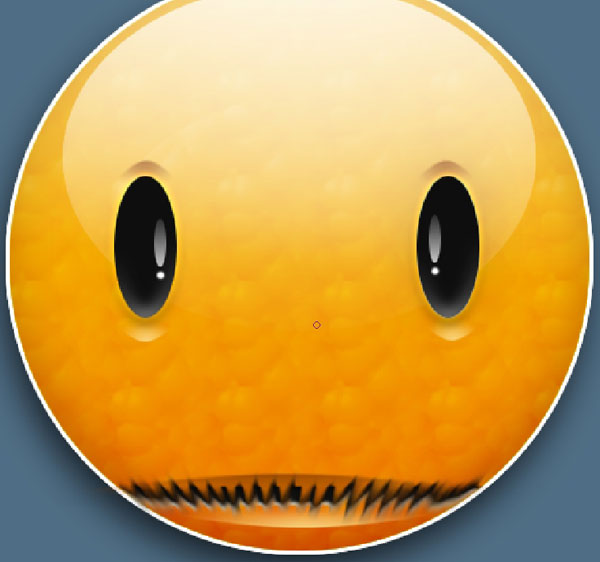
So I will start to bring my smiley to life with the help of layers styles.

To end this one create a round selection, create a new layer (not to mix up with colors) and apply white to transparency gradient within the selection.

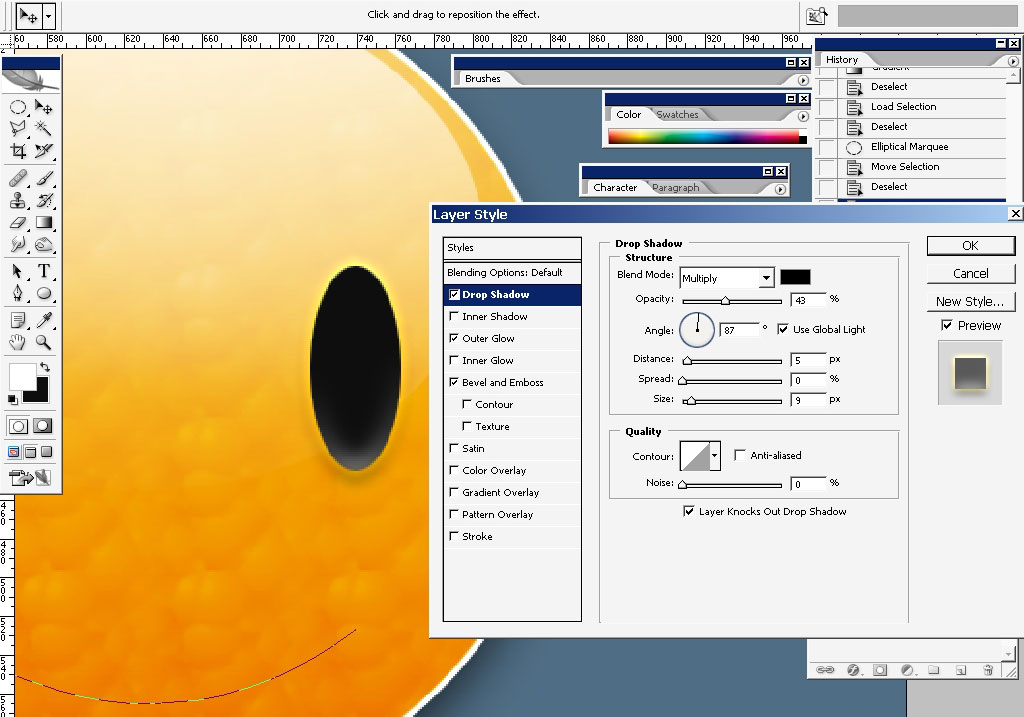
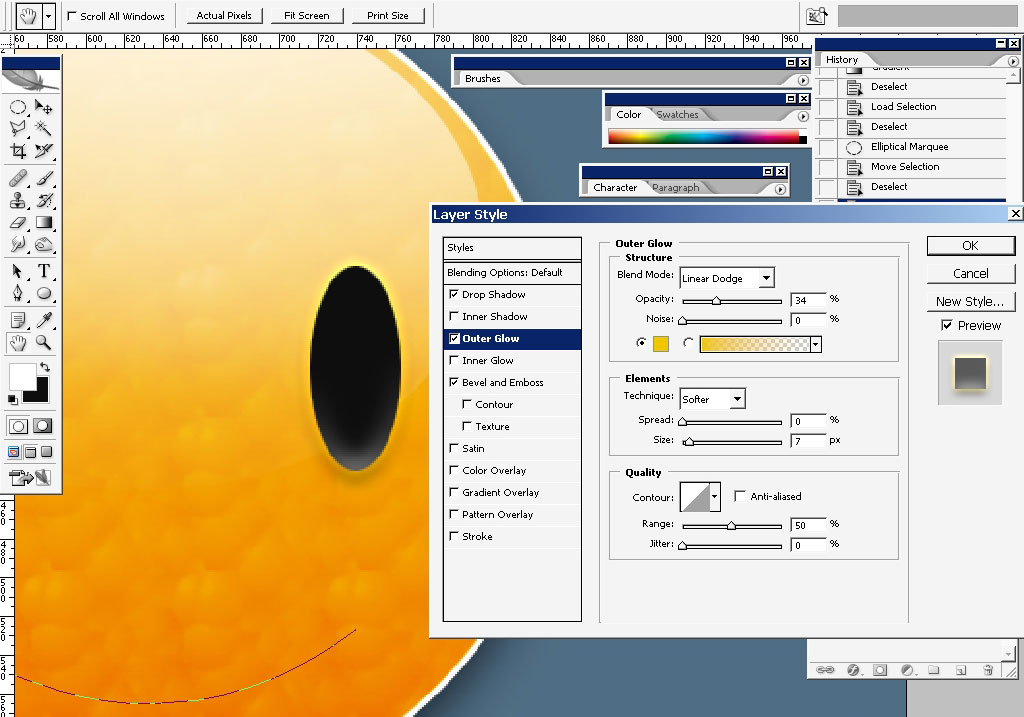
Now let’s take some time and make those eyes.
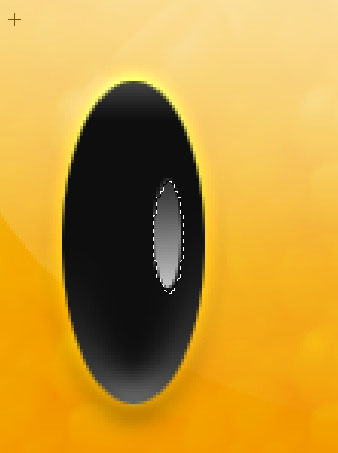
My finishing touch: reflecting light in the eyes. I did the thing only
with right eye, copy the layer style by clicking right button on the
layers and then paste it on the layer you need.
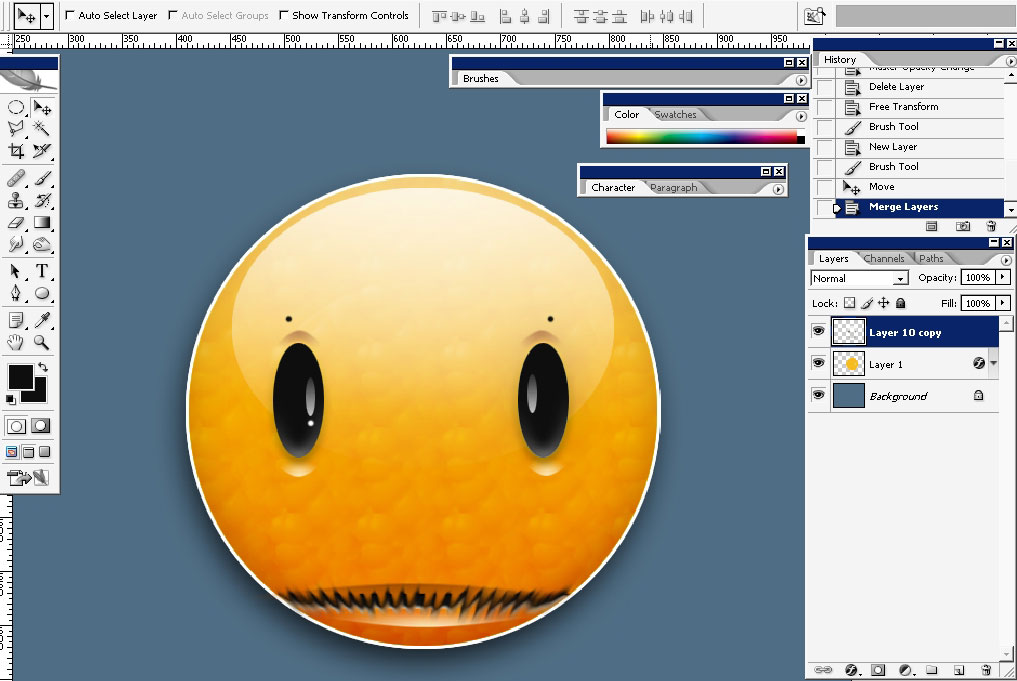
I’ve
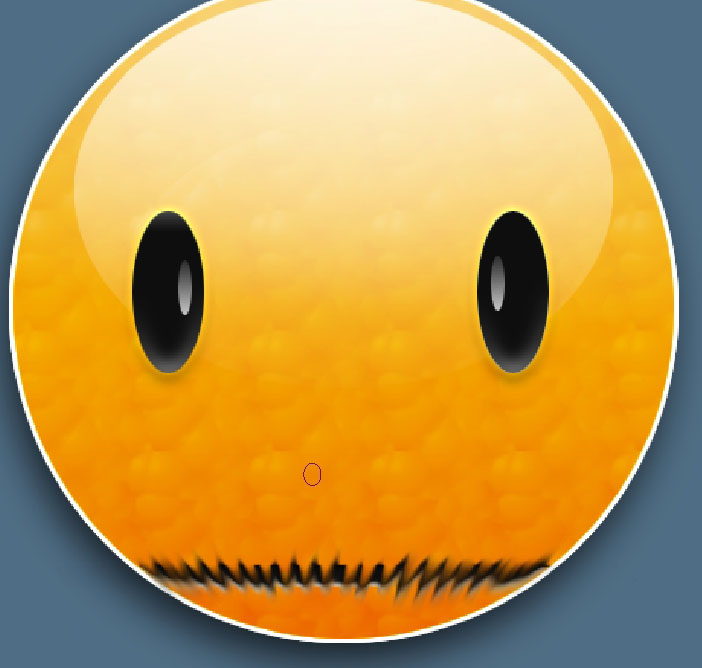
changed the shape of the mouth because I really like to go more
flexible- hate all this shape thing -so slow and boring) – but it is a
duty).
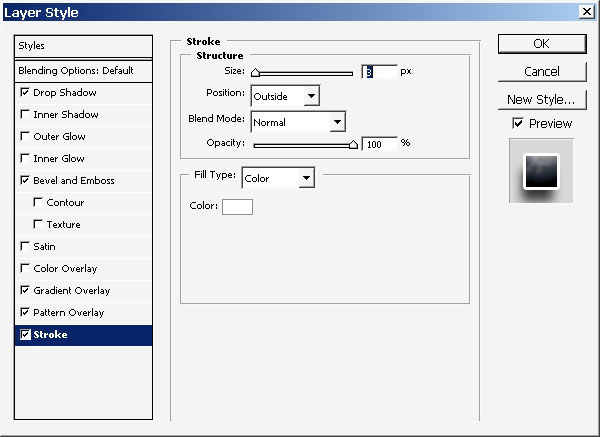
I’ve stroked the shape line with a mere brush with all the settings turned off. Create a new layer.

Just one style to apply:
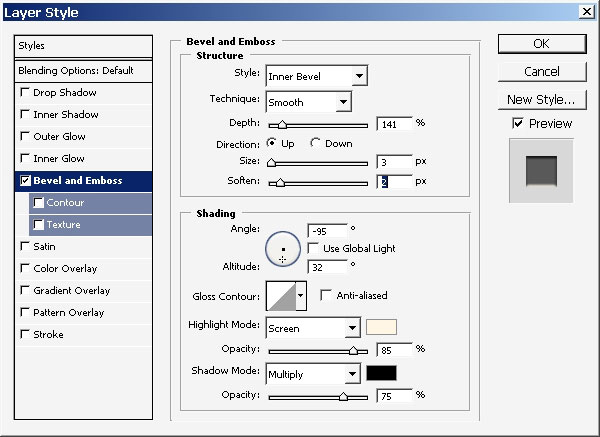
Now
choose smudge tool (R) and so some smudging) – the strength is set to
about 90 % (I use a tablet so I control the pressure. If you use a
mouth, figure out the strength)

And what I did is:
Now
I have these 2 shapes created with filling the shapes with color to
transparency gradients within round selections and then transformed
when needed.
This is the way the entire “Cool” highlight shadow, web 2.0 thing is actually done.

The eyes too:
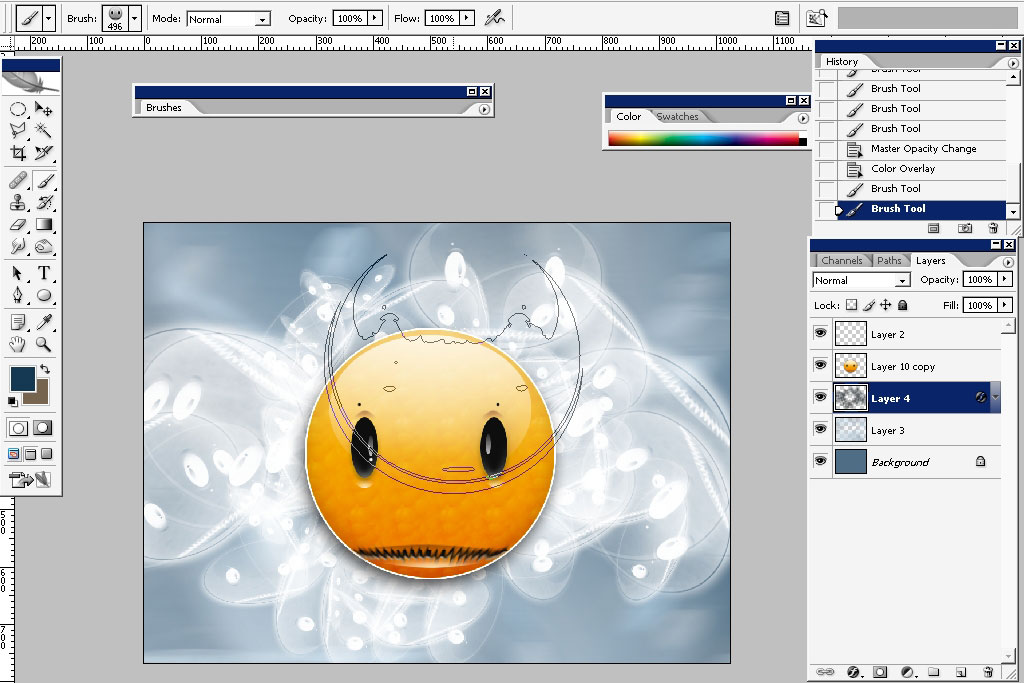
Now what I did: I’ve defined my smiley as a brush (download).
Create a layer beneath the smiley. And so some painting (actually this is only a brush effect).
Blur this layer.
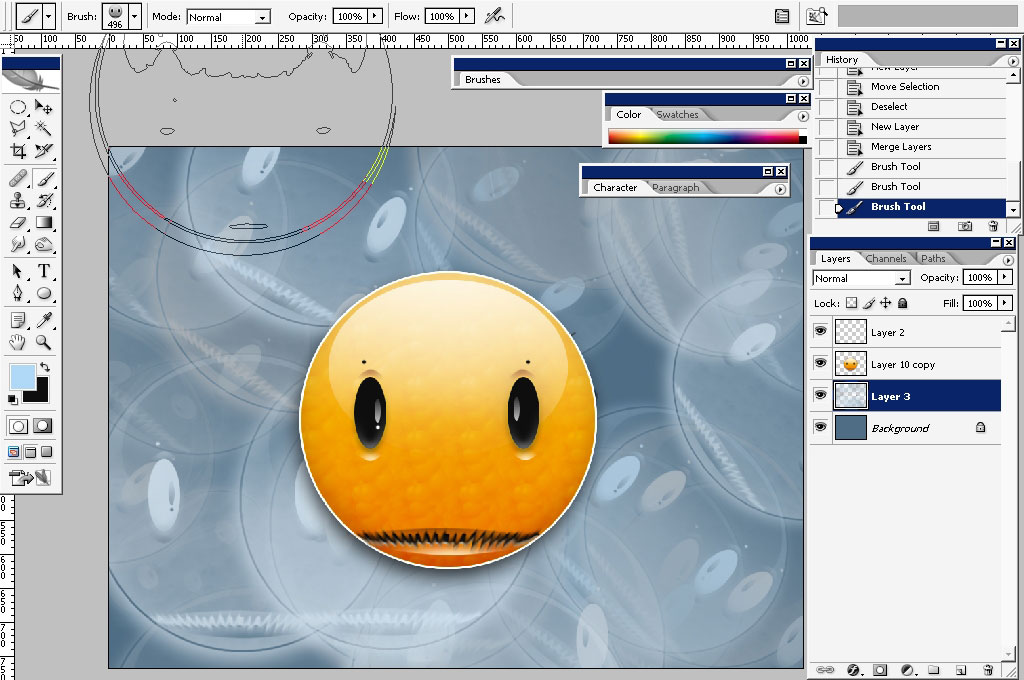
Create another and choose much brighter color – let’s say white.
Now some text work: which I choose to do in Adobe illustrator (CS2 this time).
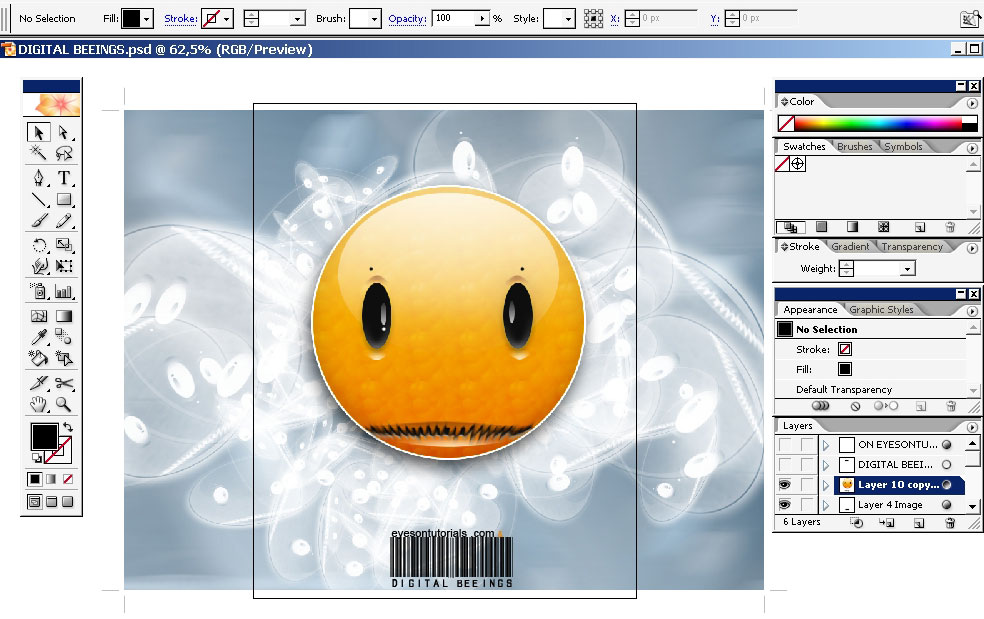
And we are done: thank you for reading- practice a lot and it will be much easier for you to create things.
Comments