
Digital art techniques
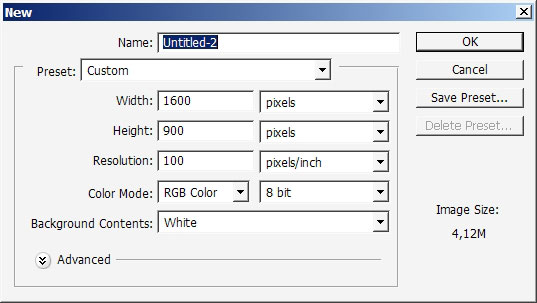
This tutorial contains some of digital art techniques that are not quite similar to the traditional ones. So let’s start our tutorial by making a wide proportions
gradient.
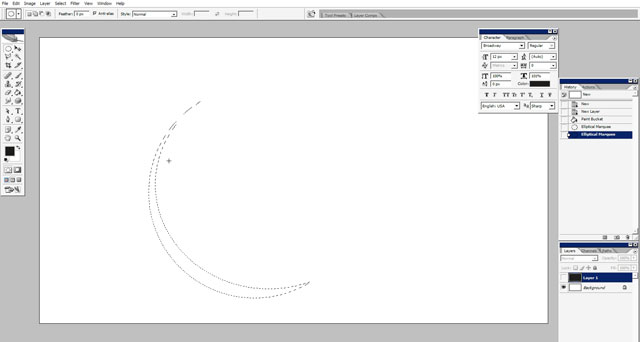
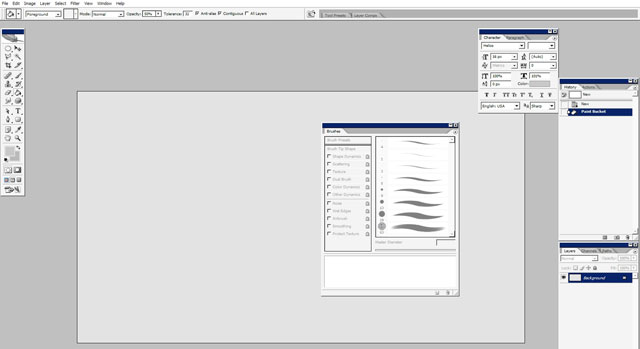
Before I start I would like to create several deco custom brushes.
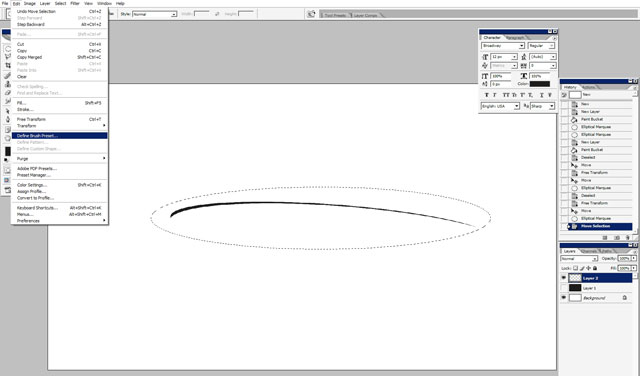
My firs brush has this half circle form like more than a half moon. To define the brush you have to fill it with pure black, make a selection around it and go
Edit>Define brush preset.

I will use this form to create several similar to each other brushes only with different proportions.
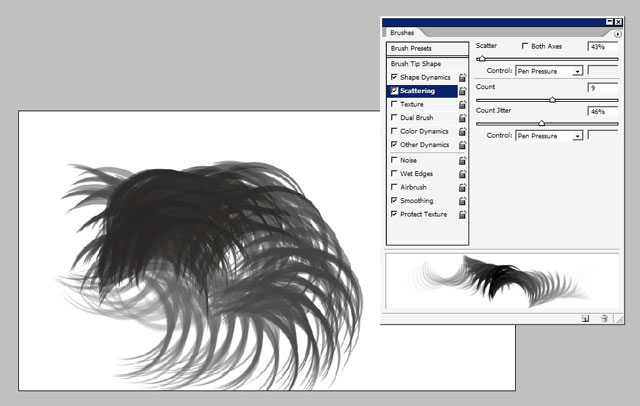
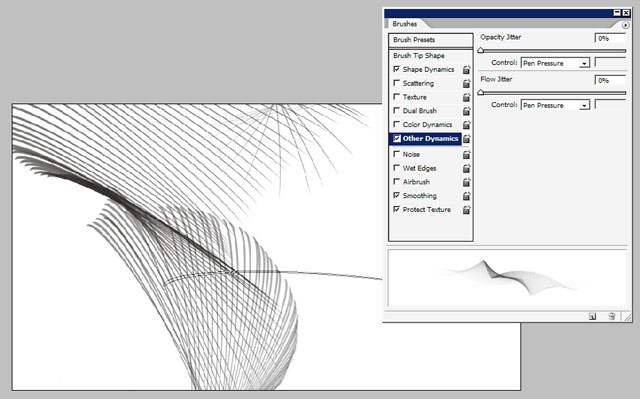
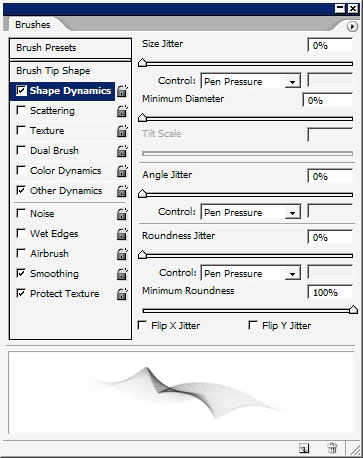
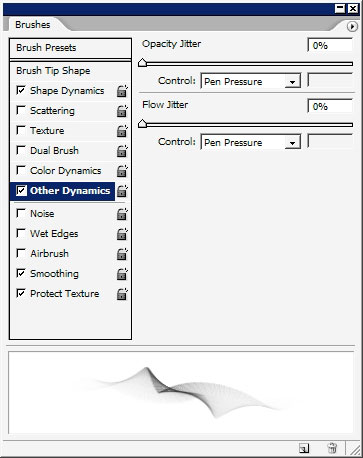
And don’t forget to set some of the settings if you have a tablet or just like that. You will be able to download these brushes with settings already.
Download deco.abr.
I have my brushes, now it’s time to begin making something.
I choose my background color – black. And my primary color for the objects is yellow- bright yellow.
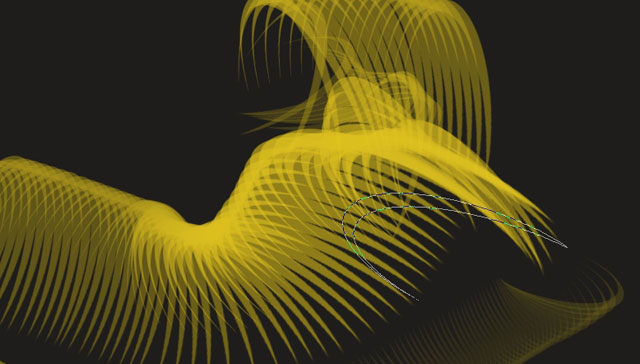
You have to produce an interesting shape. It can take some time and it has to be done in 1 -2 fast moves. It took my about 7 – 10 attempts to create the shape that I
like.
The final step for this little piece is to give it some glow. Select soft edged brush – switch the mode from Normal >to> Overlay (Soft Light), change the flow jitter
to about 5% (leave the color yellow as it was) and make that lighting by adding contras and brightness to the picture.
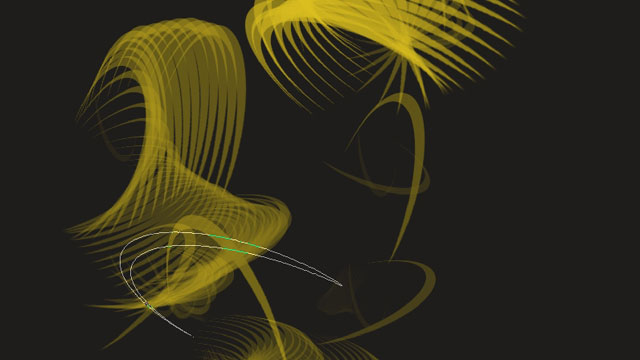
Our Firs deco wallpaper I ready – let’s start the next one.
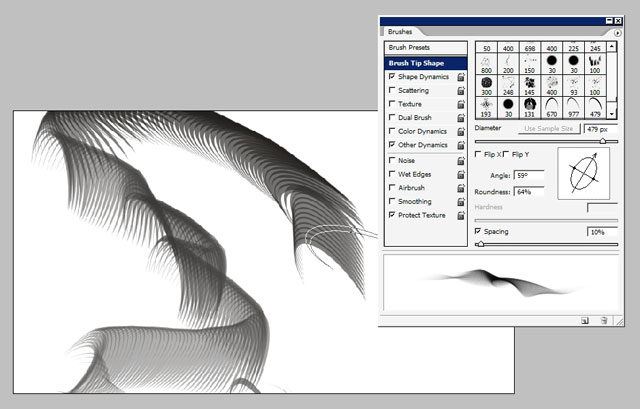
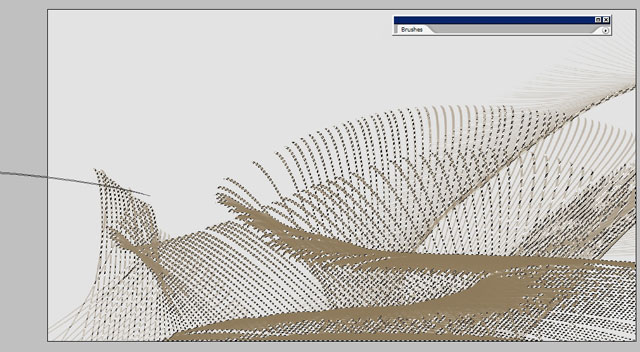
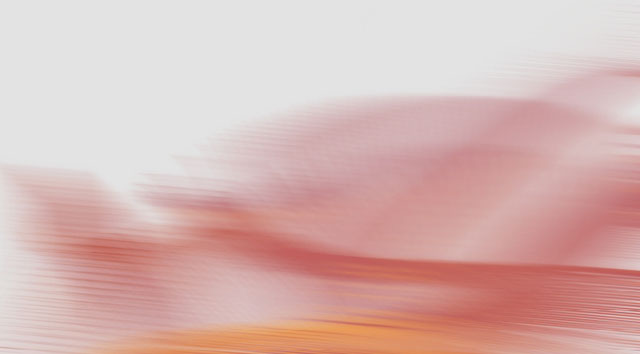
Please choose this brush – the thinnest one. Create another document and fill the background with grey – this will be our primary background color.
Here you can see my brush in action – you can see just one single long move of my brush.
Create another top layer – change the blending mode to Overlay and make another long move.
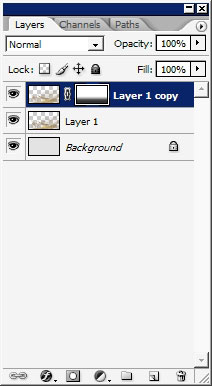
I’ve also masked the bottom area.
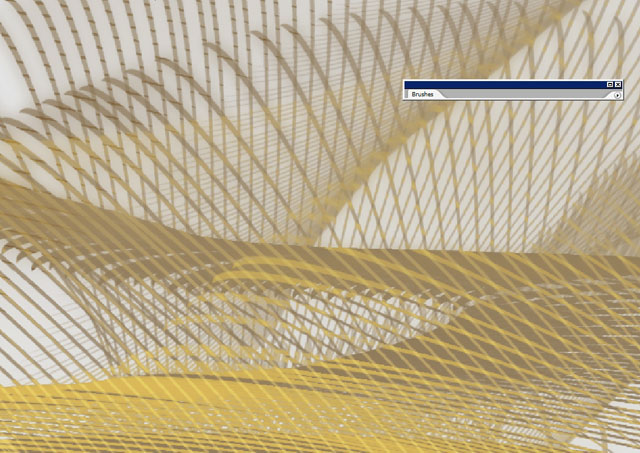
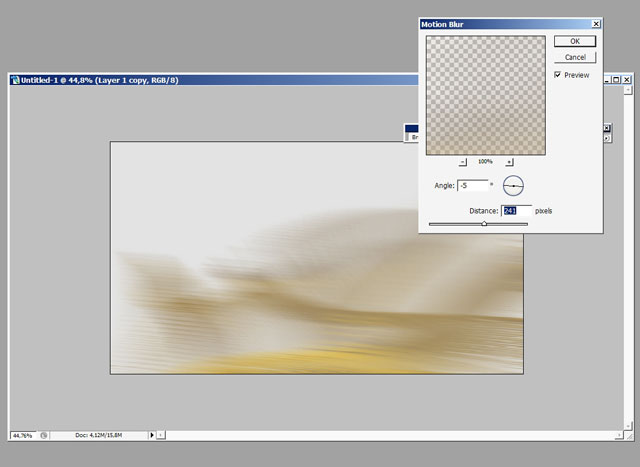
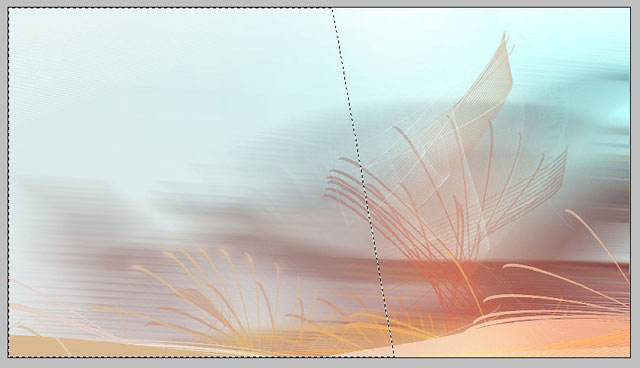
I want my picture to have to 2 value levels – a semi blurred background and sharpened (focused on).
Objects. Merge these 2 layers and apply motion blur filter.
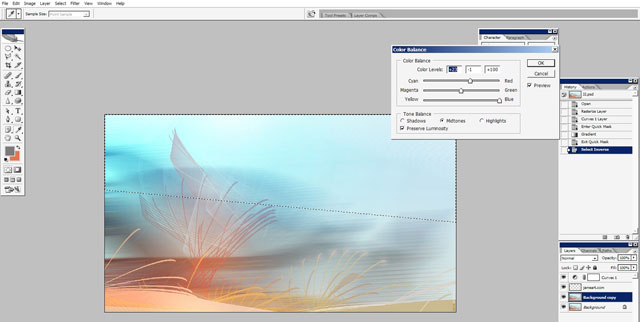
I also want to change the tone of my picture. I’m using Color Balance adjustment to do this.
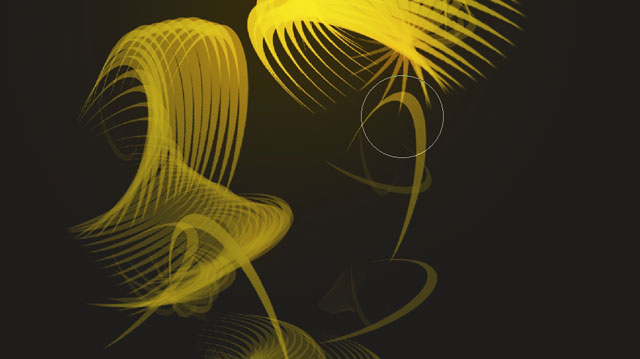
Now make a new layer and begin to paint some foreground objects.

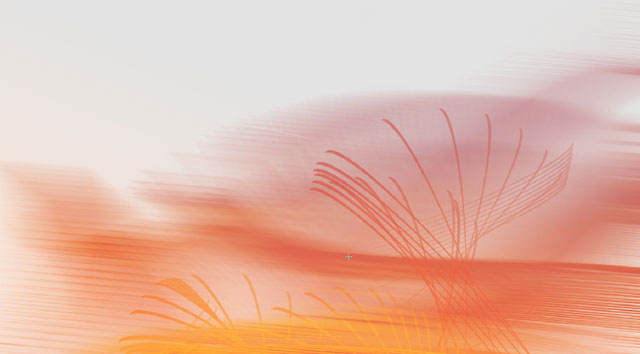
Enter Quick mask > slide with black to white gradient > exit quick mask (Q) > stay within the selected soft lower edge selection> merge all the layers together.
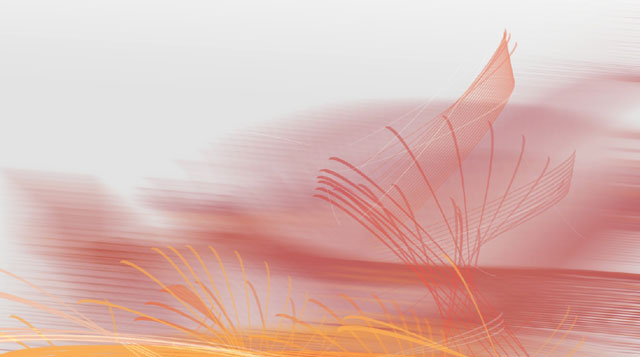
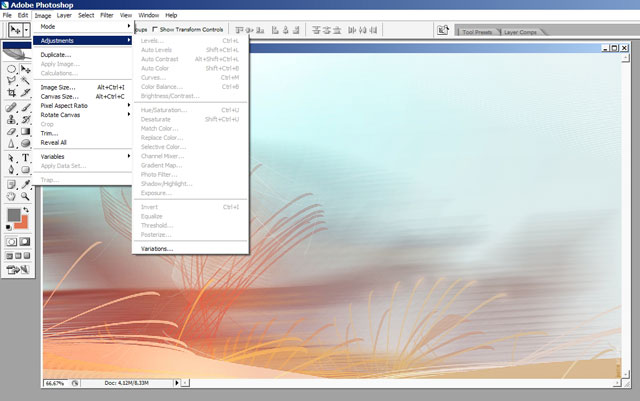
Adjust the top of picture.
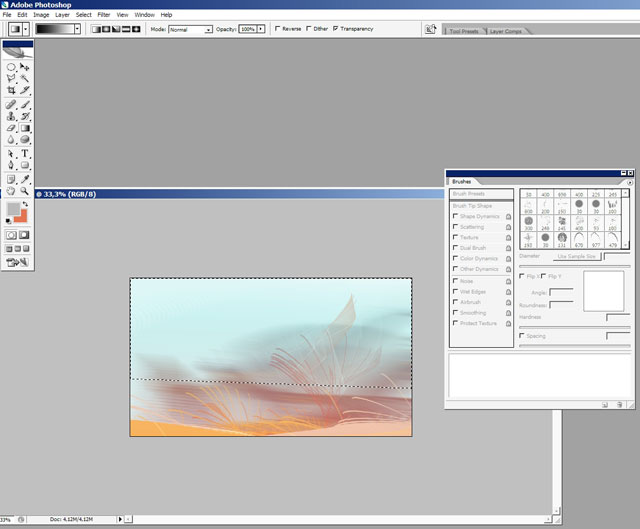
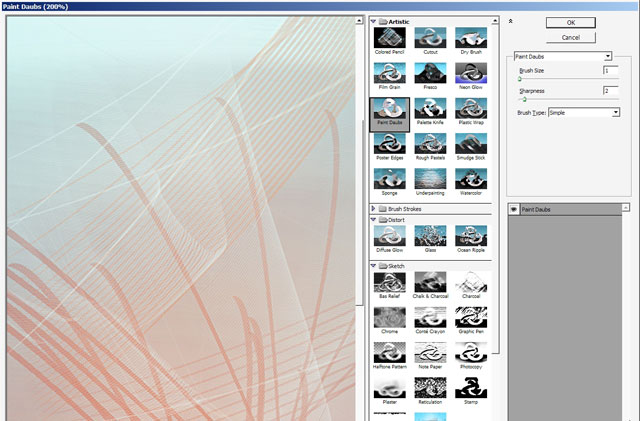
To make the overall image more sharpened – I use Paint Dubs Filter in Filter>Artistic menu.
Use quick mask selections or soft edged brushes to make some color varieties.
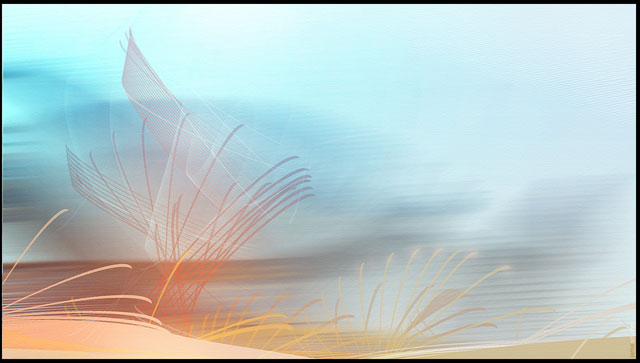
View Final Image: Digital art wallpaper
Comments