
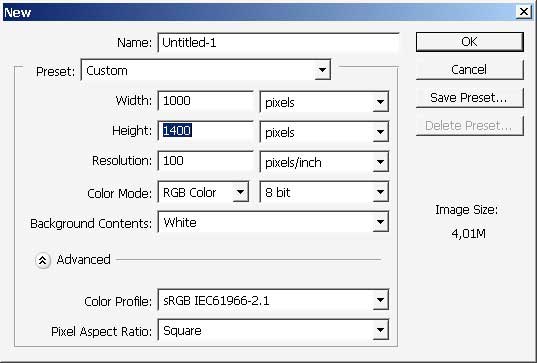
Digital Art Piece
Today we are going to make a very cool digital art piece. This is my speed painting done in about 90 minutes. This tutorial will be done in 2 parts – 2 different tutorials.
For this one I will use my Wacom tablet and Photoshop custom brushes.
I will paint an environment – the way I understand it today. No basic details, just basic value and form study. So follow me.
Choose a brush. I have many custom brushes. It will be available for download.
The link:
http://designstacks.net/Jeka/MyAntiscaleBrushSet.abr

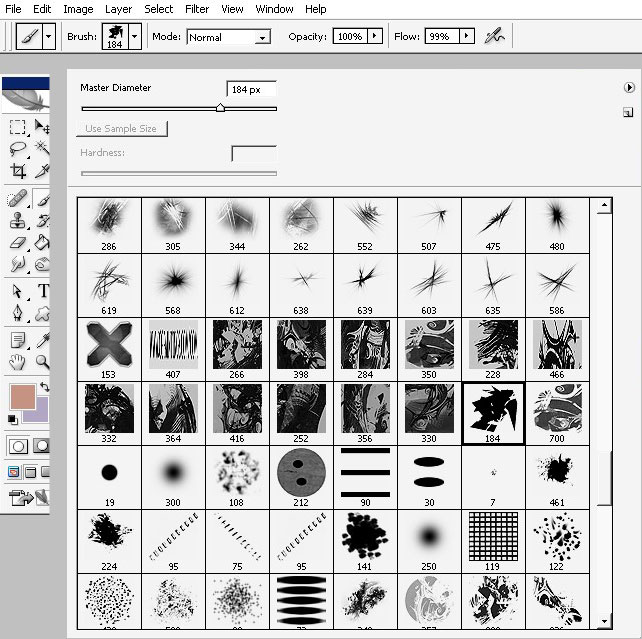
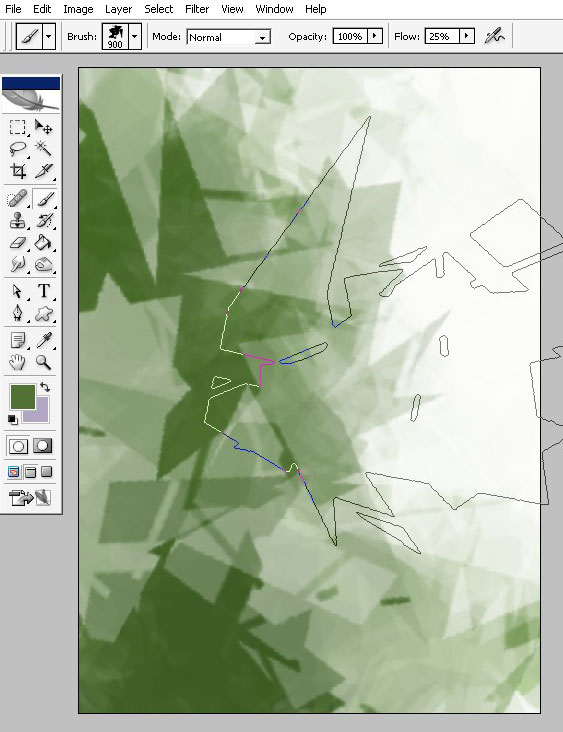
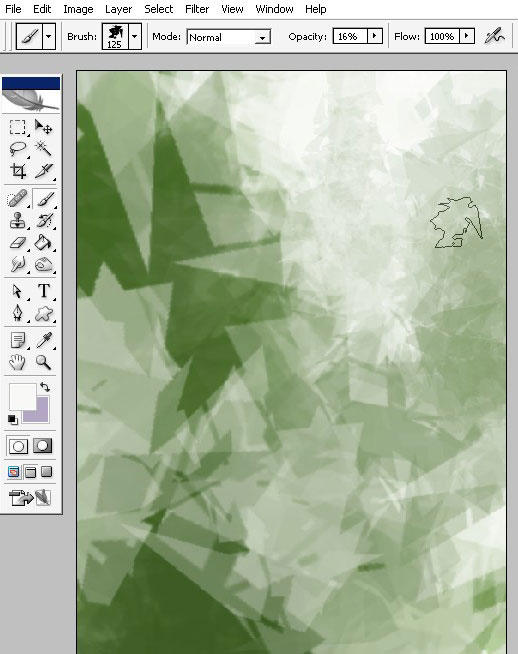
I’ve chosen this king of brush.

I’ve set my flow jitter to 99% and no settings for the brush itself.
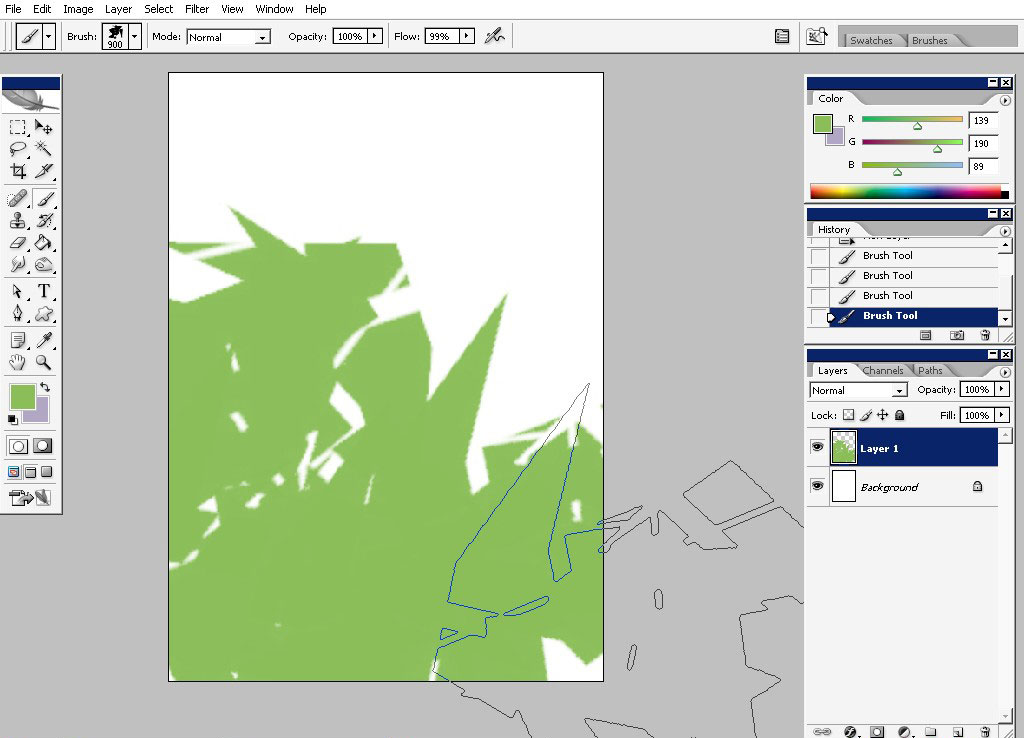
I remind you that on this stage I’ll be searching for good shapes so I will just rotate my brush when I want.
This is more like an experiment, a study, because I have no idea how my environment will look in details. Train your imagination (engine))).
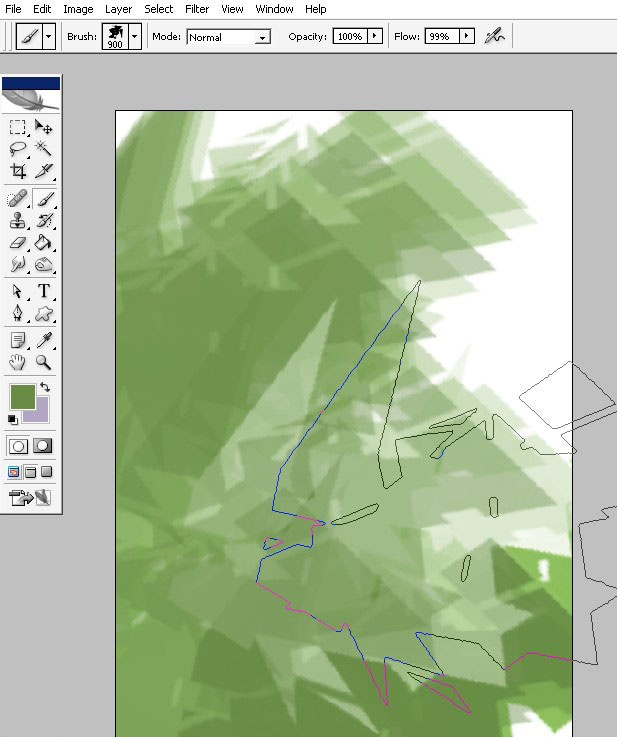
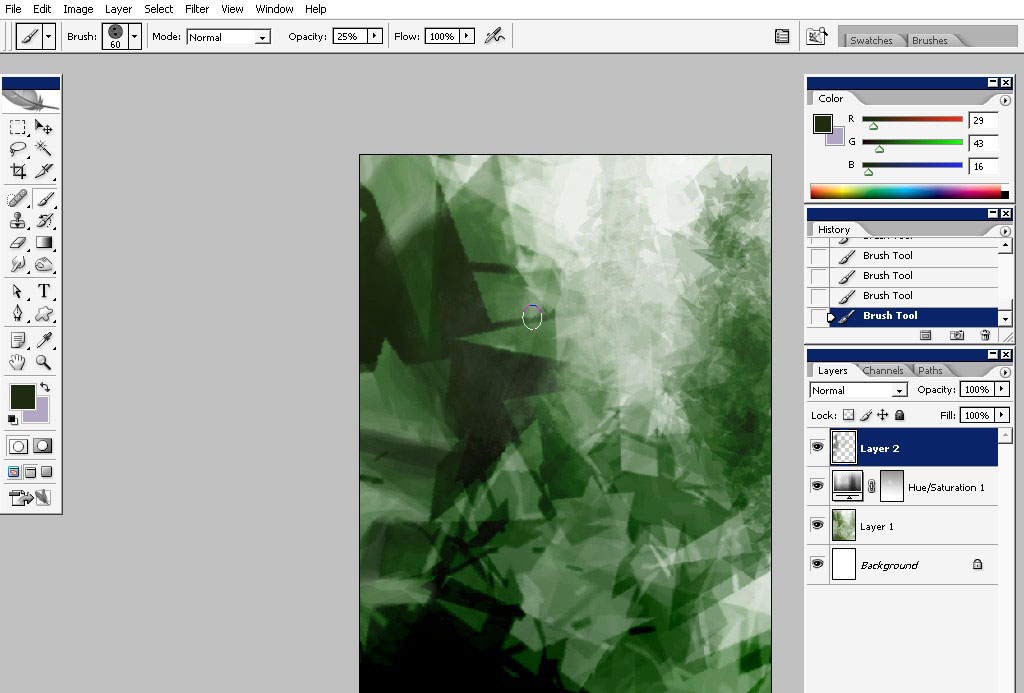
I will choose green as my key color.
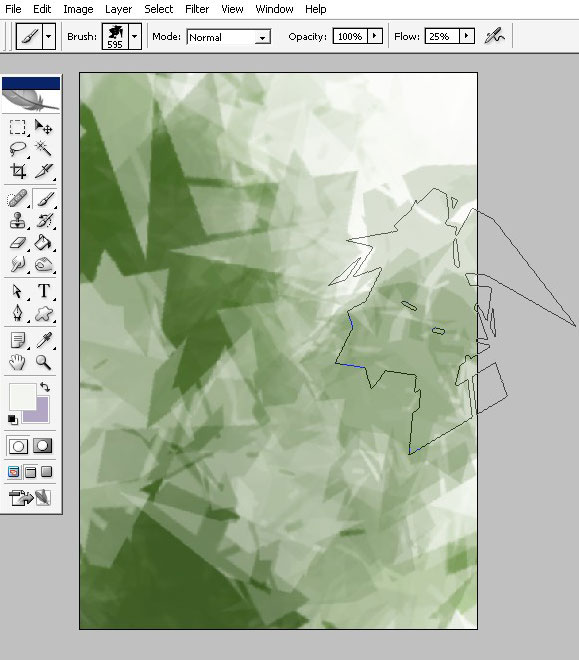
… Playing with value and still searching for good composition and shape.
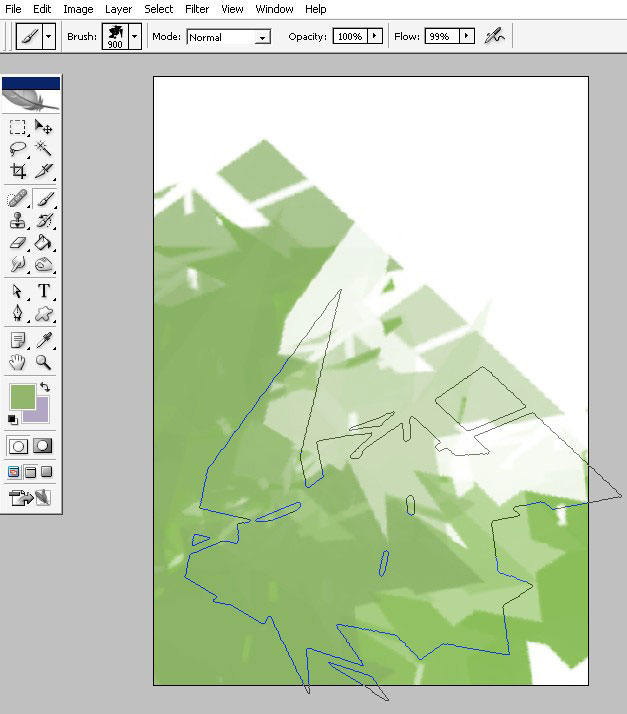
Maybe I will pick something like this. Imagine that you are looking from ground point and upwards in perspective here. But we’ll see.
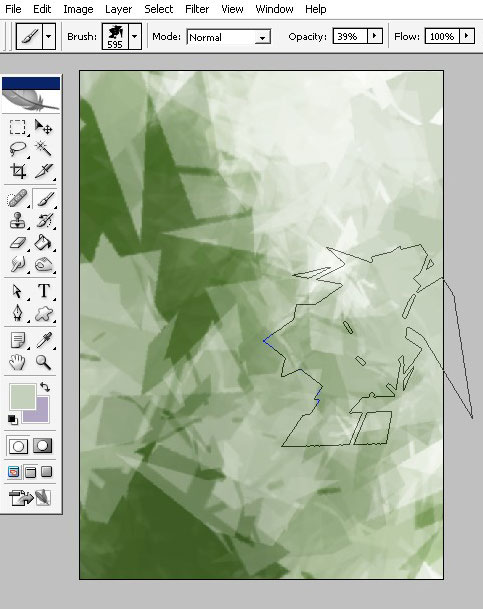
I’ve set my brush to shape dynamics to DIRECTION – it is an amazing feature, especially when you are dealing with Flat brushes.
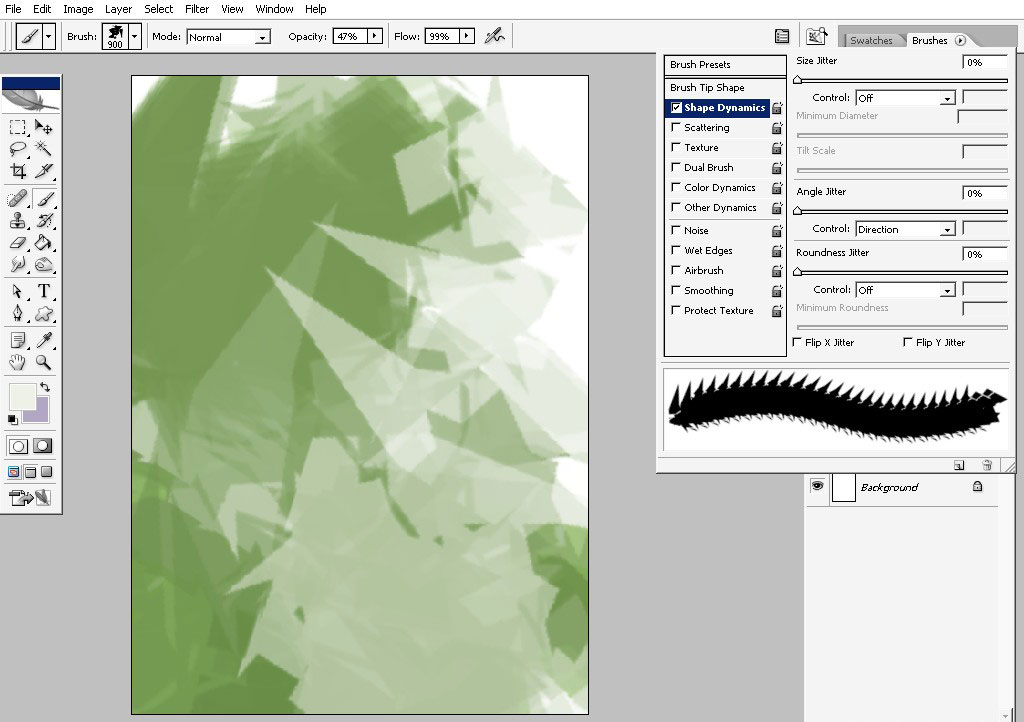
Change the Brush settings here too.


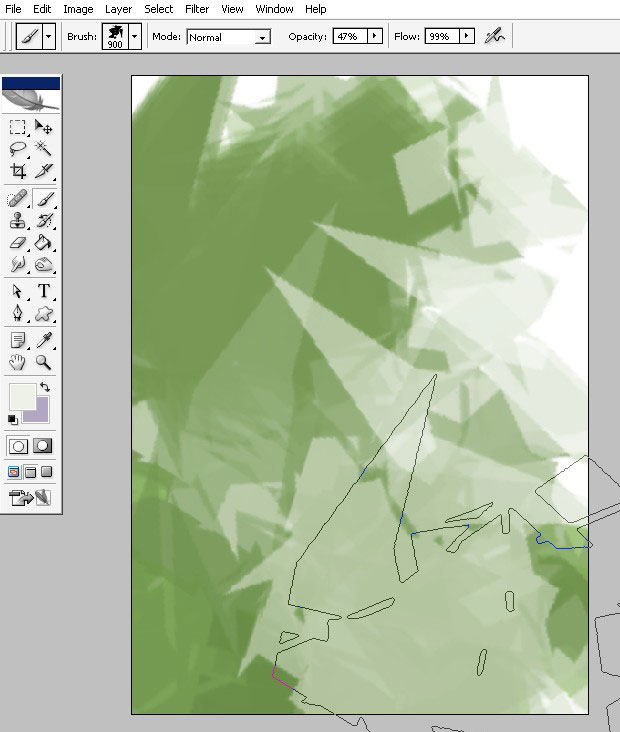
… Still searching.

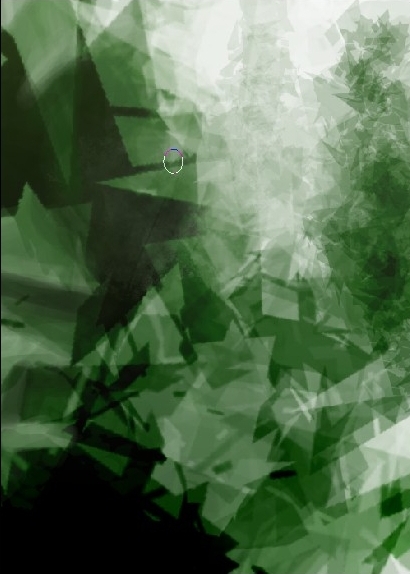
Well that is more like I imagined it. Train your form searching Engine)).
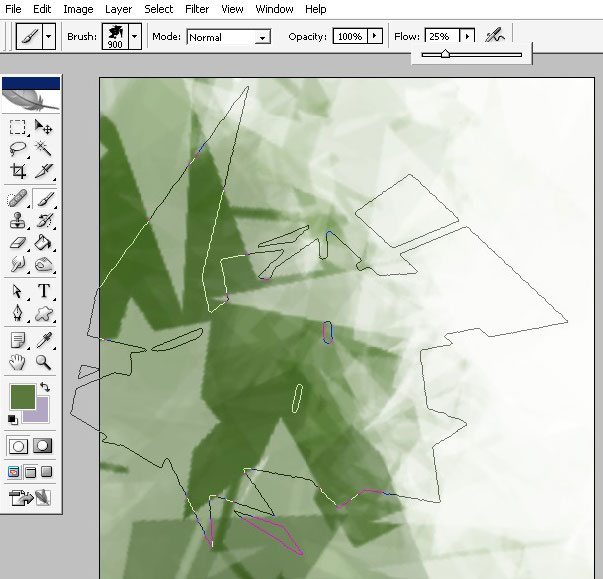
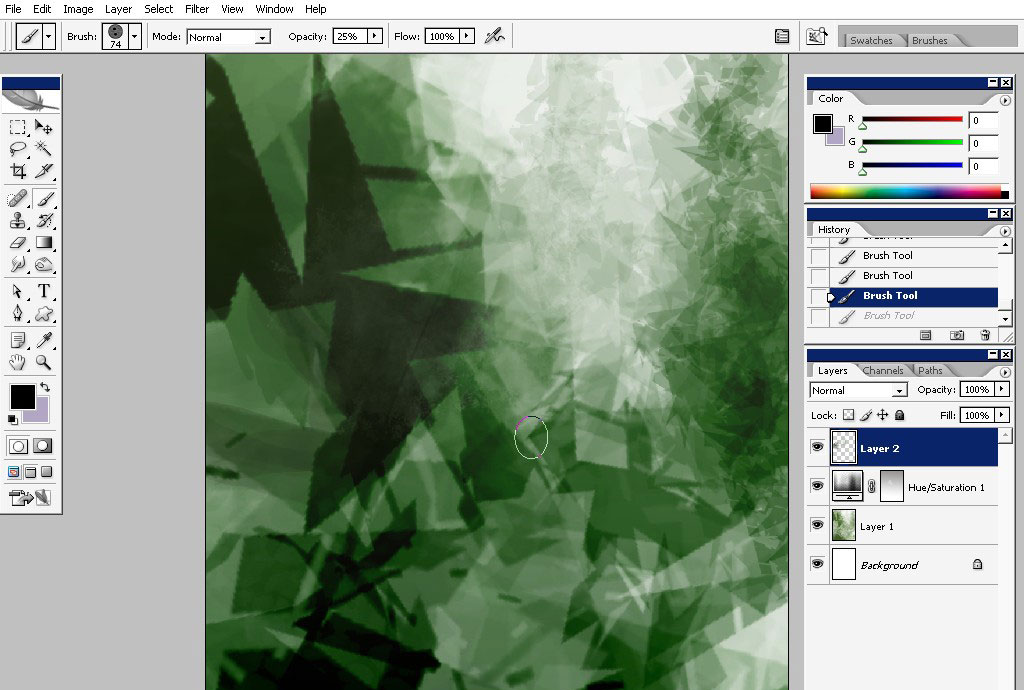
I’m beginning to form my background now. I’m using less contrast colors and smaller brush tip.
I’m adding some shadow highlight areas to my background structure. I’m using less contrasted (lighter in this case) colors.
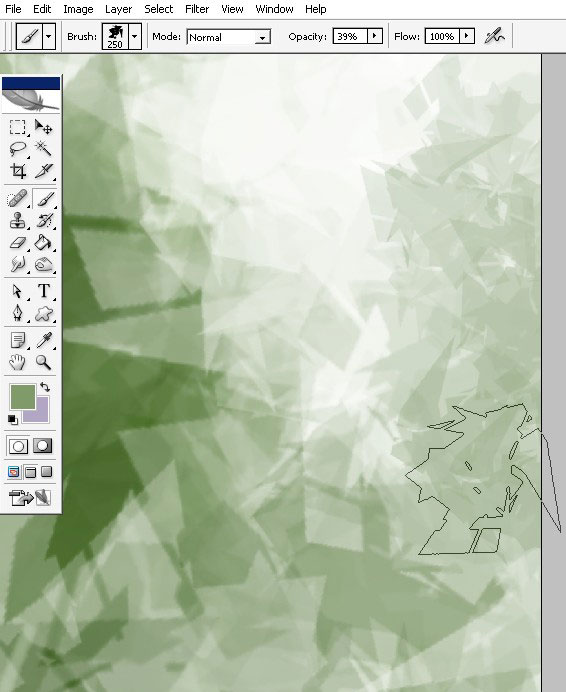
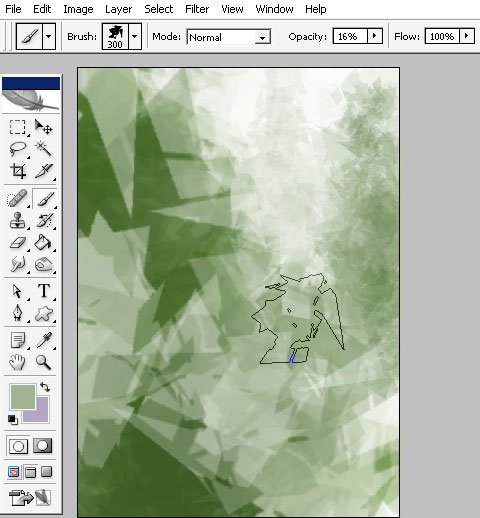
Well I think I’m done with my basic shape here, and it is time to change my brush.
So create a new layer.

Choose a brush – I will shoes just more like basic brush, let’s say #522 or #50.
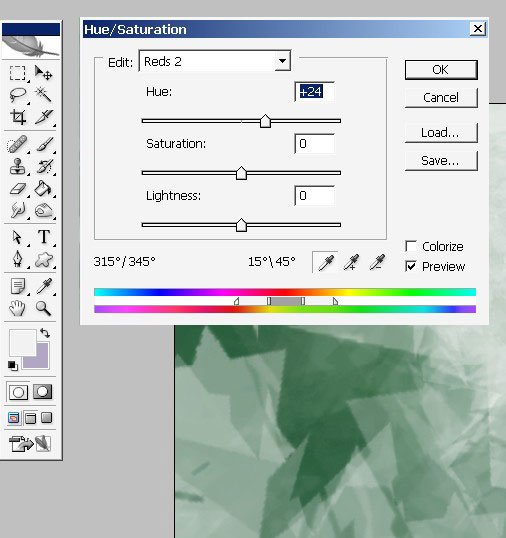
But before beginning to set some additional character to my image I will change the color a little bit.
Create a Hue / Saturation layer and change the Master Channel ( not the red 2 as it is on the image)
Here
you can see where my Adjustment layer is; and I’ve also changed Layers
blending mode from Normal to Linear Burn and opacity from 100% to 81%.
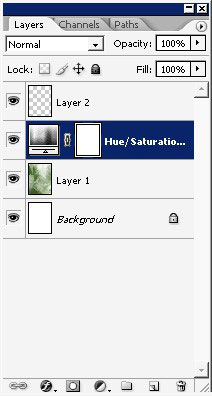
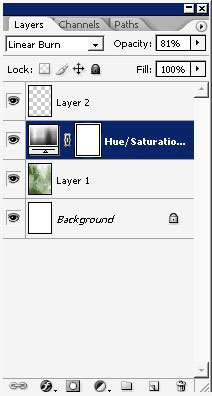
Here is the result – the image got a little bit darker and way more darker in shadow areas.
Have a good look on it again. Imagine what you can do with these shapes – it doesn’t has to be exactly as I do.
The
reason why – is every person seas there something different, something
unique. Don’t hush just look there, Flip horizontally, and se you in
part 2 of my tutorial.
Comments