
Designing Magic Orb
April 10, 2007 | 0 comments
Fill 0% on the layers.
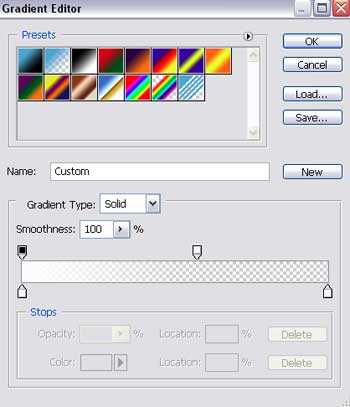
Blending Options-Gradient Overlay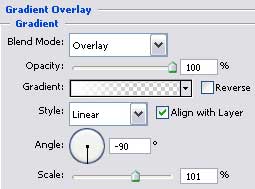
Gradient’s parameters:
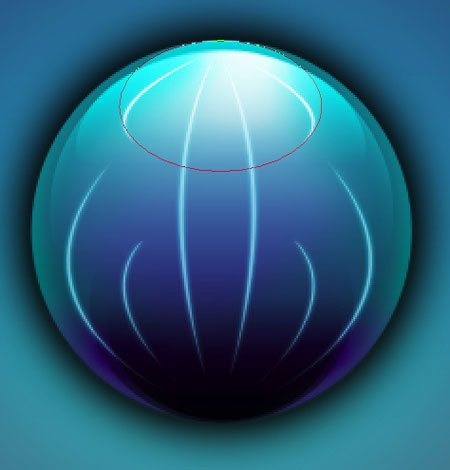
Make two copies of the new created layer and select again the Free Transform option to change each copy the way it is shown below:
The first copy:
The second copy:

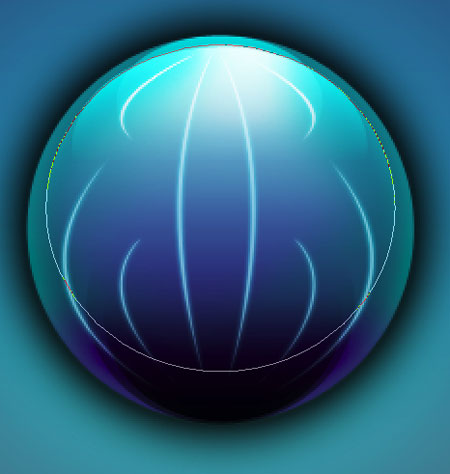
Using the Ellipse Tool (U) we need to represent now a figure just for the necessary effect. Press firstly on the Shift button to represent the figure itself colored in 53B9DC.

Apply to this layer: Filter>Blur>Motion Blur 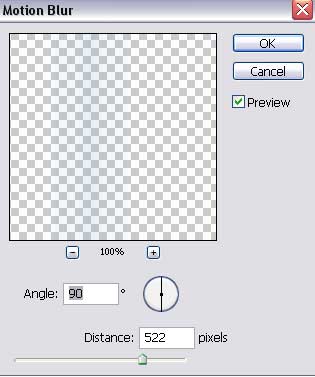
The new effect is possible to correct with the Smudge Tool (R) and the Eraser Tool (E).

Comments