
Designing Frosted Effects Wallpaper
May 8, 2007 | 0 comments
Tips about how I made the Frosted wallpaper ( see wallpaper ).
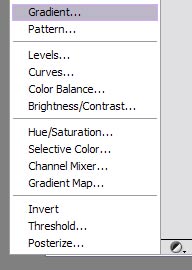
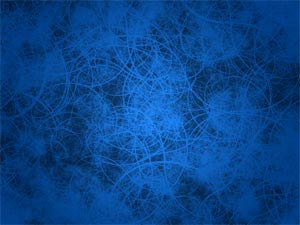
The very first step is to create the background gradient. Click the “Create new” icon in Layers tab, choose Gradient…
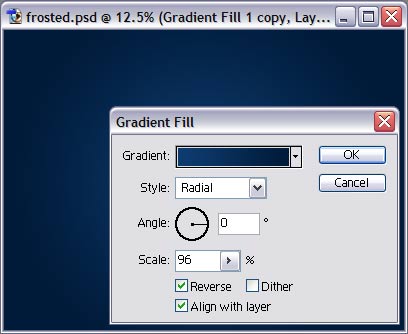
… choose colors for your gradient, style and scale (in my case, dark blue, radial, 96%).
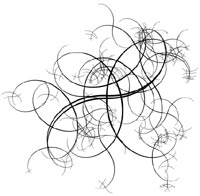
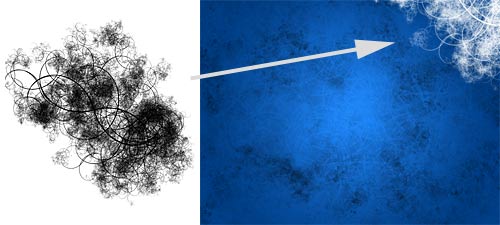
Now I will need an excellent free fractal software called ContextFree, available at <NOBR> http://www.ozonehouse.com/ContextFree</NOBR>/ . I used it to create around 30 fractals similar to shown here.
Then copy all these fractals to your photoshop file, and distribute them around, so that they fill entire image. Then merge all layers containing fractals so that they are all in one layer.
Set this layer blend mode to overlay. If it is not bright enough, duplicate layer.


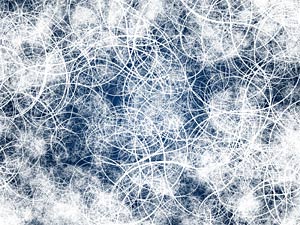
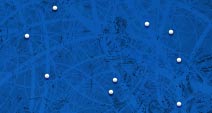
There is a filter that will give us the frosted look that we need. Go to Filter menu – Distort – Glass, and adjust the filter settings to your liking. The result would be similar to shown here.
Create another fractal, copy it to photoshop, invert (from black to white) and move to the edge of image, so that only part of fractal is visible.
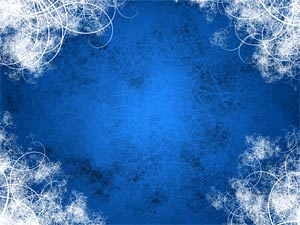
Repeat 4 times 🙂

Photoshop has nice shape tool (U key) which I use very often. Create your own snowflake shape, or choose from custom shapes menu. Then apply some bevel and shadow (not much though).
You can then use small white brush to add some smaller snowflakes, with the same layer effects (bevel and shadow).

We’re almost ready! There is only one important step left. Merge entire file into single layer (you can hit Ctrl-Shift-E but make sure to save a copy of PSD before that, in case you need to make changes later). Then, duplicate layer (Ctrl-J) and apply Gaussian Blur filter. Then, set this layer opacity to 30-40%. This will give us nice “glow” effect.
Frosted wallpaper ( see wallpaper )
Author: Vlad Gerasimov
URL: http://www.vladstudio.com
Comments