
Designing an illustration
Today we are going to illustrate an illustration using only Adobe Photoshop.
Let’s go. Create a document.

Create a layer and overlay the layer with gradient.
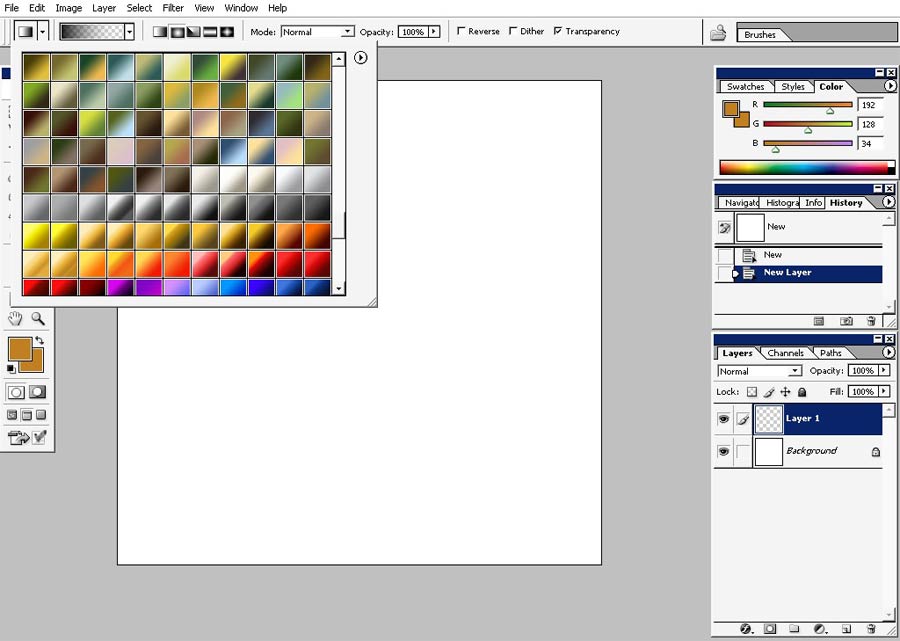


Here we have our yellow gradient.
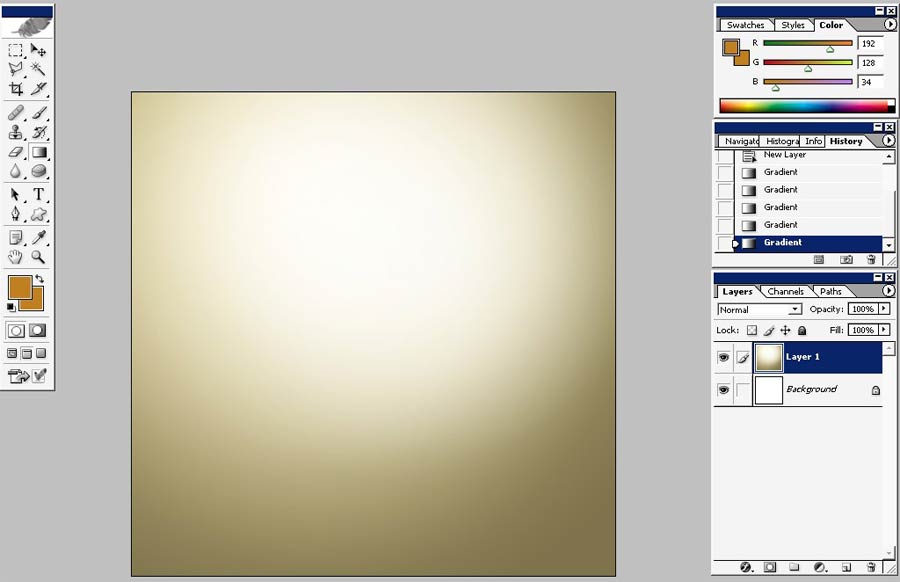
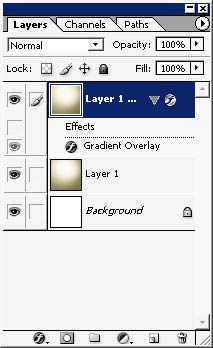
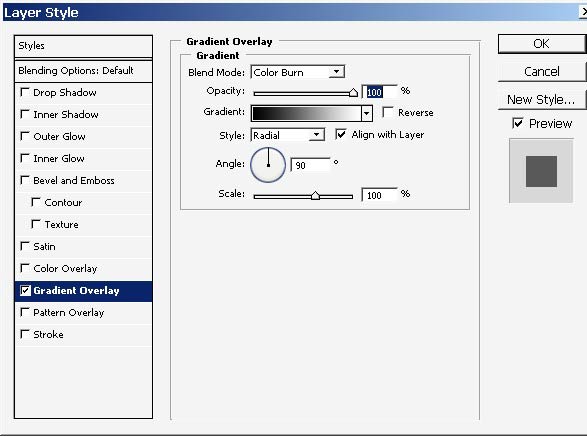
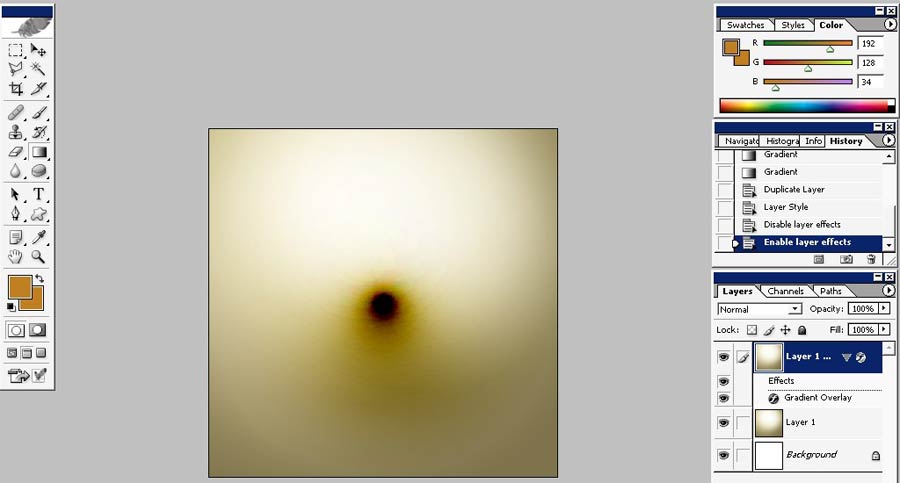
Create a copy of this layer and apply gradient overlay in layer styles.
Here is the result. Looks like a belly.
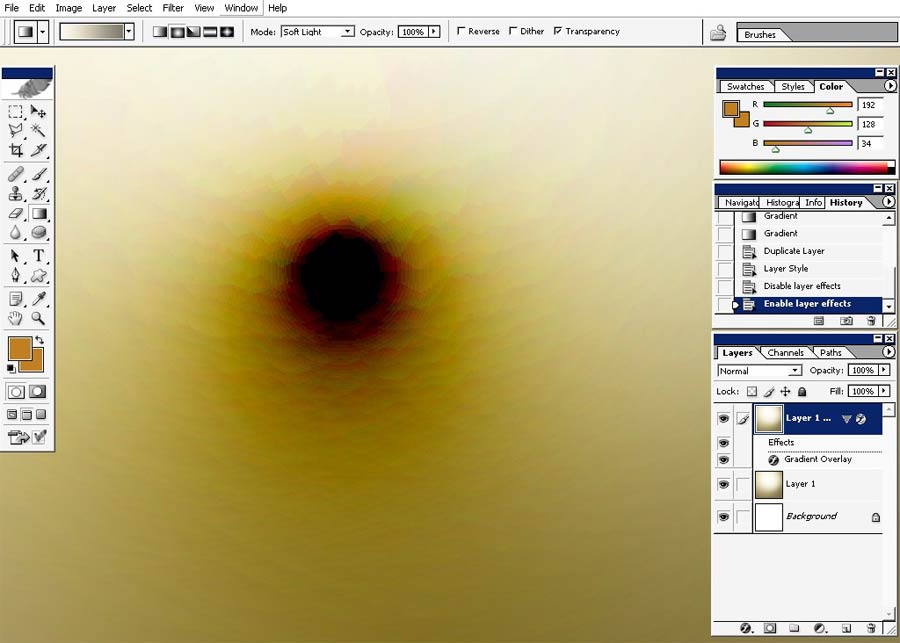
More detailed view. As you can see it even has some solid texture.
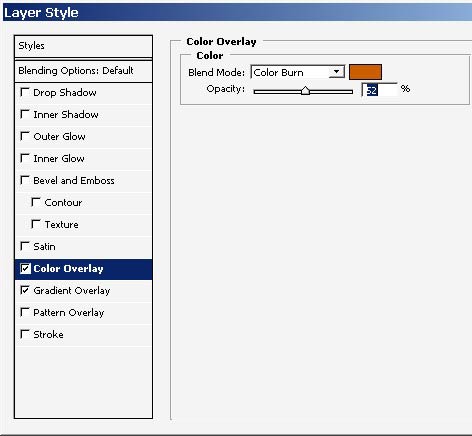
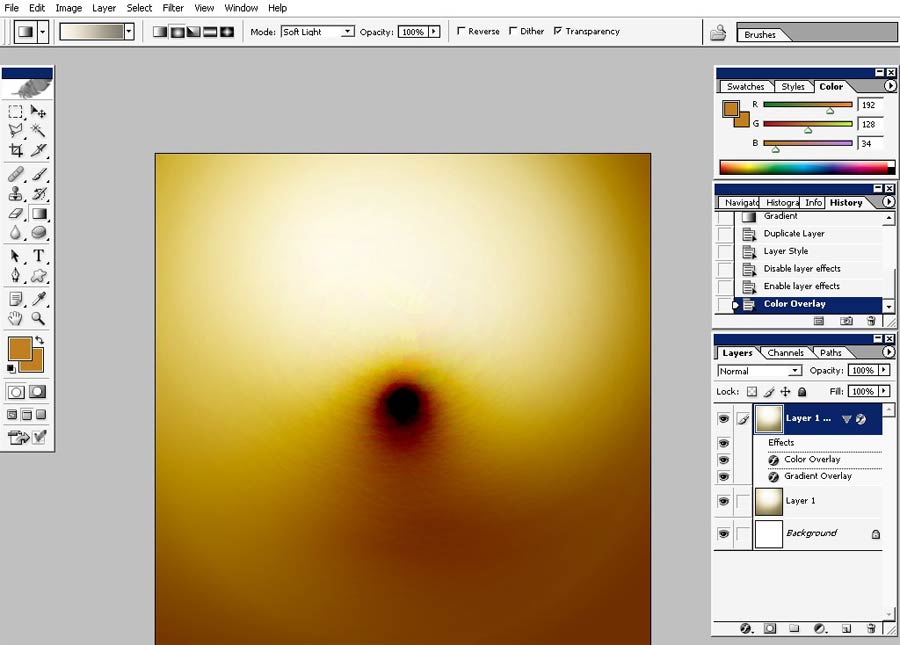
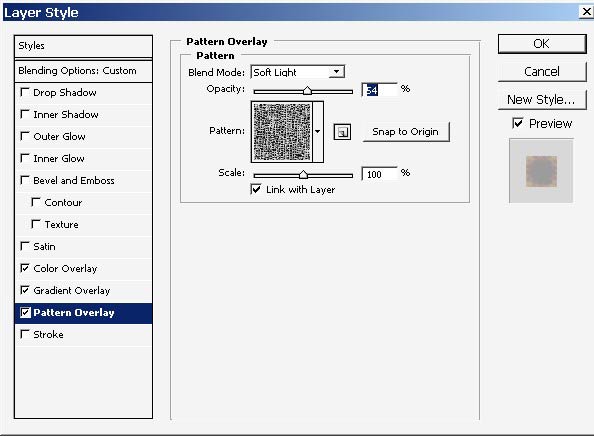
Now I will add second layer style: color overlay.
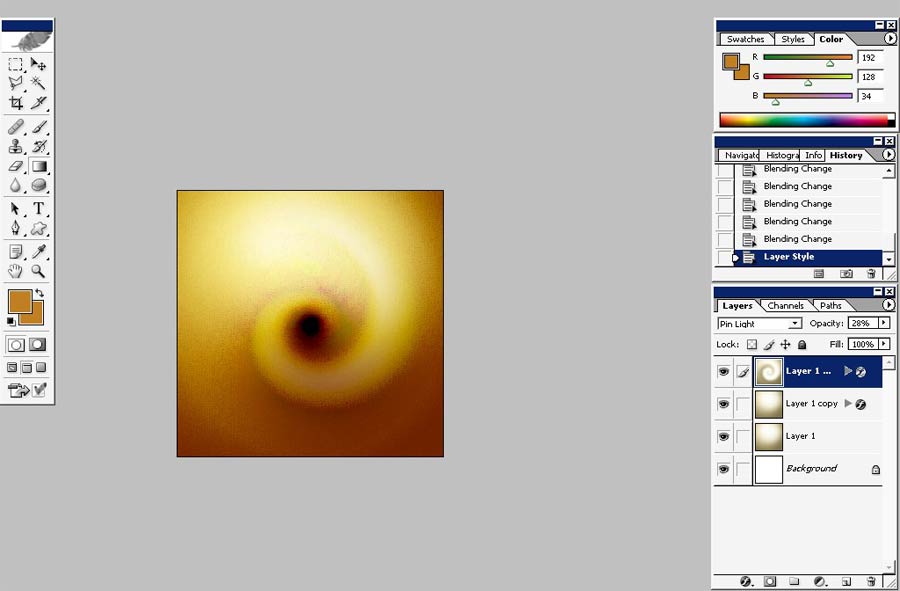
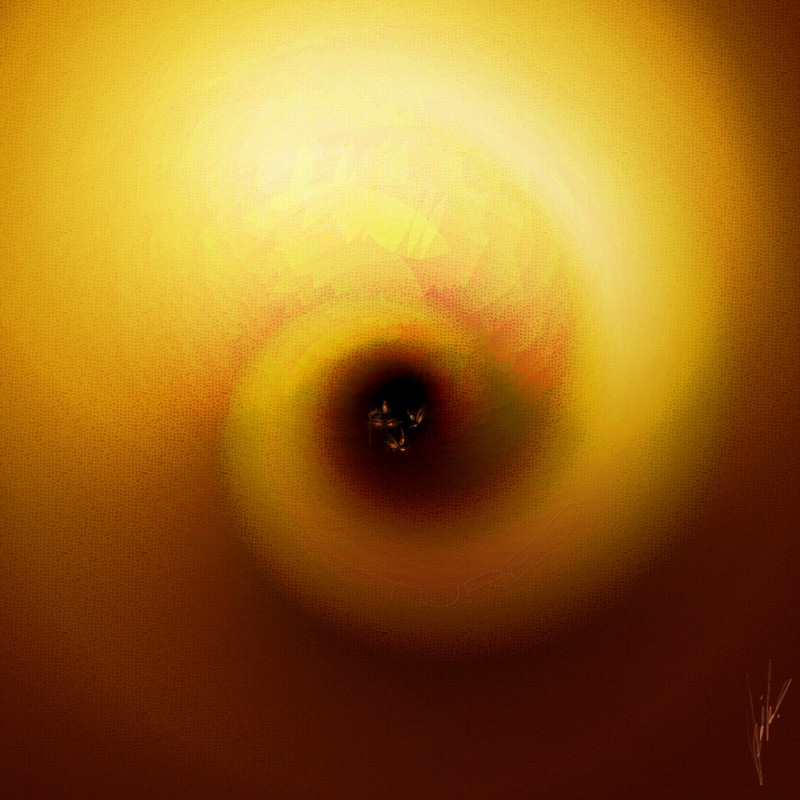
I will create 3rd copy of my key layer and use Filters > Distort > Twirl filter on it.

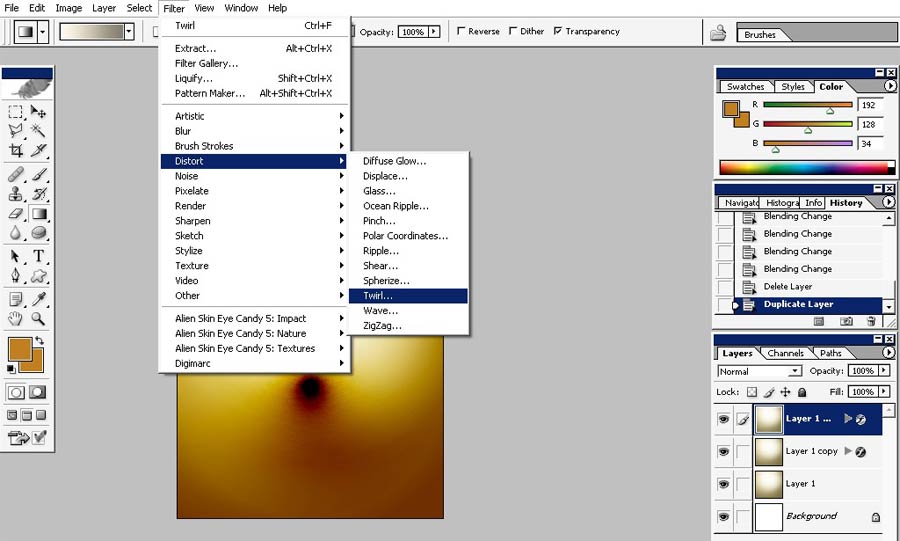
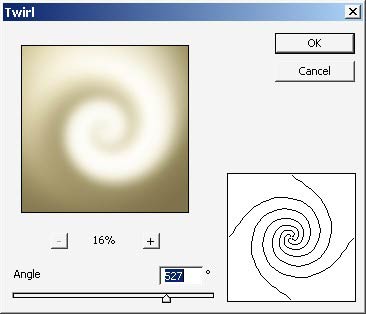
It looks weird enough.
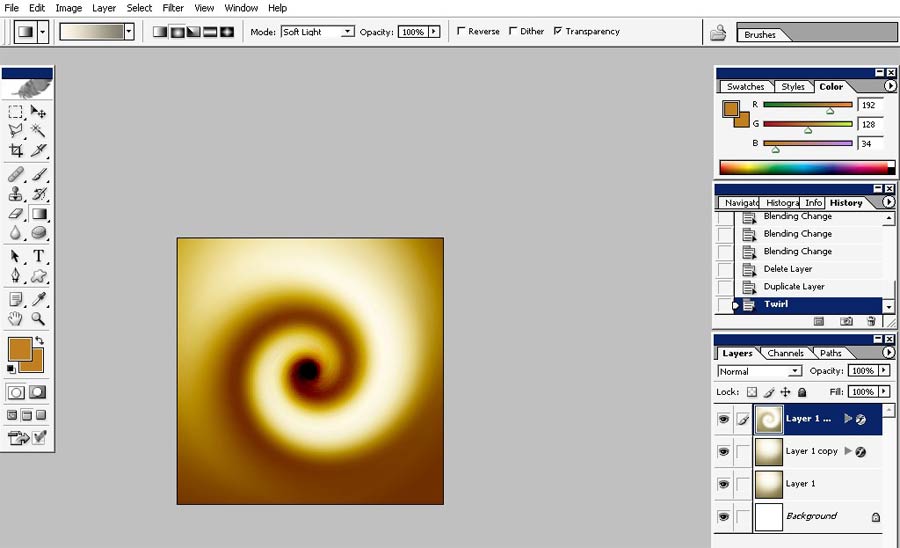
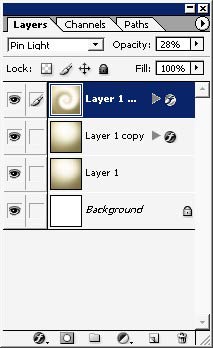
See my layer settings.
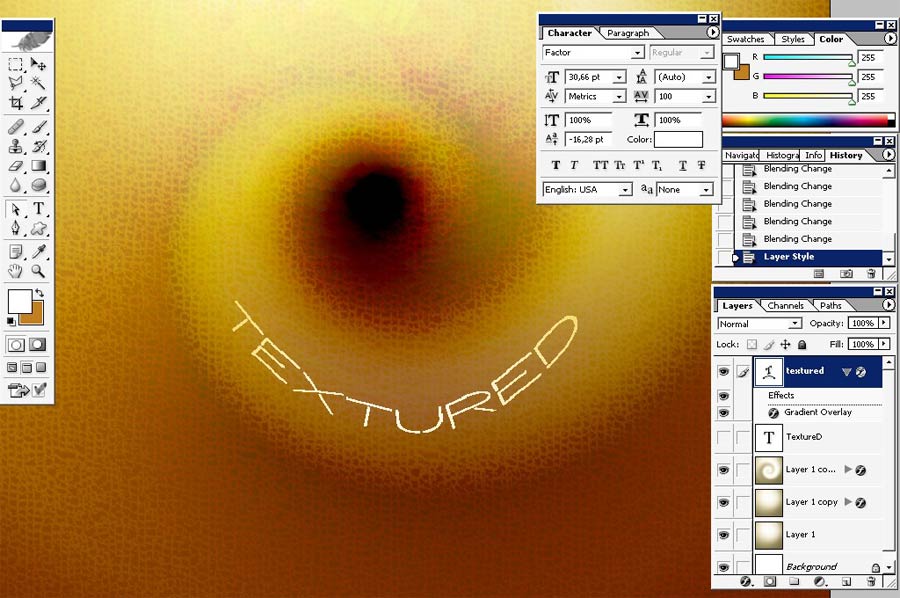
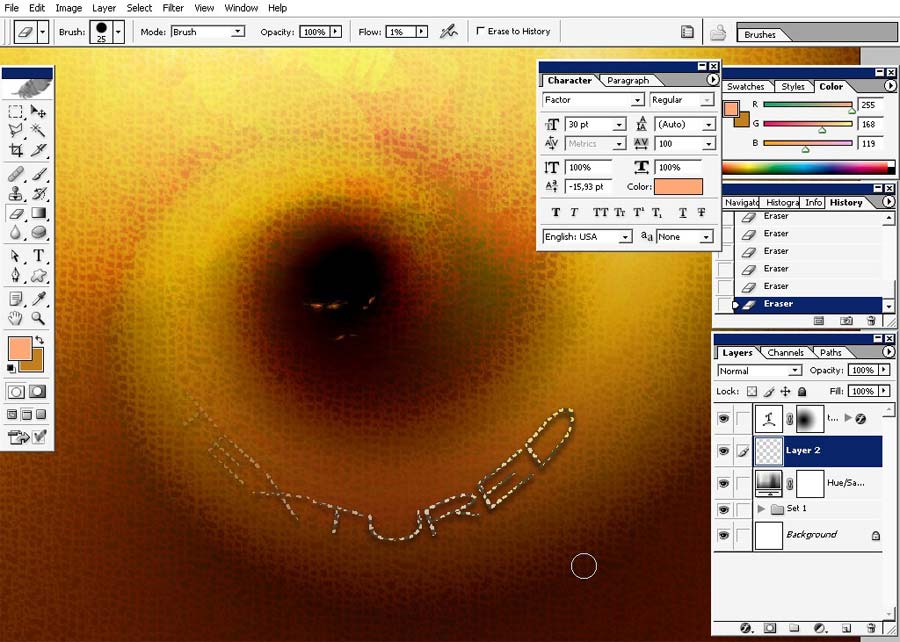
Now I want to put some text line; it will be just TEXTURED.
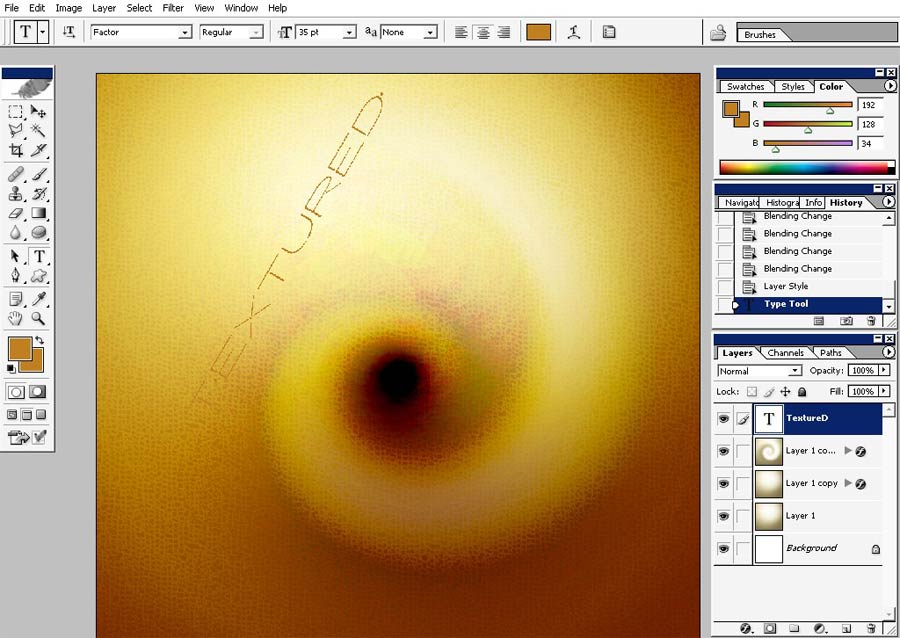
But what I want to do is to go on a curve.
To do this, just select Pen Tool and make a curve; then select Type Tool and type a text line directly on the path.
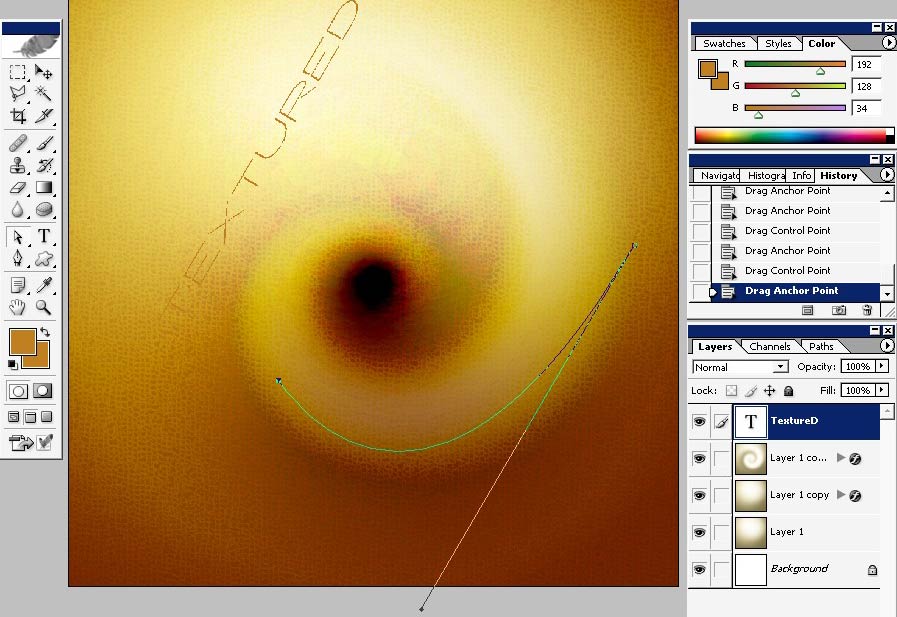
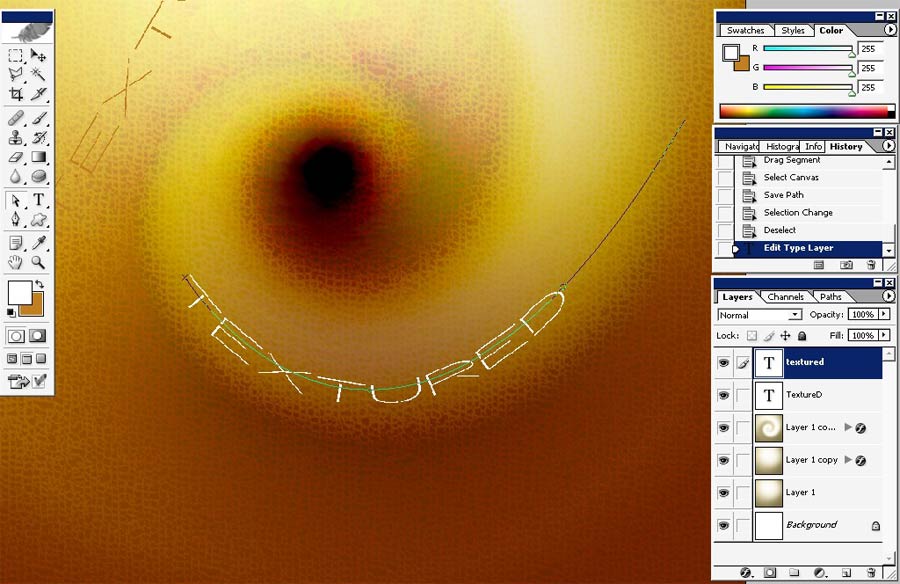
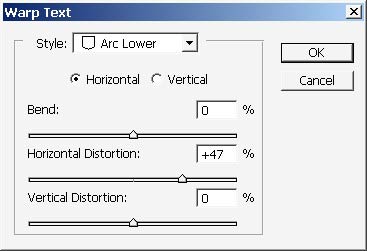
I will also shape my text using Warp Text Tool.
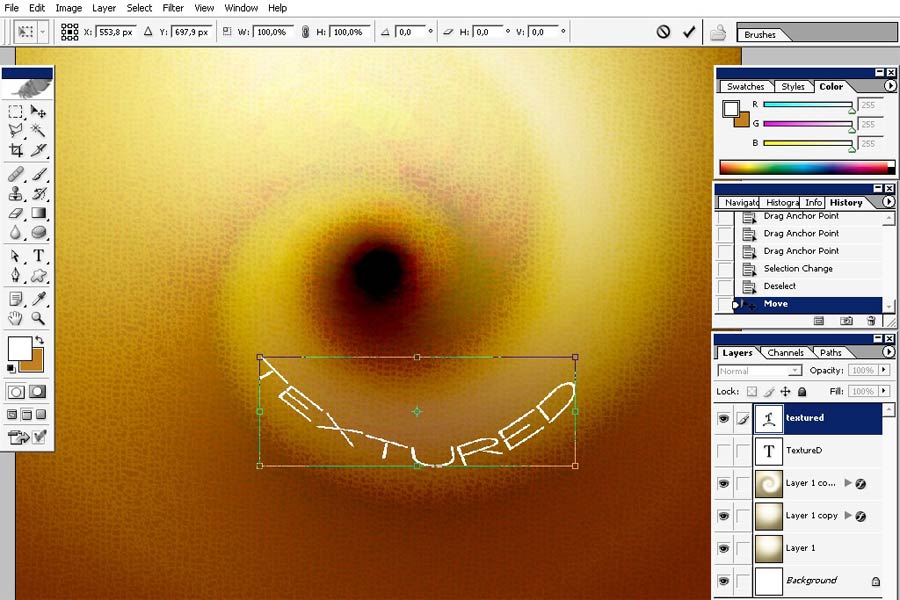
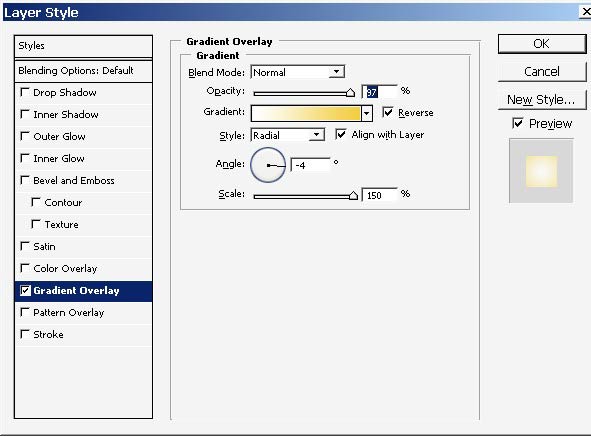
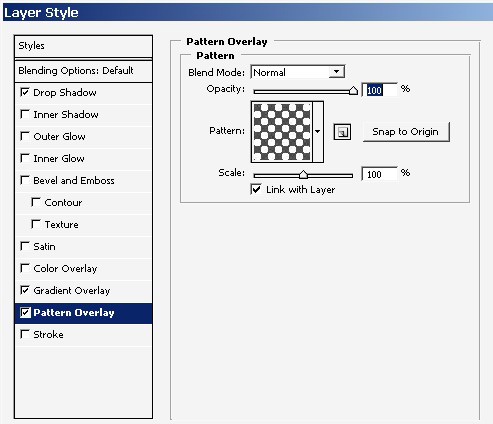
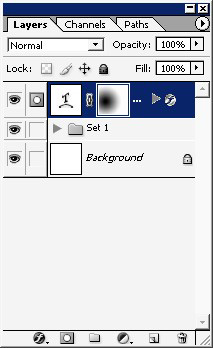
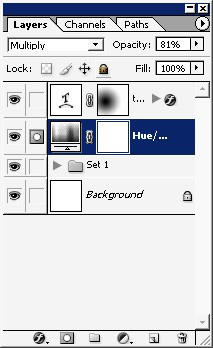
I will also apply some layer styles and layer mask (optional) to my text line.
I will also color balance my text.
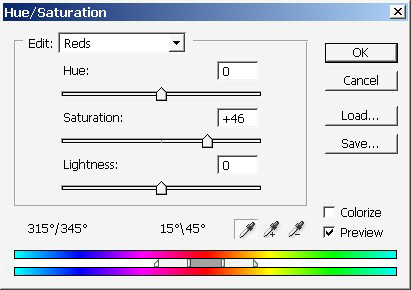
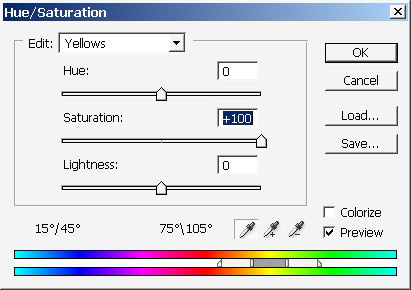
The color balance layer will be put to multiply.
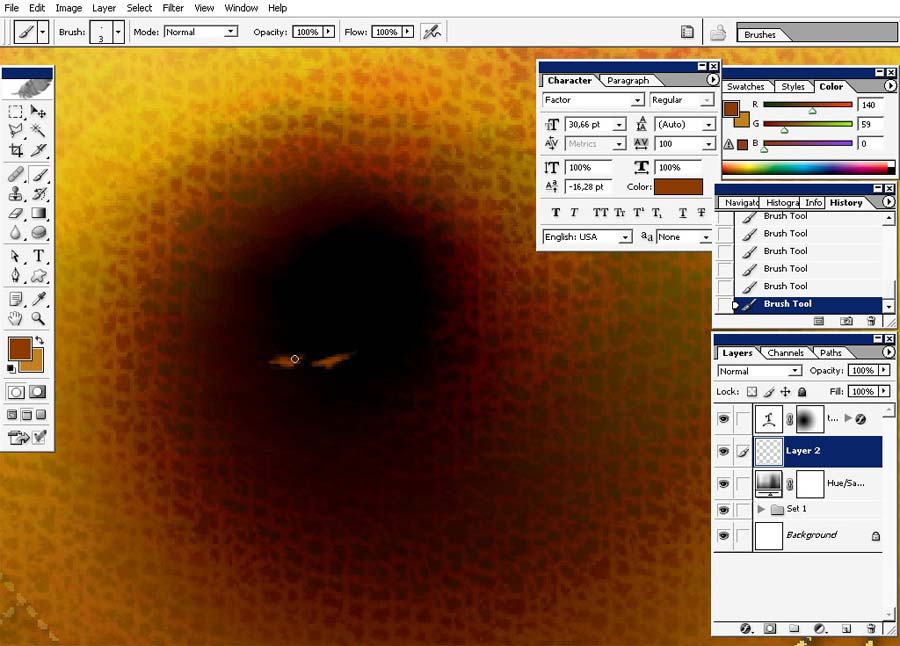
When
I saw this whole first time I just wanted someone to be there; some
creatures with only eyes you can see; so will just paint them.
Comments