
Design studio – web page layout
September 5, 2008 | 0 comments
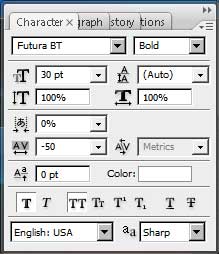
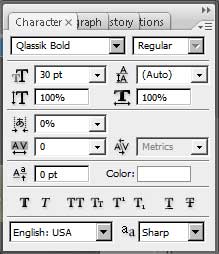
Introduce the text, having the next shown parameters for the top line.
… and then the lowest one.
Both lines of the text have the same parameters, shown next table:
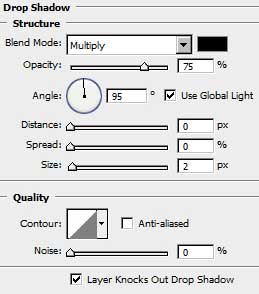
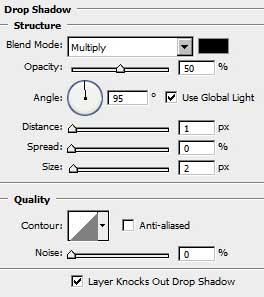
Blending Options>Drop Shadow

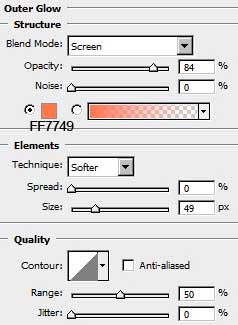
Blending Options>Outer Glow
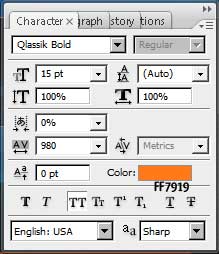
Next we need to insert the button title, reserved for the menu.

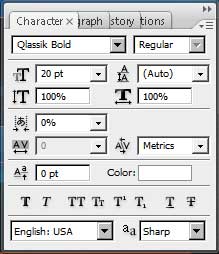
Set the next text’s parameters and Blending Options.
Blending Options>Drop Shadow
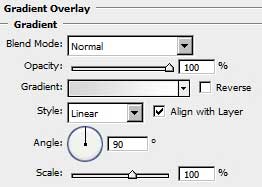
Blending Options>Gradient Overlay
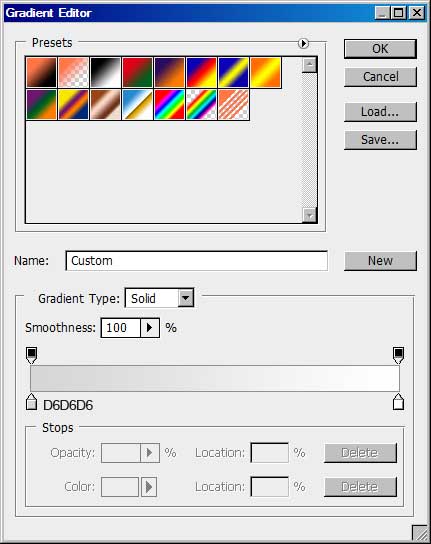
Gradient Editor
You must get the next result:

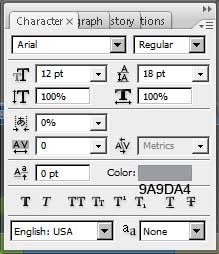
Now it’s time to insert the information about the design studio.

You may see below the parameters reserved for the title:
… and the parameters for the rest of the text:
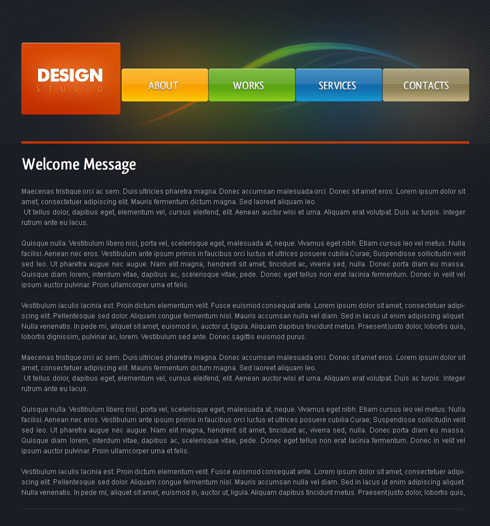
Creating the web site came to end!
View full size here.
Comments