
Design Studio – The best creative idea
A step by step tutorial to creating a professional web layout for Web Design Studio.
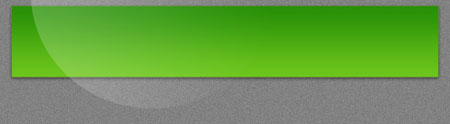
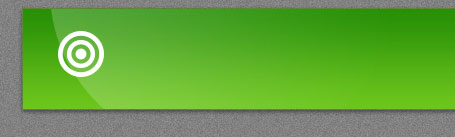
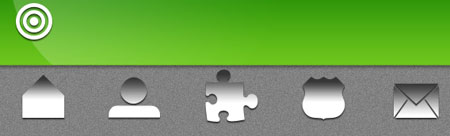
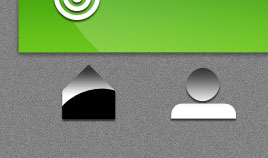
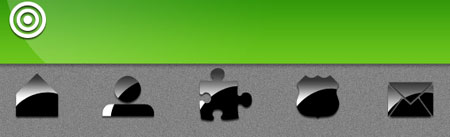
Final Image Preview

Create a new file that must have 768×215 px and 72 dpi. Then select the Paint Bucket Tool (G) to paint the background in #828282

Then we have to select for the layer below the next filter’s option: Filter>Noise>Add Noise
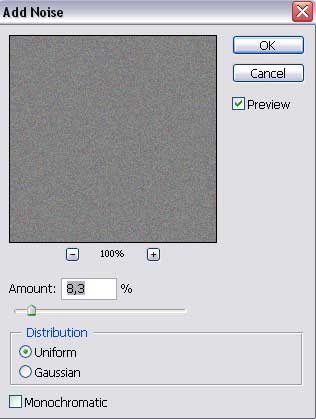
Select also one more option for this layer: Image>Adjustments>Desaturate


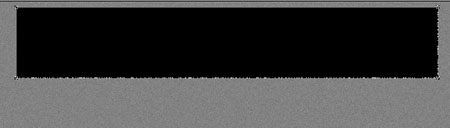
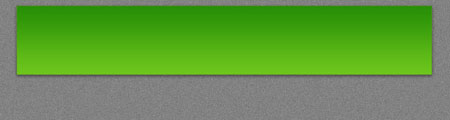
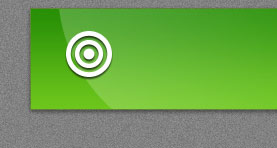
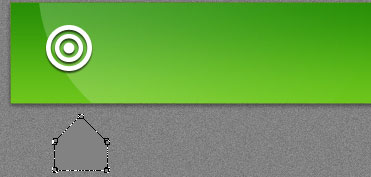
Using the Rectangle Tool (U) we need to represent the primary layer reserved for the logotype that will be situated on the site’s header.
The layer’s parameters:
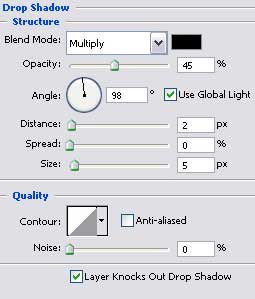
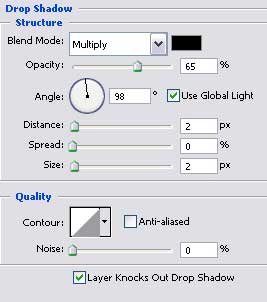
Blending Options>Drop Shadow
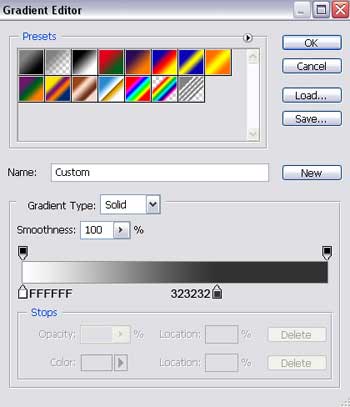
Blending Options>Gradient Overlay
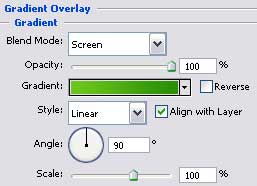
Gradient’s parameters:
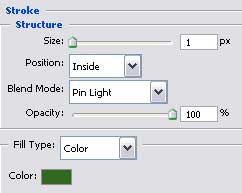
 Blending Options>Stroke
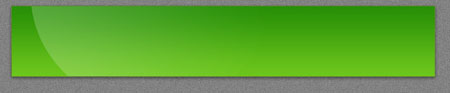
The Ellipse Tool (U) will be helpful in drawing a highlight that you may see on the next picture.
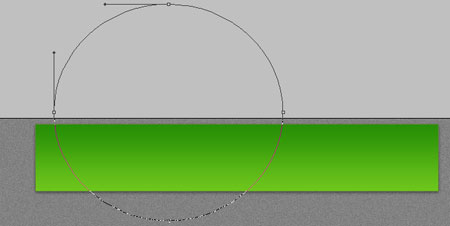
The layer’s parameters:
Fill 0% on the layers.
Blending Options>Gradient Overlay
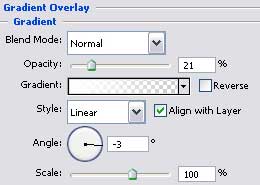
Gradient’s parameters:

Press Alt button and make a mouse’s click between the highlight’s layer and the logotype’s one for the highlight to be applied in the limits of the previous layer.
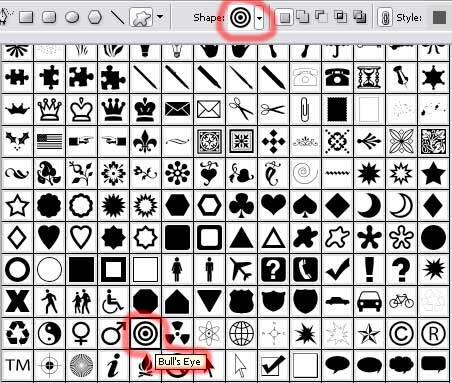
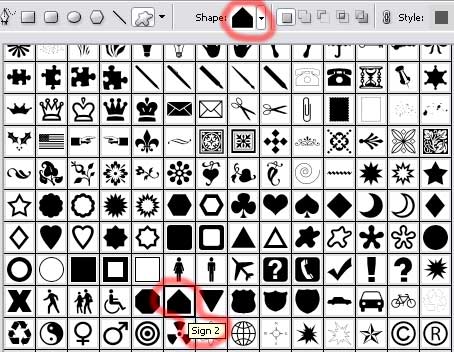
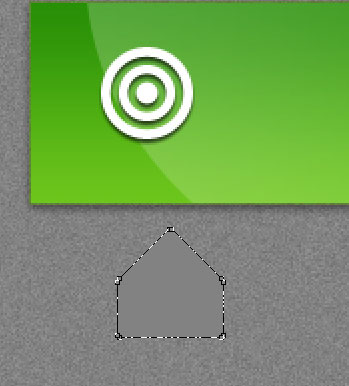
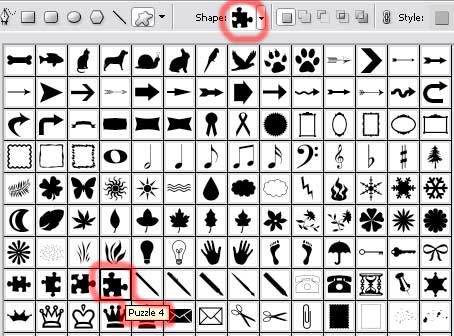
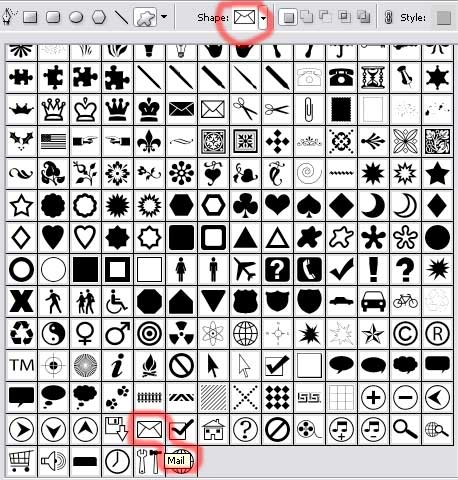
Next we need to select the Custom Shape Tool (U) for representing the logotype on the site’s header. Choose the next pattern encircled with red color.
The color should be white.
The layer’s parameters:
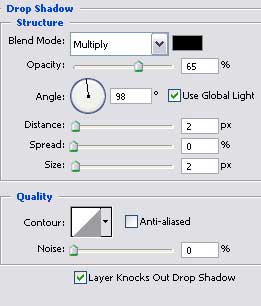
Blending Options>Drop Shadow
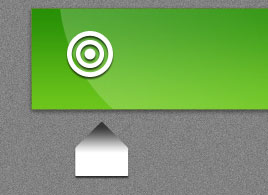
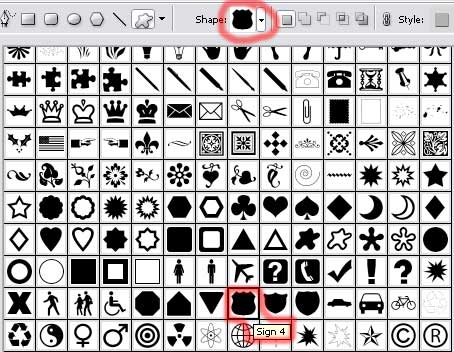
Choosing the same instrument (Custom Shape Tool (U)), we should draw next a menu’s button situated also on the site’s header.
The layer’s parameters:
Blending Options>Drop Shadow
Blending Options>Gradient Overlay
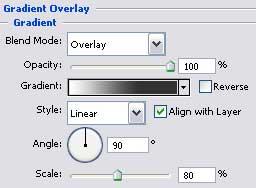
Gradient’s parameters:
Next we’ll draw the rest of the menu’s buttons with the same tool (Custom Shape Tool (U)). Firstly mark out the layer containing the recently made button, clicking in the same time on the right mouse’s button to choose Copy Layer Style option. When drawing the rest of the buttons we’ll need Paste Layer Style option (copy the layer’s parameters).

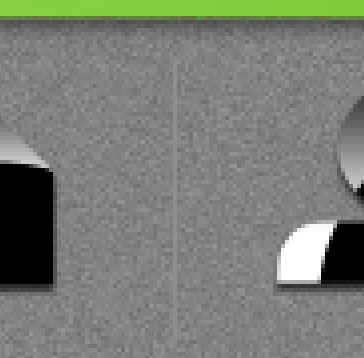
This button must be cut out on its bottom part, pressing Alt button. The operation may be done with the Rectangle Tool (U).
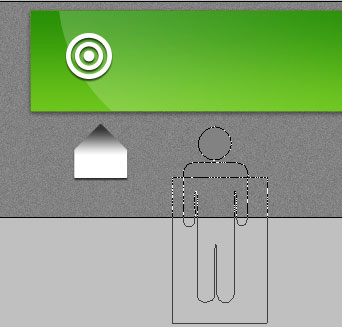
 Next we need to represent on the button a kind of shadow, using the Ellipse Tool (U). Place it above the button’s layer.
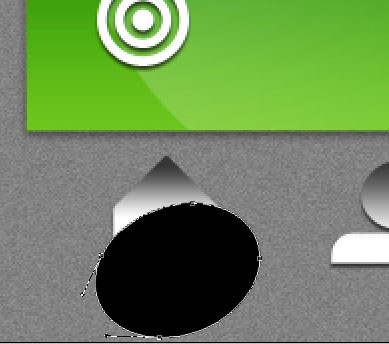
Hold on Alt button and make a mouse’s click between the shadow’s layer and the button’s one for the shadow to take the limits of the button.
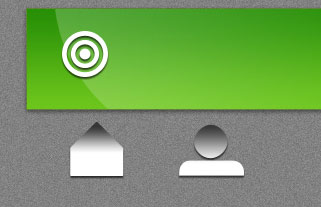
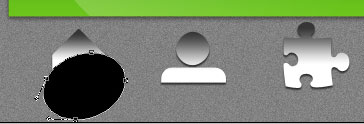
Make four copies of the shadow’s layer, placing the copies above each buttons’ layer. Press then on the Alt button and make a mouse’s click between the layers for the shadows to be applied in the limits of the buttons (the way it was described earlier).
Create a new layer and then represent on it a dividing, vertical line situated between the buttons, colored in #8E8E8E.
 Make three copies of the new made layer and select Free Transform option to place the copies like on the picture shown below.

Write now the name of our site, keeping the requests for the inscriptions from the next tables.
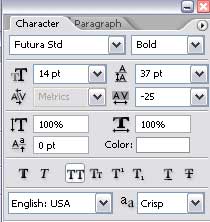
(design)
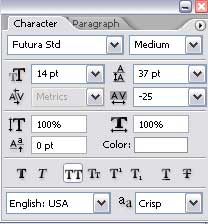
(studio)
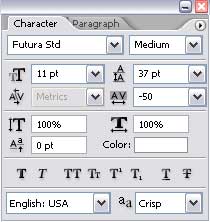
(the best creative idea)

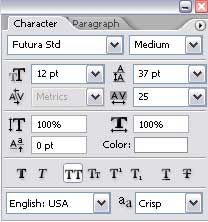
Give titles for the menu’s buttons situated on the site’s header.

Finished!
View full size here.
Comments