
Darken and Lighten Blending Modes
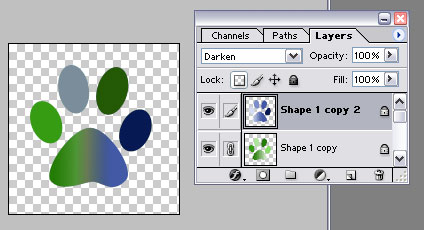
Here are two images that I’m going to blend together. I purposefully made them two different colors, and also made sure that the light/dark values were different as well:


When I layer the two images on top of each other and set the top layer to the Darken mode, you’ll notice that the “darker” values show from each layer.
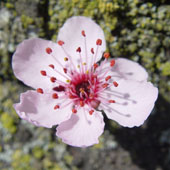
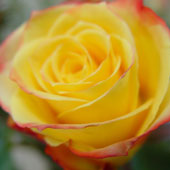
But the effect is even cooler when you start creating a montage with different photos or illustrations that have a lot of colors. Let’s take these two flower photos:

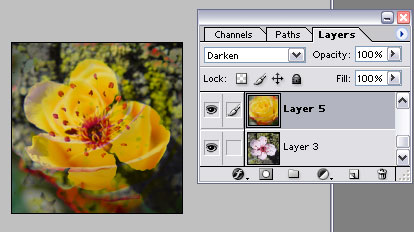
Once again, layering the images and setting the top layer to the Darken mode creates an interesting effect:
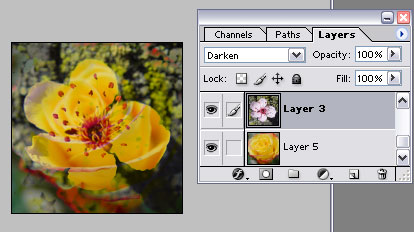
Because the cherry blossom picture has an area that is very light (the blossom), surrounded by a fairly dark background (the tree trunk), the yellow rose part shows through in a pretty defined area. I like it!
Just to demonstrate that Photoshop is really taking the darker value for each pixel, I’ll switch up the layers so that the rose layer is on top, set to Darken Mode. The end result looks exactly the same!
Comments