
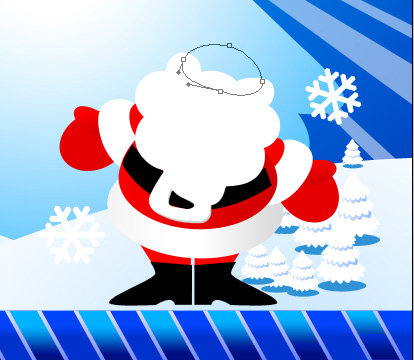
Dancing Santa Claus and Christmas Tree
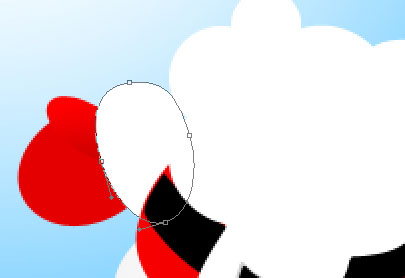
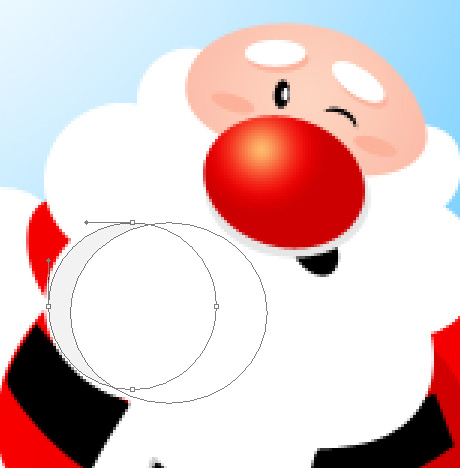
Next we’ll try to draw Santa’s beard with the Ellipse Tool (U), holding on Alt button when doing this operation. The ellipses’ shapes should be corrected with the Convert Point Tool, as usually.
Now we have to represent the mitten’s layer, belonging to Santa. The instrument in this case is the Ellipse Tool (U) and the color #E40000

Applying the last instrument, try to draw the big finger on the Santa’s mitten.


The layer’s parameters: Fill 0%
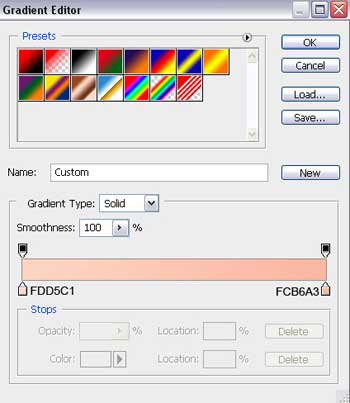
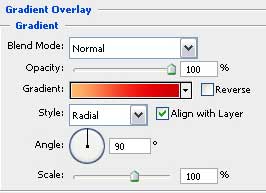
Blending Options>Gradient Overlay
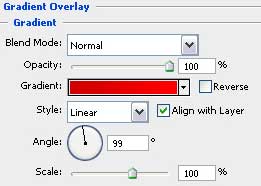
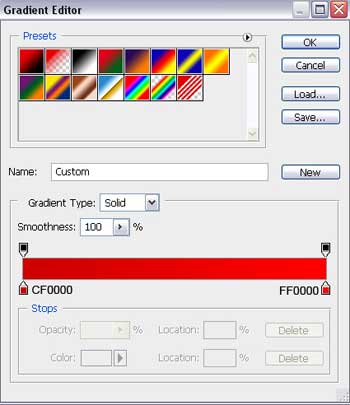
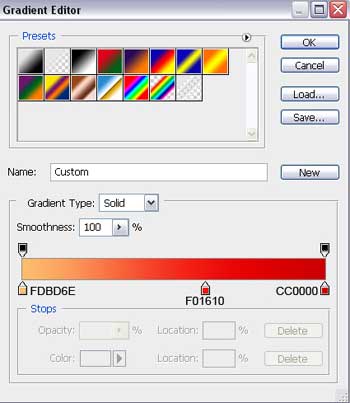
Gradient’s parameters:

Select the Ellipse Tool (U) to represent the fur on the Santa’s mitten, having white color. The fur’s corrections may be done with the Convert Point Tool. The layer will be placed lower than the first Santa’s layer (on the layers’ panel).
Using the last tool, it’s possible to draw now the Santa’s shoulder, having the color #F50000

Combine in a group all the layers composing the left Santa’s arm (press Ctrl button to mark out the corresponding layers and then hold on left mouse’s button when taking down the marked layers on Create a new group option). Make a copy of the group containing Santa’s arm. Choose Free Transform option to turn around the copy and place it the way it is shown next picture.

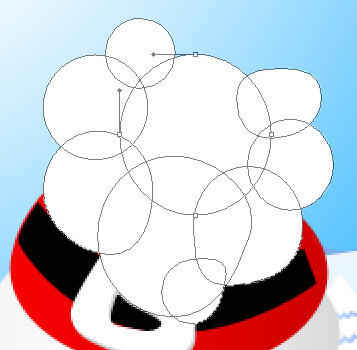
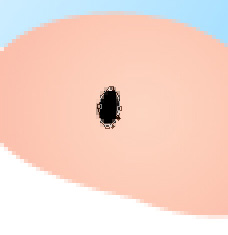
Use the Ellipse Tool (U) to represent finally the Santa’s head. We’ll make the necessary changes on the head’s shape with the Convert Point Tool.
The layer’s parameters: Fill 0%
Blending Options>Gradient Overlay

Gradient’s parameters:

The Ellipse Tool (U) can be useful when representing the left Santa’s eye, having black color.
Use the same tool when representing the right eye. Firstly it’s necessary to represent the eye’s basis and then pressing Alt button, remove the unnecessary elements we don’t want on the picture.

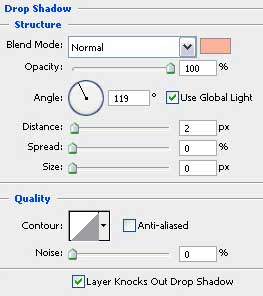
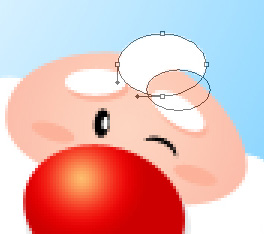
Next we’ll draw the eyebrow above the let eye, selecting preliminary the Ellipse Tool (U) and white color.

The layer’s parameters: Blending Options>Drop Shadow

Make a copy of the layer containing the eyebrow and use the Free Transform selection to turn over the copy and place it the way indicated below:

The same instrument will be helpful when representing the blush on the Santa’s cheeks. The color is #FCB29A

Using the previous instrument, draw on the left eye a highlight of white color.

It’s time to represent the primary layer, reserved for the nose of Santa. Select for this operation the Ellipse Tool (U) and the color #E6E6E6

Make a copy of the last made layer and use the Free Transform option to make the copy smaller and to move it a little upper, directing it to the left side.

The layer’s parameters: Blending Options>Gradient Overlay
Gradient’s parameters:

Represent now the mouth of black color with the Ellipse Tool (U). The layer should be placed lower than the primary layer of the nose (on the layers’ panel).

Give a little volume to Santa’s beard. Represent firstly the shadow with the Ellipse Tool (U), colored with #F2F2F2. Represent for the beginning the element’s basis and then hold on Alt button to remove the unnecessary elements.
Make a copy of the last made layer and choose the Free Transform option to make the copy smaller, placing it the way shown below:

Represent Santa’s hair of white color, applying the earlier described method.
Next draw the fur on Santa’s cap, choosing the Ellipse Tool (U) and white color.

Represent now the Santa’s cap, applying the Pen Tool (P). Place this layer lower than the previous one on the layer’s panel.
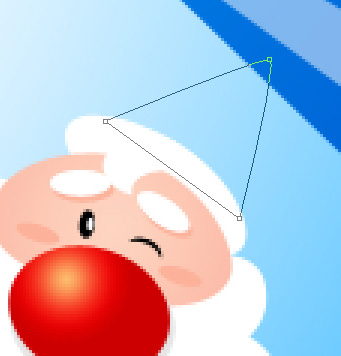
The layer’s parameters: Fill 0%
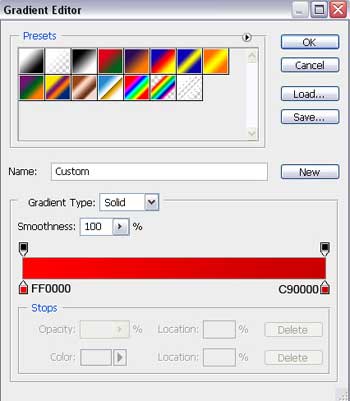
Blending Options>Gradient Overlay

Gradient’s parameters:

Apply the Ellipse Tool (U) to represent a small ball on the cap, having white color too. Its layer should be placed lower than the previous one on the layers’ panel.

Use the same method when representing the buckle on the Santa’s belt to draw a buckle on the character’s boot. The color is white and the instrument is the same.

Make a copy of the last made layer and select Free Transform option to turn over the copy and place it the way demonstrated next picture.


The Christmas postcard is finished!
View full size here.
Comments