
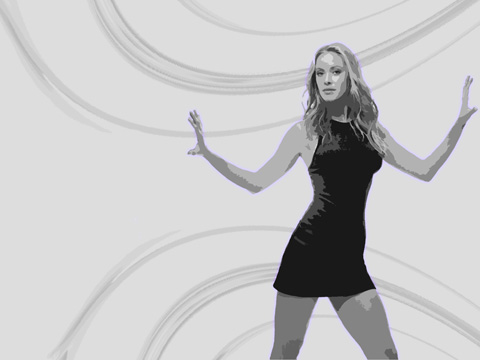
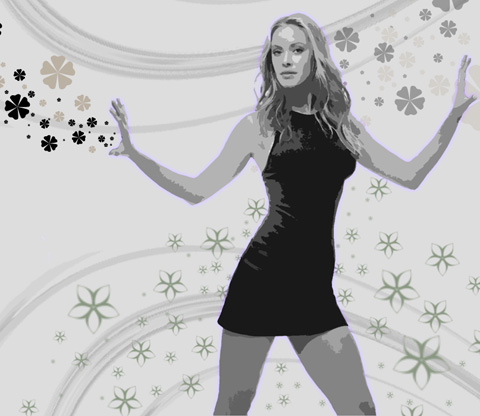
Custom Floral Wallpaper
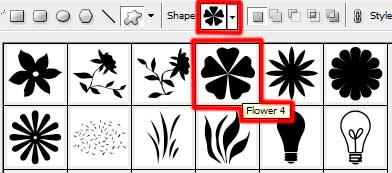
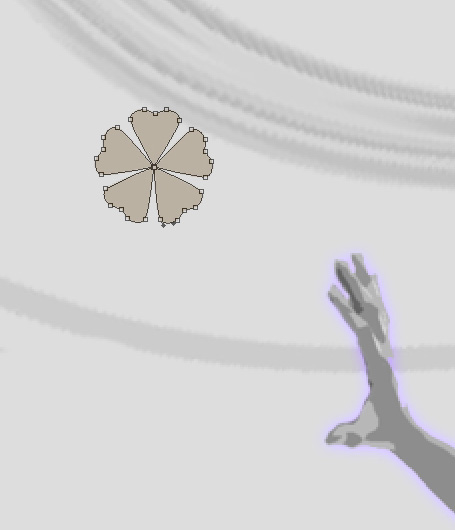
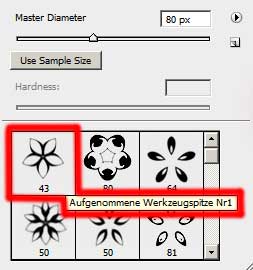
Select now the Custom Shape Tool (U) to picture a flower, colored with #BBB1A3
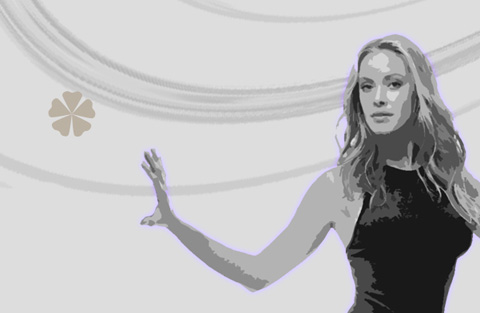
Make 26 copies of the last made layer and use again the Free Transform selection to change the copies’ sizes the way it is shown next picture.


Make one more copy of the flower’s layer, changing the copy’s color on black.

Try to make now many copies of the black flower, having different sizes (using the Free Transform option for this operation).
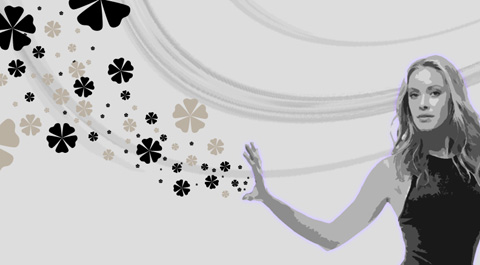
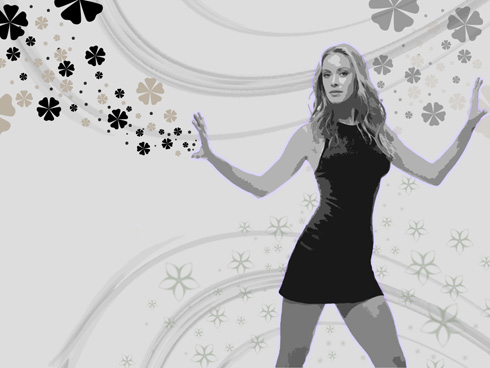
Make the same way several more copies of the flower that would be situated on the right side of the picture. The copies should be placed lower than the girl’s layer (on the layers’ panel).
Combine in a group all the layers containing the flower’s copies from the picture’s right side (press on Ctrl button to mark out the necessary layers and make a click on the left mouse’s button to take the marked layers on Create a new group option). Apply for this group a new parameter: Opacity 30% 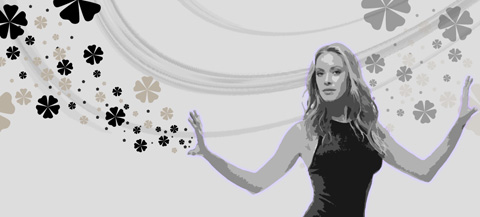
Now we have to download out of Internet a set of ready to use brushes for Adobe Photoshop: patterns2
All the indicated below brushes’ layers should be placed lower than the girl’s layer.
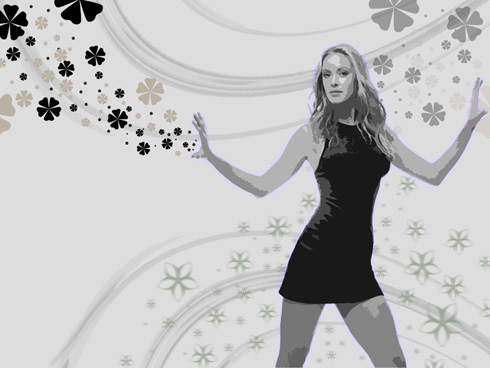
Create a new layer and select on it the brush mentioned next: patterns2.
The color in this case should be: #8A9882
The layer’s parameters: Fill 50%
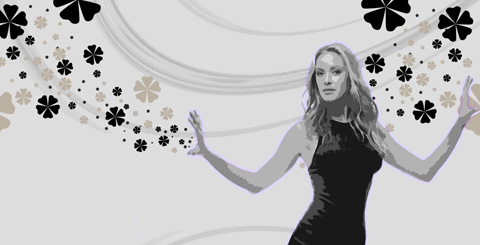
Make a copy of the last made layer and use the Free Transform option to move a little the copy to other side.
Comments