
Creation of textured object with lighting
Today the topic of our discussion will be a creation of textured object with lighting. A mere marble ball – to draw this by hand is harder then it seems. You should know how the light effects rounded objects.
So let’s begin.
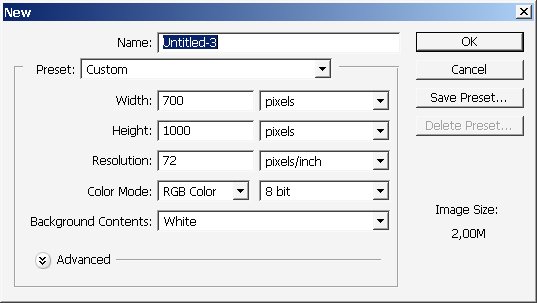
CTRL+N – create new document.
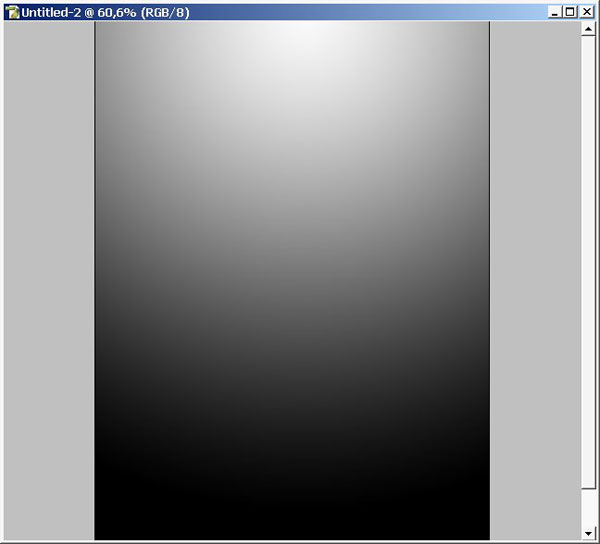
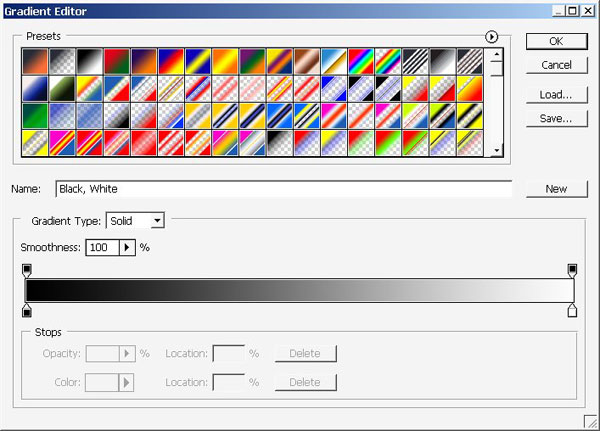
Use a gradient on it background – black to white – Rounded.

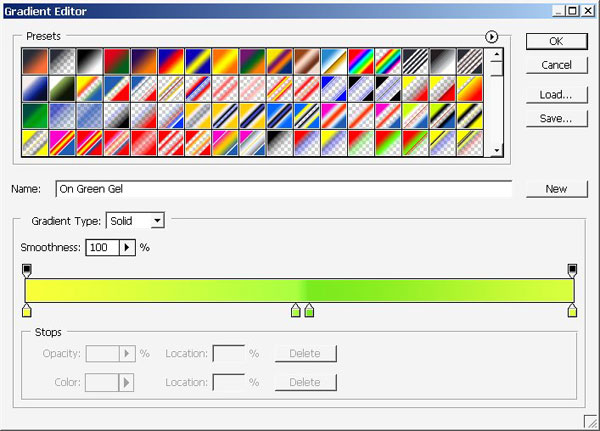
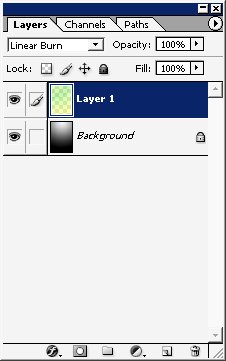
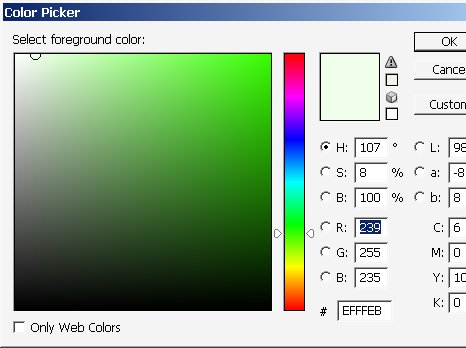
Now another gradient to set the color – I chose this one (new layer).
Layer position and settings:
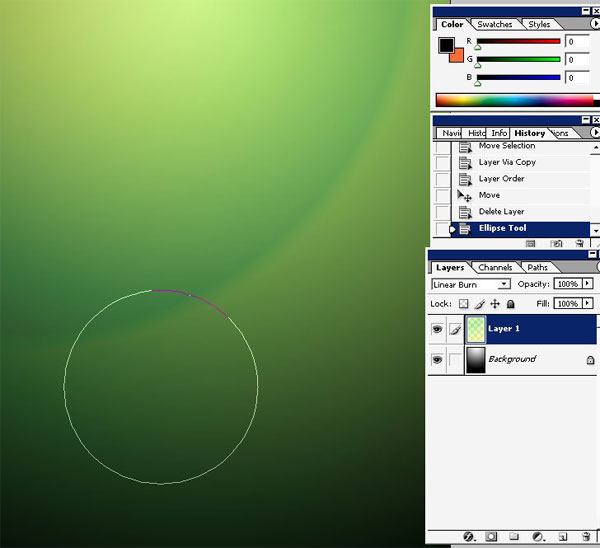
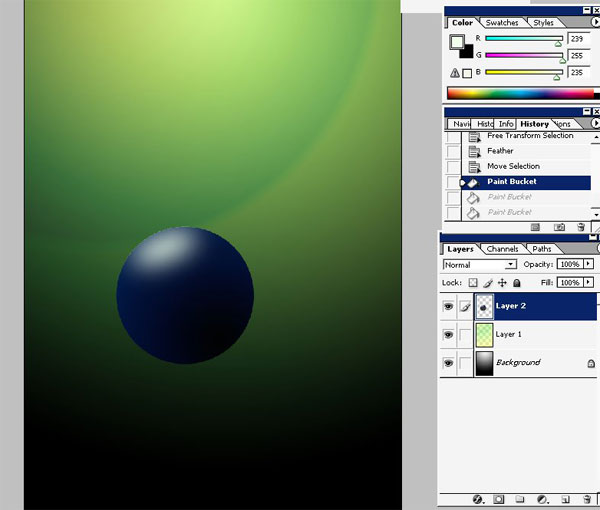
Now to the object, use the Ellipse Tool (U) – create perfect cycle holding the SHIFT key.
Now make the selection of the path (Alt – click on path in the PATH BOX – [Layer – Channels – PATH]), when the area is selected use a rounded gradient and fill the selection/path + copy the selection to a separate layer.


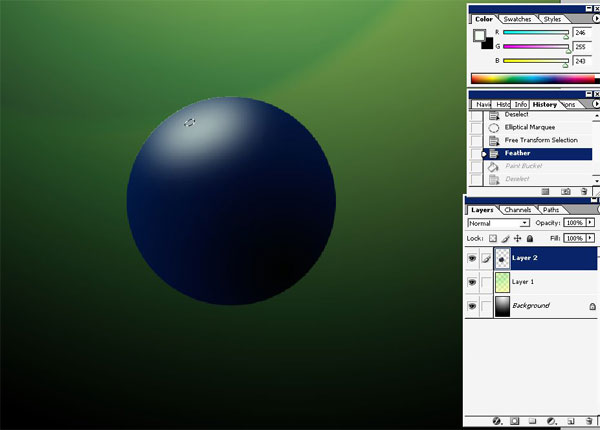
When this operation is done make a round selection and transform it like this – it will be the lighten area.
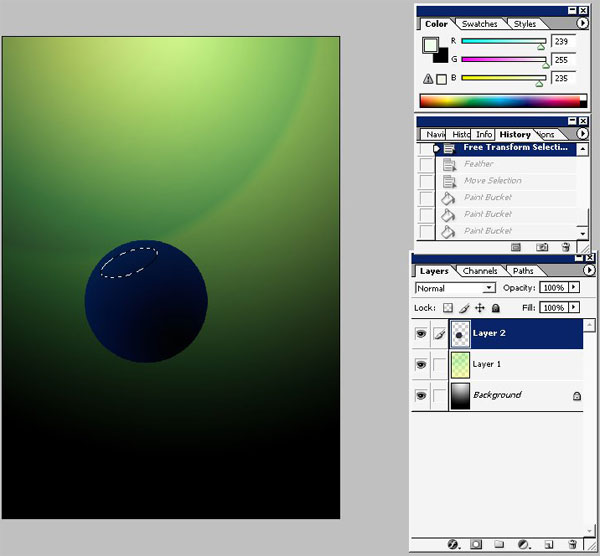
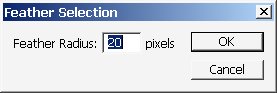
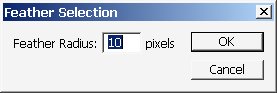
Do further command:
and fill the selection with this kind of color – not completely white.
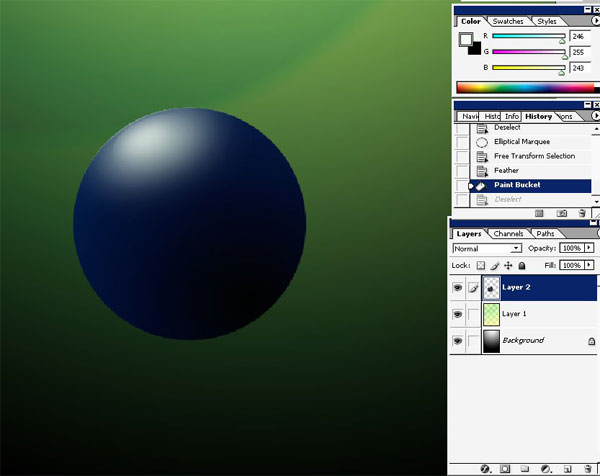
Then make another and smaller selection and do the same – transform and further it:
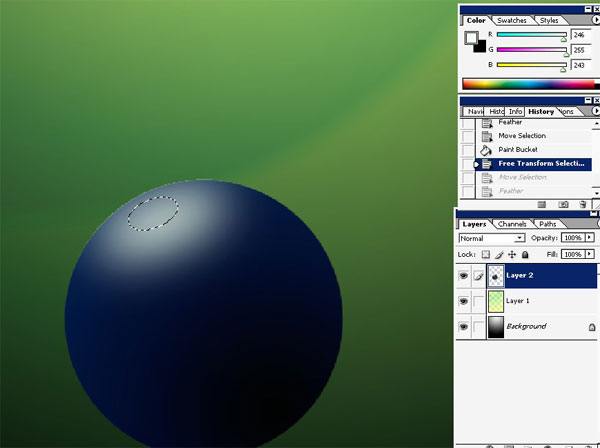
Fill it with color – this will be light hot spot point.
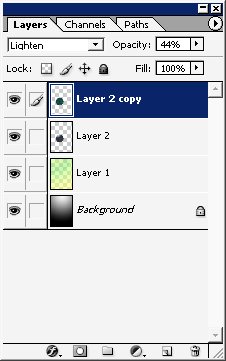
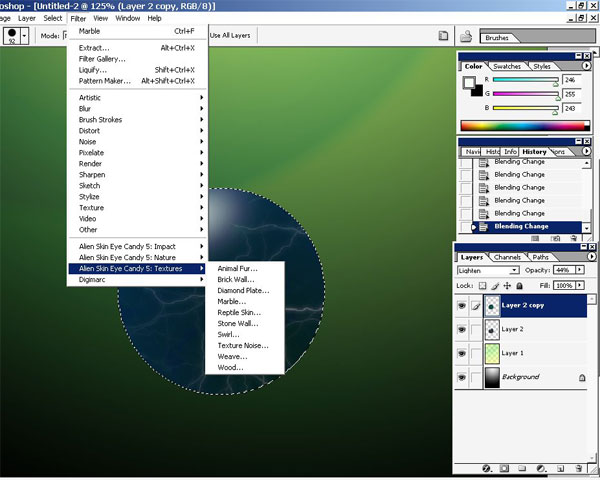
Now make a copy of our object and use a texture on it.
I’m using Alien Skin Eye Candy 5 ? Plug-in for Photoshop – RECOMMEND!
done ! – now use liquefy filter to make the image more real.
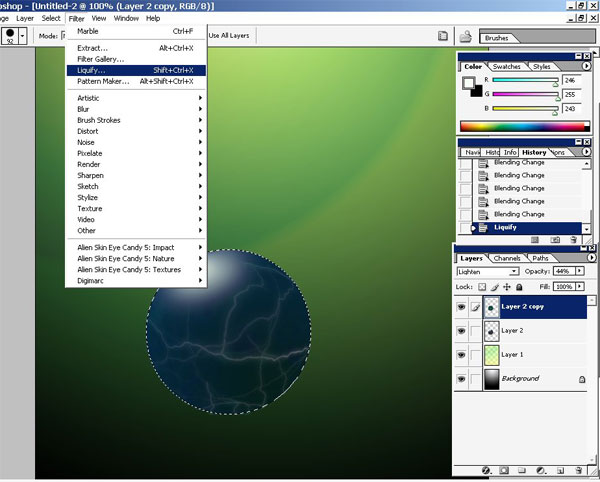
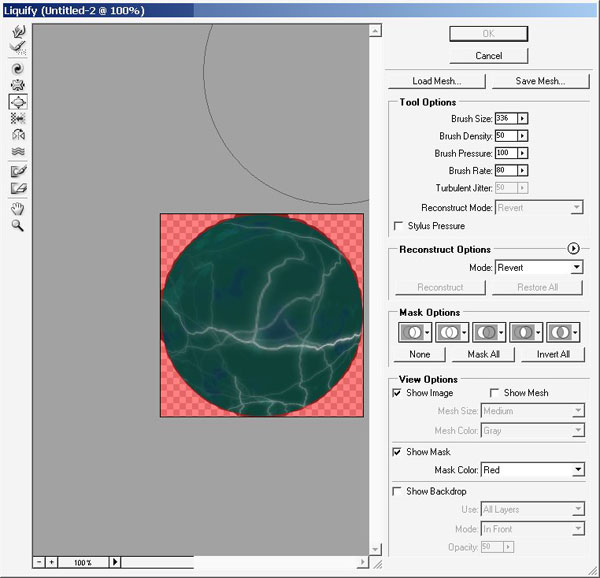
Use BLOAT Tool (in the liquefy ) to bump the texture. Current layer position:
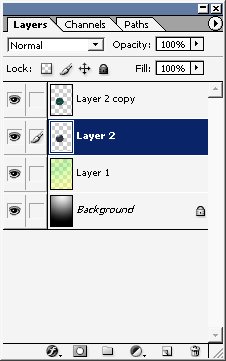
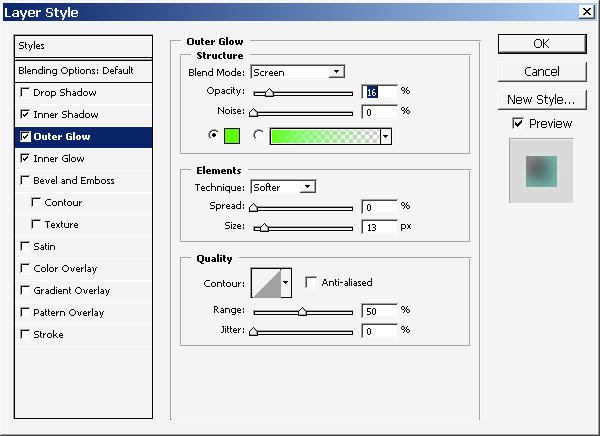
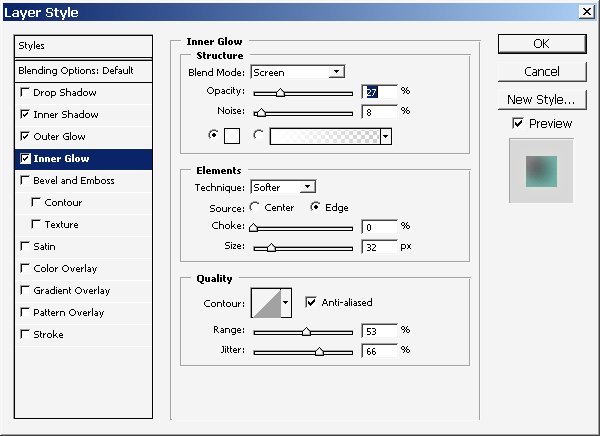
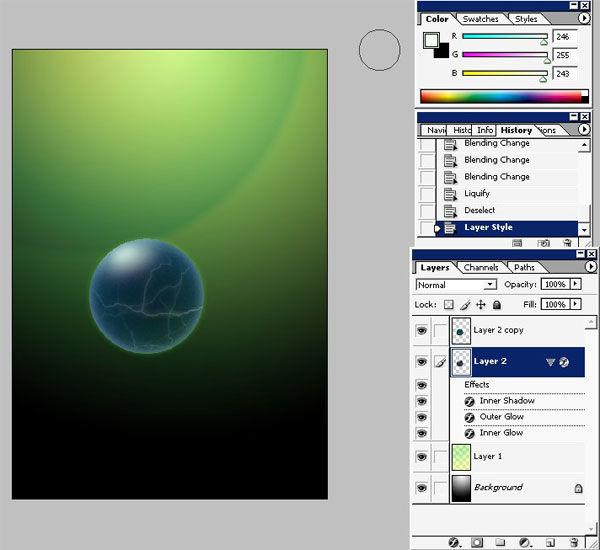
Use some layer styles to LAYER 2:
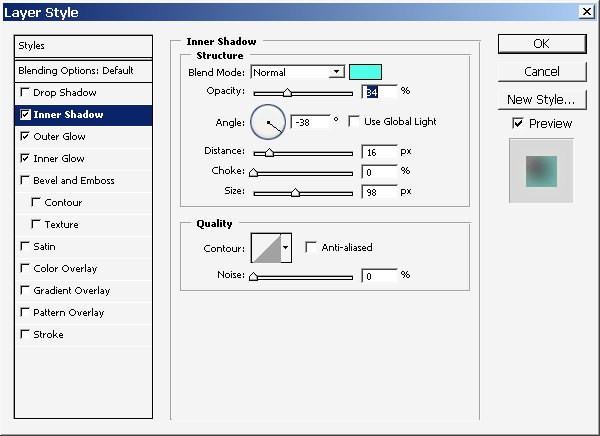
Result:
Paint a little bit and singularize the light and bottom lighting. Use the brush soft as possible.

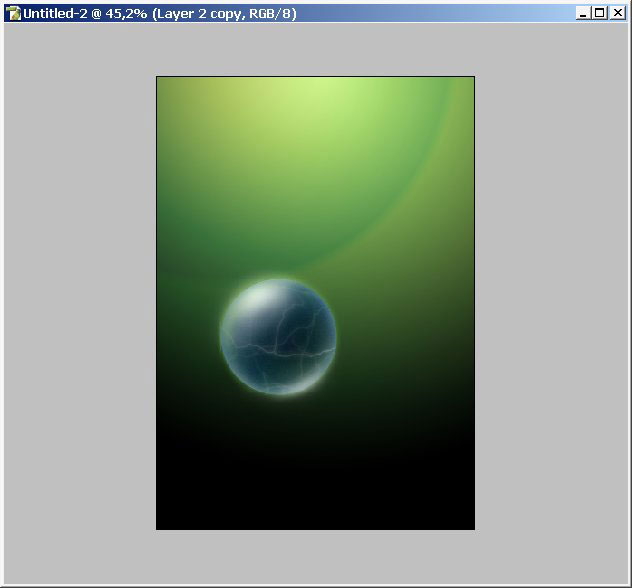
And this is it some final touches.
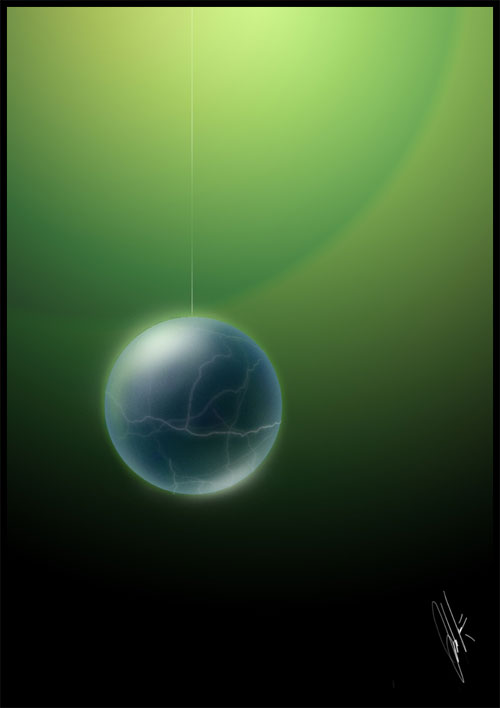
The illustration is done!
Enjoy and Share it with your friends!
Comments