
Creating a Demonstration
Creating a Demonstration
The plan is to show you how to define a site in Dreamweaver MX 2004. For most of my students the hardest part of the process is actually getting Dreamweaver to connect to the server. They need to provide a lot of new information and, for many of them, it is usually the first time they will undertake this task.
In my experience, the best way to learn it is to show them how do it (a demonstration) and then ask them to do it as well (a simulation). In this way, when they actually define their sites they will be in a rather familiar place. Follow my lead:
-
Launch Captivate. This opens the Captivate Start page (see Figure 2), which is a new feature for RoboDemo users. However, if you are a user of many Macromedia products, you are quite familiar with this page.
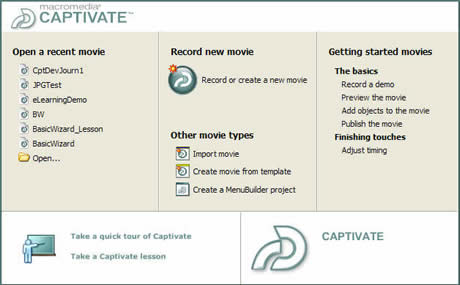
Figure 2. The Captivate Start page provides you with one-click access to a number of features ranging from creating a new movie to accessing Macromedia’s Captivate Developer Center
-
Click Record or Create a New Movie to open the New Movie Options dialog box. Select the Custom Size option and click OK (see Figure 3).

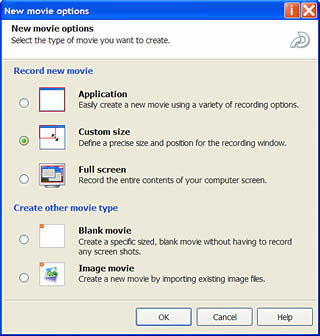
Figure 3. The New Movie Options dialog box lets you determine what will be captured
-
Captivate “closes” and shows you the recording window (see Figure 4). The red bounding box indicates the capture area; drag the handles in or out to expand or contract the area.
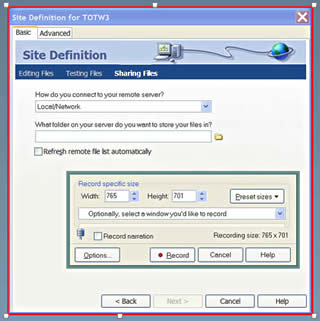
Figure 4. The capture area in Captivate is indicated by a red bounding box; recording controls and options are inside the recording area
Inside the capture area is a dialog box with a green border. These are the controls for the Captivate capture abilities. At the top is where you set the size of the capture area. You can do it “by the numbers” by entering your own values, selecting a preset from the Preset Sizes pop-up menu (ranging from PDA screen sizes to Macromedia Breeze presentation windows), or selecting a window you’d like to record from the pop-up menu shown.
- Select the Site Definition window item in the pop-up menu.
-
Click the Options button to open the Recording Options dialog box (see Figure 5).
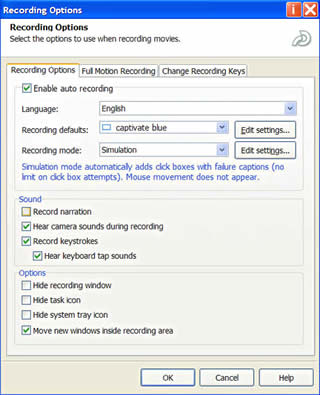
Figure 5. The Recording Options dialog box puts you in control of the recording process
The Recording Options dialog box contains three tabs:
- Recording Options applies global options ranging from Caption styles to the movement of new windows into the recording area
- Full Motion Recording sets how full motion such as the movement of the mouse or the dragging of an object in the capture area is recorded
- Change Recording Keys allows you to set the key strokes that initiate and stop recordings
- Click the Record button now to record your actions in the dialog box. Every time you do something new you will hear a camera click, and you will hear a tapping sound as you enter text.
- When you finish your recording press the End key. You will be returned to Captivate.
Click OK to close the Recording Options dialog box.
Note: If you are currently a RoboDemo user, the Full Motion Recording option in RoboDemo does not exist in Captivate. In Captivate, full motion recording is now an automatic process; you no longer have to apply a separate movie or keystroke action to initiate the process.
Tip: You can actually use the capture options to set the styles for captions and the formatting of the text used in those captions prior to recording. This is a great way of putting a style sheet in place. Simply click the Edit Settings button in the Recording Defaults section to open the Recording Defaults dialog box, where you set the caption style and font used for all your captions. Another useful feature of the Recording Options dialog box is the Recoding Mode pop-up menu. Selecting one of the four modes—Demo, Simulation, Training, or Custom—automatically sets the functionality of the capture (Demo mode shows mouse movement; Training mode doesn’t), and which caption styles appear during the capture (Demo mode won’t have success, failure, and hint captions; Simulation mode will).
Comments