
Create Web Gallery – Adobe Photoshop Action
Step 1: The first thing you will need to do is gather your source material. Chances are these are your masterpieces that have been tweaked, cropped, and manipulated using other tools in Photoshop. Place these in an Images folder that you have access to.
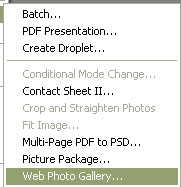
Step 2: From the File Menu, select Automate>Web Photo Gallery.
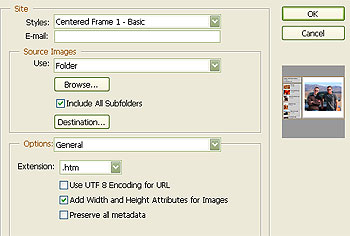
This will bring up the main interface where you can choose what type of gallery you will be creating.
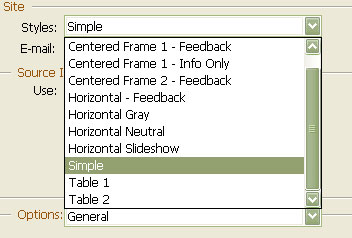
The Styles menu allows you select from a variety of templates for your gallery. These are nice, but somewhat limited. You should, however be able to find one that suits your needs.

The E-mail field is obviously for you to enter your e-mail address for users to get a hold of you.
Step 3: Under the Source Images section of the menu, navigate to the folder where your work resides.
If you have sub-folders (in case you have multiple galleries waiting to be created), you can turn that option on as well.
Destination allows you to select which folder or directory you want to put the new images. You need to be careful about what folder you put the resulting files. Photoshop will create an index.htm file along with Images, Thumbnail, and Pages folders. You probably shouldn’t put this in the root folder of your website, unless you don’t mind Photoshop overwriting your main page.
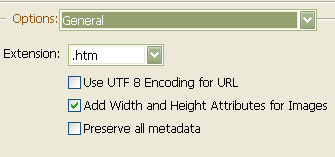
Step 4: There are a variety of Options you can manipulate for better results. The General Options category allows you to pick which format the HTML page should take, as well as encoding and coding options.
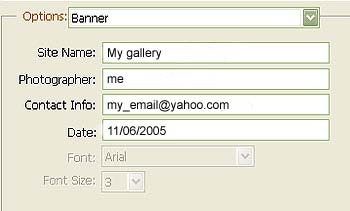
You should make sure you change the settings under the Banner Options. This is where Page Titles, copyright, and contact information will go.
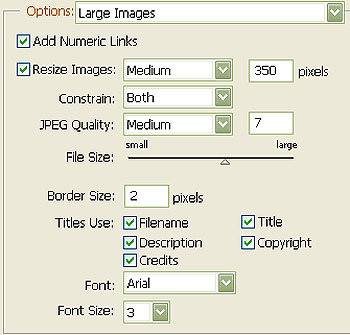
The Large Images Options gives you the freedom to set the size of the display images your user will see.
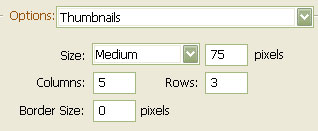
Similarly, the Thumbnails Options allow you to set the thumbnail size and properties for the final website.
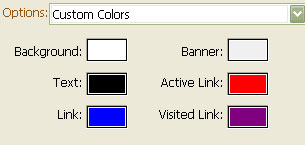
I am a bit disappointed in the Custom Colors options, but there are enough options to customize your gallery to match your website.
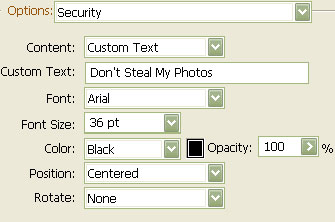
The final option to set is the Security options, which allow you to customize the copyright/security text that will appear on the site.
Step 5: When you have set all of the options to your liking, click the OK button and Photoshop will go about creating the necessary HTML and image files for your gallery.
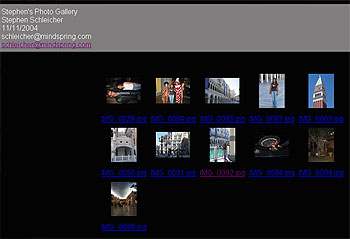

When finished, you are able to put the files and images on your remote server.
There are some problems with this Photoshop feature. First is the creation of the index.htm page. It would have been better forPhotoshop to have given you the option of renaming the file before being created. If you think you can simply rename the index file to one of your liking, you will find your links back to the main thumbnail page is broken. You would then have to go in and relink all of the sub-pages for the gallery. The end result is you are going back and doing all of the work you were originally trying to get away from. You can solve this problem by making sure these files and folder are not part of your root directory.
The second thing missing from this application is the ability to link to a Cascading Style Sheet. This would be make customizing your site over time a snap and would give you the ability to quickly change Next, Back, and Home arrows, colors, and font styles.
In other words, this is by no means a web development tool. It is, however, a quick and easy way to build an image gallery site for your own promotion, for client feedback, or to impress your friends with how quickly you can get a simple gallery site up.
Comments