
Create a Unique Glowing Text with Space Background in Adobe Photoshop CS5
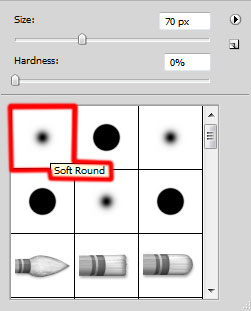
On the next new layer we’ll apply the Soft Round brush to paint the background, situating this layer under the text’s layer.

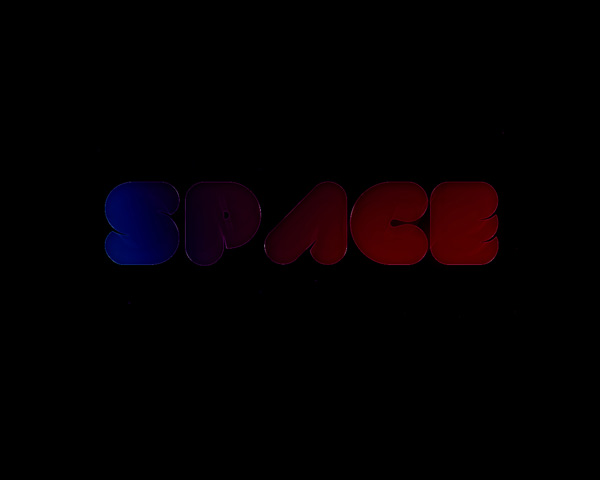
We’ve got the next result:
Set the Blending mode for this layer to Hard Light.


Insert the mask on the recently made layer by choosing Add layer mask on the bottom part of the Layers panel .
Apply also in the mask the next filter: Filter > Render > Clouds.

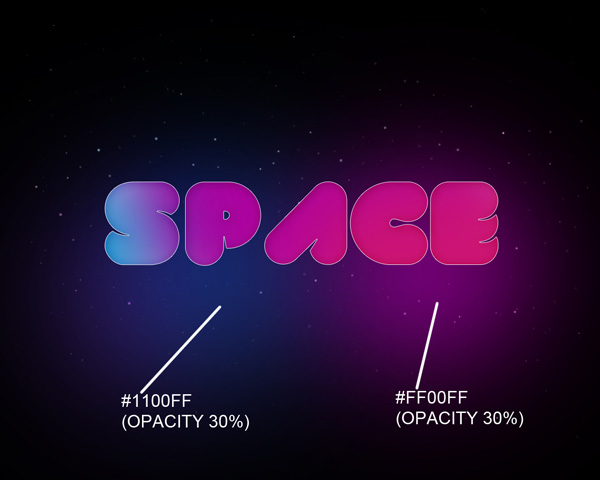
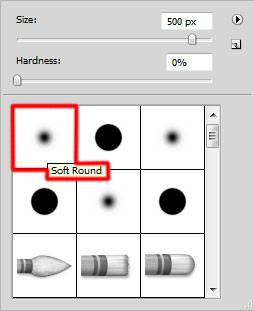
Next we have to represent a kind of luminescence behind the text’s layer. In this case create a new layer and select on it the Soft Round brush to paint the background behind the text’s layer.
Place this layer under the text’s one.
Set Fill to 50% for this layer.

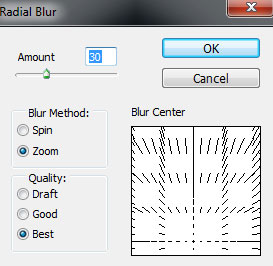
Next we’ll make a copy of the layer containing the word ‘SPACE’. Apply on the copy’s layer the next filter: Filter > Blur > Radial blur.
We’ve got the next result:

Set Fill to 70% for this layer.

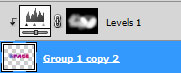
Click Create new fill or adjustment layer from bottom part of the Layers panel and click to Levels to adjust tonal range.
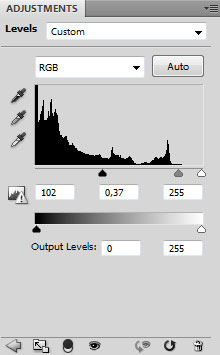
Adjusting black and white points with Levels Input sliders. Input slider must be in the next position (102 and 255).
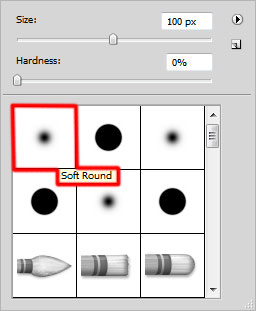
Insert the mask on the made layer by choosing Add layer mask on the bottom part of the Layers panel and press CTRL+I in the mask to Inverse the color. Choose the Soft Round brush of white color.
Paint in the mask using this brush to change the visibility of the layer.

Hold down Alt (Windows) or Option (Mac OS) and click between layers in the Layers panel to create a clipping mask.
We’ve got the next result:

Using the Ellipse Tool (U), we can draw several small ellipses of white color.

We’ve got the next result:

Each layer containing the ellipse has the same parameters with the other layers. Set Fill to 50% for this layer and change the Blending mode to Overlay.

Insert the mask now on each of the layers containing the ellipses and select the Soft Round brush of black color (brush’s Opacity – 30%).

Paint in the maks to hide the ellipses’ layers as shown. On the indicated ellipse we’ll insert the inverted mask (Ctrl+I) the way described before and paint in the mask with a white brush to change the visibility of the layer.

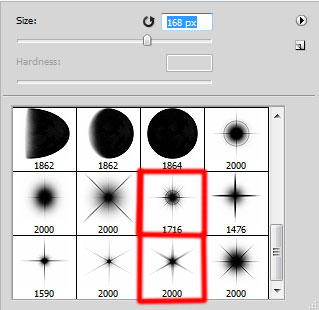
Next step we’ll download set of brushes for Adobe Photoshop, named: light_brushes_2. Copy the brushes file to C:\Program Files\Adobe\Adobe Photoshop X\Presets\Brushes folder (Adobe Photoshop X been your version of Photoshop).
Create a new layer and load the downloaded brushes, select the next brush to represent a shining effect of white color.
Apply the brush with a different Opacity value.

Set the Blending mode for this layer to Overlay.

Make a copy of the last made layer and set the Blending mode for this layer to Lighter Color.

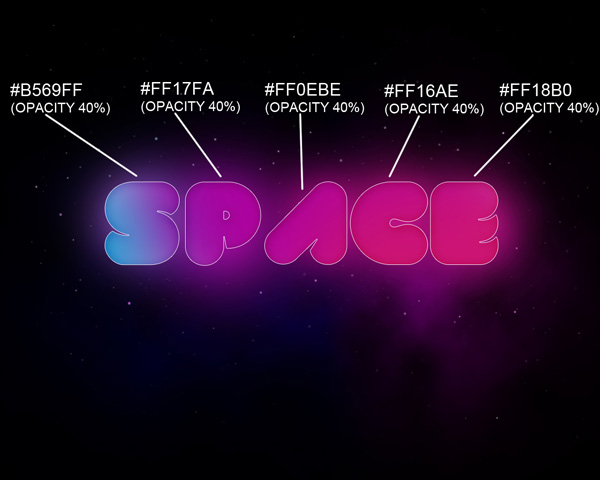
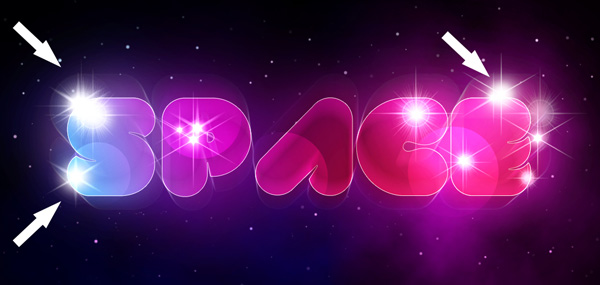
Create a new layer and represent the luminescence here, applying the Soft Round brush of white color (brush’s Opacity – 15%) the way shown next picture.
We’ve got the next result:

Set Fill to 85% for this layer and change the Blending mode to Soft Light.

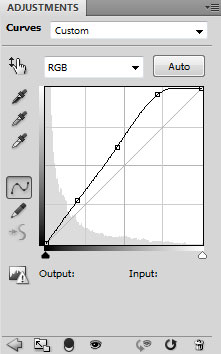
Click Create new fill or adjustment layer from bottom part of the Layers panel and click to Curves to adjust the curve shape as shown to make a little color corrections.
We’ve got the next result:

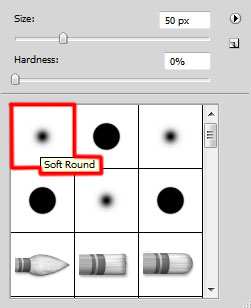
Create a new layer and choose here the Soft Round brush of white color (brush’s Opacity- 15%) to represent a brighter luminescence.
We’ve got the next result:
Comments