
Create Realistic Speakers
Gradient’s parameters: 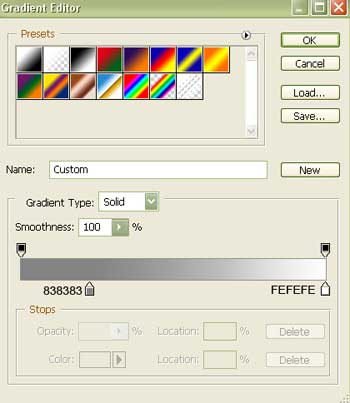
The second layer.

Blending Options-Gradient Overlay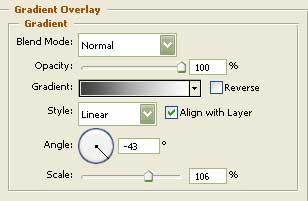
Gradient’s parameters: 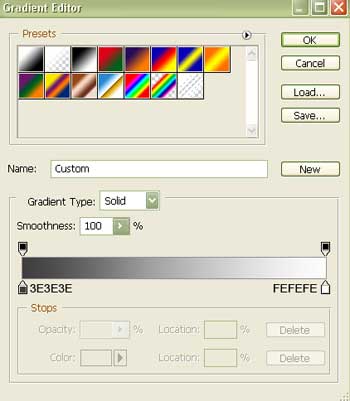
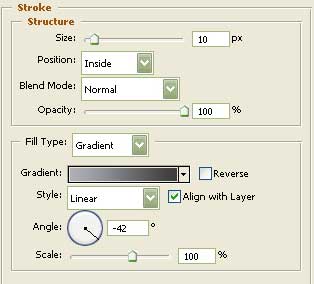
Blending Options-Stroke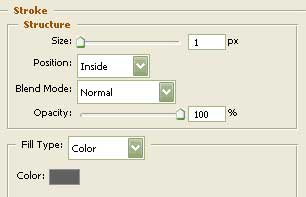

For you easier work, merge down all the layers containing the clamp in a group. Copy the new made group three times and place everything the same way it is shown below.
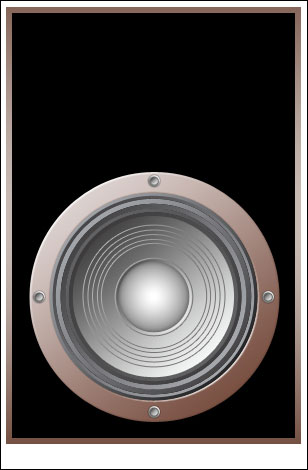
Merge down all the layers composing the big speaker in a group.
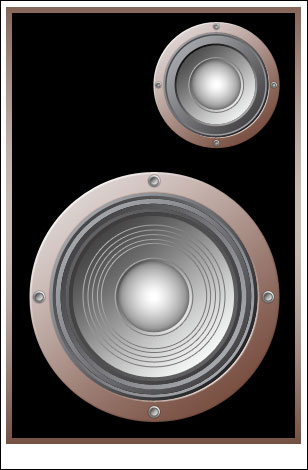
Copy the new group and apply the Free Transform selection to minimize it.
Erase now the layer of the mobile part and the layers with the speaker’s relief representation.
Keep only those two outside layers and the last two layers. By the way the next to the last layer must be changed – the layers of the central part must be enlarged.
Blending Options-Stroke
Next step includes copying the group of the smaller speaker. Make use of the Free Transform selection to minimize it. Enlarge a little the last layer of the mobile part. The layers of the central part must be enlarged the same way it is done below.
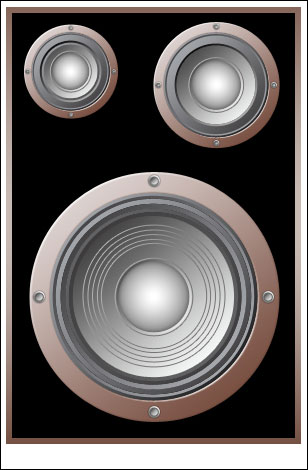
The final result!
Comments