
Create Realistic Planet
Make a new Document, 500×500 Pixels
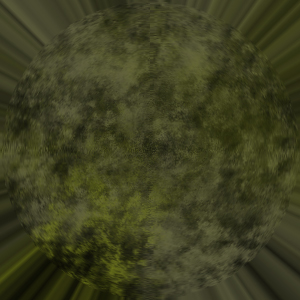
Brush the image with some grunge brushes, any colors youd like, I suggest 2 main colors though. (Brown: 636343, Green: 737C18)
Now go, “Filter > Distort > Polar Coordinates” (Polar to Rectangular)
Then go, “Filter > Distort > Polar Coodinates” (Rectangular to Polar)
Now, using the elliptical marquee tool, make a selection around the sphere.

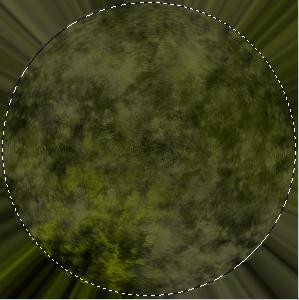
Now, right click and select, “Layer Via Copy” , now select the bottom layer, and fill it with Black.
Now, select your planet layer, and use these settings for layer styles.
Inner Shadow: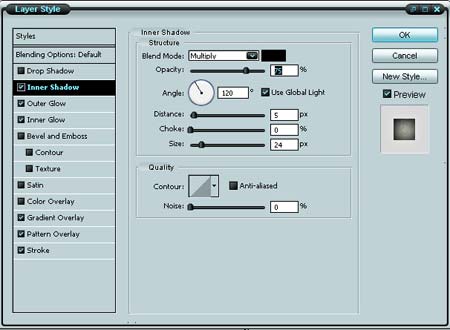
Outer Glow: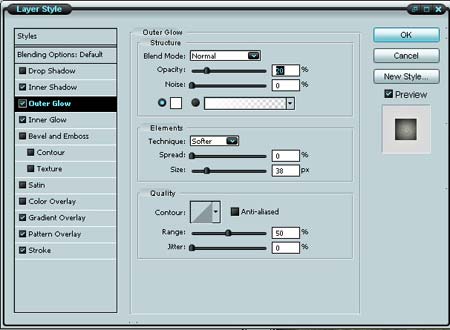
Inner Glow: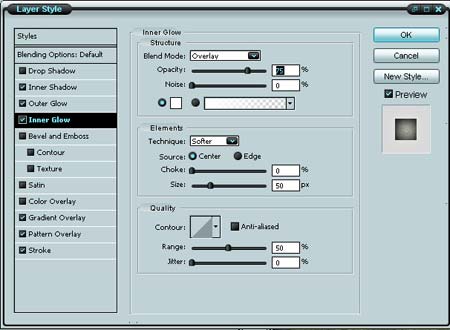
Gradient Overlay: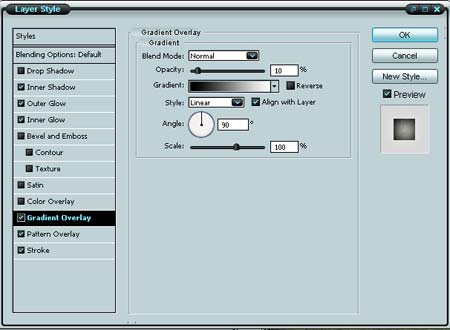
Pattern Overlay: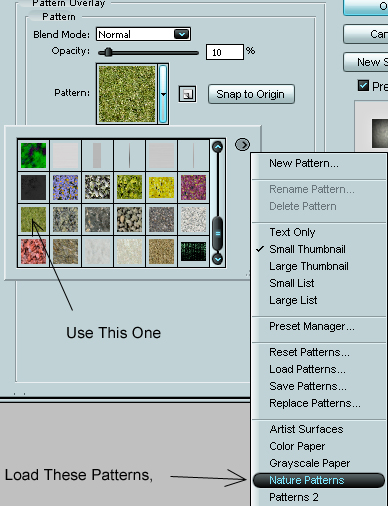
Stroke: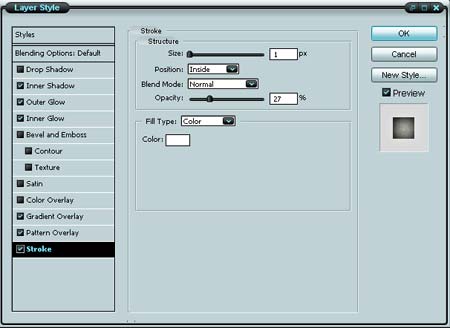
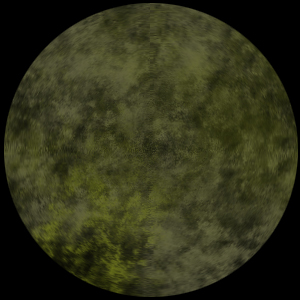
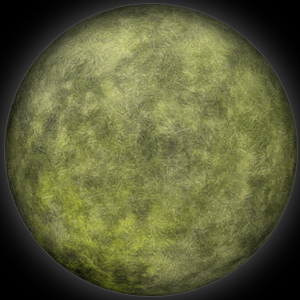
Should look something like this now,
Now, Ctrl+Click, your planet layer (should put a selection around the planet) and go “Filter > Distort > Spherize” at “100%”
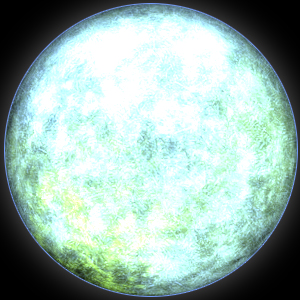
Now it’s complete. You can now touch it up anyway you’d like. A fun color addition is to create a new layer with blending mode “Color Dodge” and fill it with a color. For a chilly look, use this color “688EB8”
Which would end up looking like this.
Comments