
Create Photo Edges using Quick Masking
May 19, 2006 | 0 comments
 |
|
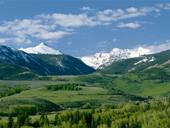
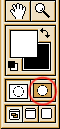
1. Open the picture you want to work with and click the quick Mask tool in the toolbar.
|
 |
|
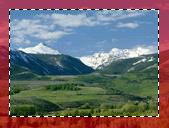
2. Use the paint bucket to fill the mask and draw a selection with the Marquee tool. Press delete and deselect. These are the basic steps, and you can now use almost any filter to apply cool edge effects. |
 |
|
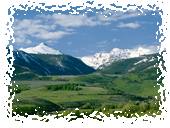
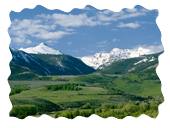
3. Apply the FILTER/DISTORT/glass filter and press “Q” (edit in standard mode) |
 |
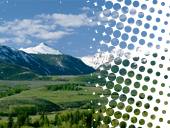
| This was made with FILTER/PIXELATE/color halftone |
 |
| This was made with FILTER/DISTORT/ripple |
 |
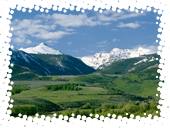
| Here I used the gradient tool on the mask. Black foreground and white background. |
Comments