
Create Nice Ghostly Effect
Author: Ryan Muder,
URL: http://www.gfxgamers.net
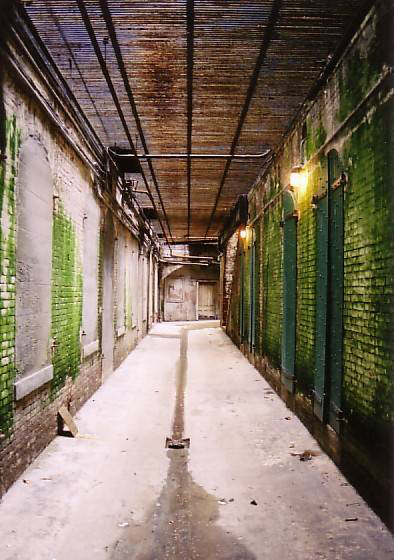
1. Open your image
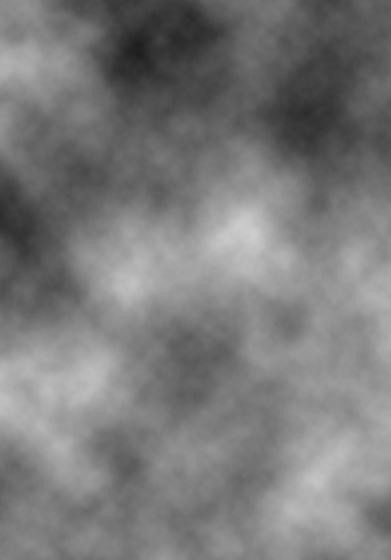
2. Create a new layer.
3. Now with you foreground color set to black and your background color set to white (Ctrl + D) go Filter > Render Clouds.
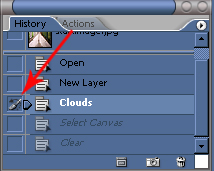
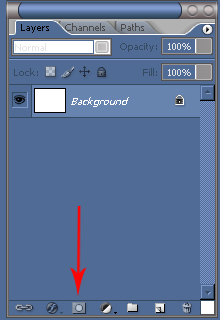
After you have done that go to your history pallete and select the cloud actions you just preformed and click the box to the left of it.

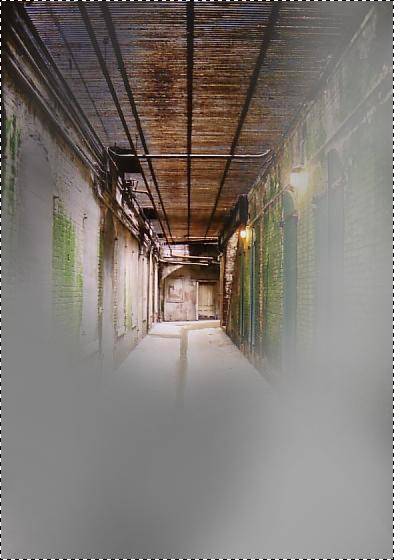
4. With the clouds layer selected go to Select > All.
5. Edit > Clear.
6. Now select your Art History Brush & in the tool settings toolbar change the opacity to 70% & then use your favorite brush and brush the fog in to look something like this.
7. Layer > Flatten Image
8. Filter > Render > Lighting Effects.
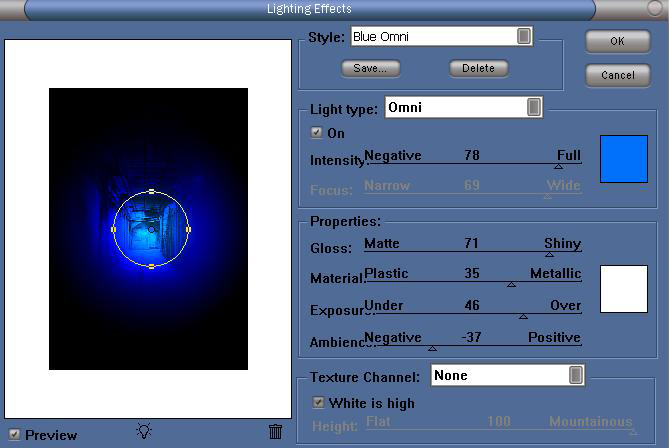
9. Ctrl + D (to deselect)
10. Now open the silhouette image.

11. Paste the silhouette image onto the hallway photo.
Now you can resize the silhouette by first right click the silhouette layer and group into new smart objects, then hit Ctrl + T and resize the image to what you like.
Before we continue we have to blend the silhouette in some, i used the vector mask and gradient tool to do mine but you can use whatever way is easier for you.
To use the gradient tool and vector mask follow these steps.
1. With the shilhouette layer selected select the vector mask.
2. Select your gradient tool and use these settings.

3. Now starting just below the shilhouette’s feet drag the gradient up as many times as it takes until you have blended the image, something like this.
Now let’s continue…
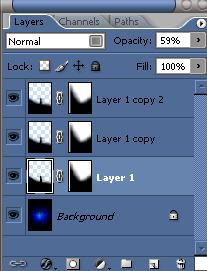
12. Change the opacity to the shilhouette layer to 59%.
13. Duplicate the layer.
14. Filter > Blur > Gaussian Blur (8px)
15. Duplicate the layer.
16. Now go back to the original shilhouette layer & using the smudge tool slightly smudge the edges of the shilhouette so it looks more ghostly.
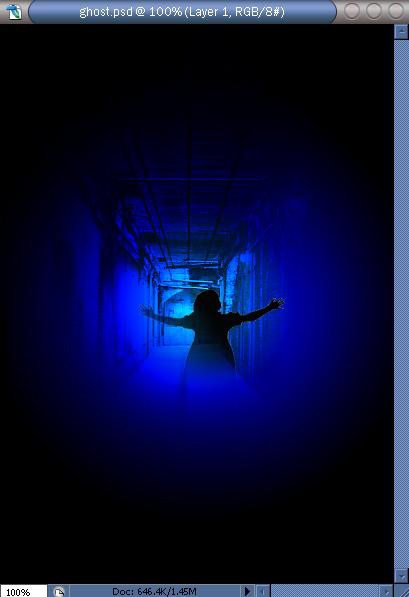
In the end you should have something similar to this:

Comments