
Create Dynamic Lighting Effect Using Custom Brushes in Photoshop CS5
Set the Blending mode for this layer to Difference.
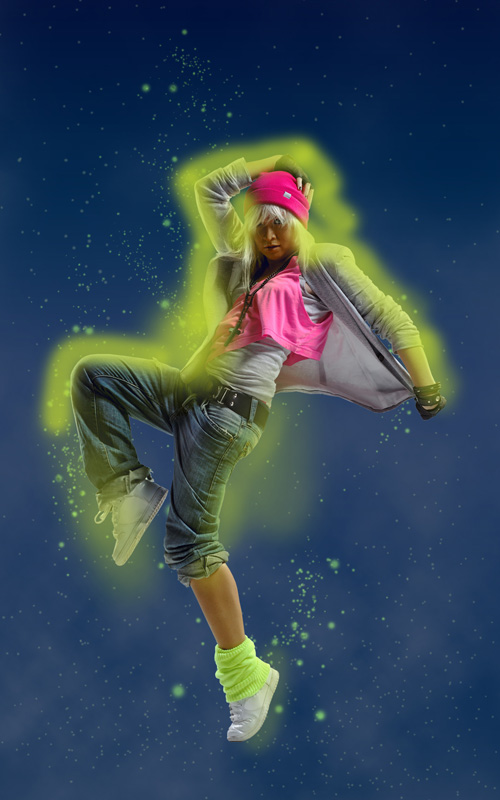
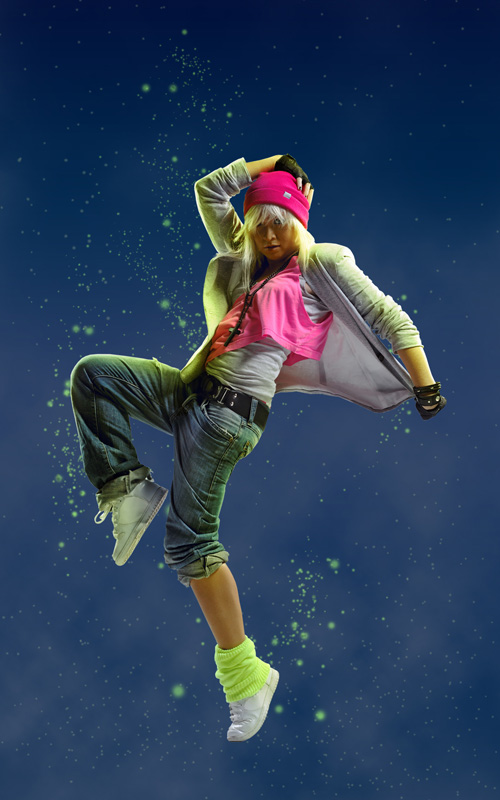
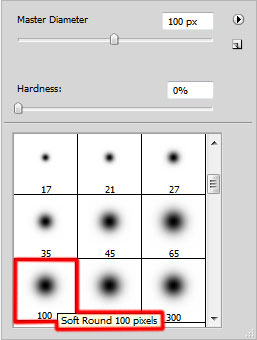
Create a new layer and use here the earlier mentioned Soft Round brush.

Use this brush to paint the model on the indicated positions as shown. The brush’s color is #E0FF4C (brush Opacity – 40%).

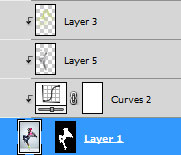
Hold down Alt (Windows) or Option (Mac OS) and click between layers in the Layers panel to create a clipping mask.
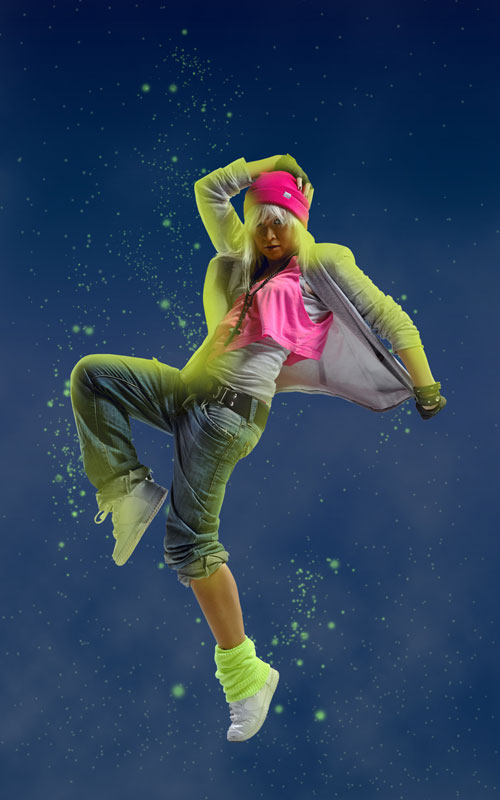
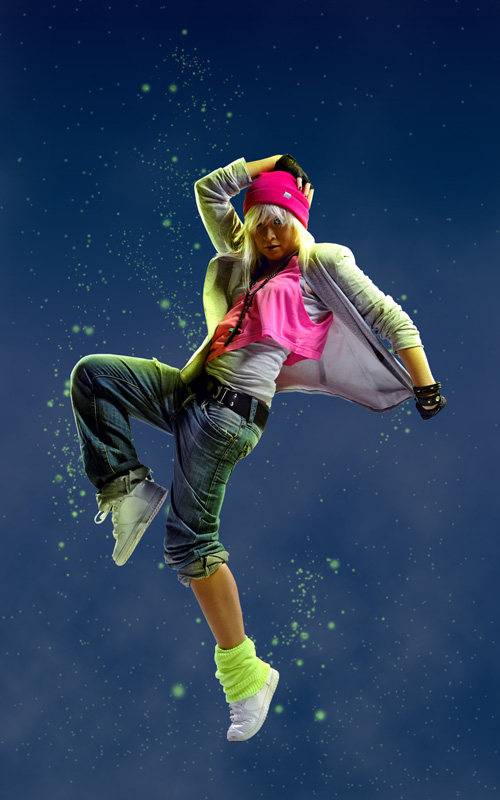
We’ve got the next result:
Set Fill to 50% for this layer click on Add a layer style icon from bottom part of the Layers panel and select Vivid Light.
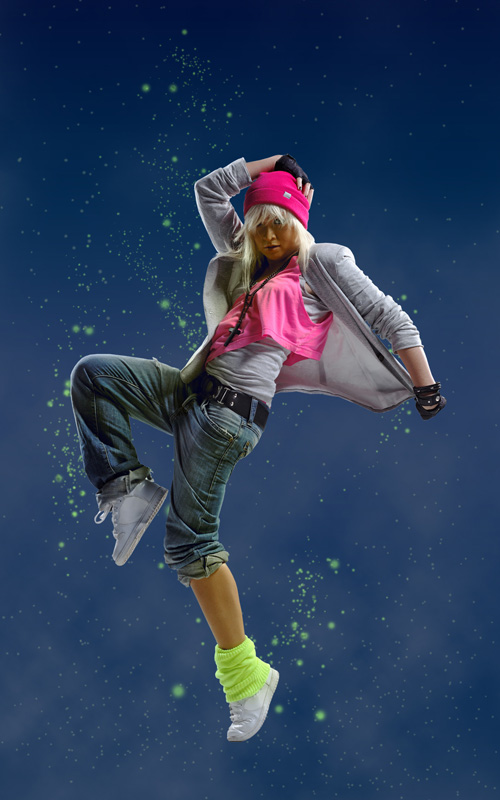
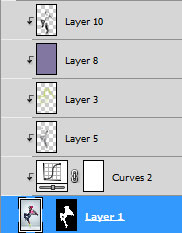
Create new layer and use the Paint Bucket Tool (G) to fill it with #8177A1 color.

Hold down Alt (Windows) or Option (Mac OS) and click between layers in the Layers panel to create a clipping mask.

We’ve got the next result:

Set Fill to 12% for this layer click on Add a layer style icon from bottom part of the Layers panel and select Hard Mix.
Create a new layer and select for it the Soft Round brush mentioned earlier of black color to represent shadows on the model. Apply a different Opacity value.
Hold down Alt (Windows) or Option (Mac OS) and click between layers in the Layers panel to create a clipping mask.
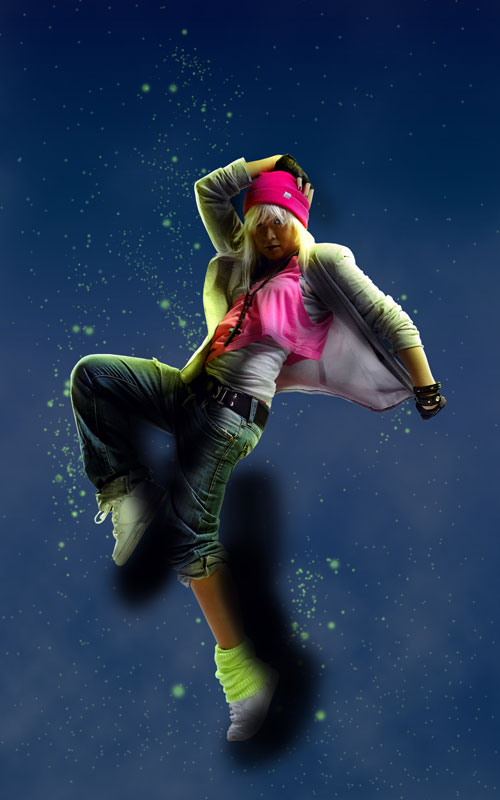
We’ve got the next result:
Set Fill to 87% for this layer click on Add a layer style icon from bottom part of the Layers panel and select Soft Light.

Create a new layer and paint with the Soft Round brush the indicated positions on the model’s body.
The brush is of white color and yellow one with different brush Opacity value.
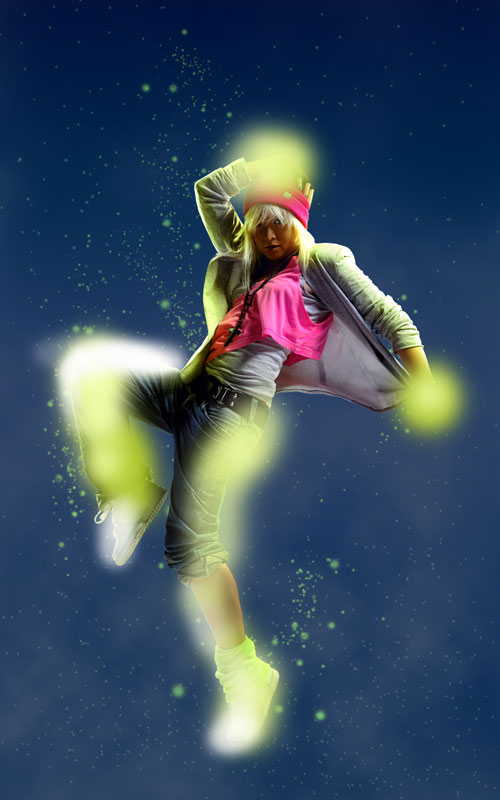
Set Fill to 45% for this layer click on Add a layer style icon from bottom part of the Layers panel and select Soft Light.
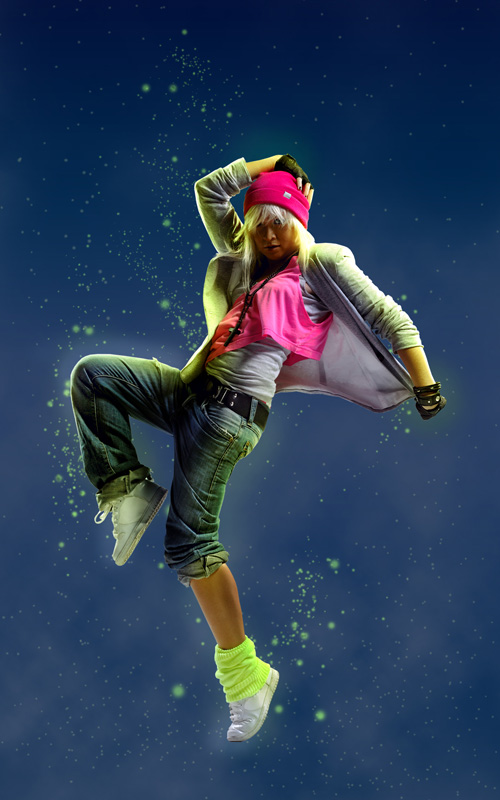
Create again a new layer, using here the same Soft Round brush for representing many dots of different diameters.

The brush is of #849C3E color.

Comments