
Create a Magic Orb
After that we’ll just make a copy of the made layer, applying for it the next settings.
Blending Options>Outer Glow
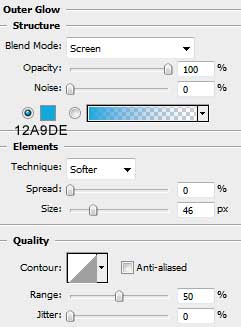
Blending Options>Color Overlay
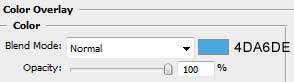
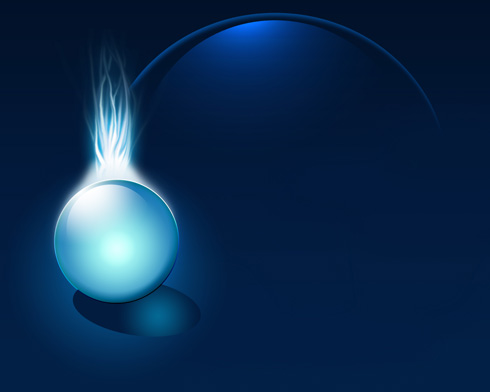
We’ll get the glow effect.
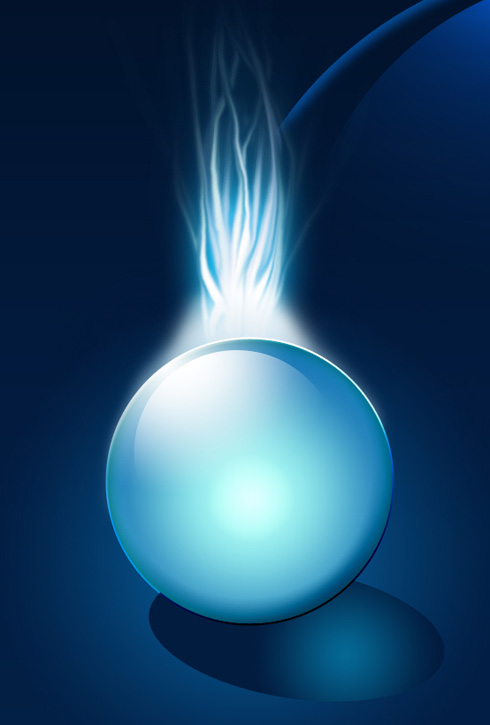

Create a new layer again and using a brush and the white color, try to make a white circle, giving it the appropriate settings for representing the glow effect too.
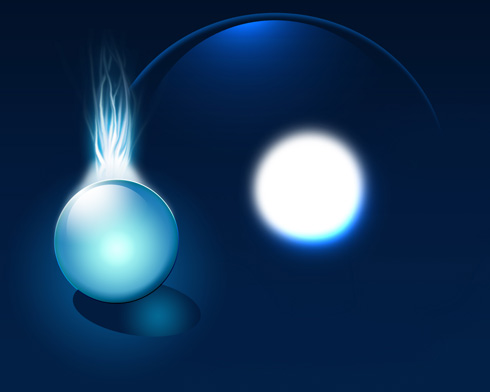
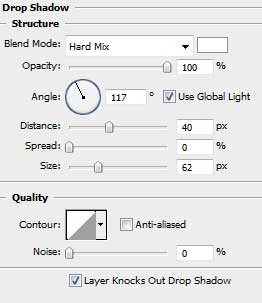
Blending Options>Drop Shadow
Place this layer behind the layer containing the flames.
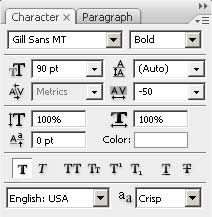
Next we’ll introduce the next demonstrated word by choosing for the operation the Horizontal Type Tool (T).

Character options:
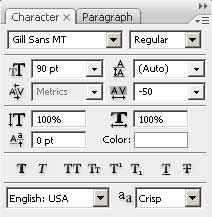
Now we shall follow the next settings to represent a kind of text’s effect.
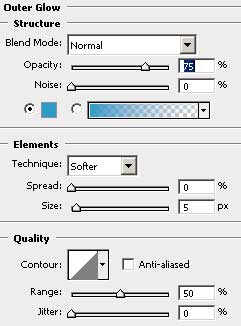
Blending Options>Outer Glow
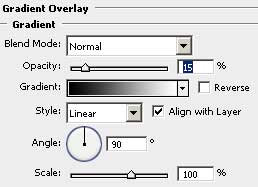
Blending Options>Gradient Overlay
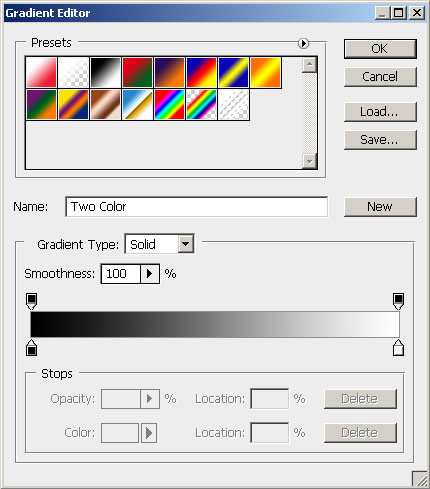
Gradient Editor
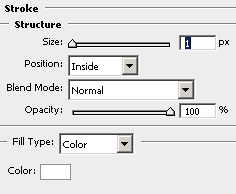
Blending Options>Stroke
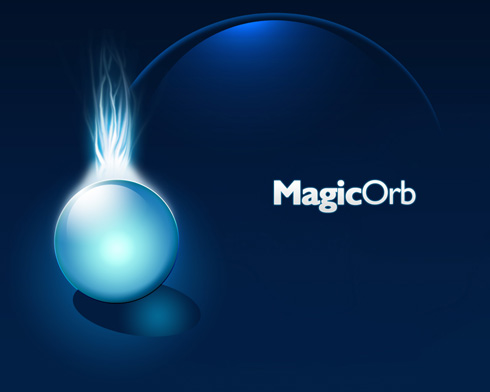
Finished!
View full size here.
Comments