
Create a Magic Orb
Follow the same settings from below:
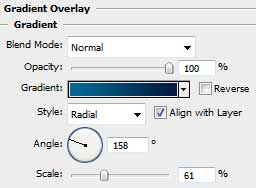
Blending Options>Gradient Overlay
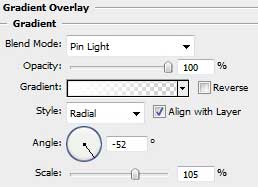
Set the Fill – 0%.
Next we need to represent an ellipse that is reserved for the shadow that needs to be situated under all our made circles.


Set the next demonstrated adjustments and apply the Fill’s value shown below too.
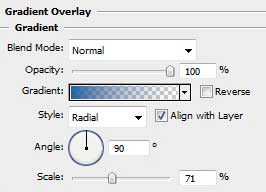
Blending Options>Gradient Overlay:
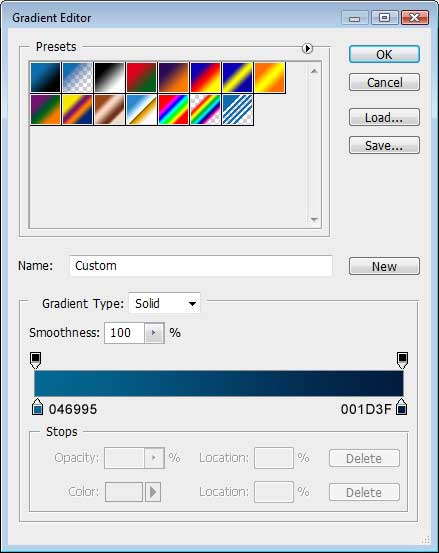
Gradient Editor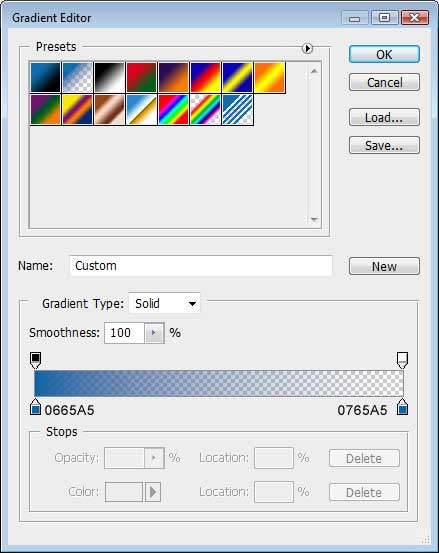
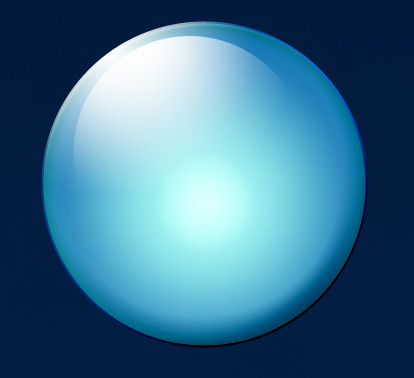
In this case we’ll get the effect of shadow – and – light.

Next we’ll draw an ellipse above the layer containing the shadow – light effect.

Apply also the next shown adjustments.
Blending Options>Gradient Overlay
Gradient Editor
We’ll get a kind of shadow coming out of our sphere.

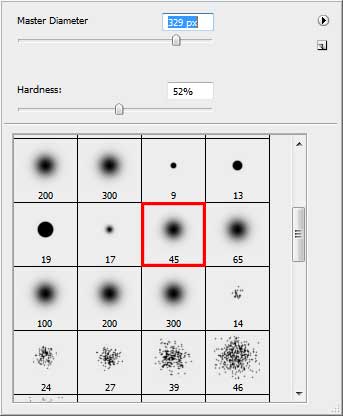
Create a new layer and draw on it the next element, applying for this operation the usual brush and the white color.
We’ll get the same result indicated next image:

Now it’s time to select the Smudge Tool (R) and try to pull out of the sphere several tongues of flame, as it is shown next picture.

Comments