
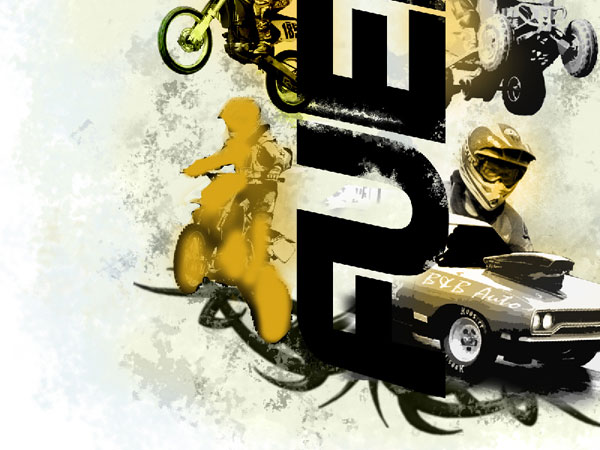
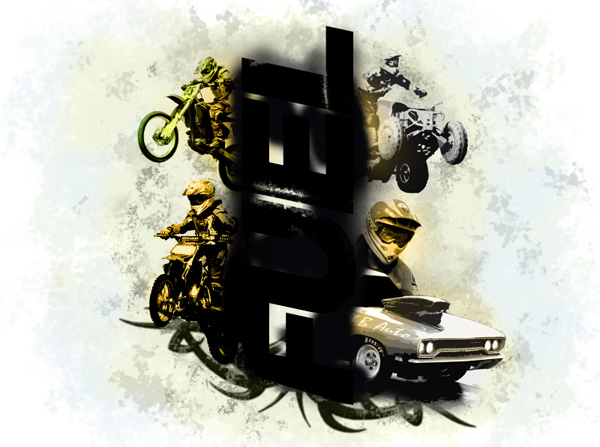
Create a Fuel Game Cover in Photoshop
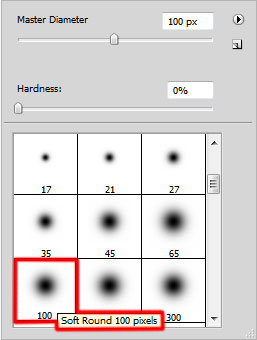
Create a new layer and select on it the Soft Round brush to paint the racer.
The brush’s color is #D7A517
Set the Blending mode to Color.
Create a new layer and use a Soft Round brush to paint in black the zone around the FUEL word.
This layer should be situated under the layer with the FUEL word on it.
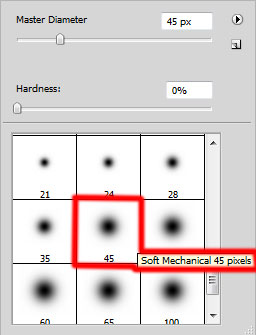
Now we’ll create a new layer and use here the Soft Mechanical brush of white color to outline the letters in the FUEL word.

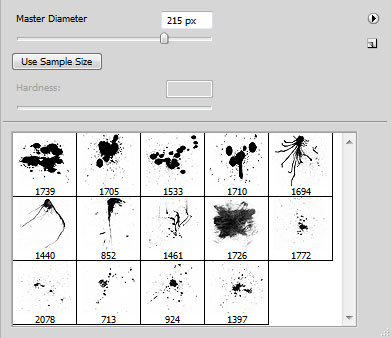
It’s time for the brushes from the set bloodbrushes2_invaynestock that will be helpful to represent the splashes around the letters of white color.
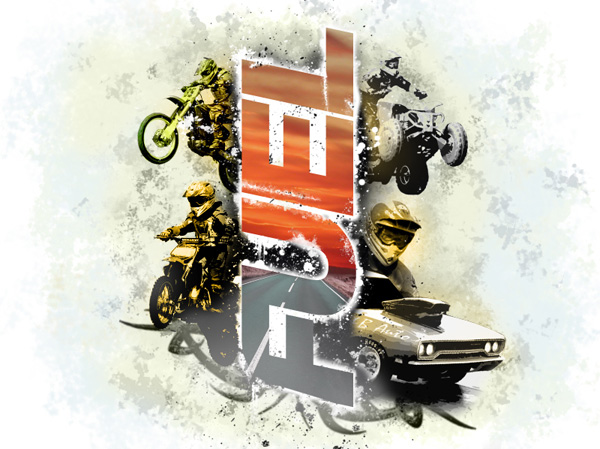
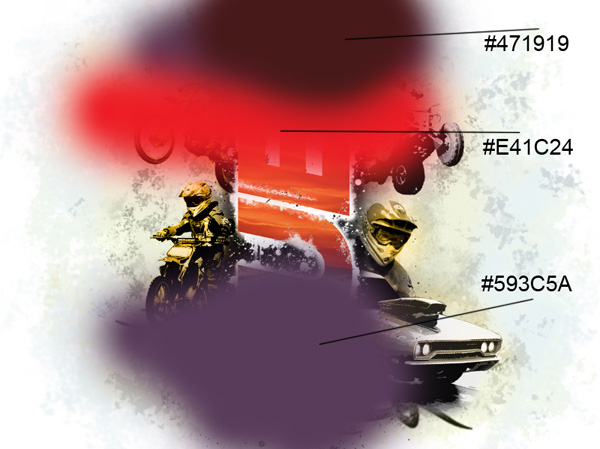
We’ve got the next result:

Next we’ll represent another new layer and apply on it the brushes out of the same set, the brushes having black color. Place this layer under the layer with the FUEL word on it.
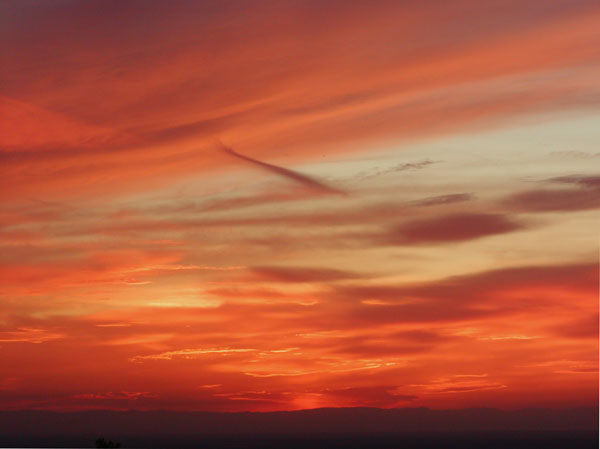
Next we need to find a photo with the night sky.
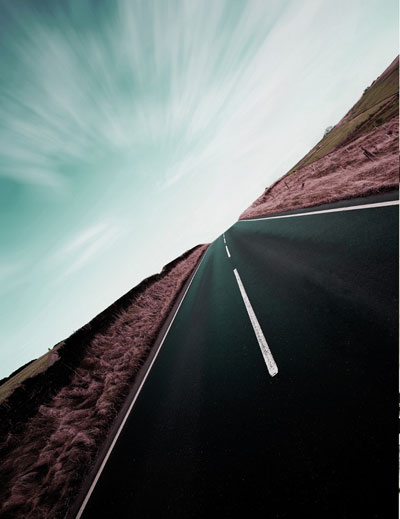
.. and the photo of a highway.
Put both found pictures on our main document. Use the Free Transform (Ctrl+T) command to place them the same way shown on the picture and incline them a little. The layer containing the highway needs to be cleaned out a little, using the Eraser Tool (E).
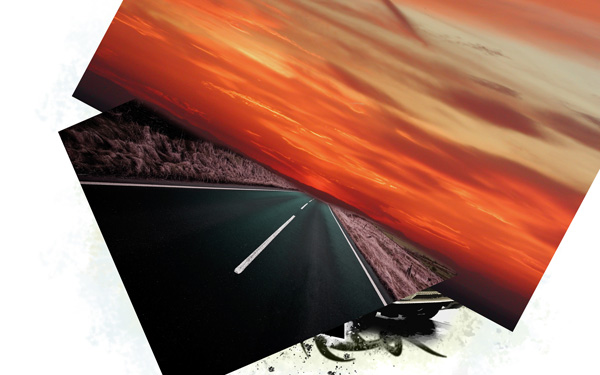
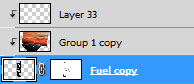
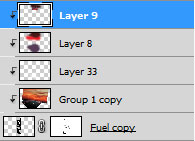
Put together both layers into a rasterized one (press CTRL button to select the layers and then press CTRL+E to Merge Down). Press Alt button, click between the rasterized layer of the sky & highway and the rasterized layer with the FUEL word on it (on the Layers panel) to create clipping mask.
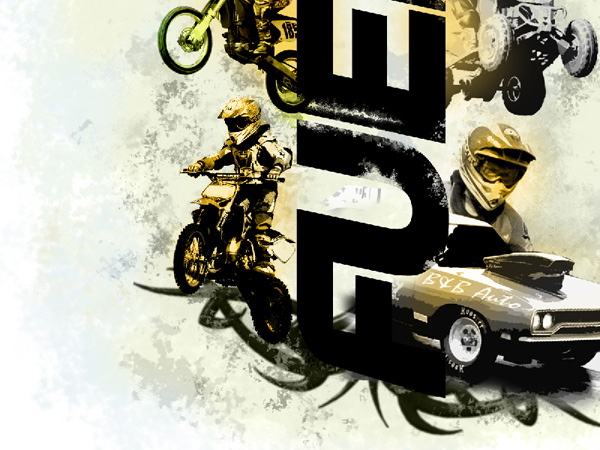
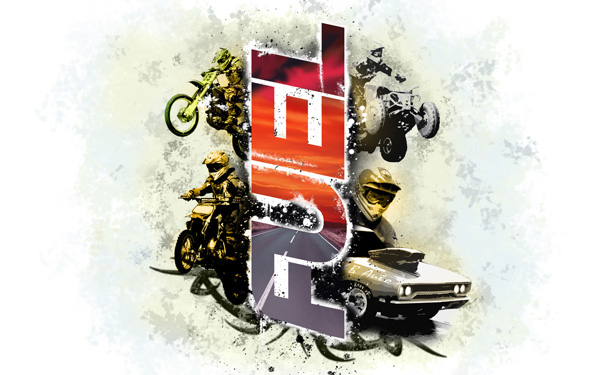
We’ve got the next result:
Create a new layer, using here a Soft Round brush of white color (Opacity 10%)
Make lighter the highway.
Press Alt button and click between the layer with the white brush and the previous layer on the Layers panel to create clipping mask.
We’ve got the next effect:

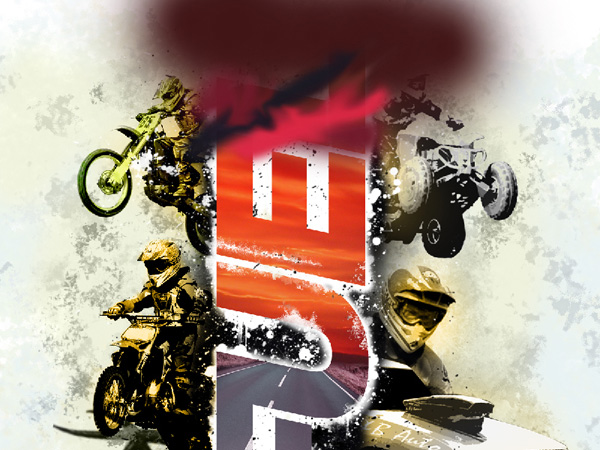
Create a new layer again and select on it the same Soft Round brush of the previous layer to paint the FUEL word as shown:
Then press Alt button and click between the layers on the Layers Panel to create clipping mask:
We’ve got the next result:
Set the Blending mode to Soft Light

Create a new layer again and select the Soft Round brush mentioned above to paint the top part on the FUEL word.

It’s time to choose the Smudge Tool (R) to blur out smoothly the colors.
Press Alt button and click between the layers (on the Layers panel) to create clipping mask.
We’ve got the next result:
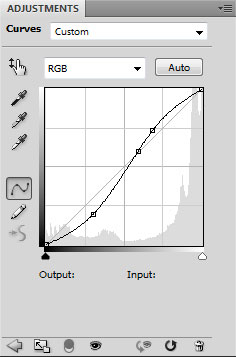
Select Create new fill or adjustment layer icon from bottom part of the Layers panel and click to Curves to adjust the curve shape as shown:
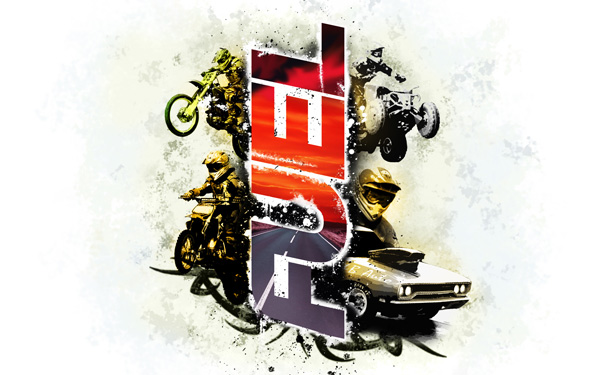
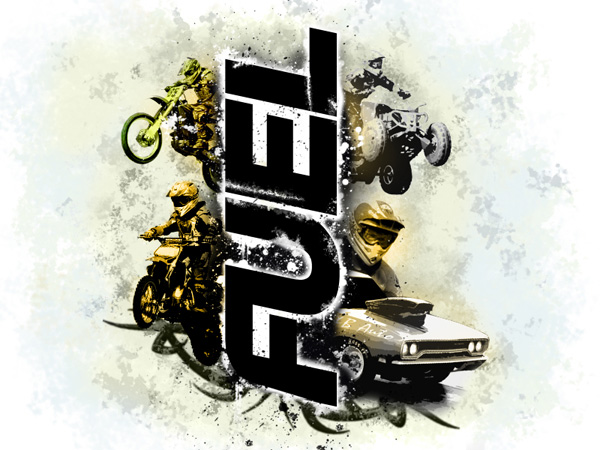
Finished!
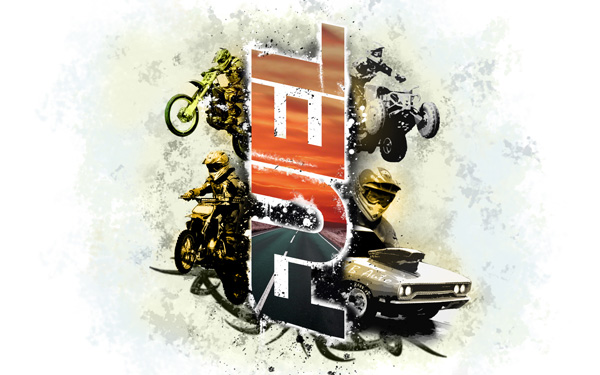
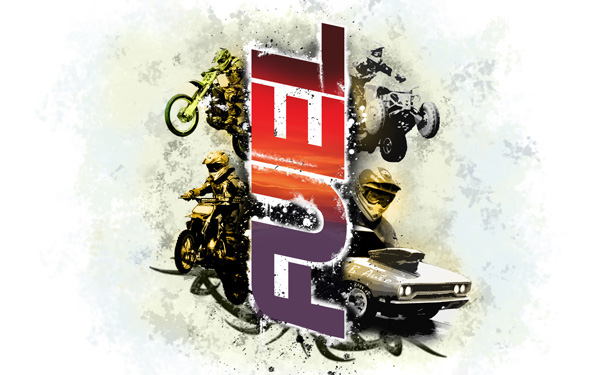
View full size here.
Comments