
Create a Fuel Game Cover in Photoshop
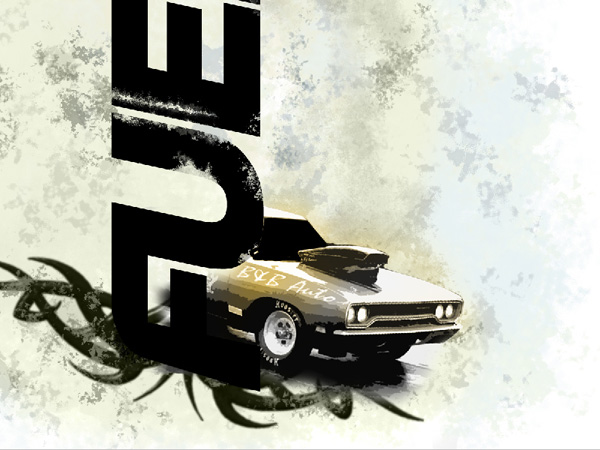
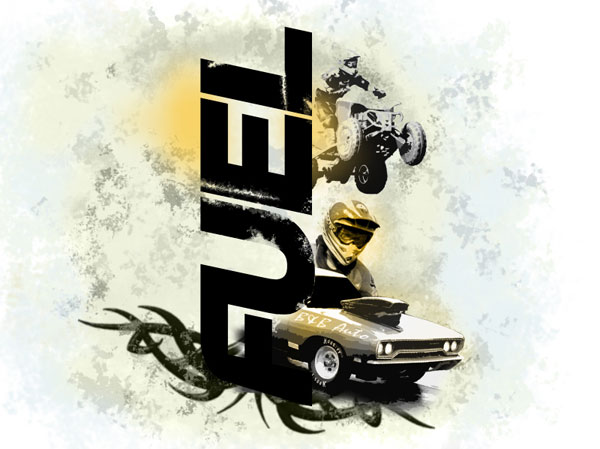
Paint with Soft Round brush under car to add some color. Place its layer under the layer with the FUEL word on it.
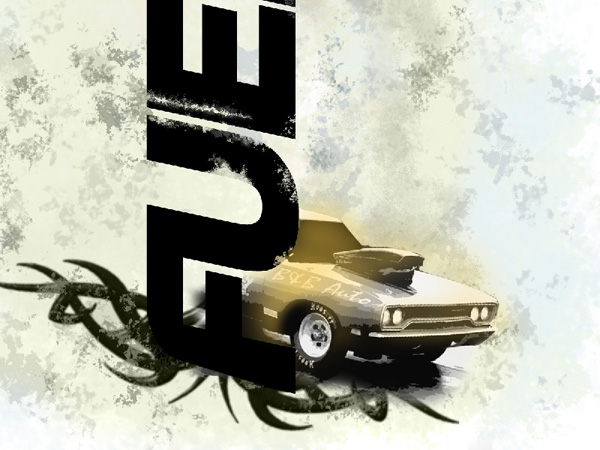
Set for this layer Blending mode to Color
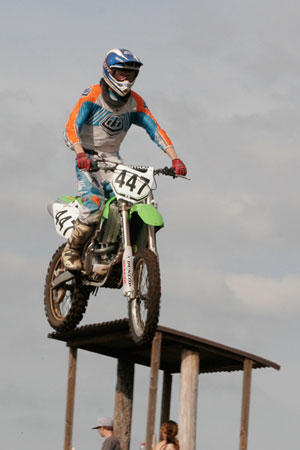
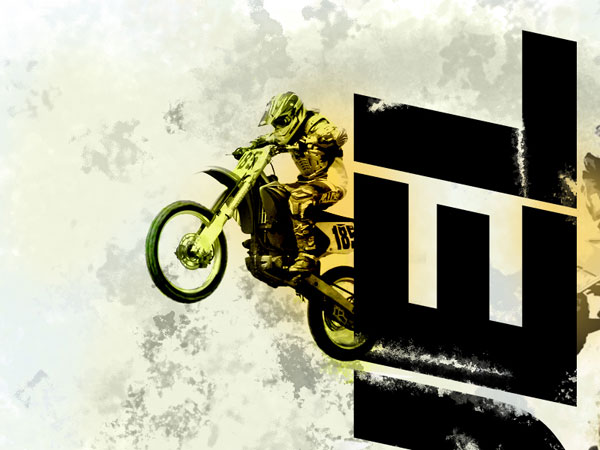
Find a photo of a motorcycle racer, I used this photo from Flickr. I would like to thank the author of this photo:
Using the Rectangular Marquee Tool (M), try to make a selection on the racer’s head and press CTRL+SHIFT+U to Desaturate.
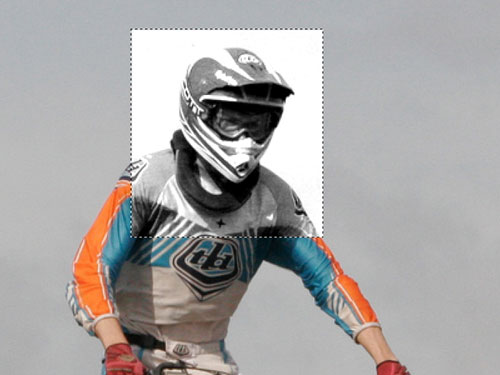
Make a right click inside the selection and select Layer via Copy and insert it to our document. Incline a little the racer’s head, applying Free Transform (Ctrl+T) command. This layer needs to be placed under the car’s layer.
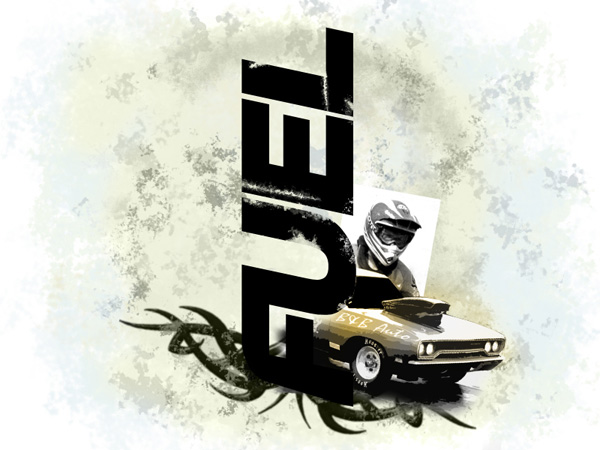
Set for this layer Blending mode to Darken

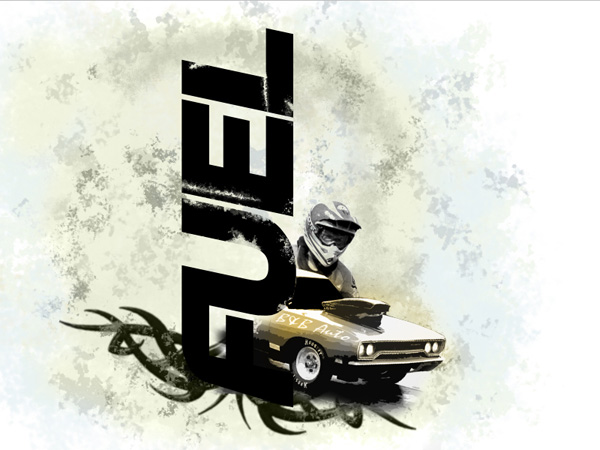
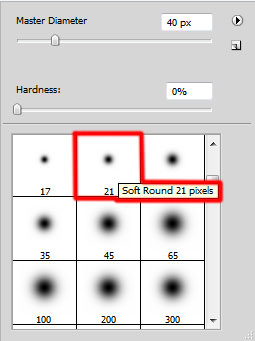
Create a new layer and select the Soft Round brush to paint out the racer’s head the same way we did when make some tonal correction on the car. The brush’s color and the brush itself are the same.
Set the Blending Mode for this layer to Color
Find photos with different motorcycle racers, I used these photo1, photo2, photo3 from Flickr. I would like to thank the author of this photos:
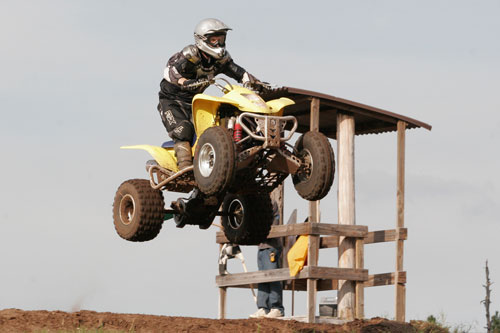
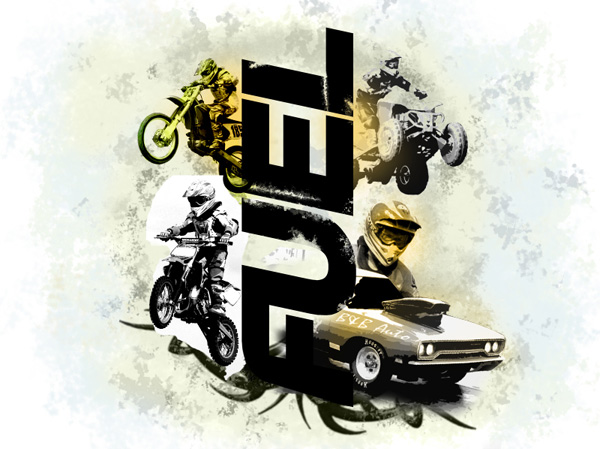
Start working with them by turn. The photo with a quadrocycle. Apply the same operations we did earlier with the car. Transform firstly the picture in black & white colors (CTRL+SHIFT+U). Then select Create new fill or adjustment layer > Curves (CTRL+M) the same way we did when applying it for the car.
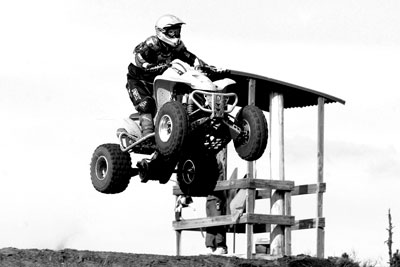
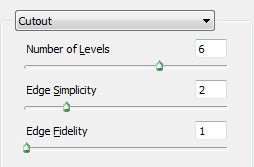
Cut out the racer and insert him on our document. Place the layer under the layer containing the FUEL word. Apply on this layer the earlier used filter – Filter>Filter Gallery>Cutout
We’ve got the next result:
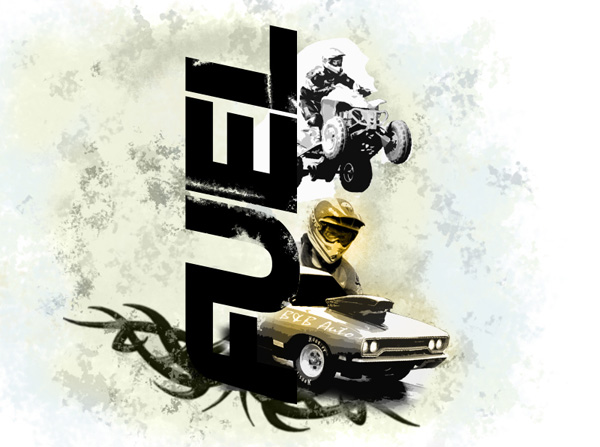
Set the Blending mode to Darker Color
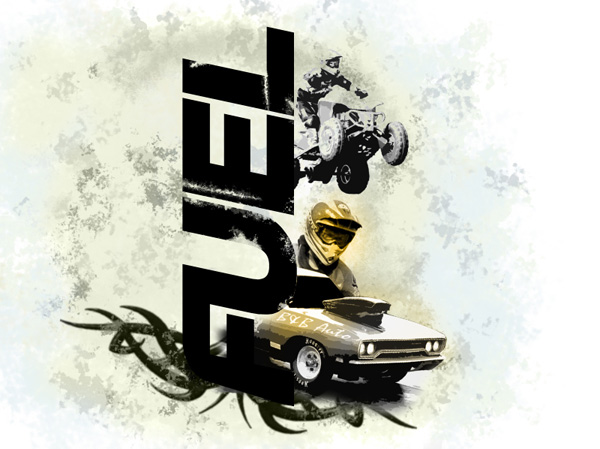
On the next new layer (Create new layer) we’ll paint the racer on the quadrocycle. Using the Soft Round brush with #F7D366 color.
Place this layer under the layer containing the FUEL word.
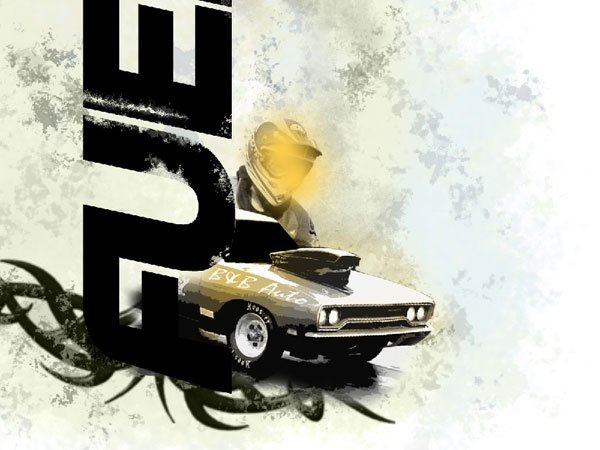
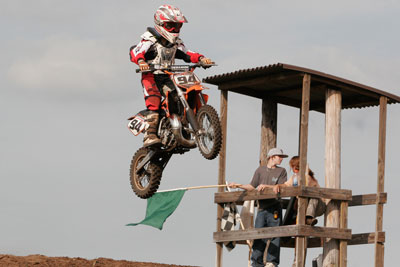
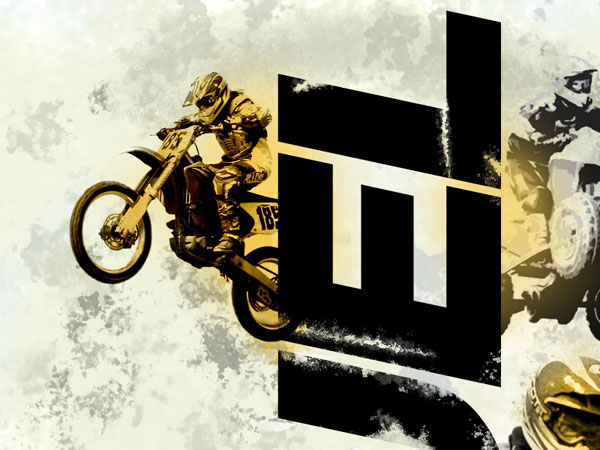
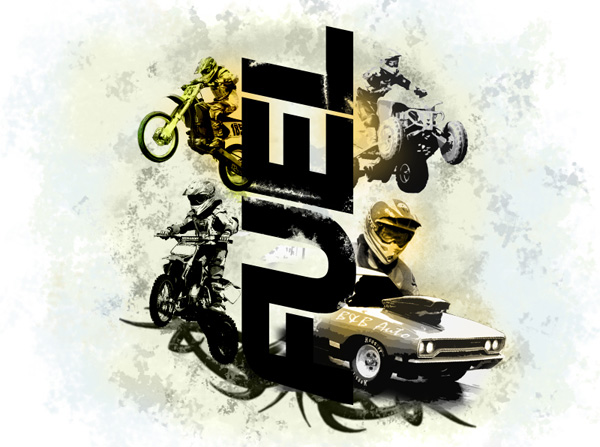
Then we’ll prepare the next photo of the racer the same way we did with the car’s photo.

Cut out the racer and insert him on our document. Place the layer under the layer containing the word FUEL.
Set for this layer the Blending mode to Linear Burn

Next we need to Create a new layer and select for it the Hard Round brush to paint the motorcycle and the racer. The color of the brush is #E0B647.
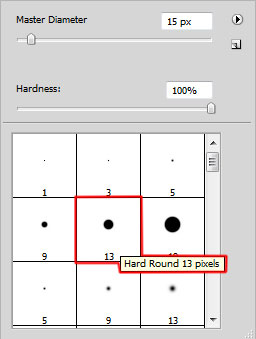
This layer will be situated lower than the layer with the motorcycle racer.
Set the Blending mode to Saturation
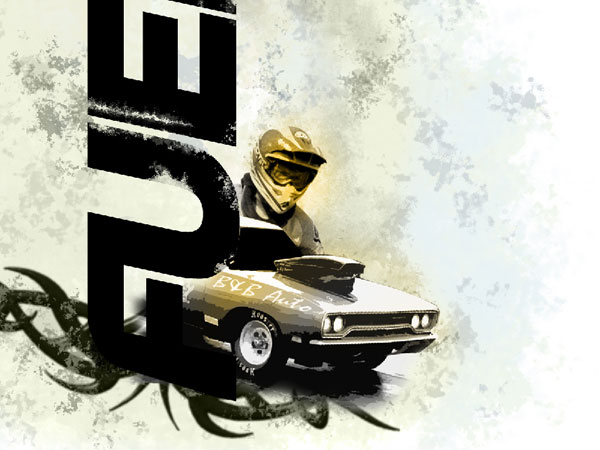
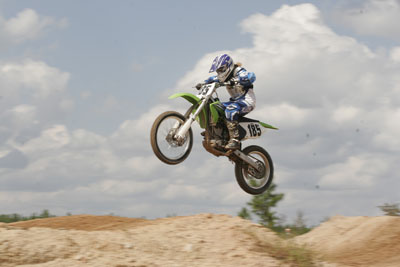
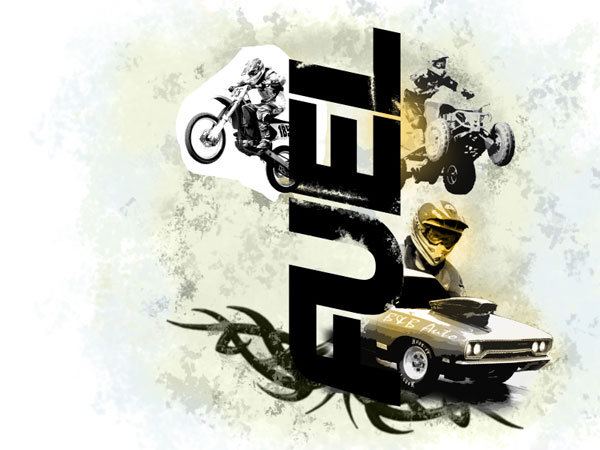
Next we’ll prepare the photo with the last racer. Transform for the beginning the photo in black & white colors (CTRL+SHIFT+U).
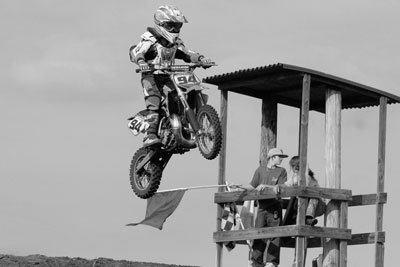
Then apply two times the Create new fill or adjustment layer > Curves (CTRL+M) for white and then for the black points, the same way we did with the car’s photo. Cut out the racer and insert him our main document. Turn him around with Free Transform (Ctrl+T) command. Place the layer under the layer containing the FUEL word.
Set the Blending mode to Linear Burn
Comments