
Constellation Of Lotus – Photo Effects
The next lesson we’ll learn using different textures, create the effect of luminescence, change different colors with the others, we’ll see also how to use the layers and imitate several cosmic effects.
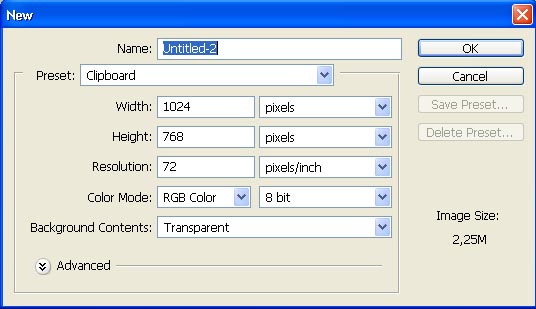
For the beginning we need to open a new file of standard size wallpapers: File ? New (ctrl+n).
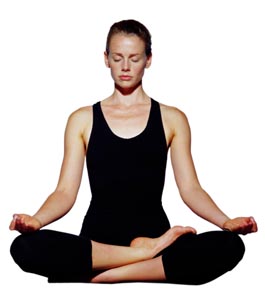
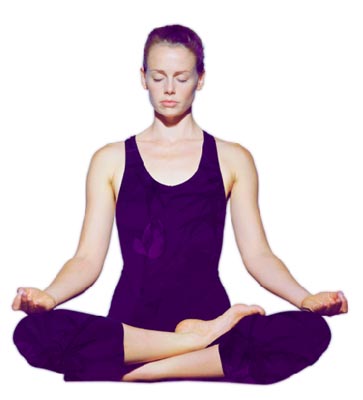
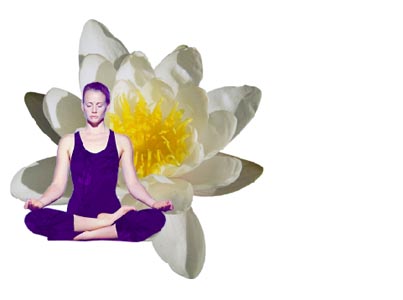
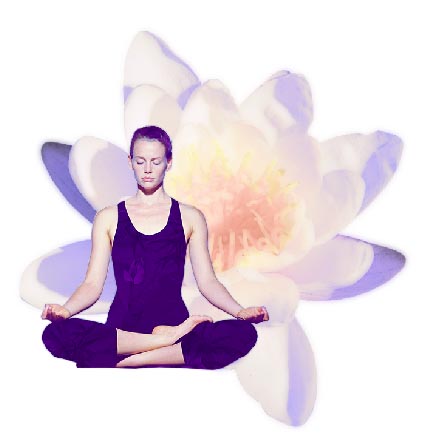
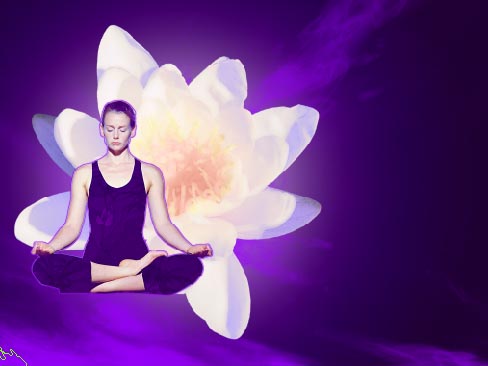
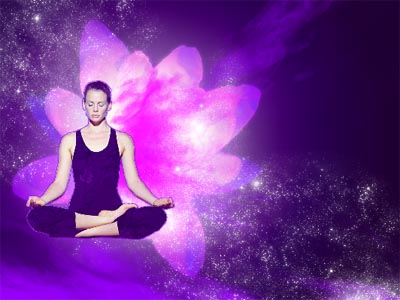
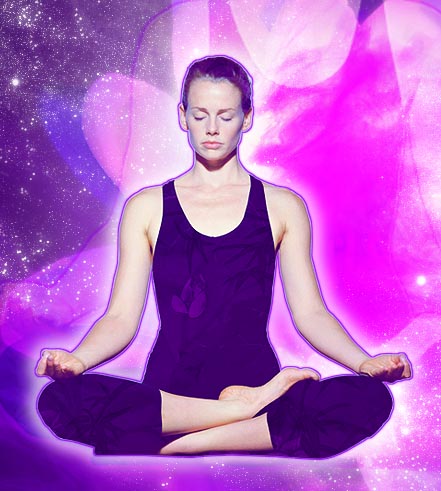
Paint the background’s layer in white, choosing firstly the Paint Bucket Tool. Then open in a new window the picture of a girl, looking like practicing meditation: File ? Open (ctrl+o)

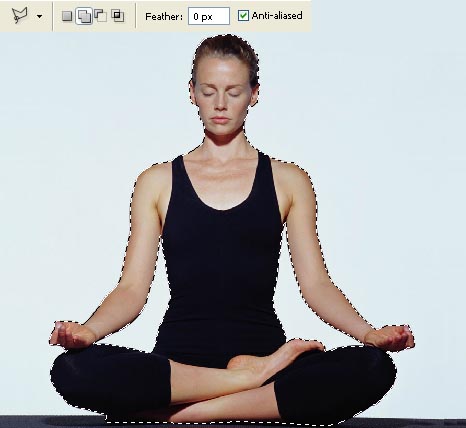
Mark out the girl’s contours using the Polygonal Lasso Tool.

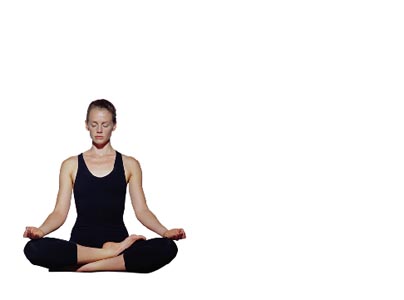
Select the next option: Edit ? Cut (ctrl+v) and get back to the wallpapers’ window to insert the girl on a new layer: Edit ? Paste (ctrl+v). Next step includes making the corrections on the girl’s size and her placement, applying the next selection: Edit ? Free Transform (ctrl+t):
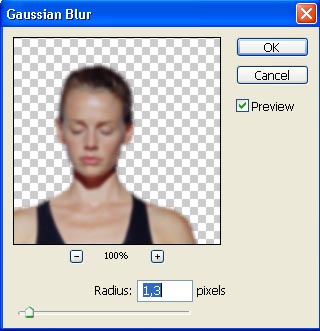
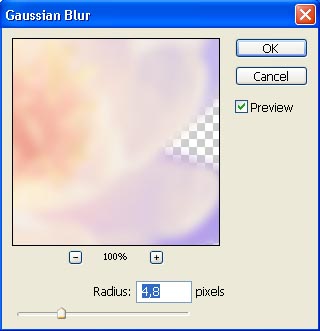
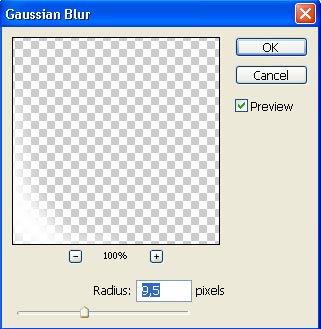
Make a copy after that of the girl’s layer: Layer ? Duplicate Layer (ctrl+c) and select for the copy next shown filter’s option: Filter ? Blur ? Gaussian Blur.
Change the layer’s Blending Mode on Soft Light and then combine the layers, containing the girl’s figure: Layer ? Merge Down (ctrl+e).
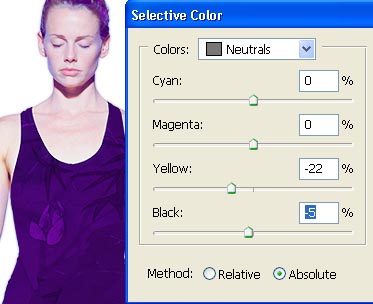
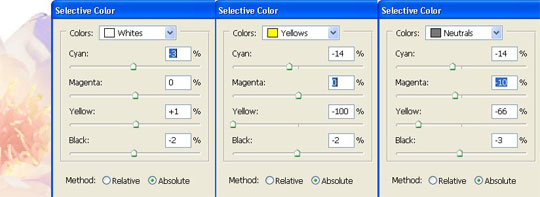
Now we’ll make the corrections on the new layer’s colors, using the next selection: Image ? Adjustments ? Selective Color.

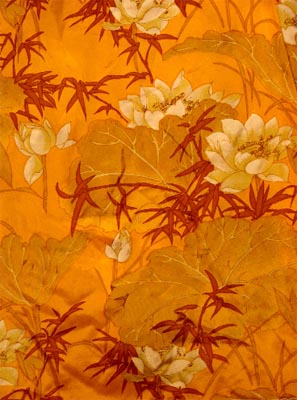
Open in a new window a textile texture, containing the picture of the lotus flower (ctrl+o).
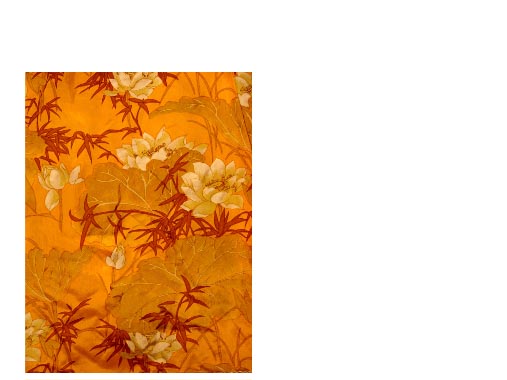
Mark out the texture, choosing the Rectangular Marquee Tool and make a copy of it (ctrl+c). Next we need to insert the texture above the girl’s layer (ctrl+v).
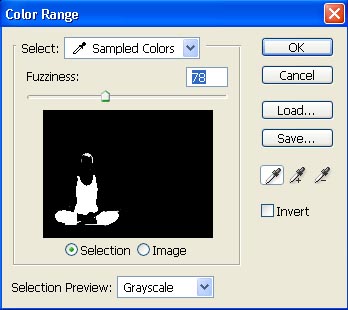
Then hide the visibility of the layer in case by clicking on the eye’s icon in the Layers window. Mark out on the picture everything that already is of black color, choosing the next option: Select ? Color Range.
Connect again the visibility of the layer containing the texture. Combining next buttons ctrl+j, we have to copy only this marked part of the layer. The previous layer should be erased: Layer ? Delete ? Layer. Next step we’ll just decolorize the layer: Image ? Adjustments ? Desaturate (shift+ctrl+u). Finally we have to change the layer’s Blending Mode on Soft Light.
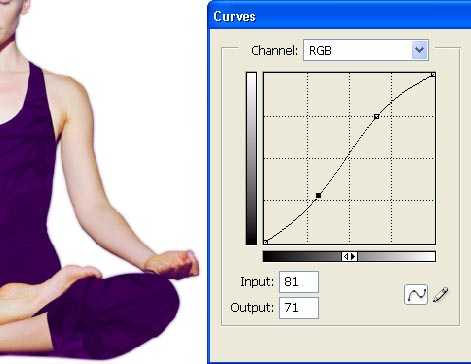
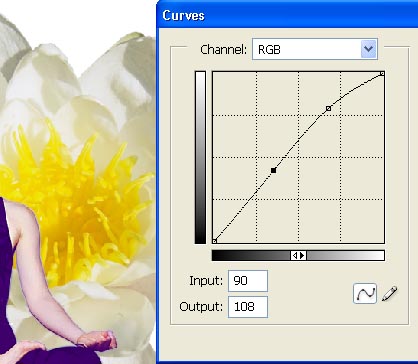
Increase a little the layer’s brightness, applying the here shown option: Image ? Adjustments ? Curves (ctrl+m).
Merge down the layer in case with the girl’s layer (ctrl+e), correcting a little the colors (Selective Color).
Open in a new window the picture of the lotus flower (ctrl+o).
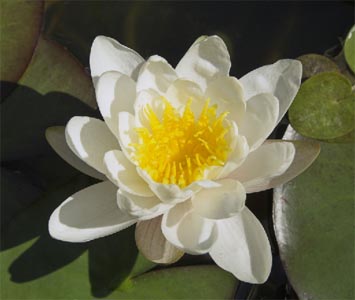
Cut it out and place it under the girl’s layer, turning it over a little (ctrl+t).
Make the corrections on the layer’s brightness (ctrl+m).
Make the corrections on the colors too (Selective Color).
Make a copy of the layer (ctrl+j), blurring out the copy after that (Gaussian Blur).
Next we need to change the layer’s Blending Mode on Darken and minimize the Opacity till 80% and combine the layers containing the lotus (ctrl+e).
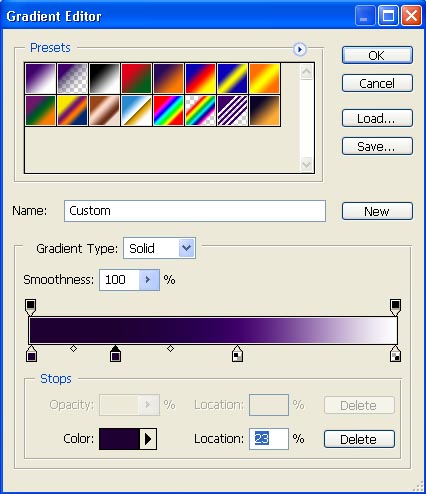
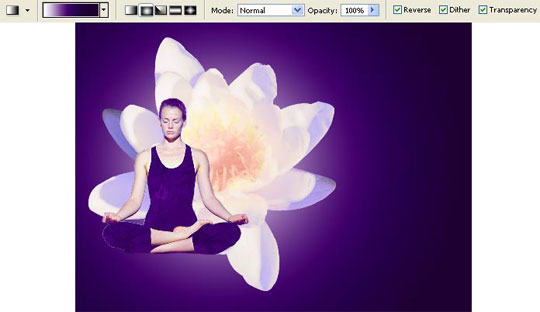
Choose the Gradient Tool now, setting the next shown adjustments:
Paint the background’s layer:
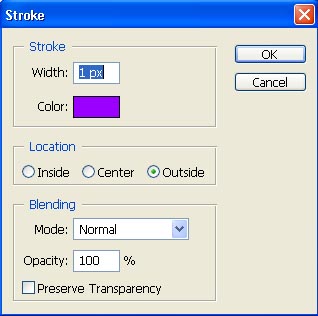
Apply the here shown selection for the girl’s layer: Edit ? Stroke.
Choose now the Brush Tool and download from the next net address a set of ready to use brushes, containing the fractals: http://www.deviantart.com/deviation/19529711/ ?qo=18&q=by%3Aabove-and-beyond&qh=sort%3Atime+-in%3Ascraps and insert them above the background’s layer.
Select a set of ready to use brushes on a new layer again: http://www.deviantart.com/deviation/44164154/ ?qo=10&q=by%3Aanarasha-stock&qh=sort%3Atime+-in%3Ascraps and this way we’ll insert on our picture the stars:
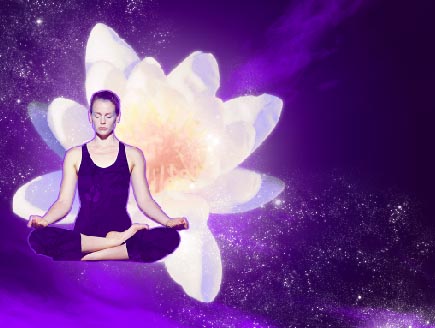
Change after that the layer’s Blending Mode on Overlay:
Next step we need to make the stars looking brighter, which is why we’ll make a copy of the stars’ layer and blur out the copy:
Then we’ll make the Opacity smaller till 60%.
Make several copies of the girl’s layer (ctrl+j), placing the copies directed to the right side, as far as the picture’s edge and then we’ll merge down the layers ? copies (ctrl+e). Don’t forget to minimize the Opacity till 60%.
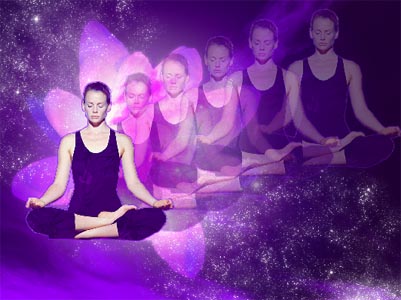
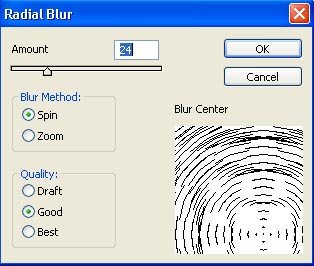
Blur it out, applying the next selection: Filter ? Blur ? Radial Blur.
Change the layer’s Blending Mode on Soft Light:
Now we’ll make one more copy of the girl’s layer and the lowest one needs to be enlarged by size (ctrl+t).
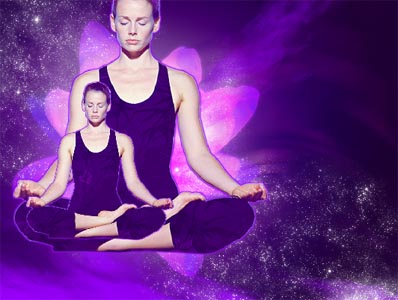
Minimize the layer’s Opacity till 75% and change again the layer’s Blending Mode on Soft Light.
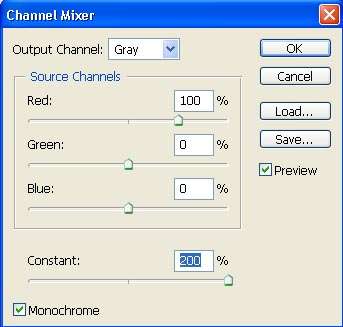
Make another copy of the basic girl’s layer, but we’ll make the lowest copy look totally white: Image ? Adjustments ? Channel Mixer.
Blur out the layer:
Now we’ll make several copies of the next layer, just to increase the luminescence’s intensity:
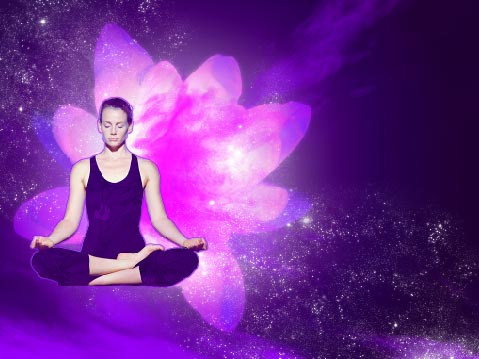
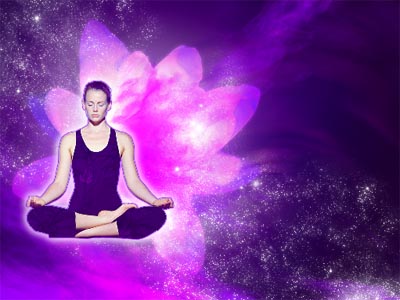
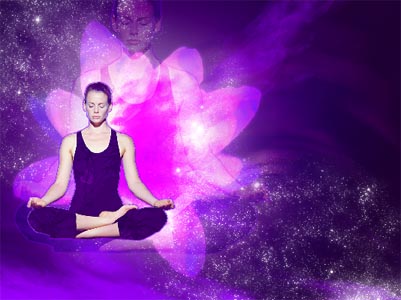
That is what we’ve already got:
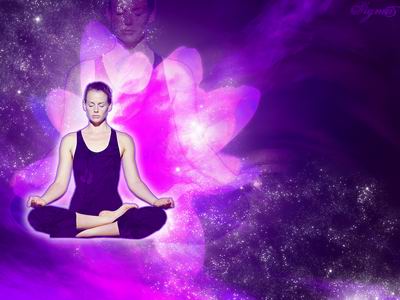
The illustration is finished!
Made by Sigma
Comments