
Composite All
This is a tutorial where we will combine hand painted elements with design done with Photoshop means.
So let’s go then:
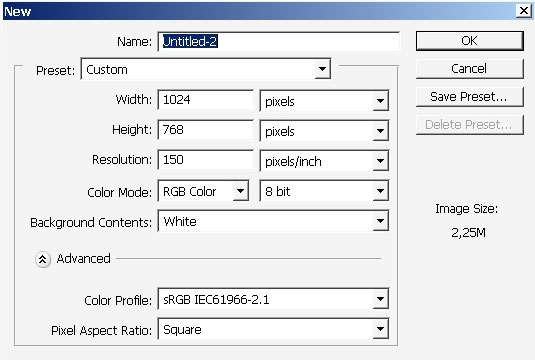
Create a document about this size – so the quality on the 1024×768…. Resolution would be ok.
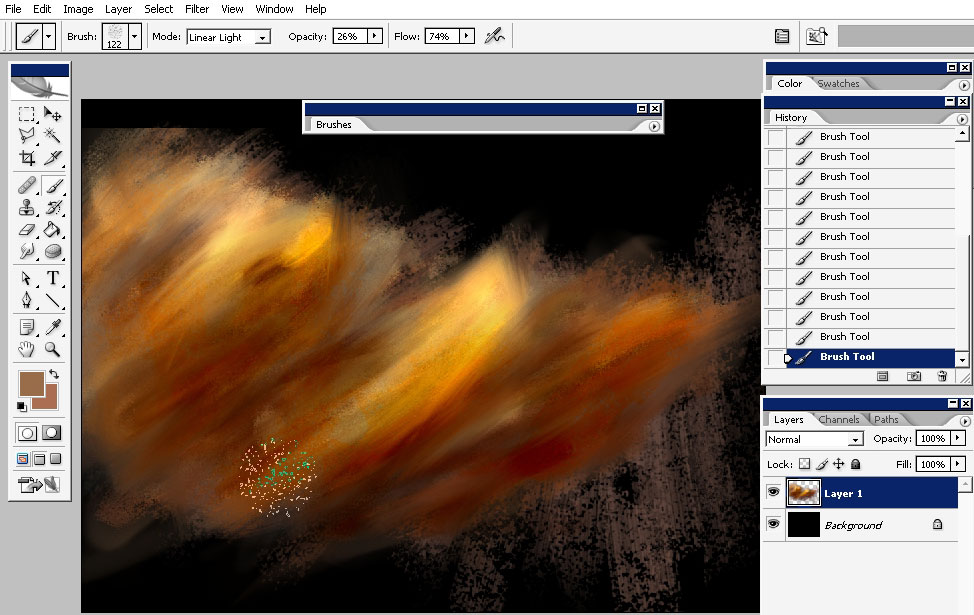
So the next thing I did was: I’ve filled the document with black color, created a new layer and painted an abstract shape with dual brush (you will have to download).
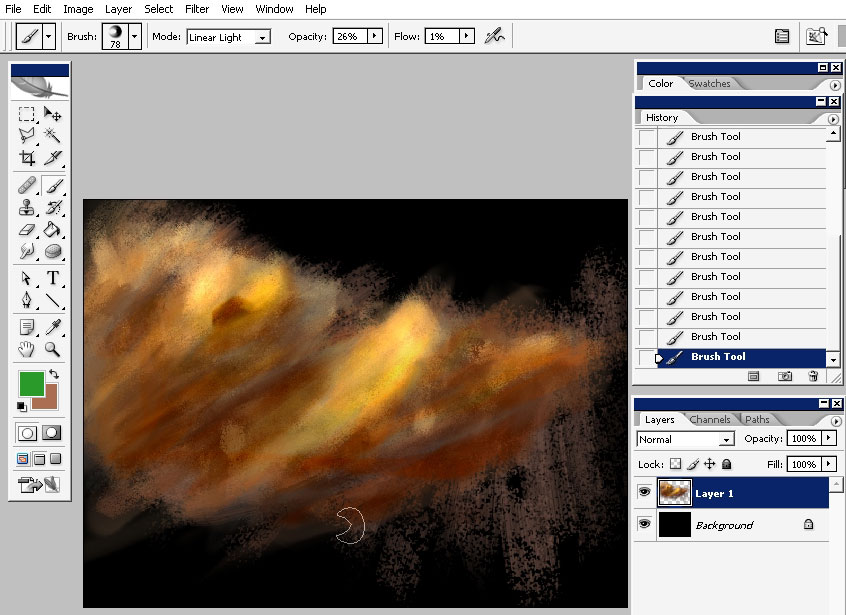
I’ve used basically yellow color with a little bit of green and orange.

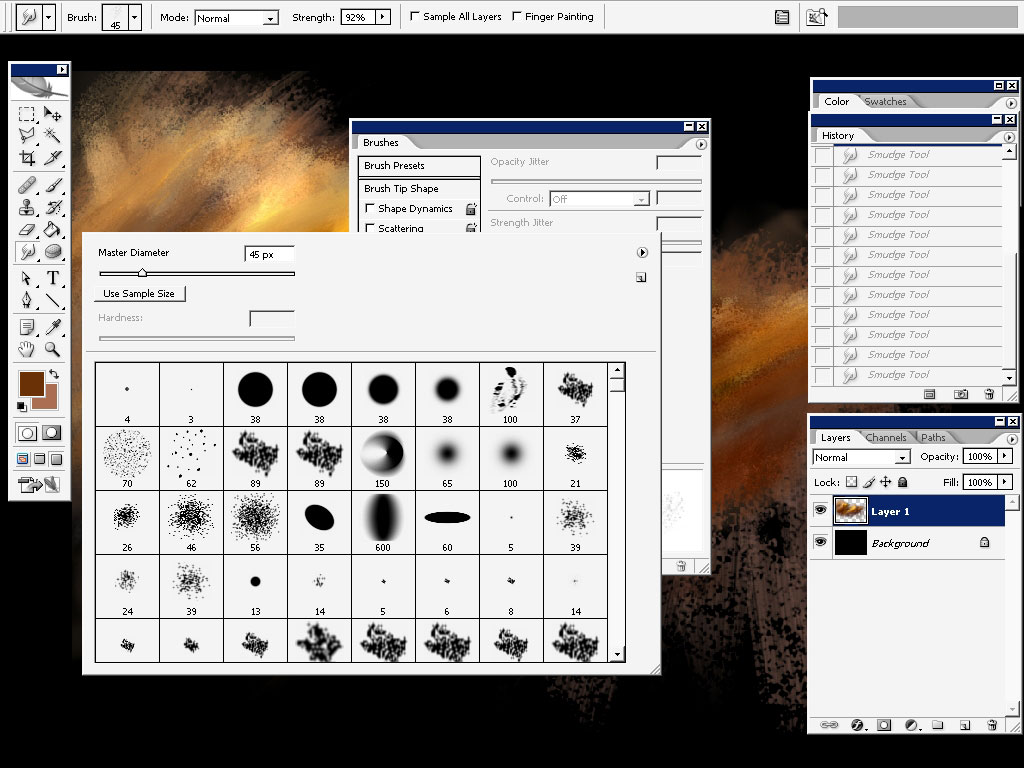
I’ve also refined the shape with by smudging it with smudge tool: basically I’ve smudged the edges, and just a little bit on the whole shape area. The smudge strength is about 80-90 % – almost absolute, but I do also control the strength on my tablet.
As a brush tip – I’ve used just standard round brush with opacity set to pen pressure.
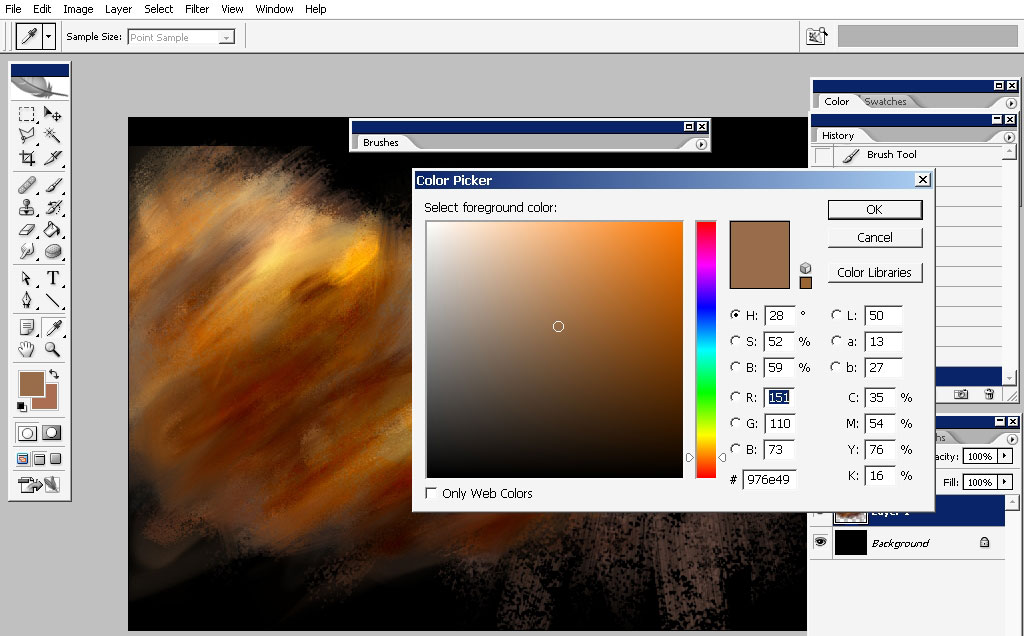
To add more color variations and basically saturation I’m using the brush I’ve painted with in combination with linear light setting of the blending mode and brush opacity set to about 25% – Flow – 70%.
And this color:
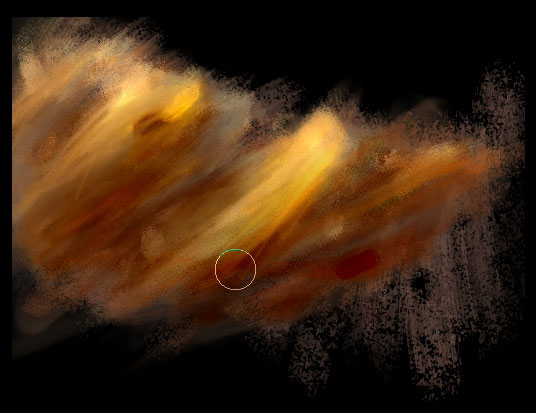
At first I really thought that this will be something like eye there – that is why I’ve started to detail it.
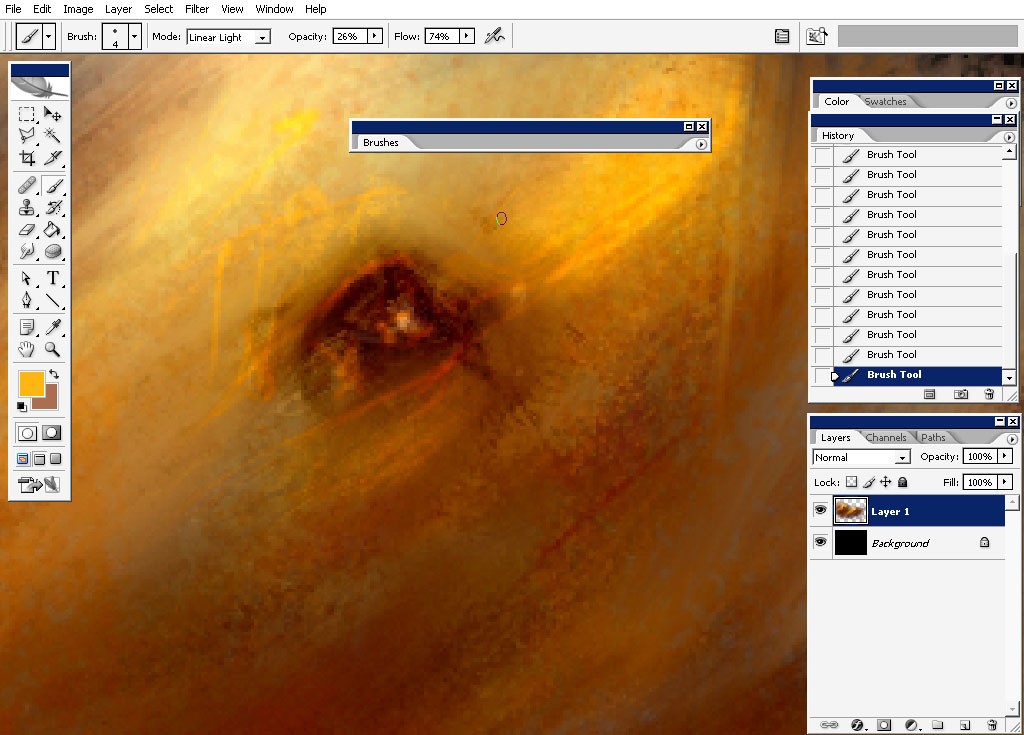
Smudged it:
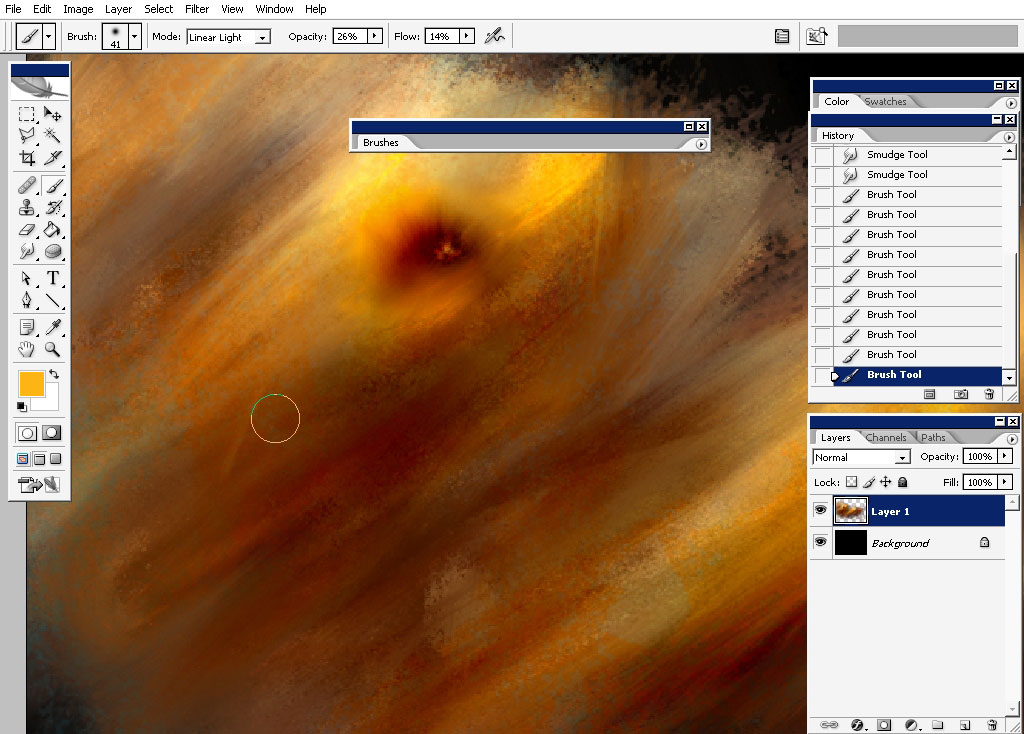
Current result:

Now I will apply a new effect – it is one of the amazing effects of the plug-it I’ve just downloaded – it’s called Filter Forge – and I think it I very good. Actually I don’t use a lot of additional plug-ins, but this is a good one – must have.
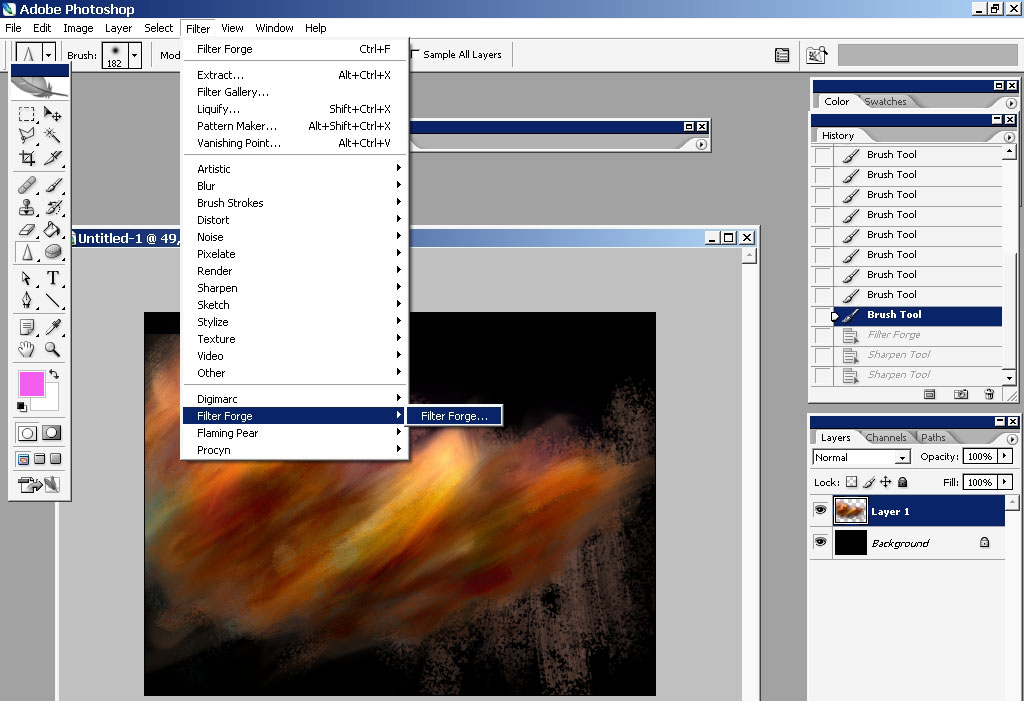
To the Distortion section:

And this is it – it gave us an amazing distortion. I think Photoshop Standard distortions can’t do that.
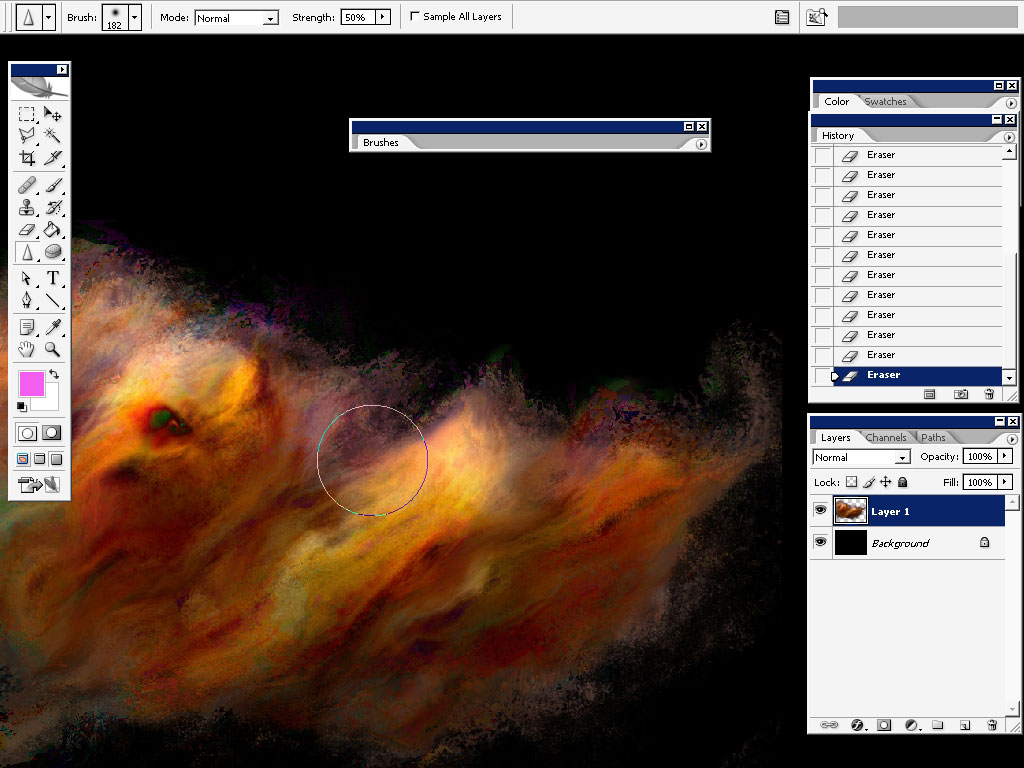
I’ve also added a little bit of purple color to the sides:
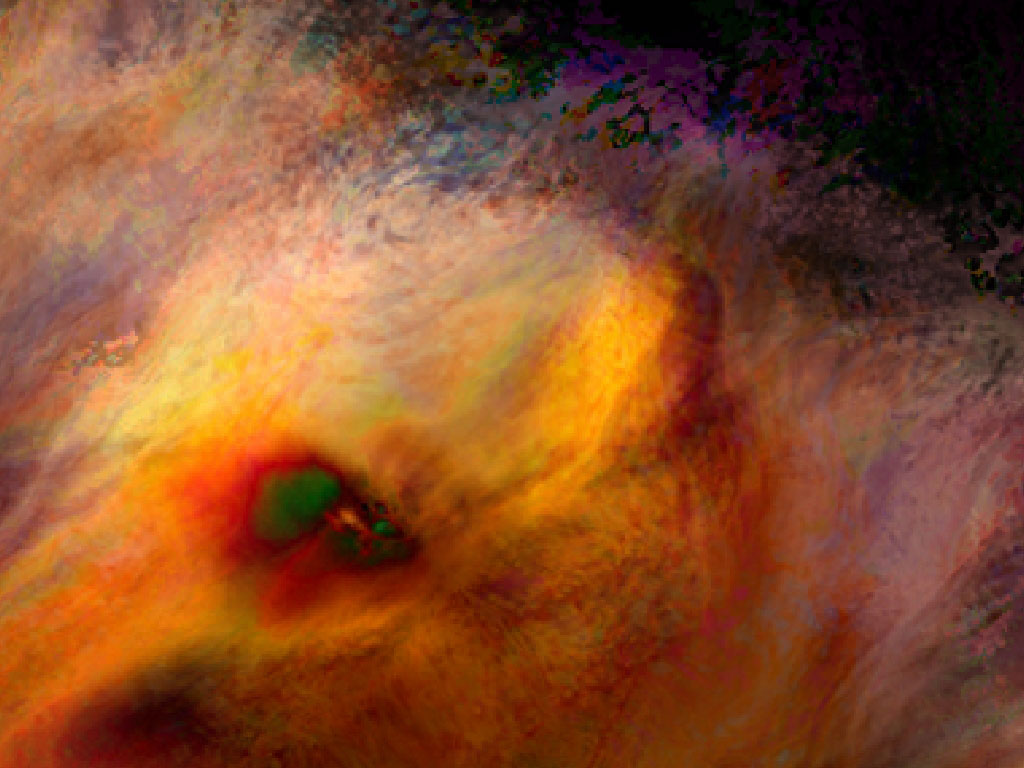
Zoom in:
Now our painting part is finished I think: let’s make the text part.
So the first thing I recommend you to start with is: choose a font.
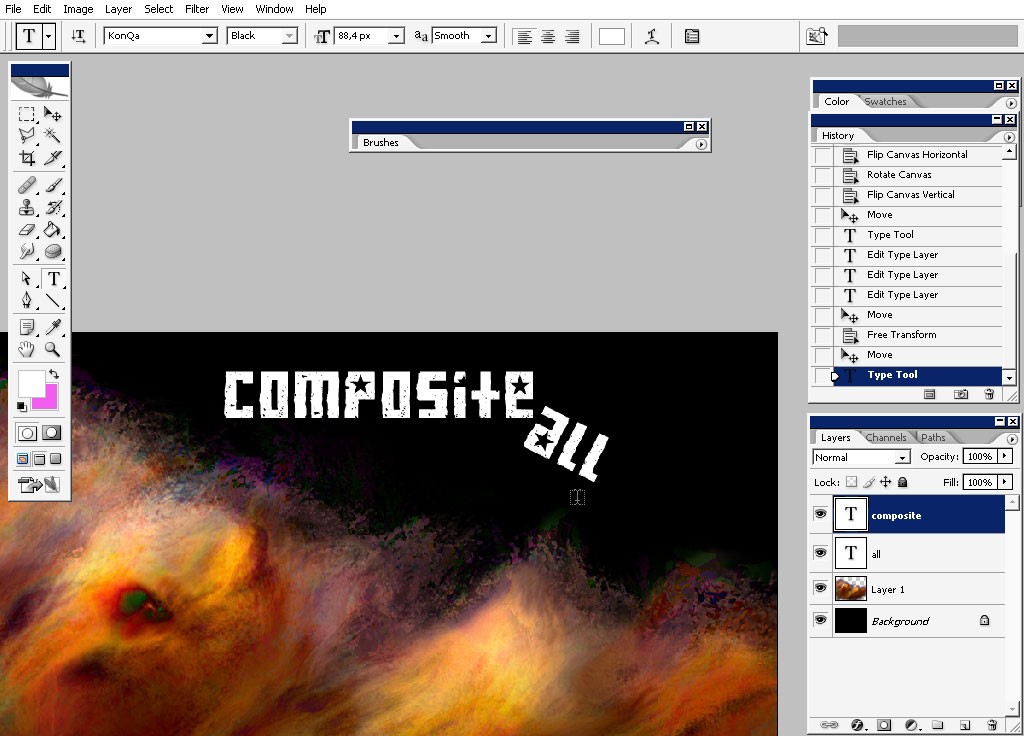
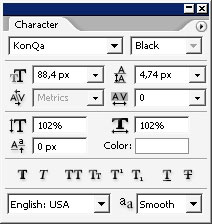
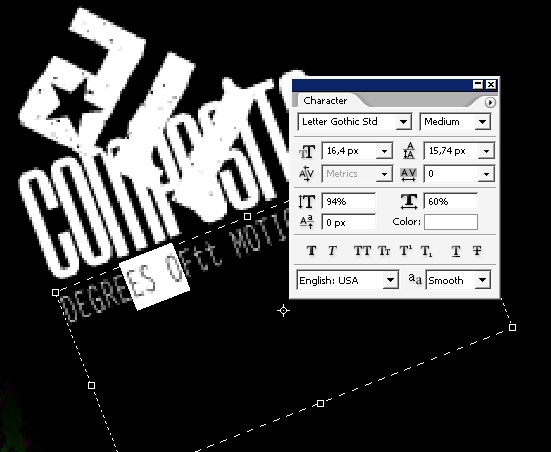
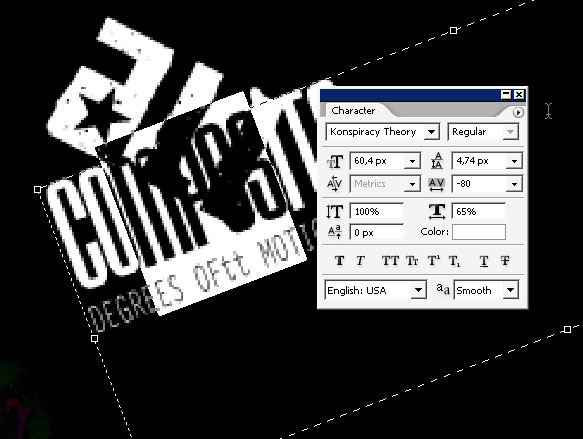
I think this font works quite OK – so maybe I will use it somewhere here. I’ve erased all the lines leaving with only – “ALL” – done with the first font. The other 2 phrases are done with:
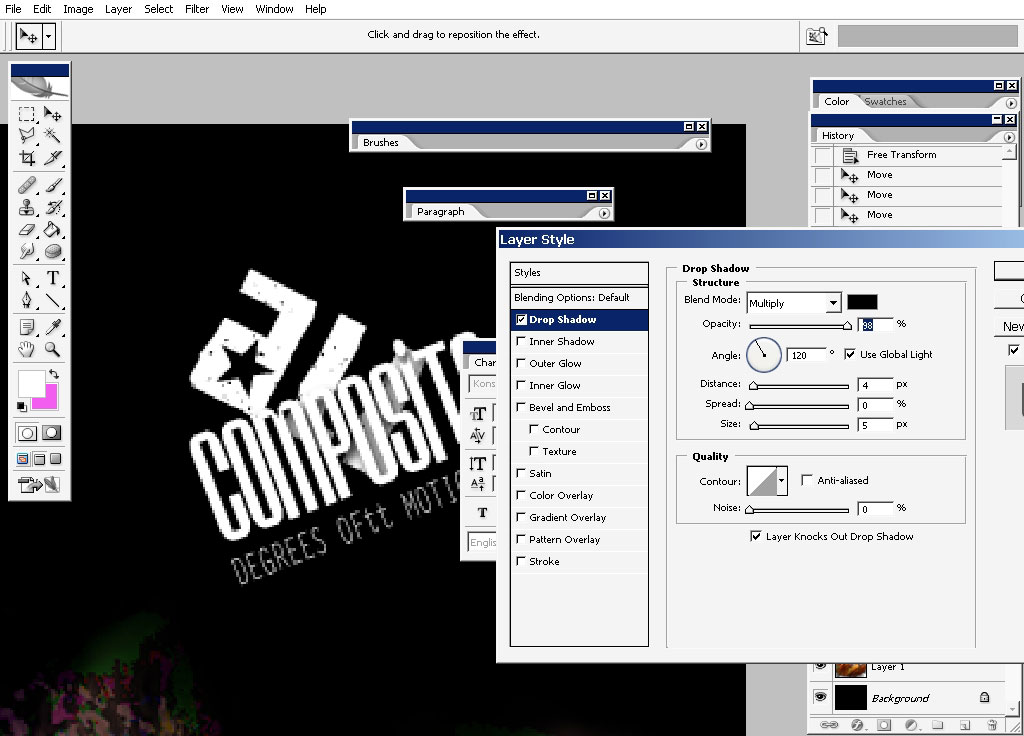
Drop a shadow to “Composite”:
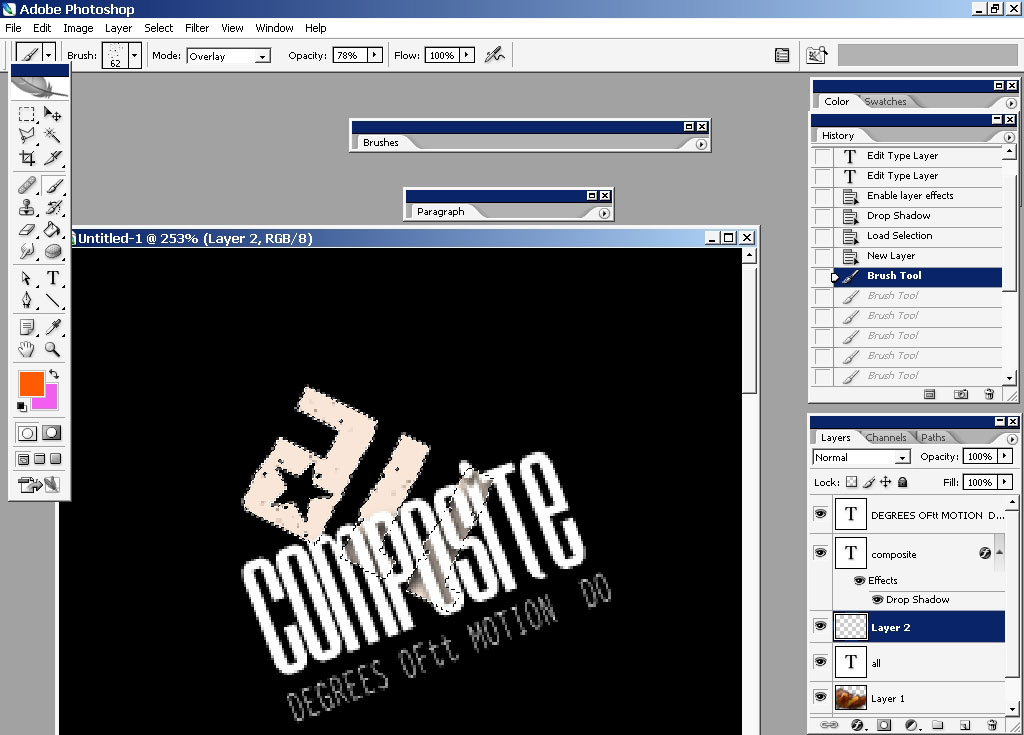
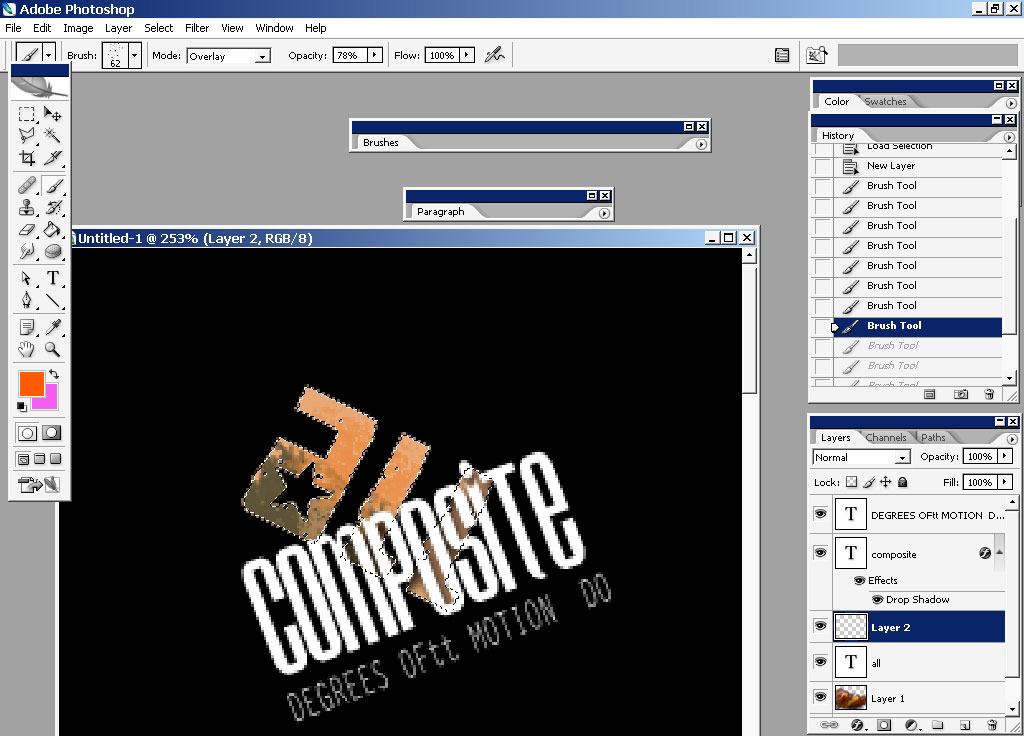
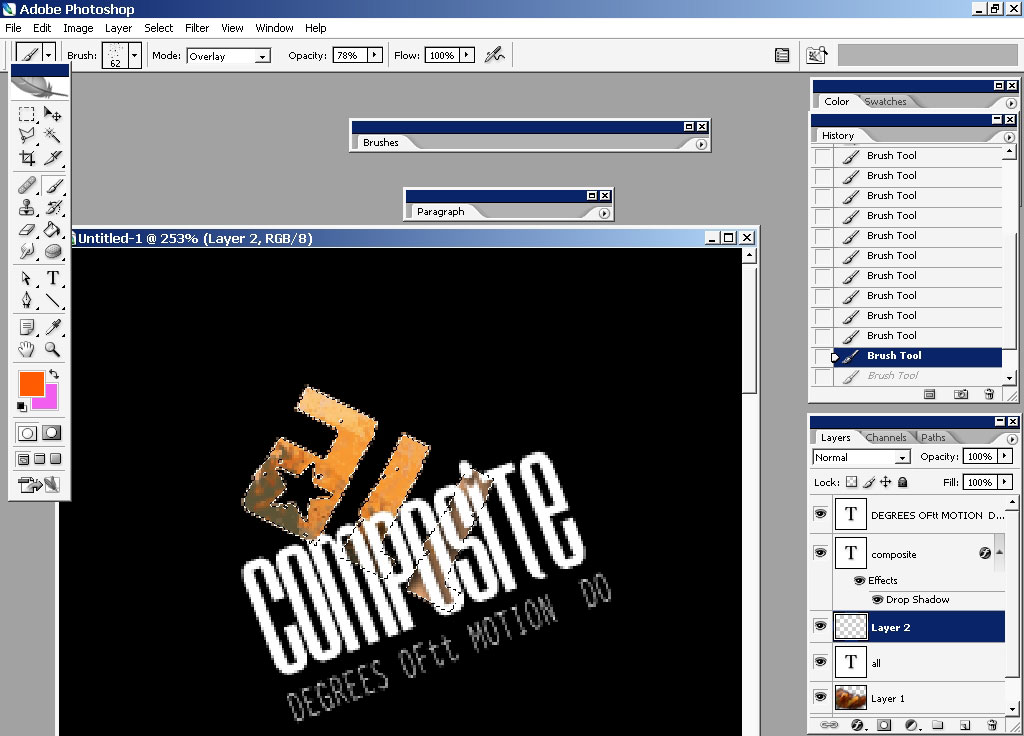
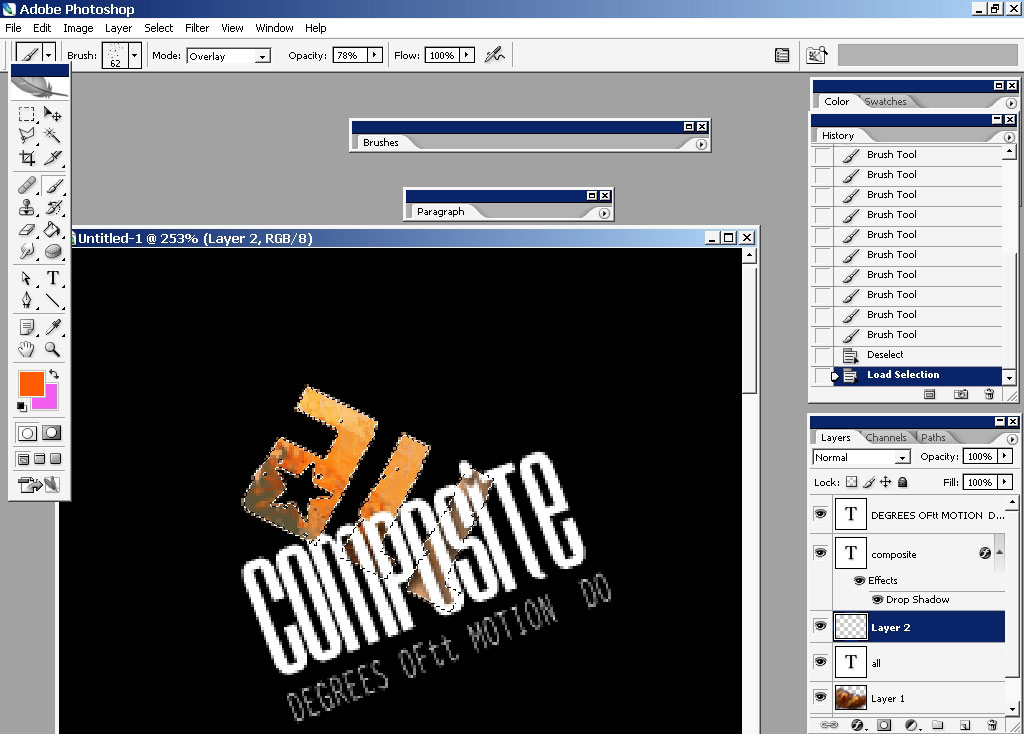
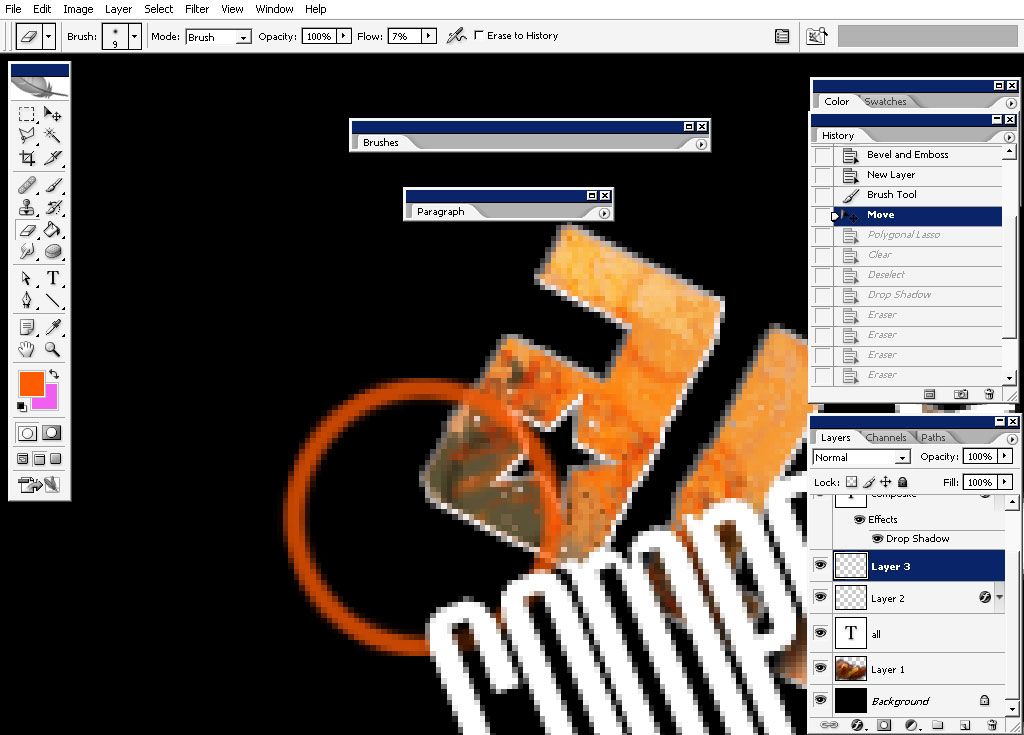
Select “ALL”, create a new a layer and begin to add color leaving the selection on all the time:
Now I will use this circle like the part of my design. Now this is a moment that I realize that this design will make a good Ad or just a design for tattoo and piercing salon.
Select and area about this:
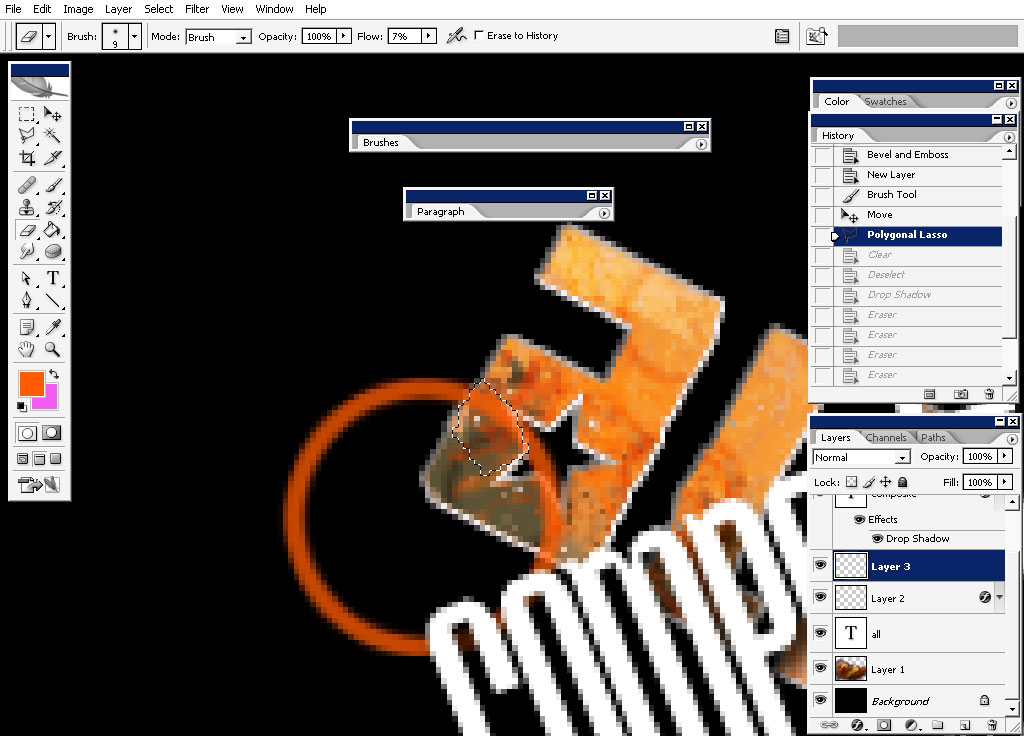
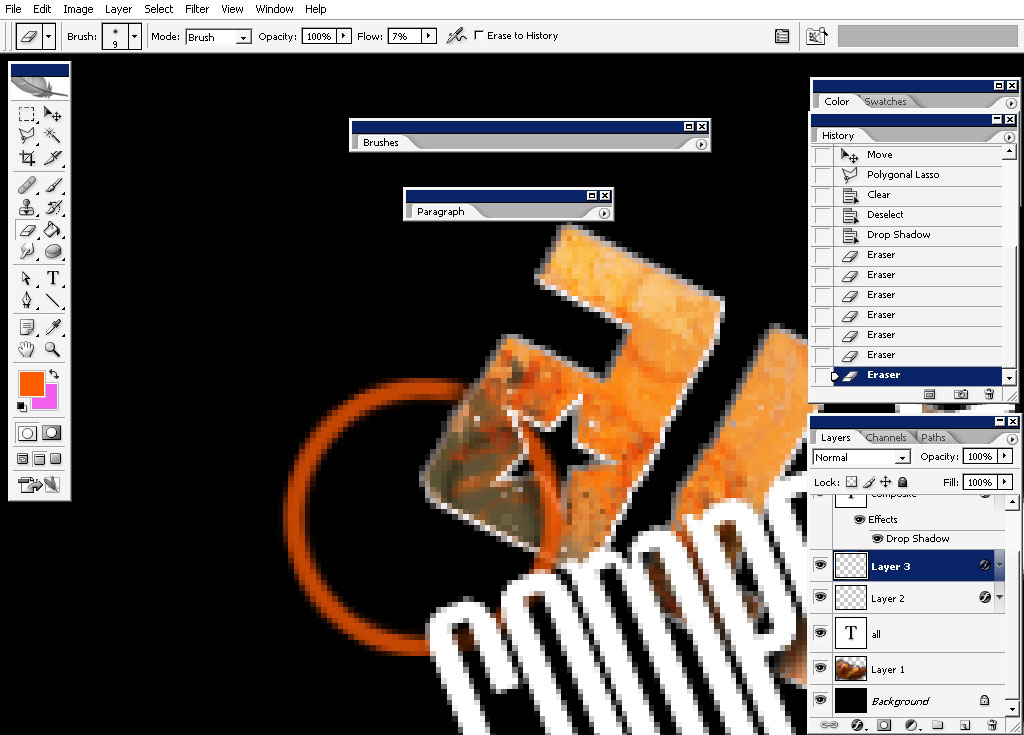
Delete:

And drop shadow:
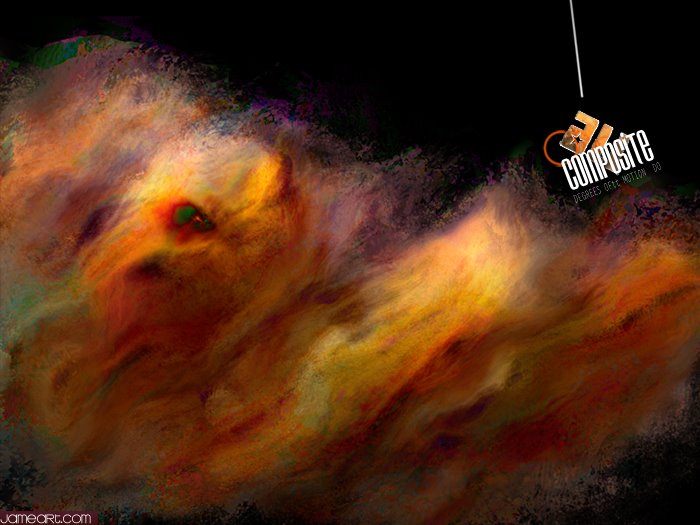
And this is it: thank you for reading and i hope you found something interesting for you.
Comments