
Commercial Lighting
This is the tutorial about photo retouching.
Let’s begin.
I’ve found and image of the bulb.
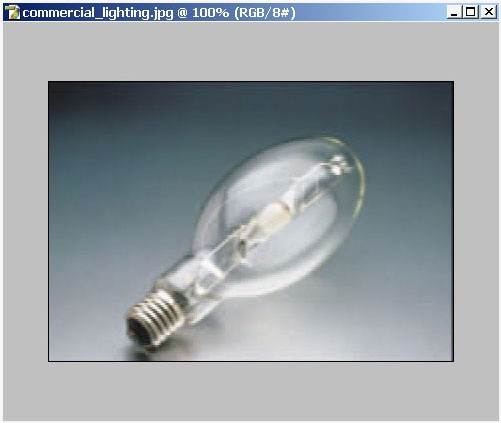
I have a very small size.
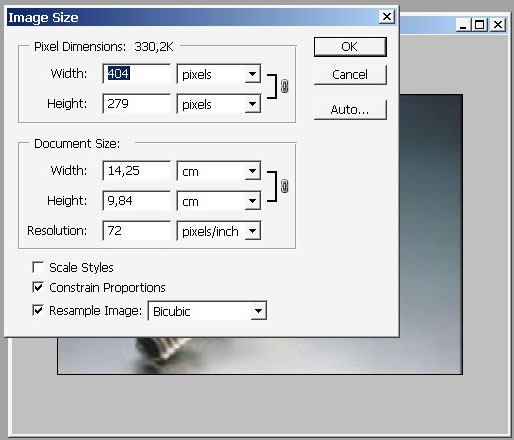
Let’s try to change it.

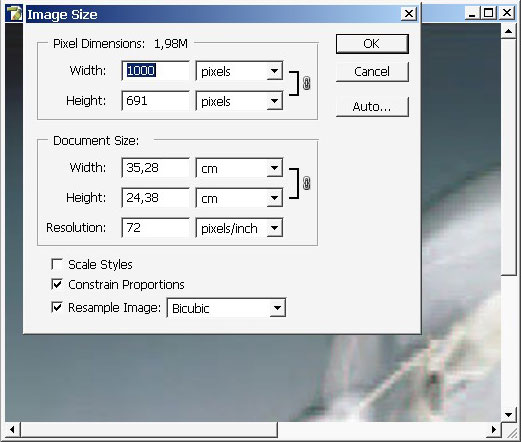
As you have noticed the pixels are too visible. But if you have a tablet it is easy to fix.
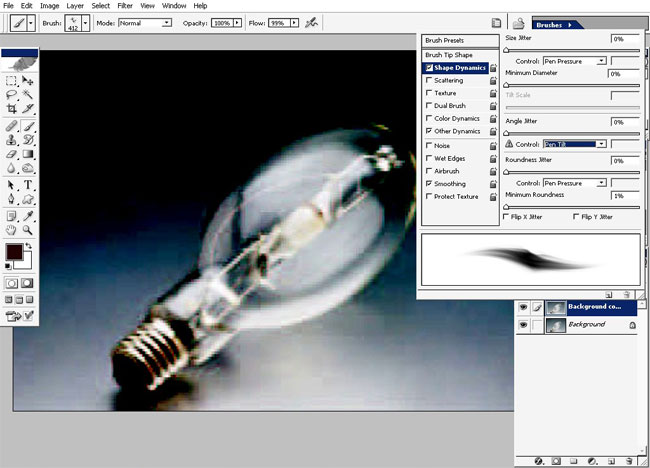
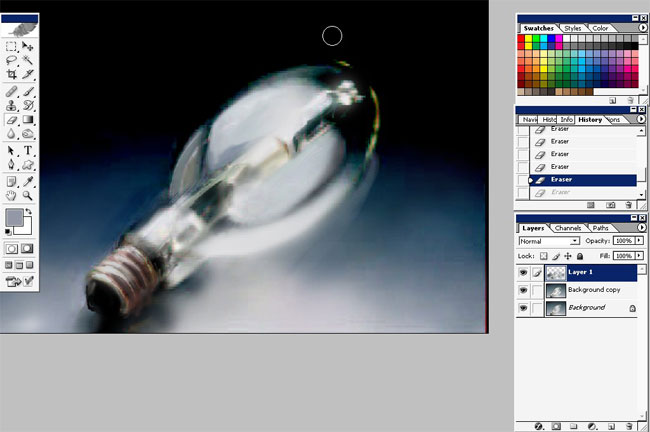
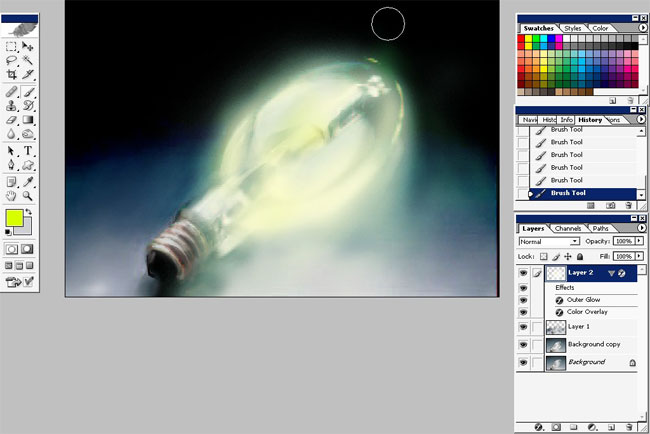
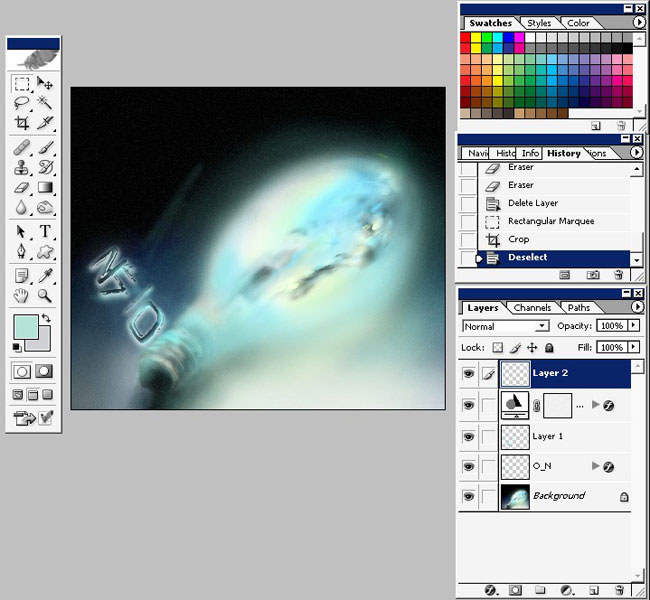
Let’s begin by copying the layer and setting the mode to Color Burn.

We will use Brushes:
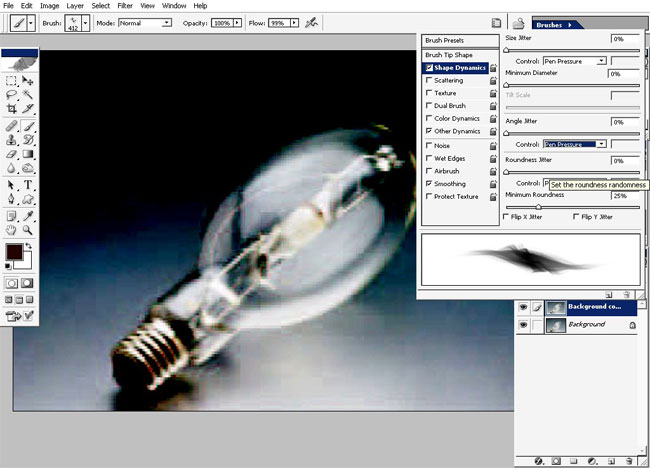
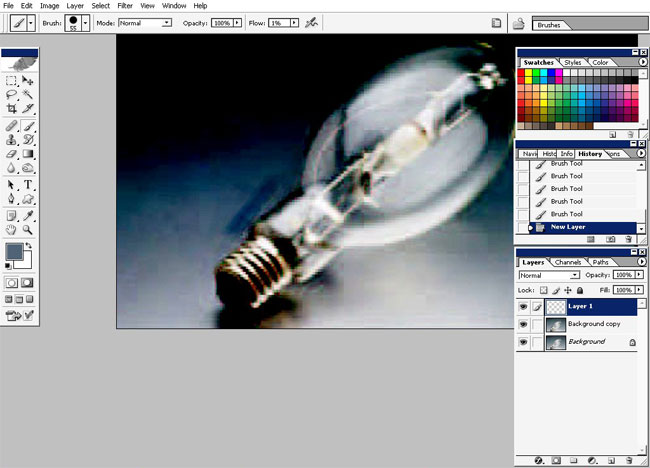

Well, definitely better than it was.
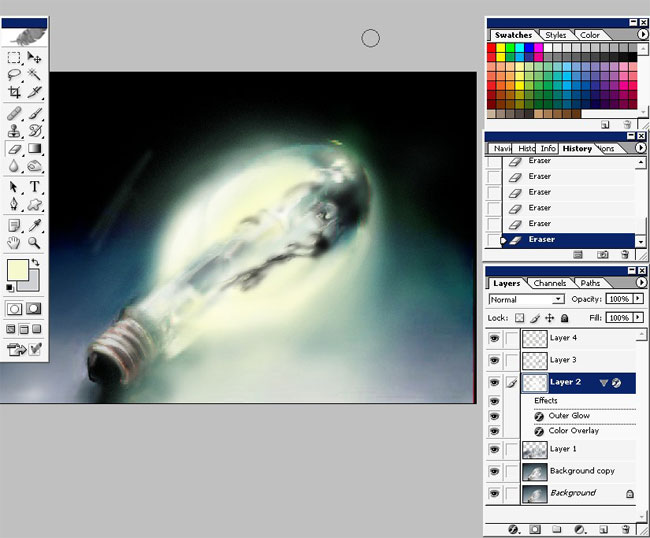
Blur a little bit to fix these ugly pixels.


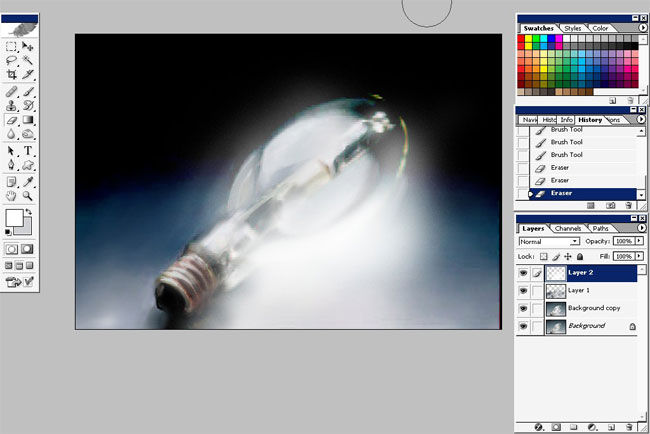
Further and further. Switch you brush and blur brush when needed.
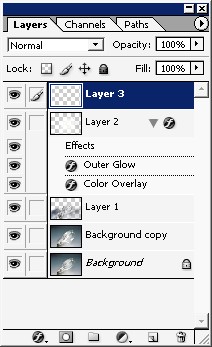
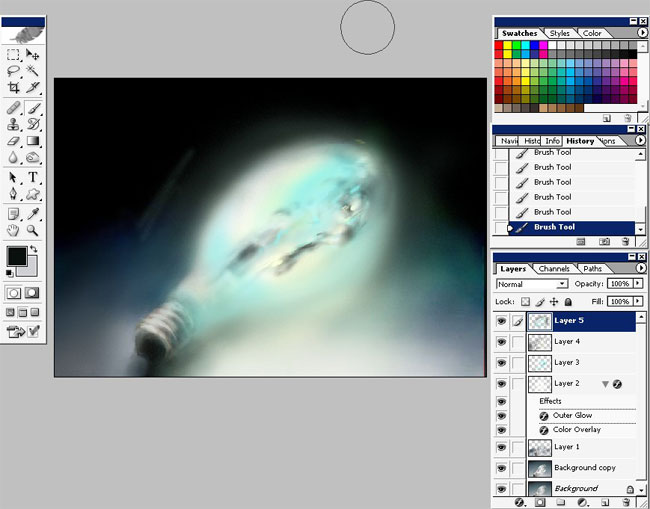
I’ve created some layers for better flexibility. This is optional.

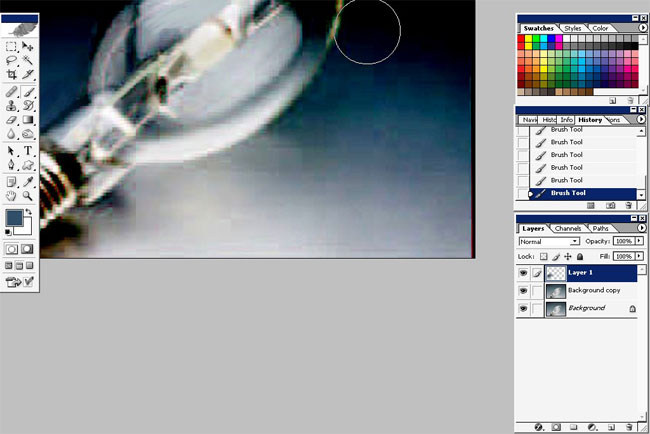
Set the brush flow to about 1%-2% and mode to vivid light and begin to paint some color.

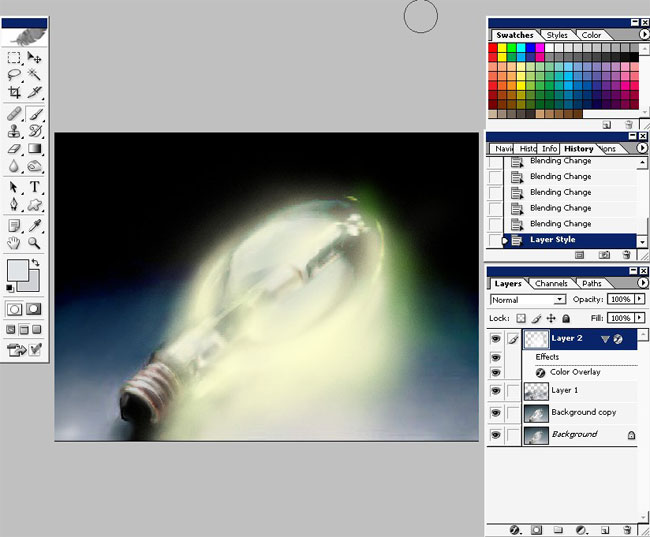
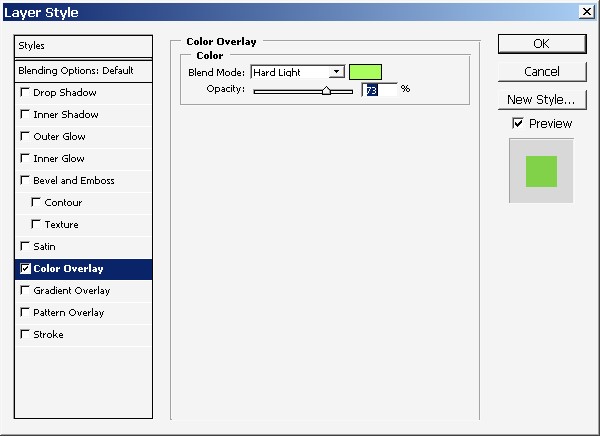
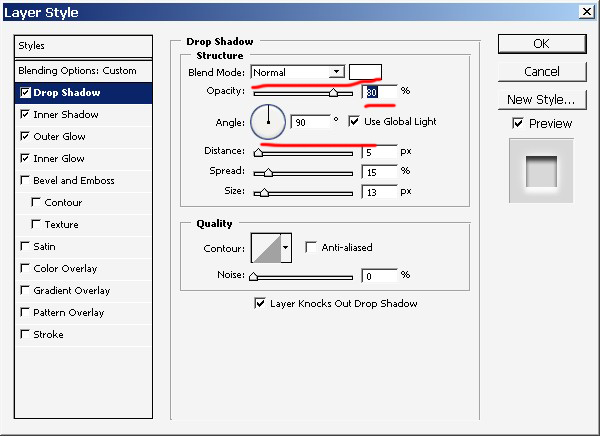
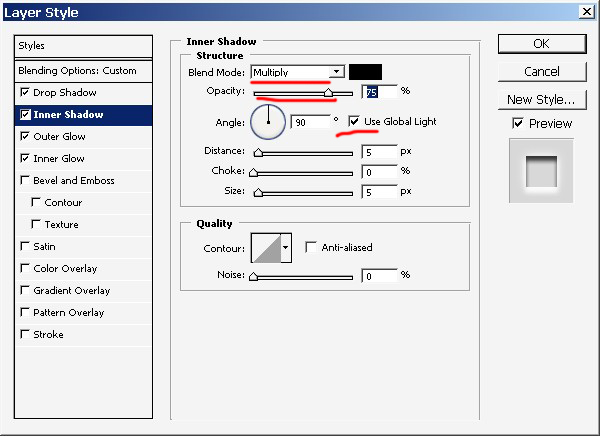
Overlay the layer with some color using layer styles.
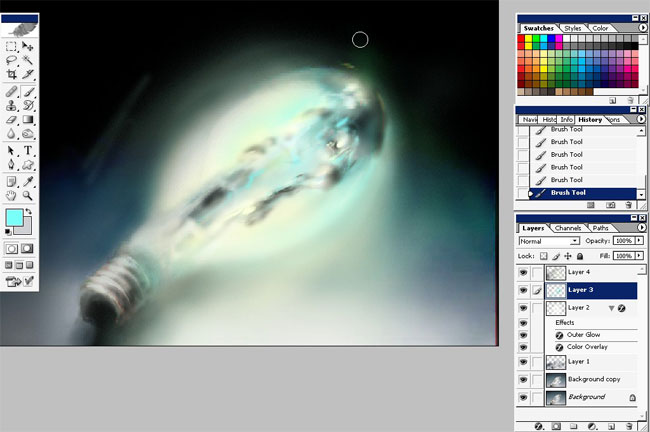
Set the brush back to normal mode and flow set to 1%-2%

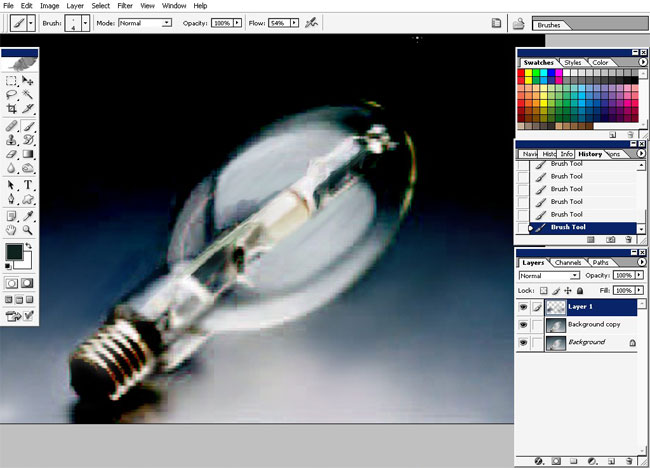
Create new layer.
And begin to paint and add some color and something inside.
Select Layer -> Flatten Image:
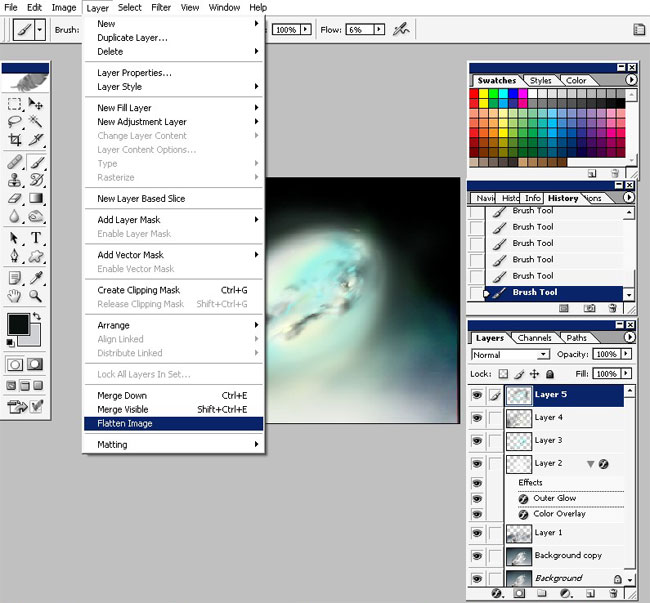
Flatten the image bit remember to save it with all the layers.
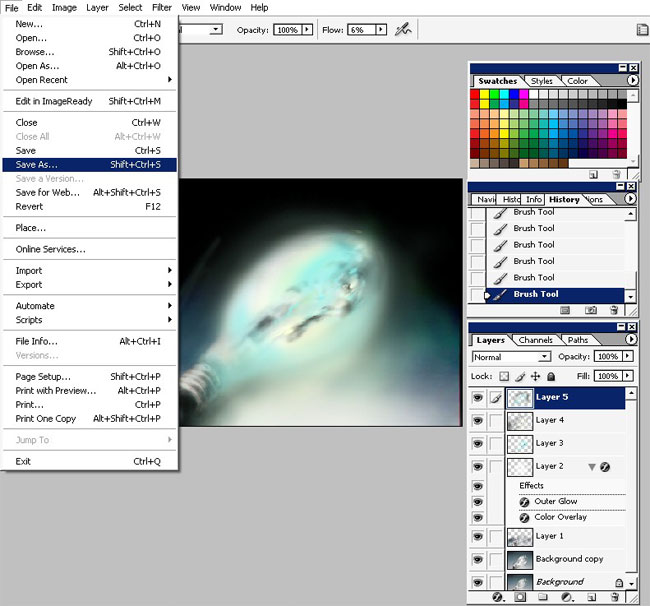
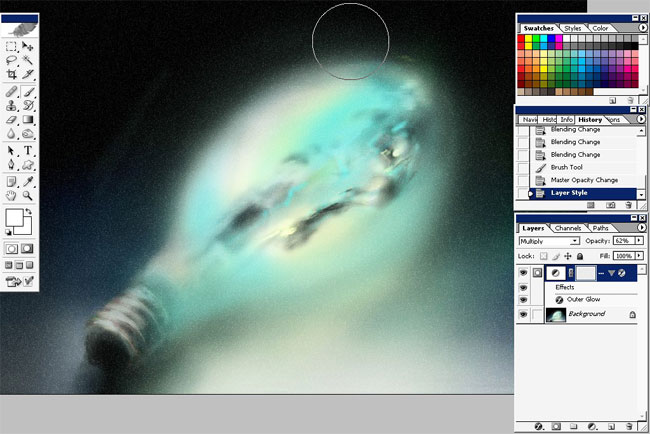
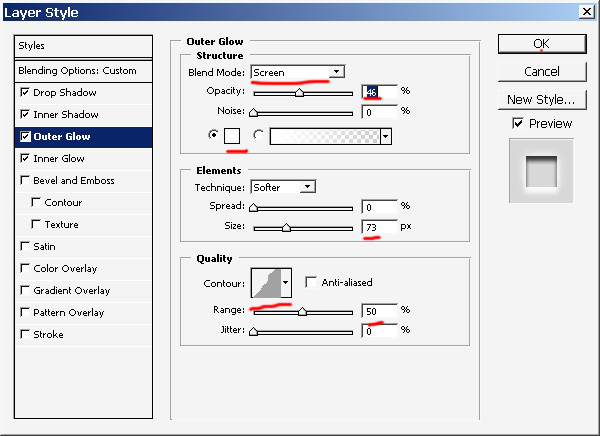
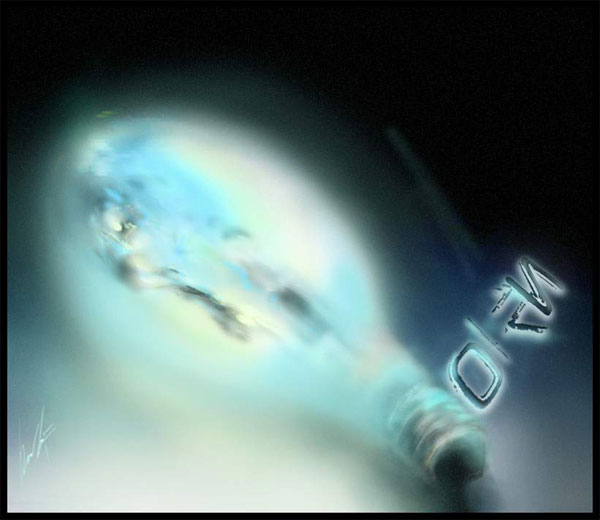
Now when we have only one layer add an Adjustment layer.
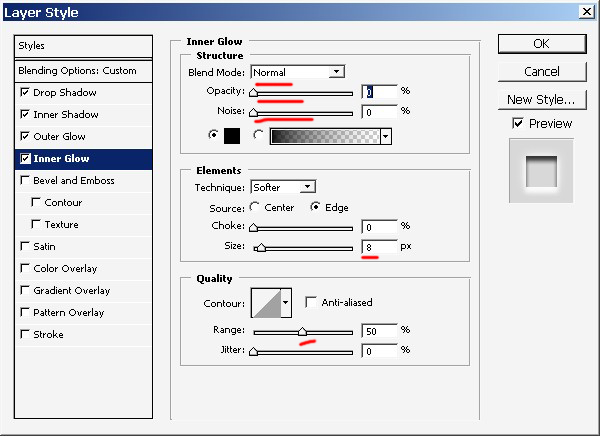
Set the mode to multiply opacity to about 60% and add an Outer Glow.

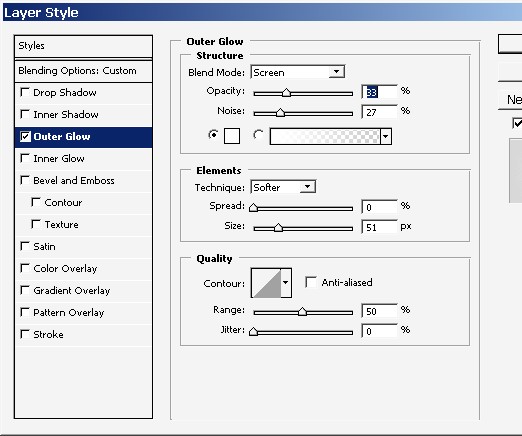
You can actually use filters and layer styles on some o the Adjustment layers.
So I did.
1st comes the noise filter.
And layer styles.
And we get this noise look. Well maybe this is too much.
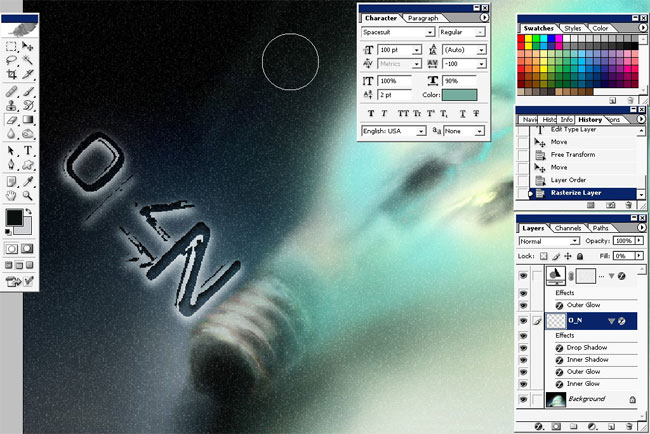
I’ve also added text it says no on visa-versa.
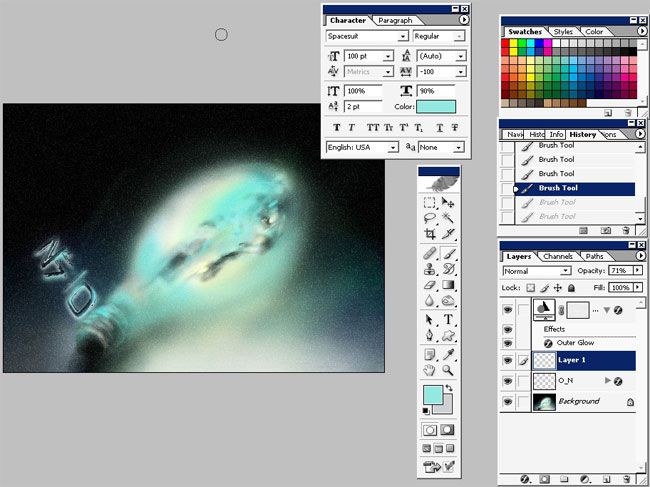
A little bit of glow. I did it with basic brush, but only the mode is set to screen and maybe the flow to about 5%-10%.
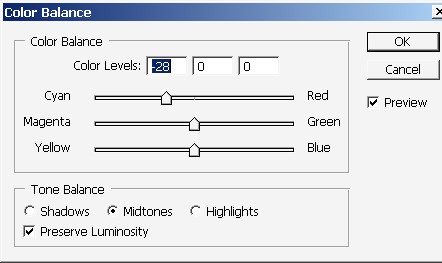
Change a little color in the end and flip over.
+ View full size image
And we are done.
Comments