
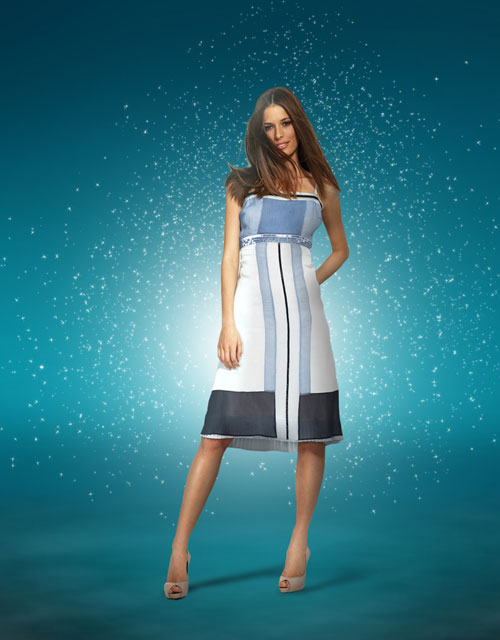
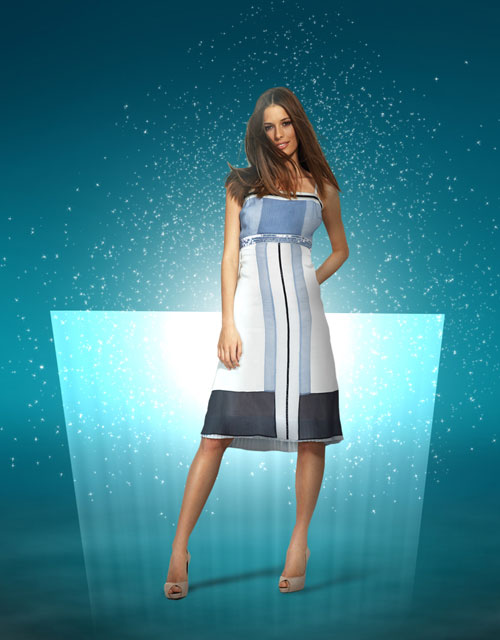
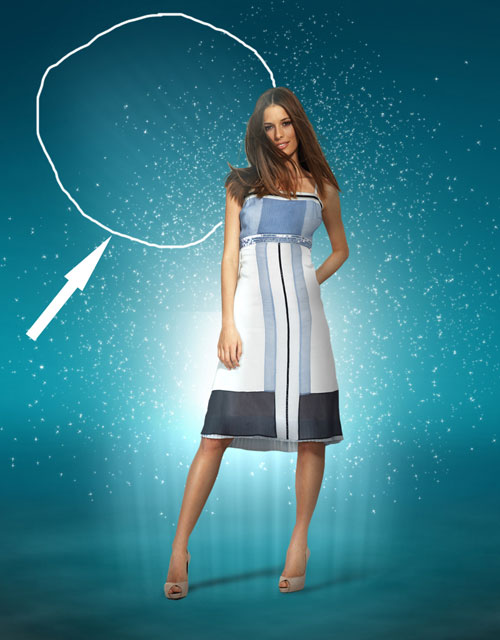
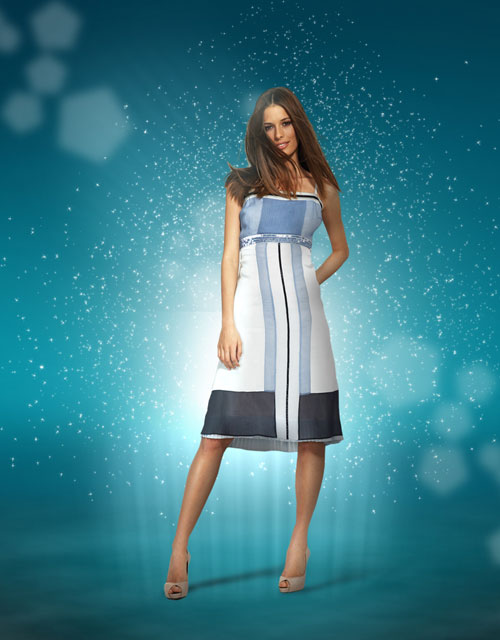
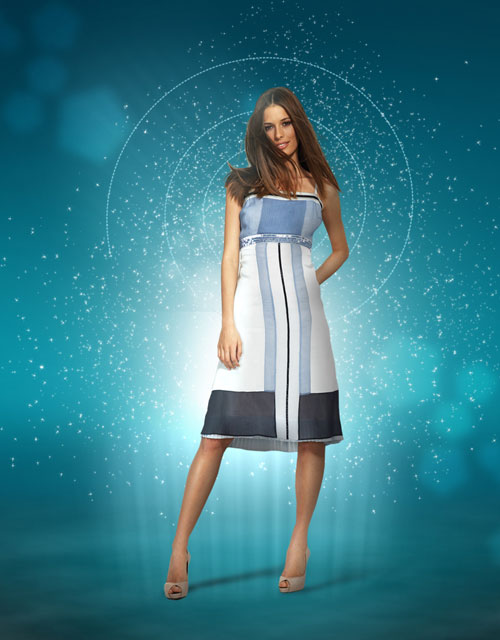
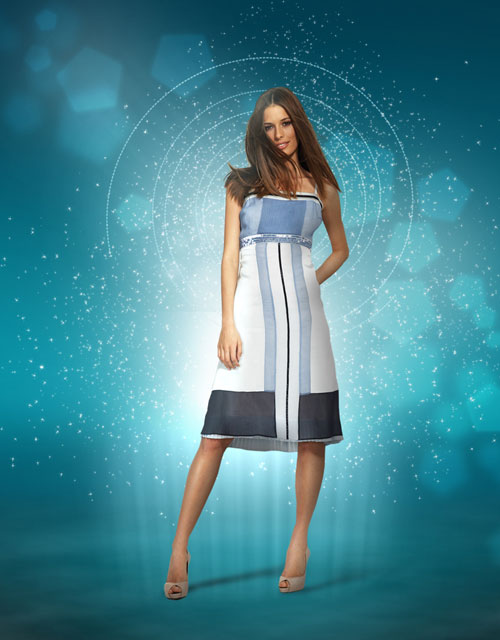
Combine model shot and vectors to create a stunning photomontage in Photoshop CS5
Create a new layer and apply the brush to insert more dots on the canvas of smaller size this time.
Let’s represent the rays under the model’s feet directed to the top of the canvas. Create a new file (File>New) with the size 500px by 500px (RGB color mode) at a resolution of 72 pixels/inch. Take the Gradient Tool (G) and open the Gradient Editor from Options Bar. Choose the Black, White gradient and apply the gradient from the bottom part of the canvas to the top.

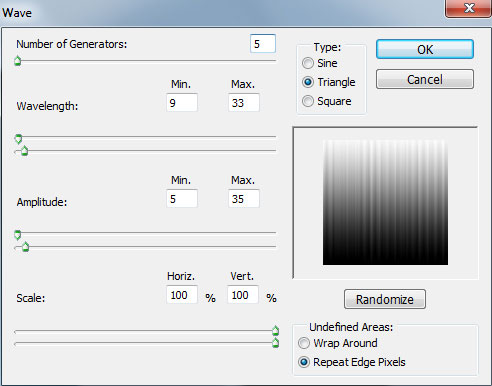
Apply the made layer the next filter: Filter>Distort>Wave:

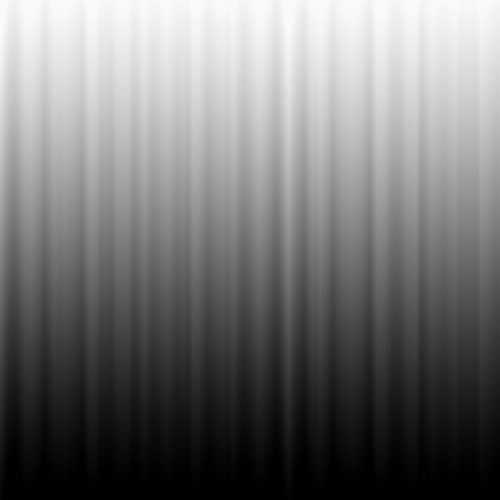
We’ve got the next result:
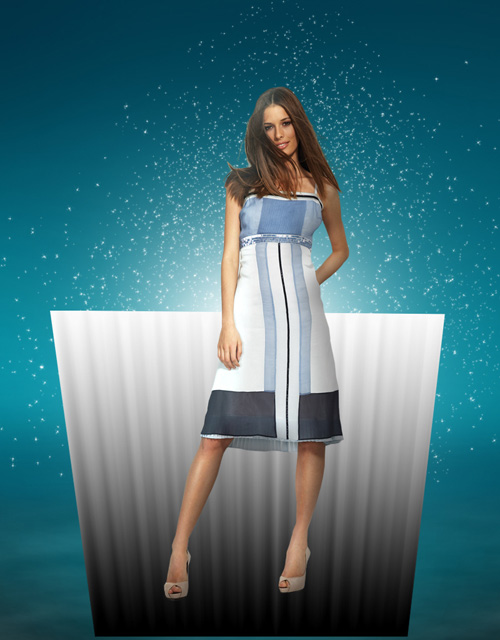
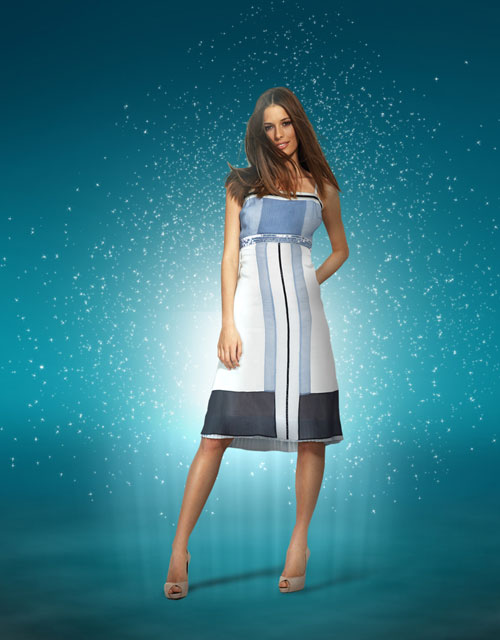
Next insert this layer in our main document and use the Free Transform (Ctrl+T) command, select Warp mode from Options bar to warp the layer as shown.
Set Fill to 42% for this layer and change the Blending mode to Linear Dodge.
Insert the mask on the layer by choosing Add layer mask on the bottom part of the Layers panel and choose the Soft Round brush of black color (set Opacity to 20% in Options bar).
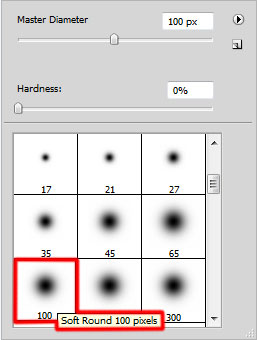
Pain in the mask using this brush to hide the top part of the rays’ layer.
Make a copy of the recently made layer and set Fill to 9%.
Make one more copy of the rays’ layer and select the Free Transform (Ctrl+T) command to incline the copy to the left side and make it smaller. We have to change also Fill to 29%. The layer will be situated lower than the model’s layer.
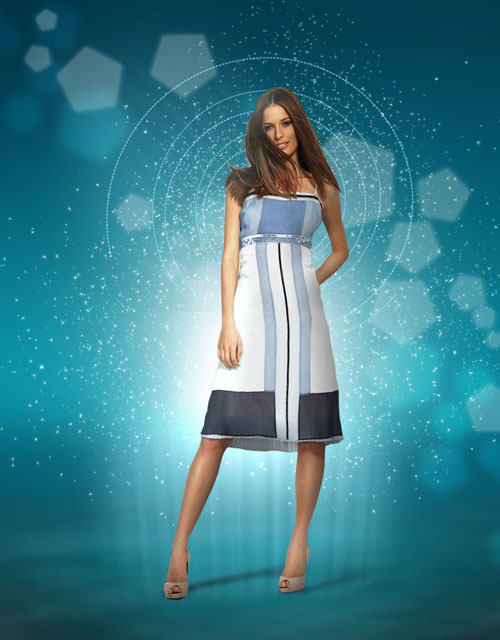
Take now the Polygon Tool (U) set Sides – 5 in Options bar and draw several pentagons of white color. Place the layers lower than the model’s layer.
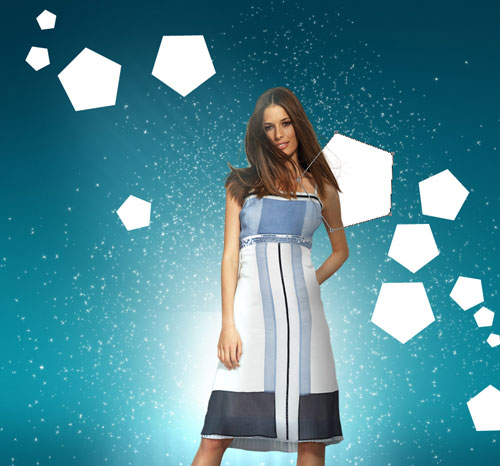
Set Fill to 24% for these layers.
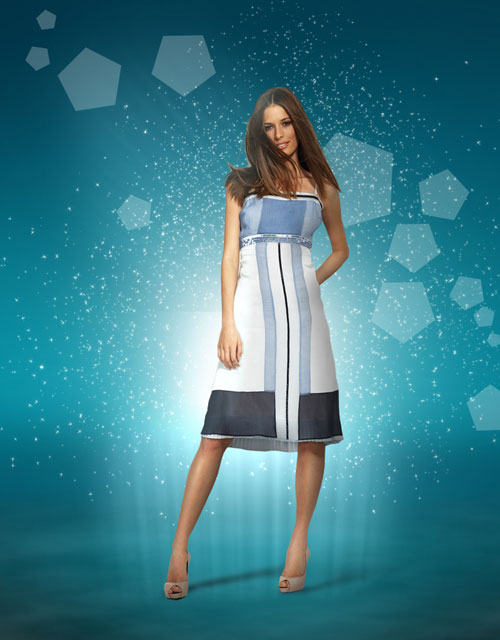
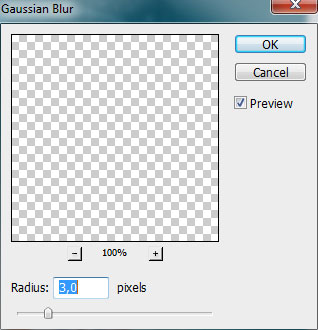
Put together the pentagons’ layers into two ratserized layers (the pentagons elements on the model’s left side – into one layer and the others on the right side – into the next one). In this case select layers in Layers panel using CTRL button and then press CTRL+E to Merge Down. Choose for the rasterized layers the next filter: Filter>Blur>Gaussian blur.
Select Free Transform (Ctrl+T) command to place the layers exactly as on the picture below:
Set the Blending mode for this layer to Overlay.

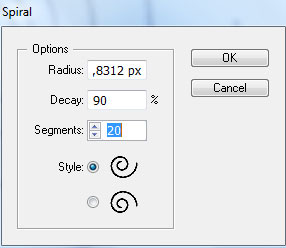
Next pass on the Adobe Illustrator program and select the Spiral Tool to draw a spiral of black color.

Left click on canvas and set the next options in Spiral dialog box.
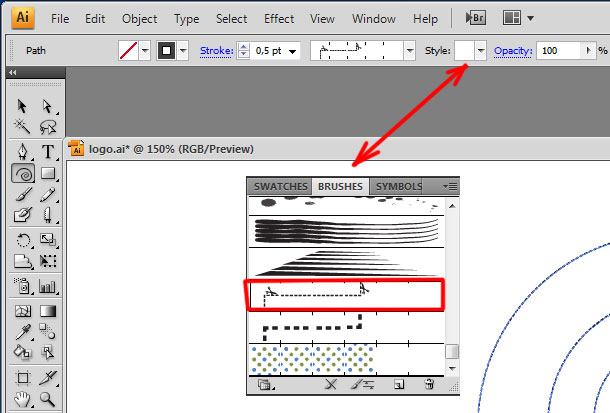
Set in Options bar the Stroke – 0.5pt, for Brush Definition select the Cut Here brush from Brush Library > Borders > Borders_Dashed
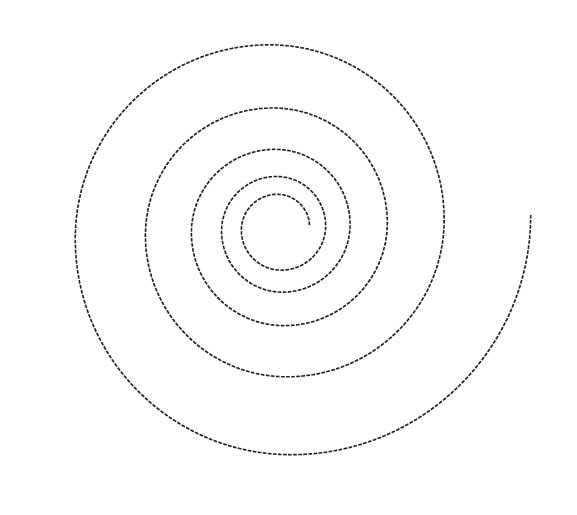
We’ve got a spiral like the next one:
Select the spiral and press CTRL+C to Copy. Pass again on the Adobe Photoshop program. Press CTRL+V to Paste as: Smart Object. Select then the Free Transform (Ctrl+T) command and turn over the spiral placing it as on the next picture. The layer will be placed lower than the model’s layer.

Press CTRL+I to Inverse the color. Set Fill to 64% for this layer and change the Blending mode to Luminosity.
Make a copy of the last made layer and choose the Free Transform (Ctrl+T) command to turn over the copy’s layer, making it also smaller. Set Fill to 59% for this layer. The layer will be situated lower than the model’s one.

Use now the earlier made pentagons’ layers and make a copy of this layers. Put together the layers into a rasterized layer and then apply the Free Transform (Ctrl+T) command to situate the layer as on the next picture. Apply also for this layer the next filter: Filter>Blur>Gaussian blur.
We’ve got the next result:
Set the Blending mode for this layer to Overlay.
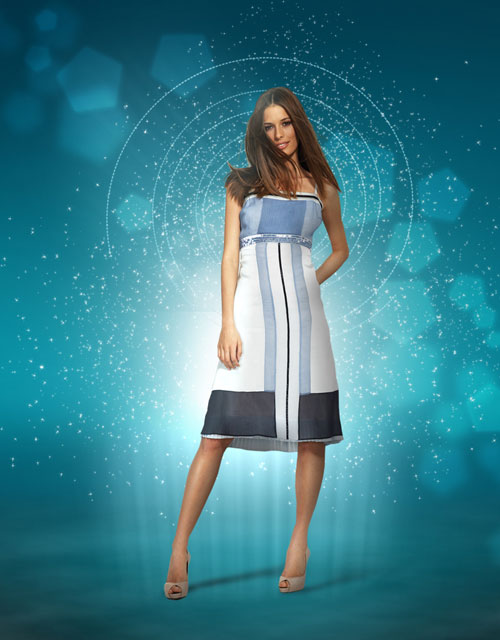
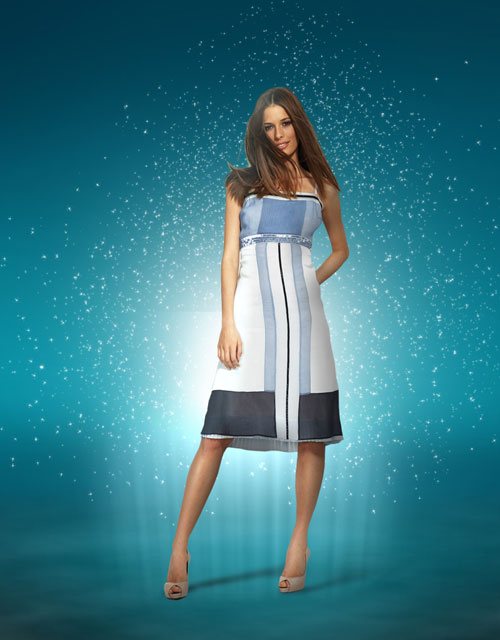
Create a new layer and select the Soft Round brush of white color (Opacity – 20%).

Use this brush to paint above the layer with the pentagons. The layer needs to be situated under the model’s one.
Comments