
Colorize a Black and White Photo
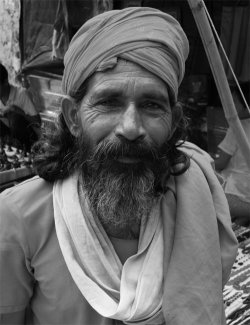
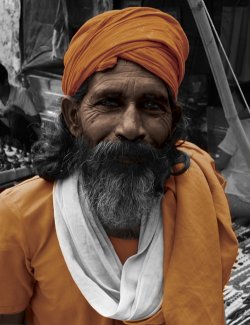
In this tutorial I will teach you how to add some color to a black and white image. You can view the example and the changes we will be making to it below:
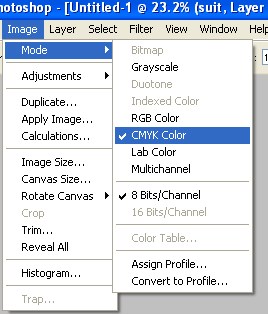
Open in Adobe Photoshop the document you would like to colorize. Next, go to Image / Mode and tick CMYK Color. This is very important – if you don’t tick CMYK Color, it won’t work.
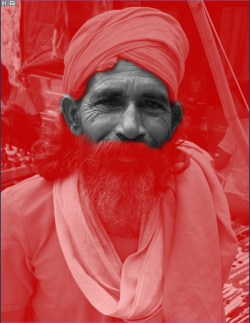
We will add color to the man’s face first. Using the lasso tool, roughly select the area of his skin you would like to colorize.
Then enter quick mask mode found on the tool bar and mask around his face in greater detail. 

You should have something that looks like this:
Hit Q (or leave the Quick Mask mode), and you should have the man’s fice nicely selected and feathered. Next, go to Layer / New Adjustment Layer, and click on Curves. Play around with the curve levels until you get something satisfactory, such as below:

Repeat this same process with all different colored areas of the man until you have fully colorized him. Remeber, you have to use your imagination and be creative when it comes to guessing the colors, but you’ll get the hang of it eventually!
Comments