
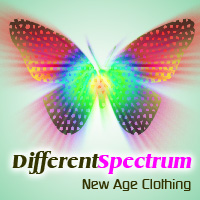
Clothing Line Spectrum Logo
May 7, 2006 | 0 comments
| Apply a nice gradient in radial mode to the background. |
 |
| Using custom shape tool (U), select a butterfly shape. |
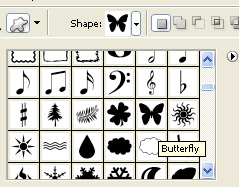 |
| Draw this butterfly in a new layer. |
 |
| Press Ctrl+T. Right Click and select perspective. |
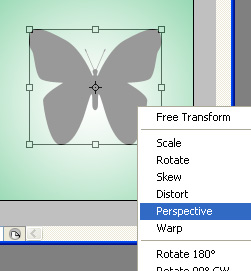 |
| Adjust the nodes as shown. |
 |
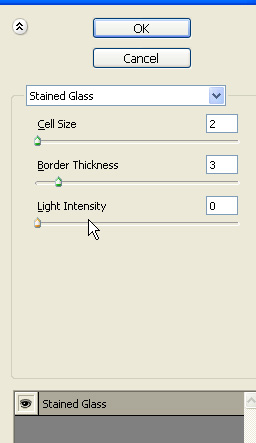
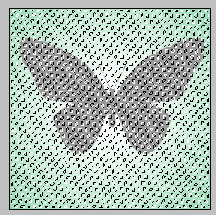
| Duplicate layer. Right click the layer in layer palette and rasterize it. Press Q to enable quick masking. From filter menu select texture>>stained glass. Adjust settings as shown. |
 |
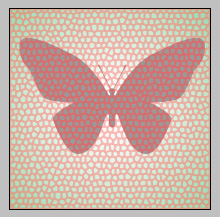 |
| Disable quick masking by pressing Q again. |
 |
| From select menu select modify>>contract. Contract the selection by 1 pixel. |
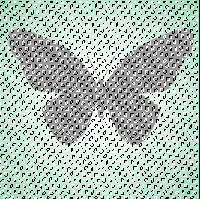 |
| Press delete key twice or thrice. Duplicate layer. Hide original layer. Select the unhidden butterfly layer. |
 |
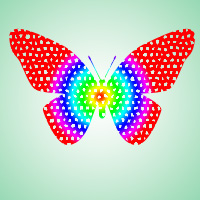
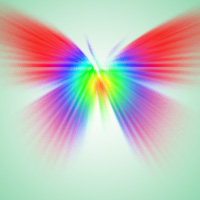
| Enable lock transparent areas at the top of layer palette. Select gradient tool. Take default spectrum gradient and apply on the butterfly in radial mode. |
 |
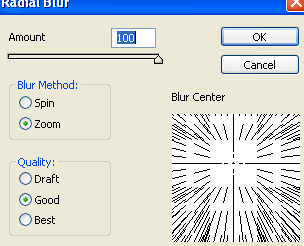
| Disable lock transparent pixels from layer palette. From filter menu select blur>>radial blur. Adjust settings as shown. |
 |
| Press Ctrl+T. Right click the layer and select warp. Adjust nodes to get the shape as shown. |
 |
| Unhide the original butterfly we hide in a previous step. Move it ab love all layers in layer palette. Fill with purple color. |
 |
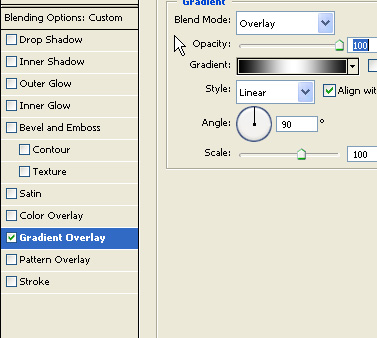
| Double click the layer to open layer style window. Apply settings as shown. |
 |
 |
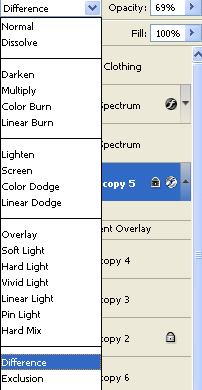
| Change layer mode to Difference. |
 |
 |
| Type company name etc with nice fonts and color and place at the bottom. |
 |
Comments