
City Blogger – Custom brushes in digital media world
In this tutorial I will show you how important are custom brushes in digital media world. So let’s get started with this.
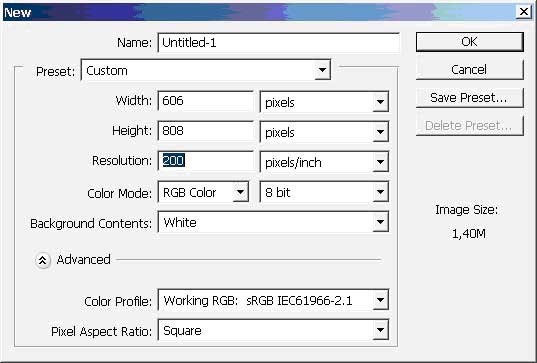
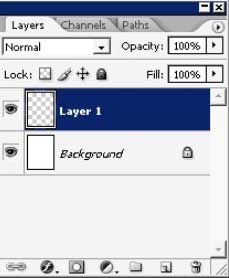
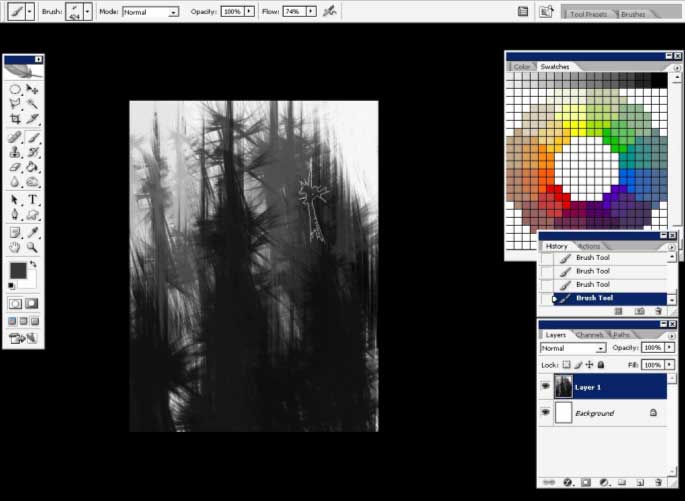
Firstly, create a document and a layer.
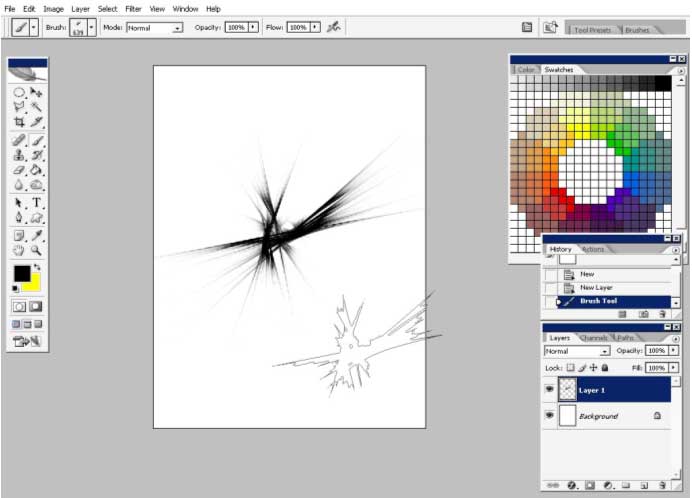
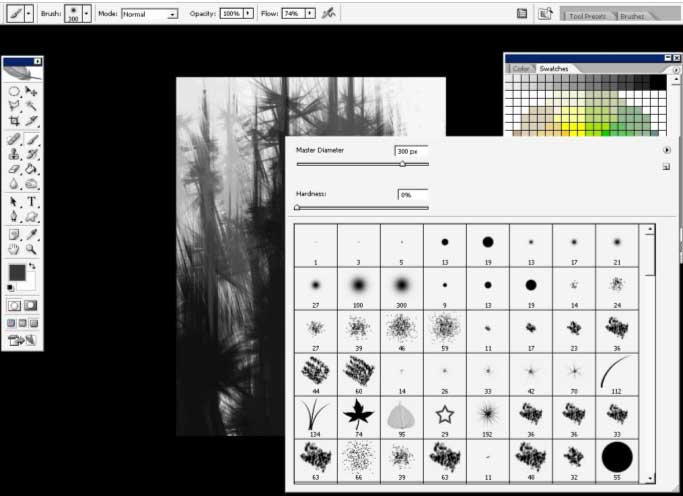
Select the brush to paint with.
You can download the custom brushes just typing the word Custom Brushes in Goggle or enter the Photoshop forum box on www.conceptart.org.
Or enter a resource section on www.deviantart.com

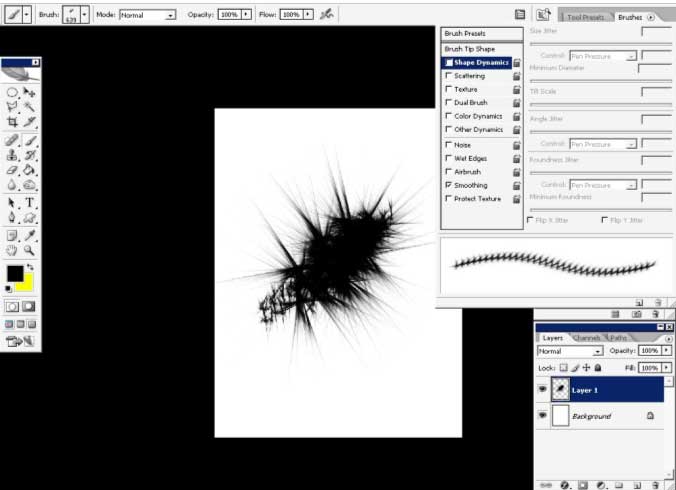
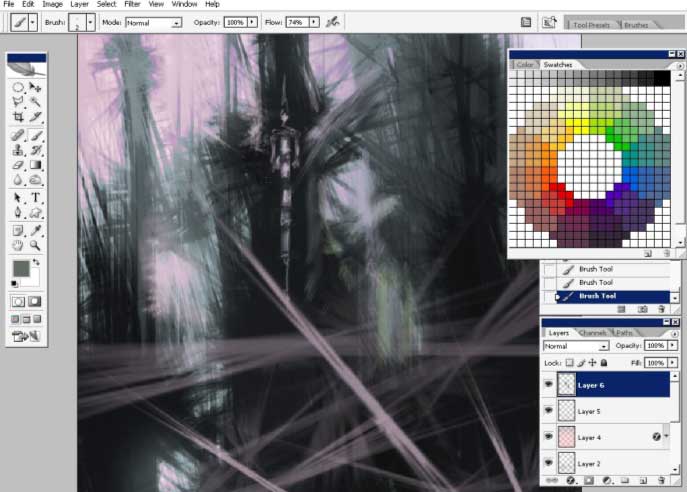
So here is my brush. See how it blends. Now it has no settings. As you see it has some very angled but soft edges and interesting hair, or something, architecture.
Remember this. Every Photoshop brush can be used in different situations depending on bush settings. For example you can paint clouds and forest leaves with the same basic round Photoshop Brush.
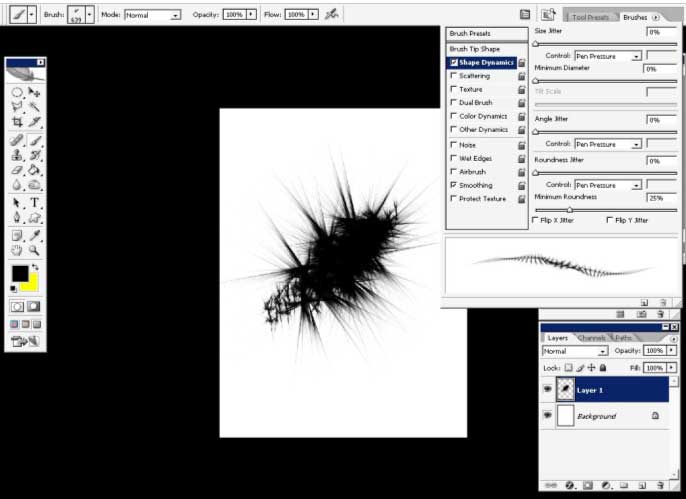
So the settings are very important. Moreover as you know Corel Painter has an amazing brush imitation that varies from Photoshop, but I tell you using dual brush and other dynamics settings you can reach this very effect. The brush will bleed like in painter and will have amazingly blended texture. Try to experiment and remember all your settings on every brush.
So here I have my brush reacting to pen pressure set to Angle and Roundness jitter.
But honestly I prefer to start my sketches without any settings applied to my brush.
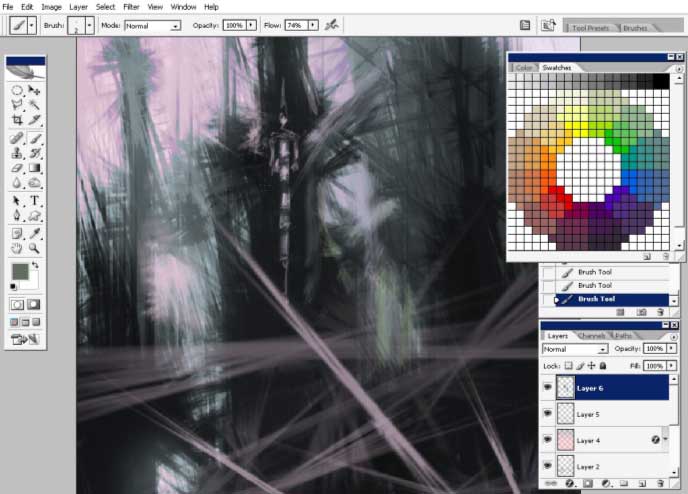
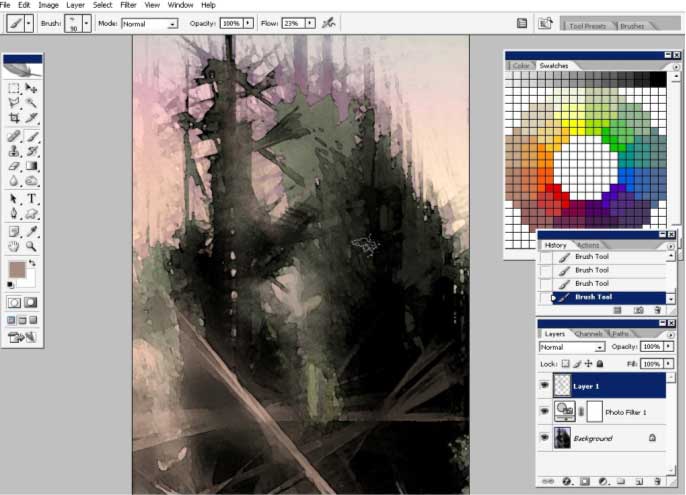
Now let’s start building some king of silhouette.
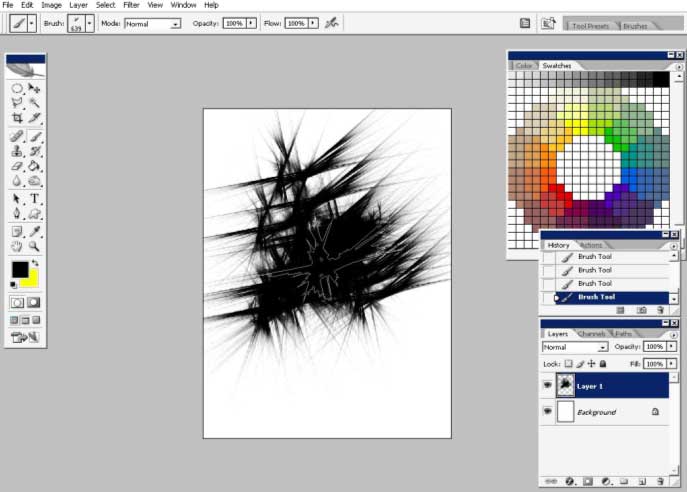
When I work, especially with and abstract brush I change the size and dimension of the brush millions of times.
Change the angle.
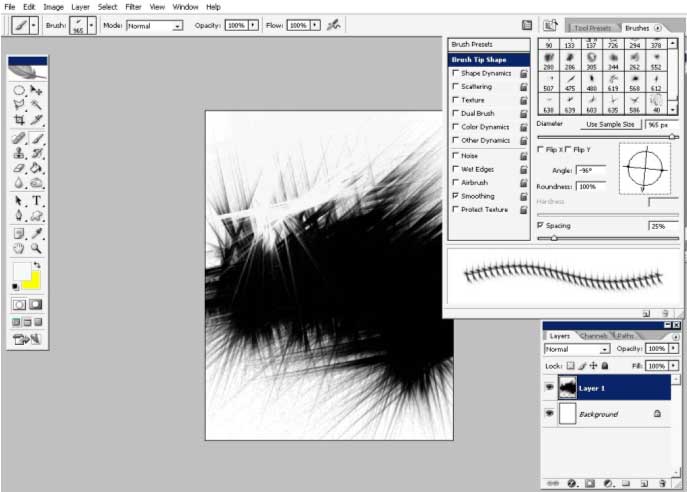
Change the size.

And we are how getting somewhere. I see the horror city there. Let’s go on with the idea for now.
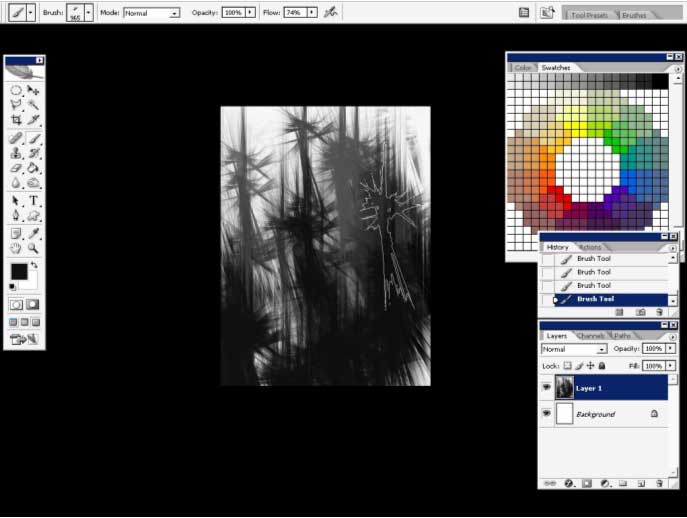
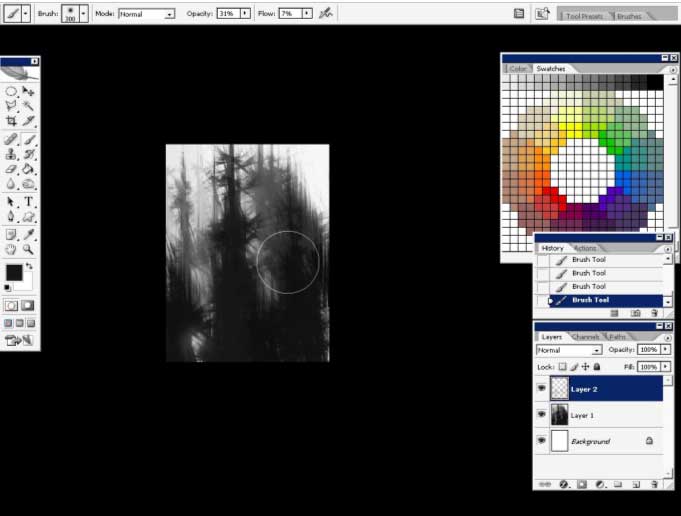
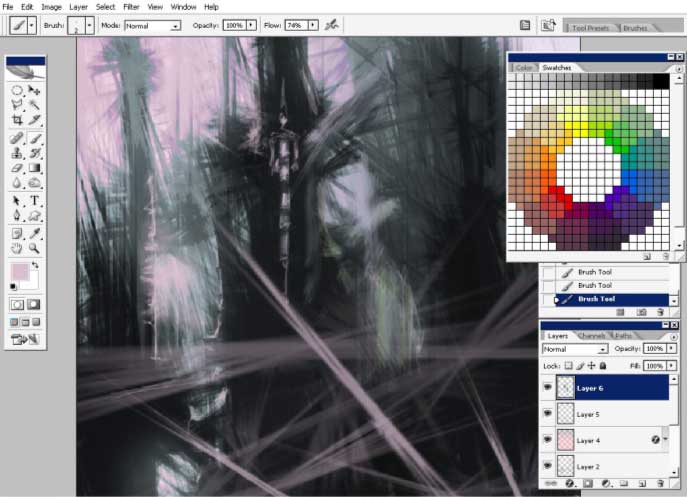
Playing with value. If black and white: what is near to my, to an artist will be more in contrast (more black) and Visa Versa – more white background.
Now I will grab a basic but soft edged brush and work on the value a little bit.
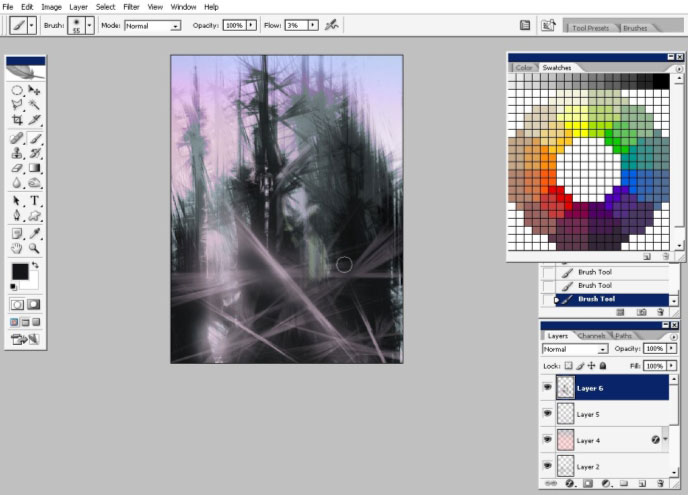
In Photoshop there are many ways to color the images.
You can use gradients, just plain color fills or brushes.
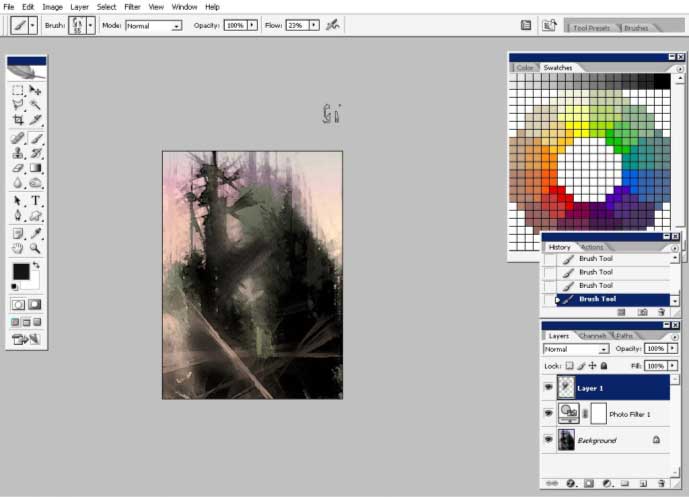
I will use gradient to fill my image with color.
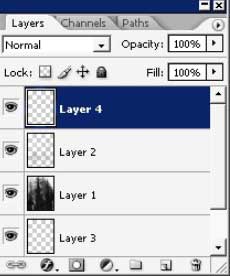
So create a new layer and fill in with this gradient. Note that the layer mode is set to Darken.
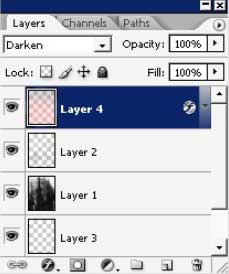
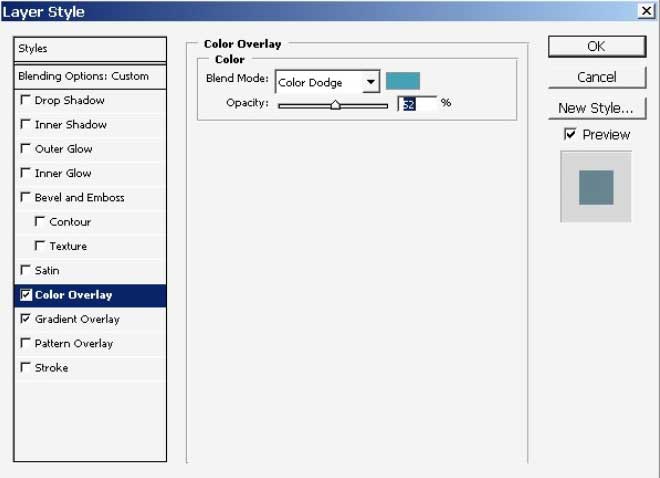
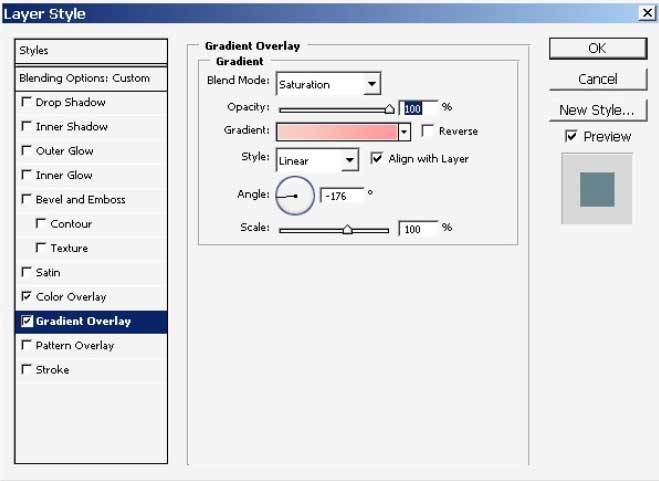
Moreover I’ve added some layer styles to my gradient layer.
Here is our result.
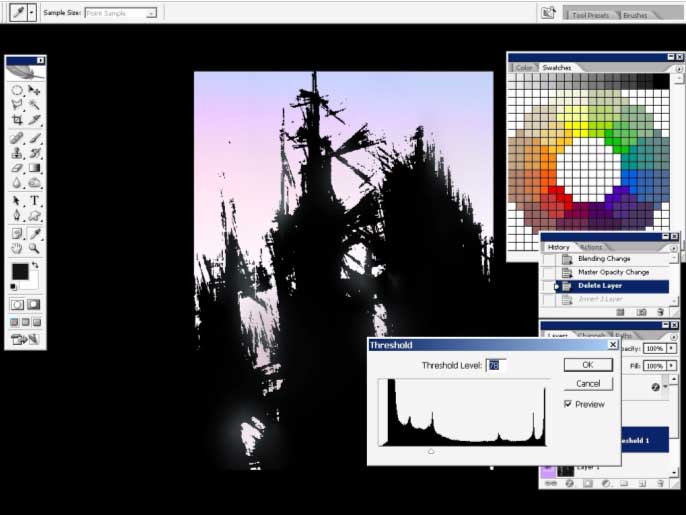
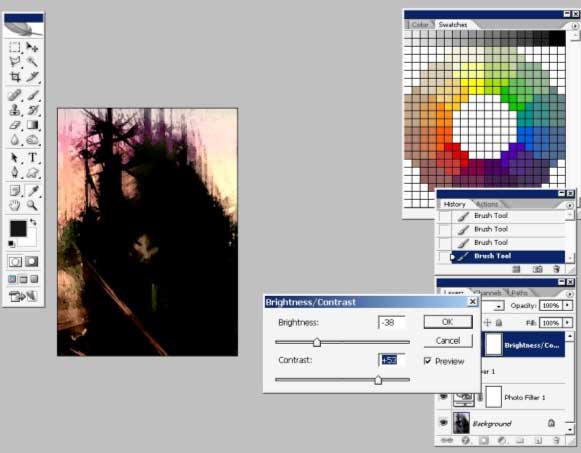
Select the layer on what you’ve painted the base silhouette and add a Threshold adjustment layer.
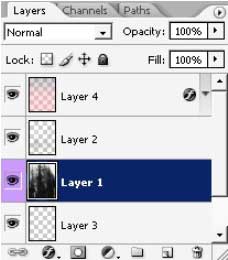

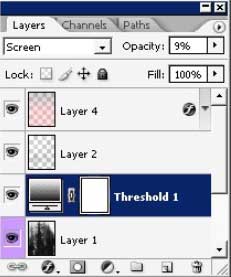
Switch the layer mode to screen and set the opacity to 9%.
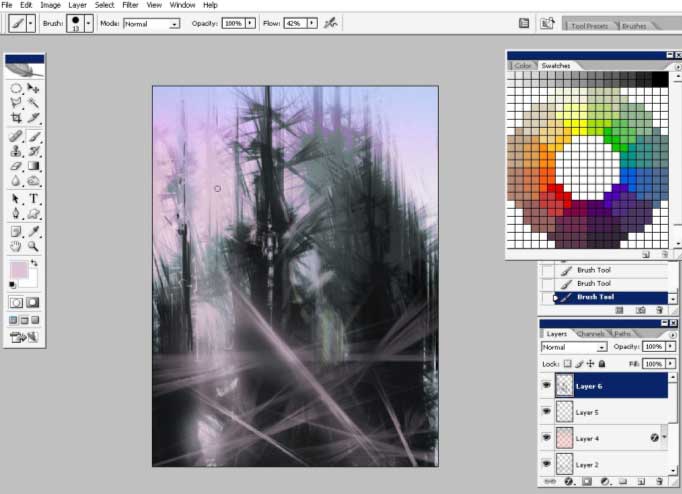
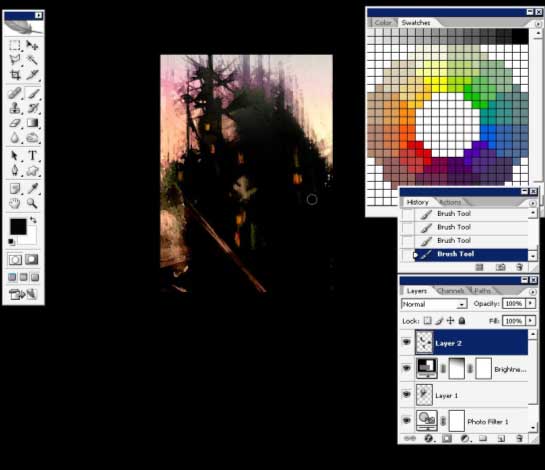
Now, I want to add some foreground elements. I will use the brush we’ve used before In the very beginning of the tutorial.
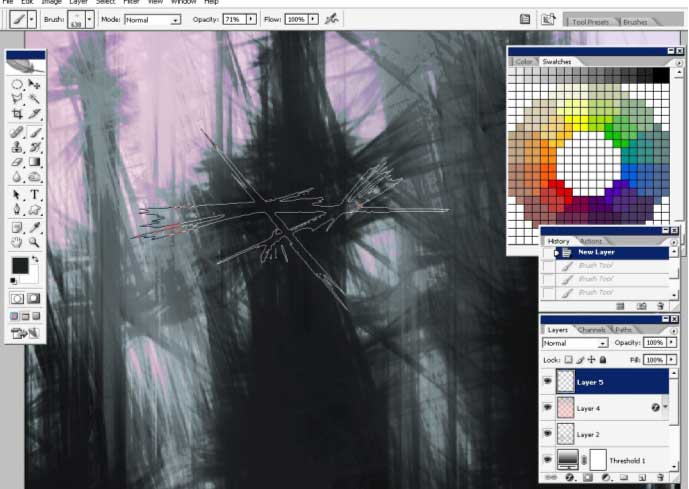


I’m also painting some surface lights right on the edges of the structures.
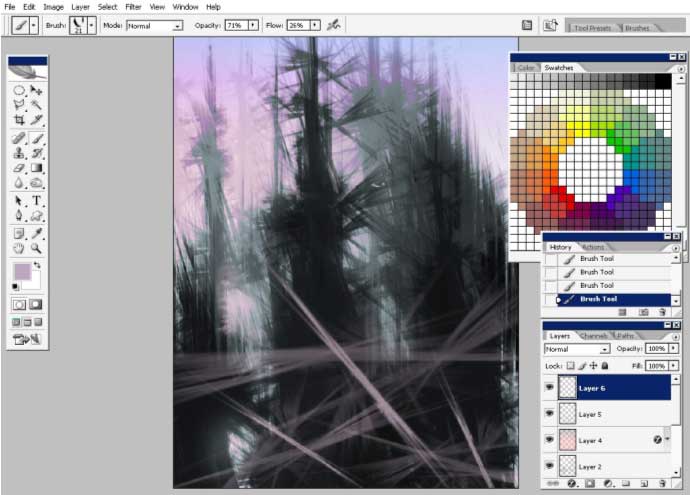
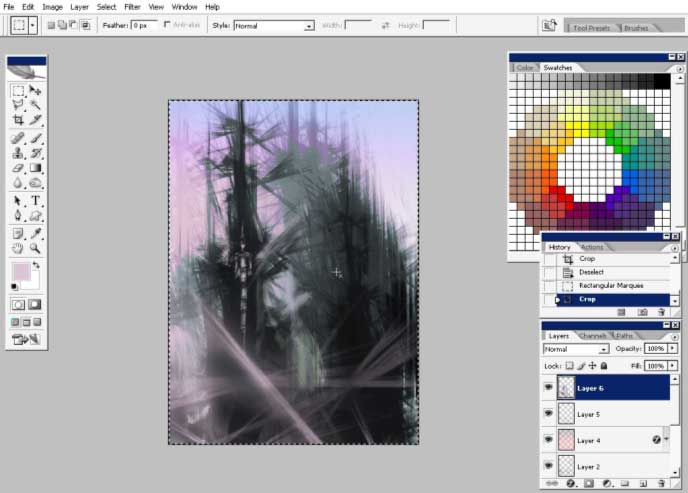
Refining a little bit.
I’ve had not one of my good days back there when doing this so that is why I wanted to create something creepy and scary.
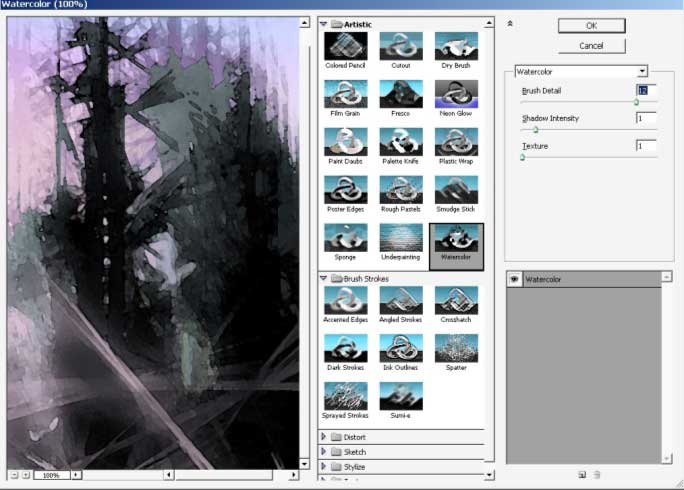
To create something scary you can apply some filter to roughen the edges.
I will also set the color more in Yellow. Just apply the photo filter on the whole image (top layer_ ).
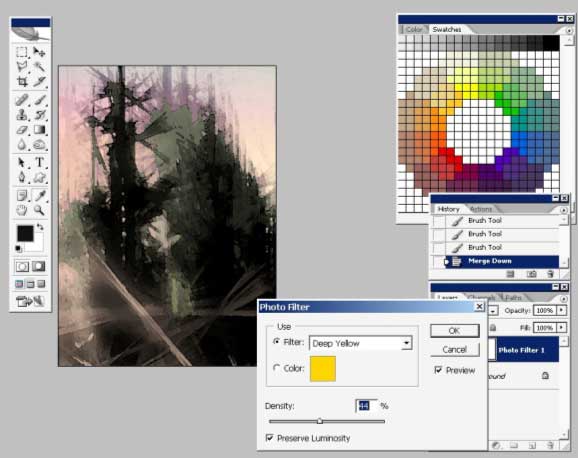
And another color manipulation.

Some details using plain square brush.
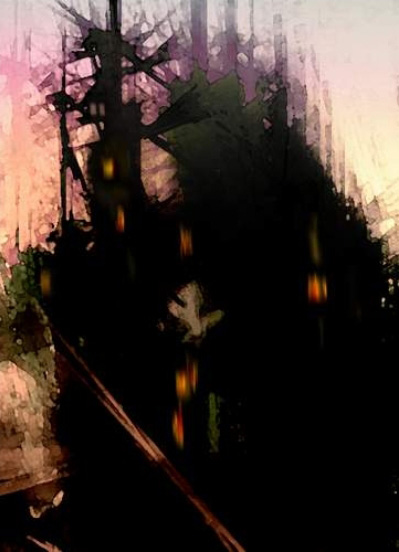
We are done here. My creepy sketch is finished.
Comments