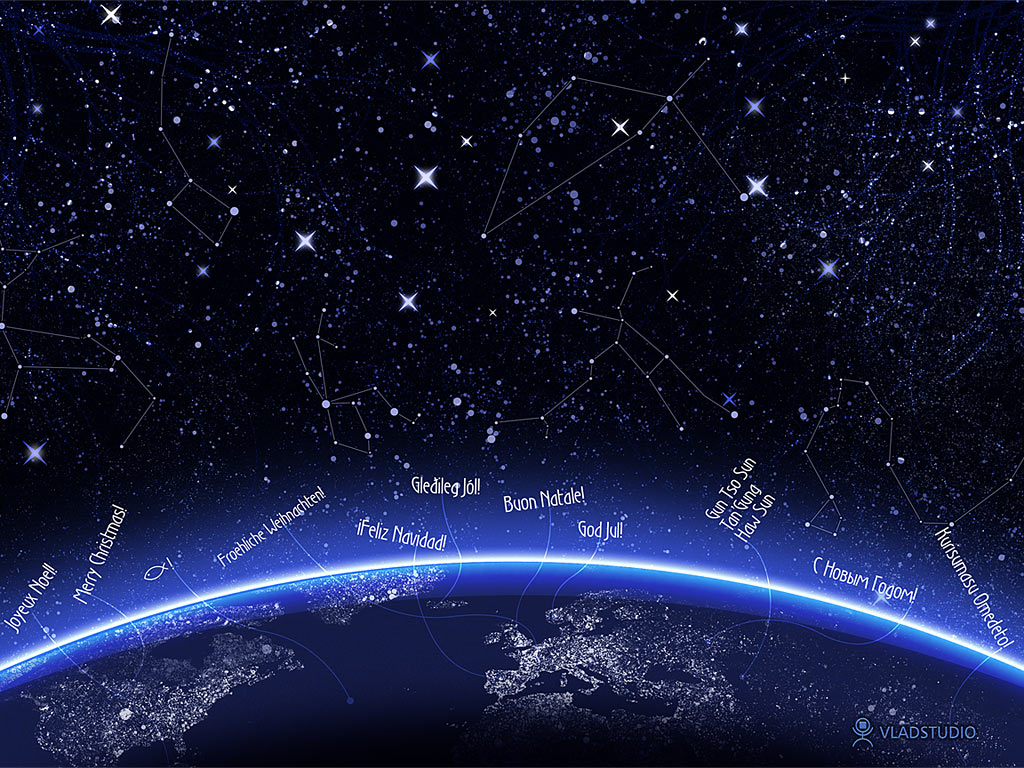
Tips about how I made the Christmas Night wallpaper (see wallpaper).
Before you start reading this tutorial, I recommend making a big cup of coffee – it will be quite long 🙂
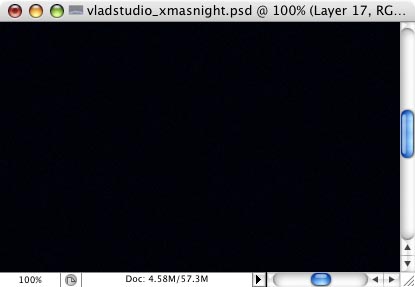
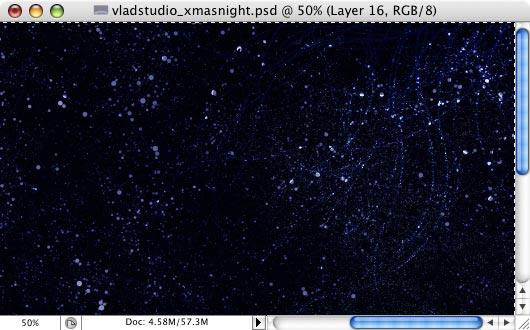
So, to start, create new document (I made it 3200×2000 pixels) and fill background with solid black color.
To fill our sky with stars, we’ll need some help of ContextFree. You can get it at
www.contextfreeart.org.
I downloaded one of fractals and manipulated it so that it fits my needs. You can download my fractal file here:
xmasnight.cfdg. Using this file, create several similar fractals (in ContextFree, hit Ctrl-R to refresh and get new variation) and saved them as PNG images (right-click and save as image).
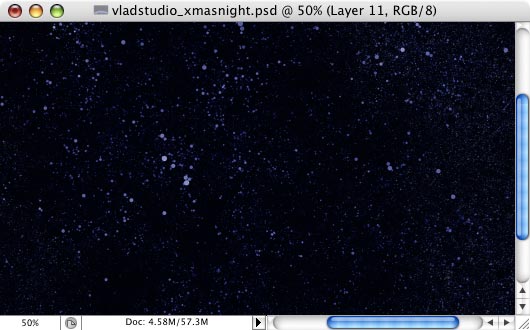
Open all PNG fractals in Photoshop, copy and paste them into one document, so that each fractal is a layer. For each layer, set Blend mode to “screen”. It will make stars blend together.
Repeat as many times as you like, until you get enough stars. (I used about 20 fractals). If your stars are wrong color, you can colorize them – hit Ctrl-U and adjust hue and lightness as necessary.
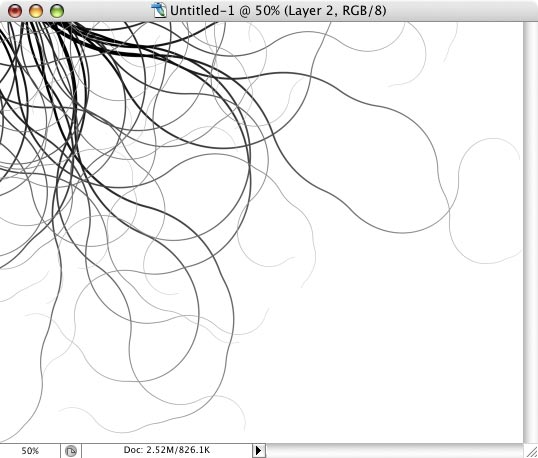
I wanted that the stars do not only fill entire image, but also create subtle “paths”, or roads. For that, I used another fractal-generated image from ContextFree. Sorry I deleted the source file! But if you open ContextFree and open “cillasun” or “demo1” from examples menu, that might be OK too.
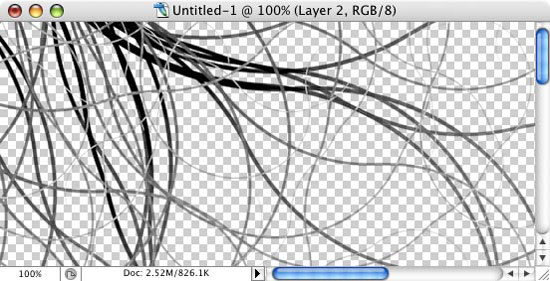
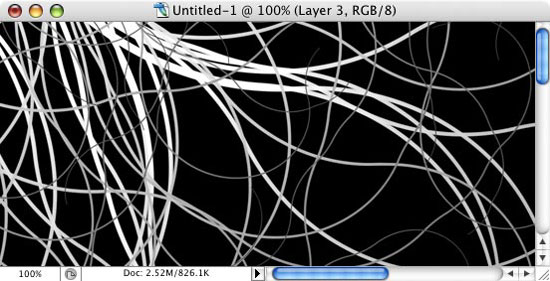
ContextFree generates black fractals on white background. I need only black fractal, with transparent background. Here’s how: open PNG image in Photoshop, select all (Ctrl-A), copy (Ctrl-C), close (Ctrl-W), create new file (Ctrl-N), paste (Ctrl-V), switch to mask mode (Q), paste (Ctrl-V), sqitch back (Q), delete (Del).
Instead of black fractal, you need white. The fastest way is Ctrl-U, then set lightness = 100%.
Copy resulted fractal image and paste it into top-right corner of our artwork.
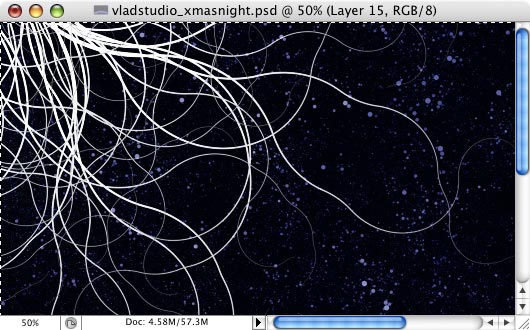
Then, simply set its layer opacity mode to “overlay”. Result: in this corner stars are now grouped into nice “roads”. If you need to make result more visible, simply duplicate the layer with fractal.
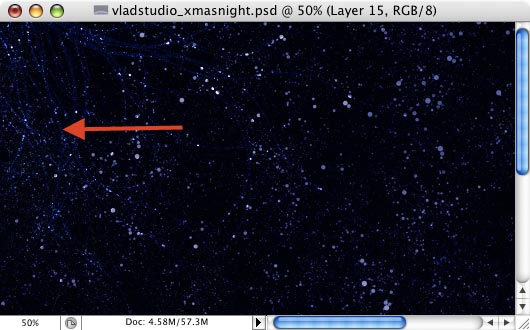
For top-left corner, repeat teh same steps: generate similar fractal with contextfree, remove white background, paste into wallpaper…
…and set its blend mode to “overlay” (and probably duplicate the layer).
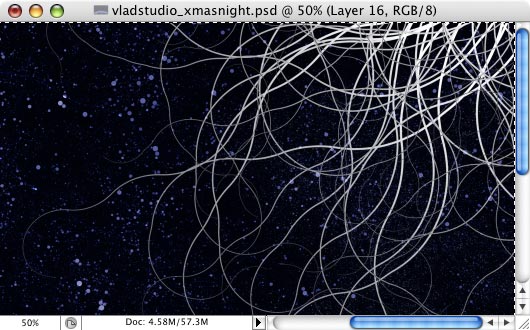
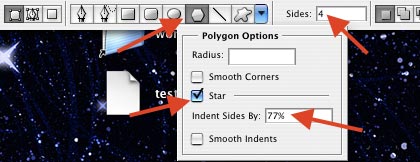
For more fun and excitement, we’ll need a bit of bigger stars. To create them, switch to Shape tool, choose Polygon, set number of sides to 4, and in Polygon options, check Star, and set indent to about 80%.
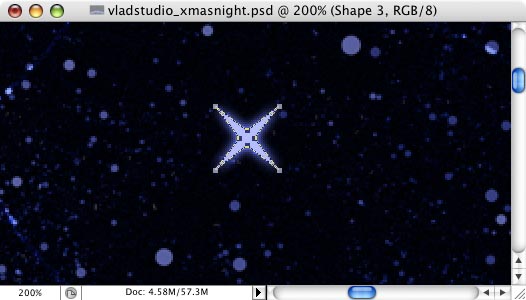
Then, when you draw a shape you will get a star you need (hold Shift while dragging mouse to align diagonally). You can also open Blending options (effects) and add a bit of Outer Glow.
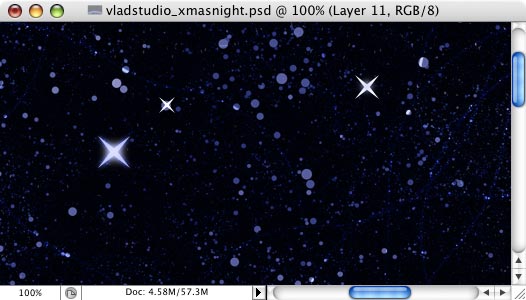
Repeat several times to add stars here and there.
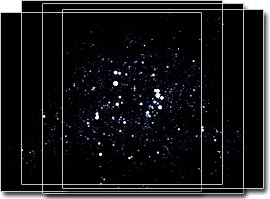
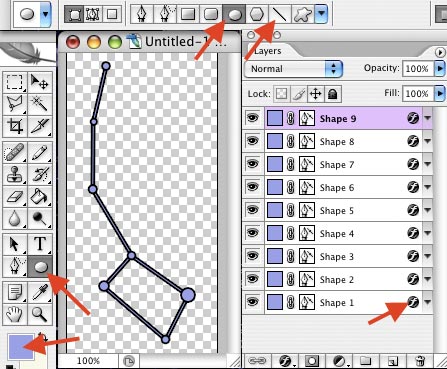
The next part of our artwork is..s constellations. Use google image search to get the idea of what constellations are there and their layout. Then, use Shape tool (first Line tool, then Ellipse tool) to create a constellation. For each shape in constellation, open blending options and add 2-px black stroke.
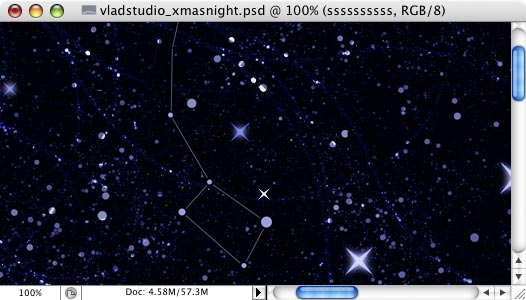
Here’s how our constellation looks when pasted into wallpaper. Repeat these steps for each constellation you want to add.
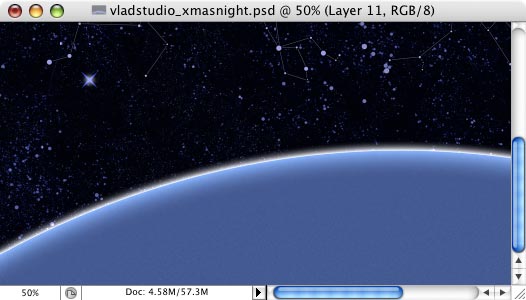
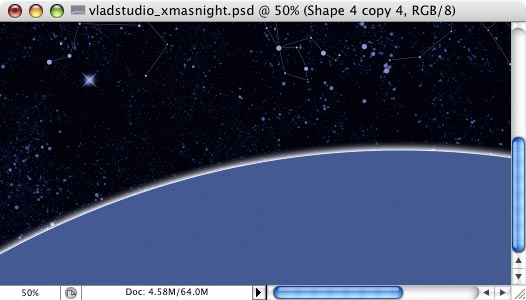
Now the most exciting part – the earth. Create new layer (or better, create new layer set, and inside it, new layer; it will keep your file well organized),set color to blueish purple, use Shape tool (ellipse) to create VERY big circle (hold Shift to make sure you make circle, not ellipse). Then make sure only very top of circle is visible.
Duplicate this layer – you will need a copy of it a bit later. (hide duplicated layer for now).
Rasterize original layer.
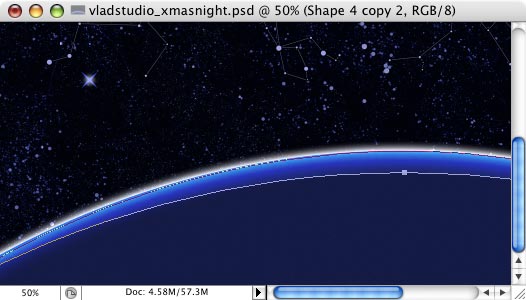
Open this layer’s blending options (layer style) and add small outer glow and big inner glow. Add a bit of noise (Filter – Noise – Add noise).
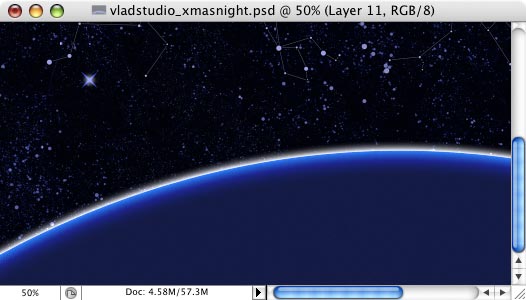
future steps will show that the planet needs to be darker :-). So using Hue/Saturation (Ctrl-U), make planet darker and more saturated (you can always adjust it later as well).
To add some nice light reflection, take a copy of planet shape (circle), switch to Path selection tool (A), select circle shape, copy-paste (Ctrl-C, Ctrl-V), move copied circle a bit down and change its mode to “substract”. Then, change layer’s blend mode to “overlay”.
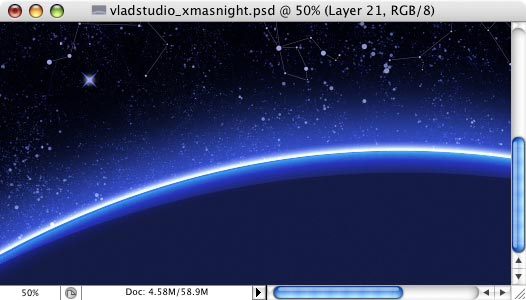
Now, we need much more outer glow from our planet! To add it, select layer with planet and duplicate it again. Clear layer style, so that it has not outer and inner glows.
To go filter – blur – gaussian blur and use very lagre number (such as 50-80). For stronger blur, duplicate layer (Ctrl-J) and merge it back (Ctrl-E).
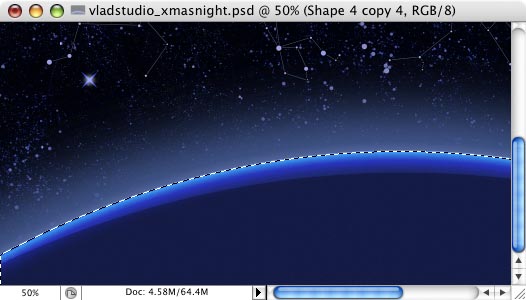
We only need glow outside the planet. To remove unnecessary glow, select layer with planet, set selection to layer transparency (you can hold Ctrl and click layer, or go to Select – Load selection – OK), then select layer with glow and hit Del to delete selected image.
The final touch is to set its lend mode to Color dodge.
To add a bit more 3D to our planet, create new layer, choose Brush tool, set brush size to very large (f.e. 700-800 pixels), set color o black, and add some black strokes on very bottom of image.
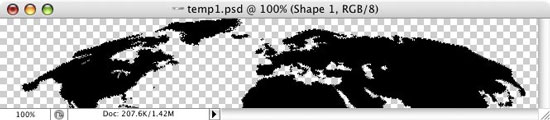
Now the tricky part! The continents shining in the night. The inspiration came from famous photo from NASA – see
http://antwrp.gsfc.nasa.gov/apod/ap001127.html.
But simply copy and paste would be too.. well, simple! Let us be inspired by the photo but not rip it. So, in new document, select Freeform Pen tool, and with rough mouse movements draw a shape that resembles our continents. Remember to distort them, as they are located in a sphere.
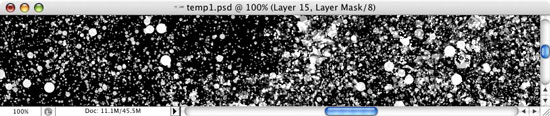
Take all fractals that you used in the very first steps (to create stars in background) and paste them here again. As previously, set blend more to “screen” so that all fractals are seen through each other. Then, merge all fractal layers (Ctrl-E), and desaturate (Ctrl-U).
Now, delete all parts of fractals layer that are outside “continents shape” layer. There are 2 ways to do that. A) simply group these 2 layers (Ctrl-G) and then merge (Ctrl-E), or select continents shape, set selection to layer transparency (see above how to do it), switch back to fractals layer, invert selection (Ctrl-Shift-I) and Delete.
Now all you need to to is insert the result into our artwork, and set its blend mode to “color dodge”! Woo-hoo!
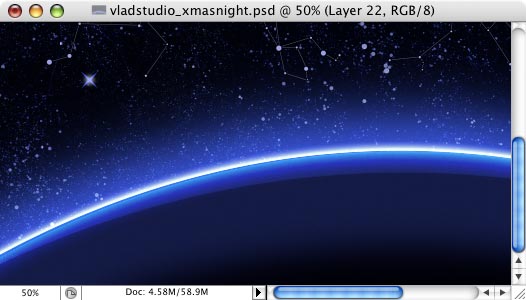
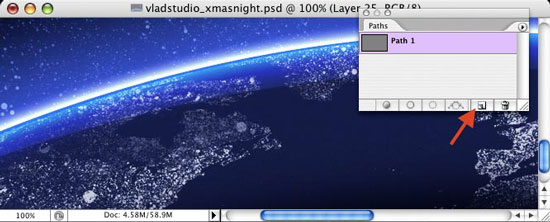
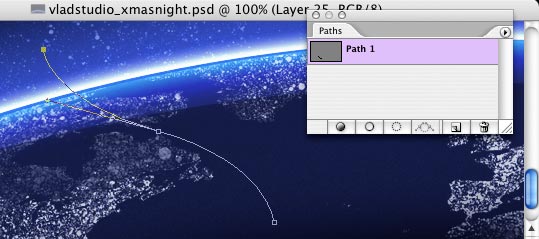
Now let’s make the lines going from the earth with congratulation messages. Creating smooth line is a bit tricky but result is quite good. As always, create a new layer. Open Paths palette. On bottom of it, click New button to create new path (empty so far). Make sure this path is selected.
Switch to Pen tool (not freeform pen!). Draw a line with curved point in the middle (if unsure, here’s how to do it: first point: click; second point: click, drag a bit, release; third point: click).
Switch to brush tool, set brush size to 1-2 pixels, set color to white, and on bottom of path palette, click Stroke button. The white line should appear (if it is not strong enough, click Stroke button again).
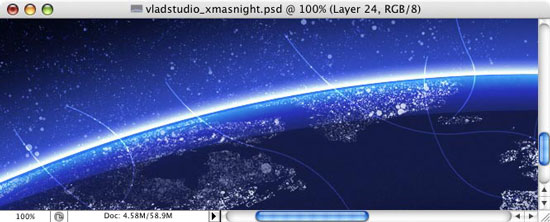
Using same steps, draw as many lines as you like (remember to delete a path as soon as you clicked “stroke” button). Then, set layer blend mode to “overlay”.
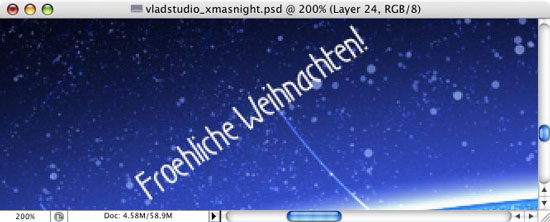
We’re almost done! Using font of your choice, write your messages. Move and rotate so that the messages align with the lines.
Voila! 🙂
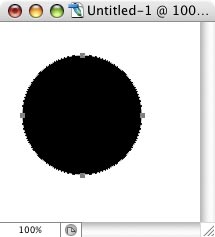
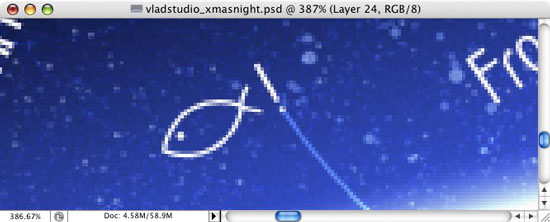
The last secret is how to create a fish that sends its congratulations too. Using Shape tool (U), draw a circle. Switch to path selection tool (A).
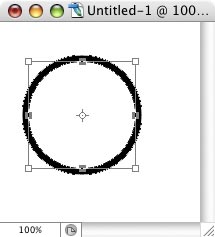
select path, copy-paste (Ctrl-C, Ctrl-V), resize (Ctrl-T, then hold Shift to preserve proportions), then change shape mode to Substract.
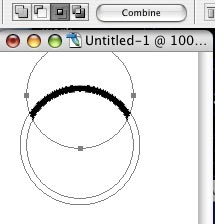
copy and paste the circle again, move a bit to top, change shape mode to intersect.
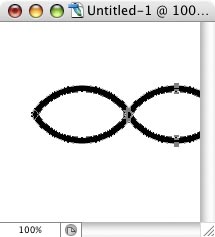
click “combine” button to merge shapes into one shape, copy-paste it, flip vertically, move down to create fish body, then select all shapes, copy-paste, move to the right to create fish tail…
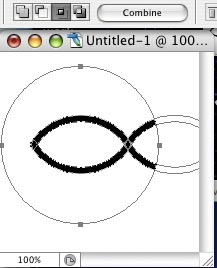
then add another circle, set its mode to Intersect, and combine all paths into one. Almost done!
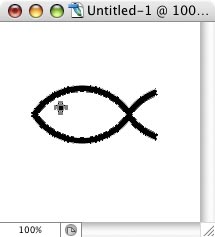
(you can give your fish an eye if you want 🙂
Comments


Comments