
Christmas Greetings Postcard
In this adobe photoshop tutorial we are going to make a Christmas holiday greetings postcard. We will also explore some of 3D
software to build basic geometry 3D shapes. So let’s start with this one.
I would like to present you a very and easy to use application that I’ve discovered some time ago. I use this application to
build geometric shapes. It is very fast and not hardware demanding. The software I s called Sketchup – yes, yes Google
Sketchup.
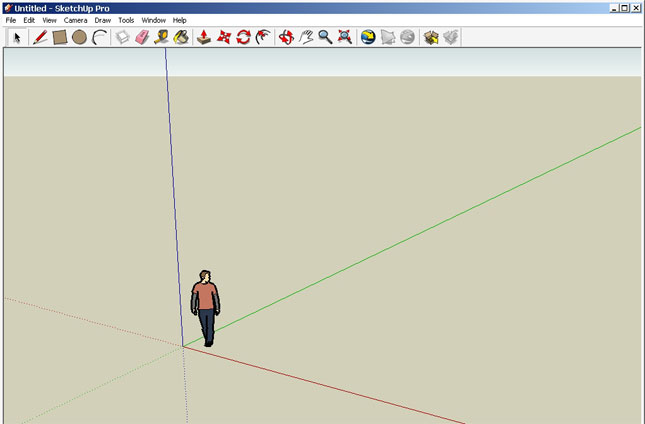

Here its main screen. It has only one tool row on the top of the window. I greatly recommend you to test and use it for basic
3D modeling.
Let’s start building shapes. 1st select the rectangle tool to draw the shapes in 2D (plain).
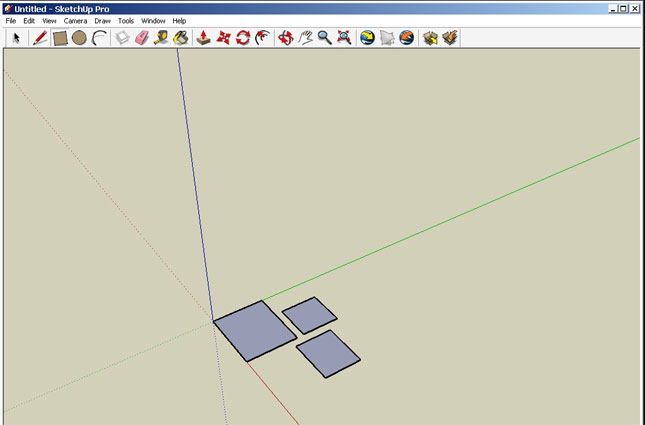
Then select the push/pull tool to create the objects from the plains you’ve just painted. Anyway it’s better to try this one.
I think that for 3D’s max users it’s clearer.
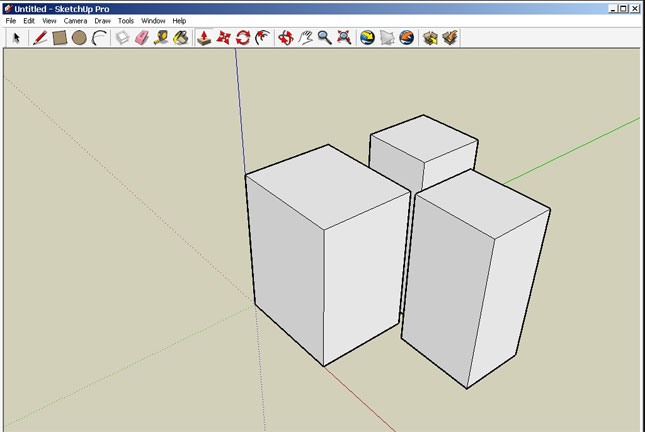
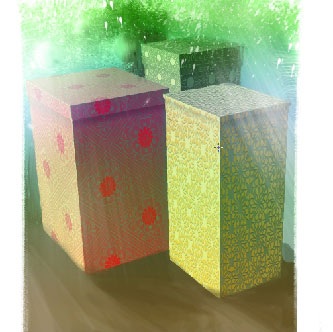
Oh yea, I’ve just forgot to tell you that this is going to be present boxes, that is why we still have to create box covers
using offset tool.

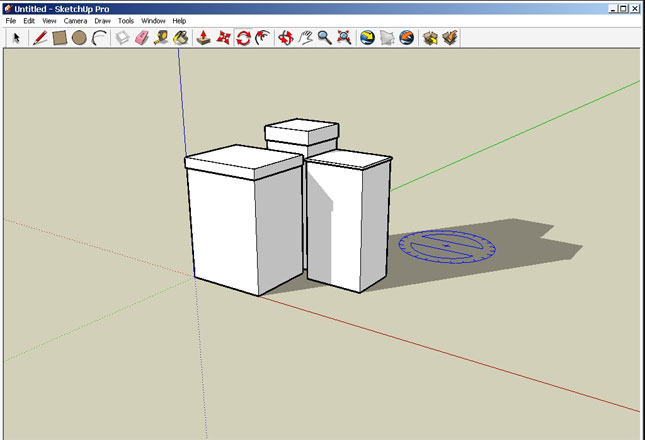
Now we can export the model as and ‘OBJ file.

Another great thing is the Photoshop finally has the possibility to open 3D files. So we are already on Photoshop. You can
open a 3D file like you used to do in PS. You can move, scale, rotate and even select the render method of the 3D file.
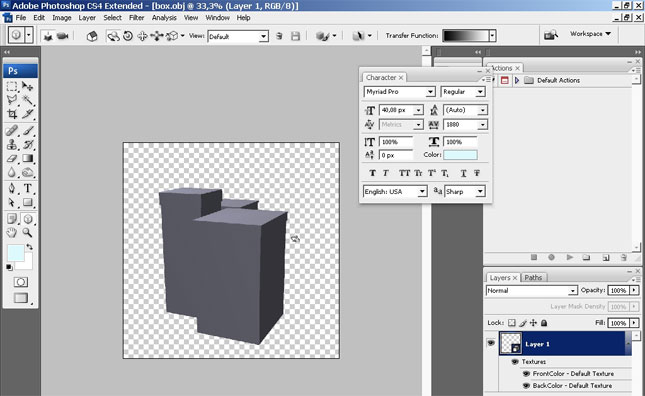
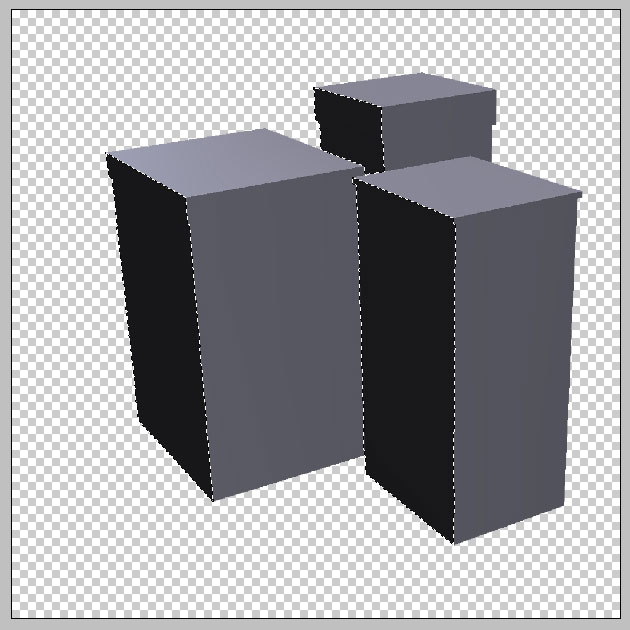
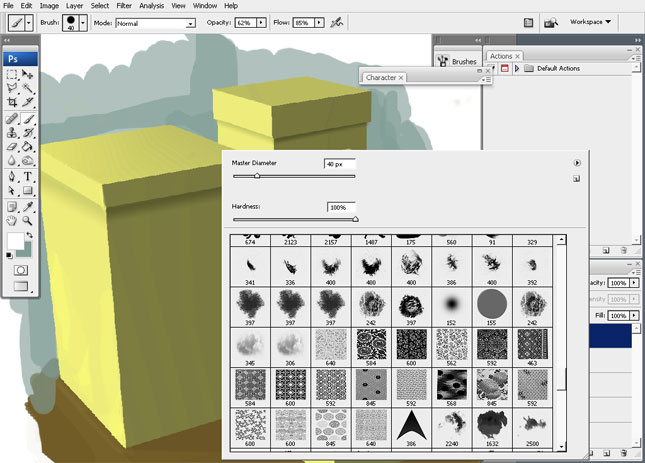
And another good thing to do the basics in 3D is that you have exact plain color definition. You can easily select the sides
by mere Magic Wind Tool.
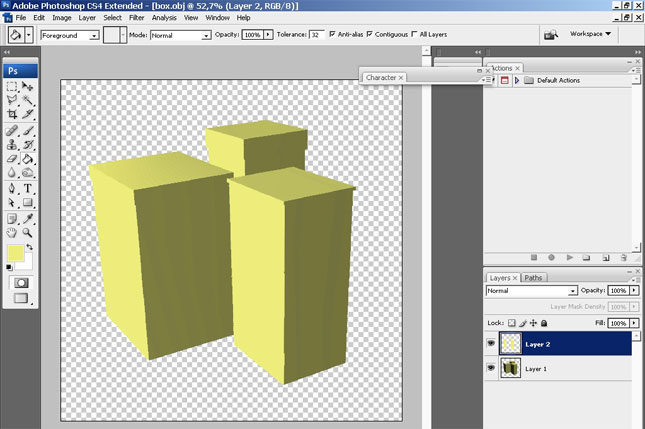
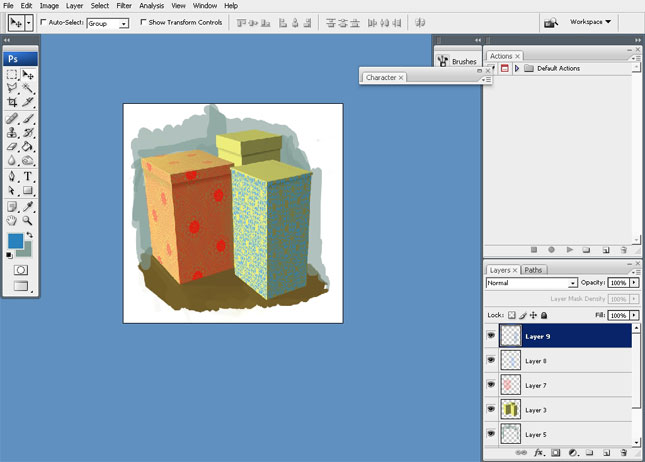
Now back to process. Firstly I would like to color the boxes.
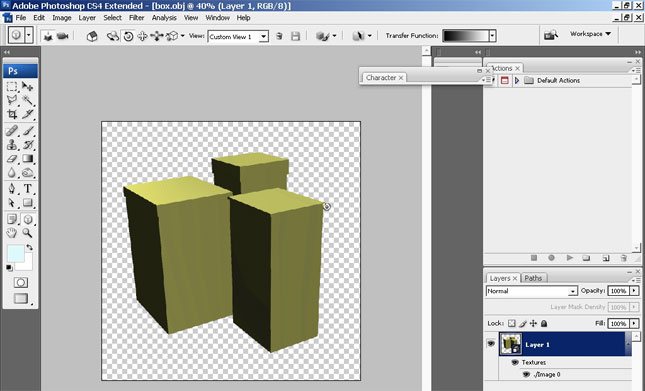
Then I will select the areas that are black now and just color them in lighter tone. This way you can change the
highlight/shadow position and the position of the object (in 3D_).
The idea of all this is to make and aging old school like postcard, so I won’t use any complex brushes effects and shading. I
want to use mere brushes with even all the pressure sensitivities turned off.
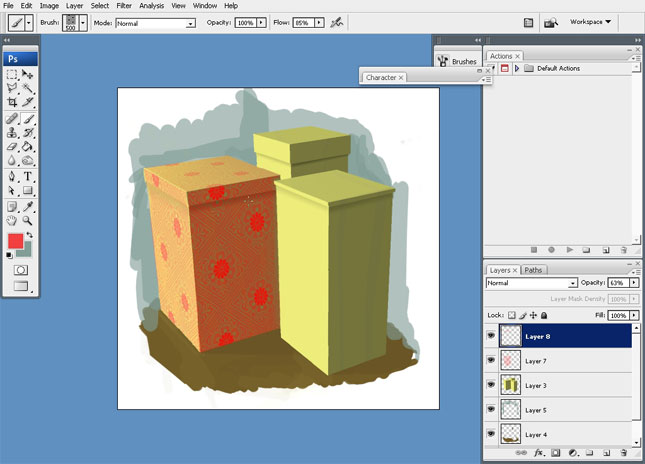
I’m beginning to paint my background.

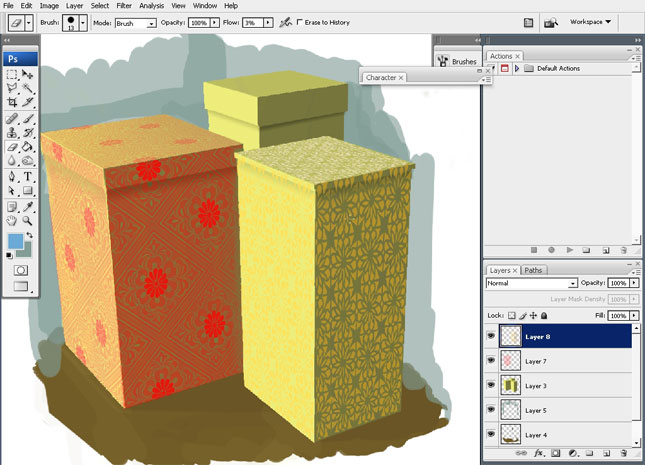
I just left my background slightly toned for now; we will deal with it just a little bit later and now the thing I want to do
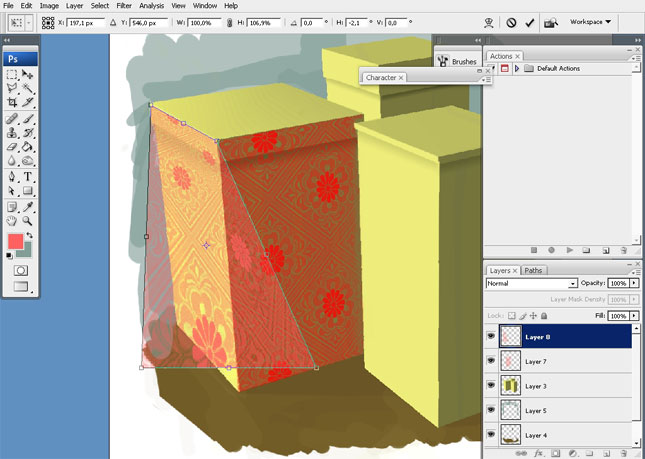
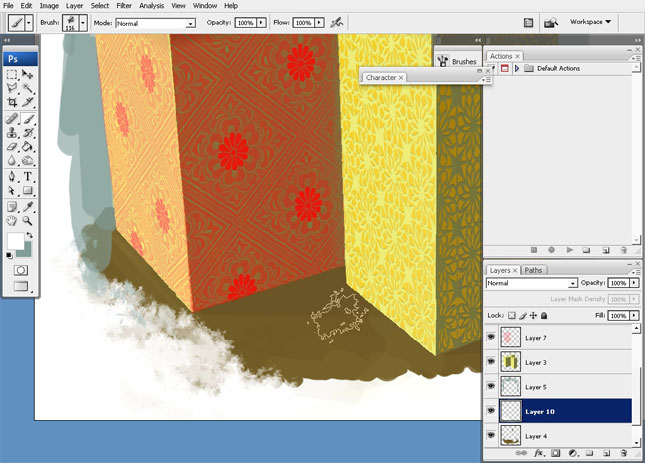
is to texture my boxes. For this I’m going to do it to deal with my patter brushes and its transformation.
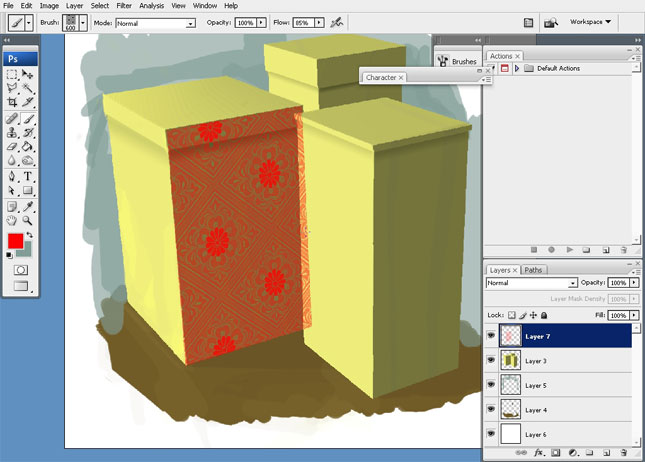
Hold the CTRL key to distort the patterns. Erase the pattern areas where it is needed.
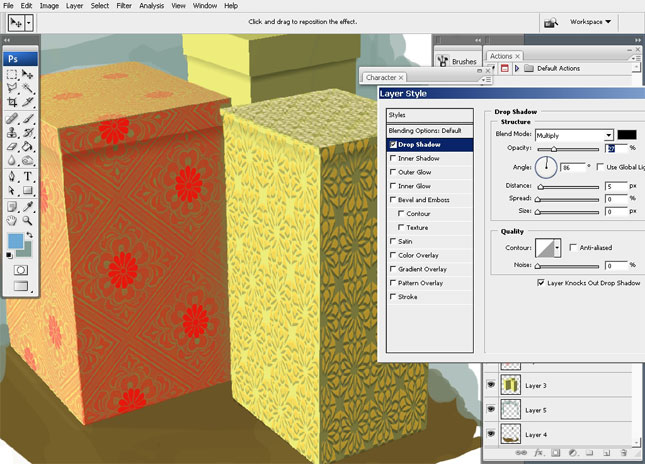
Maybe to give some king of drop shadow:

So back to background: I just to render it a little bit more.
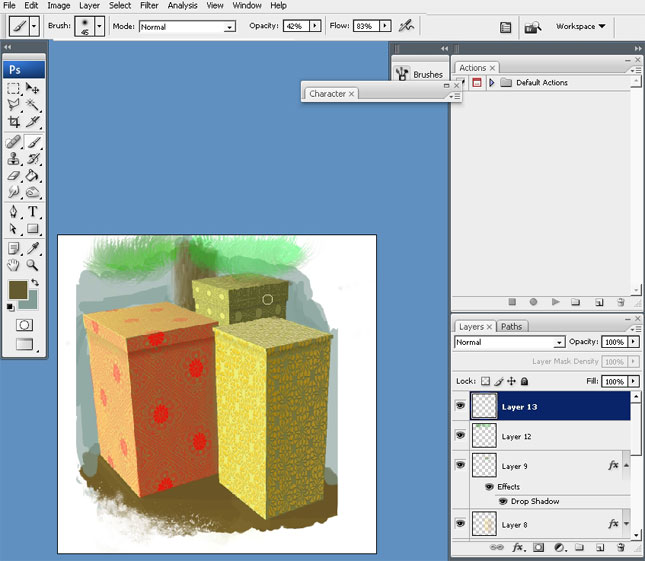
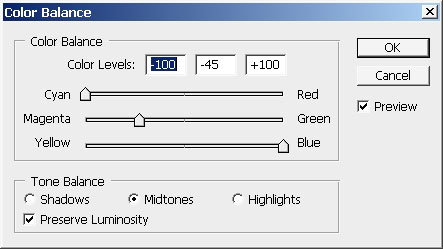
… some color adjustments, because I don’t really like that colors.
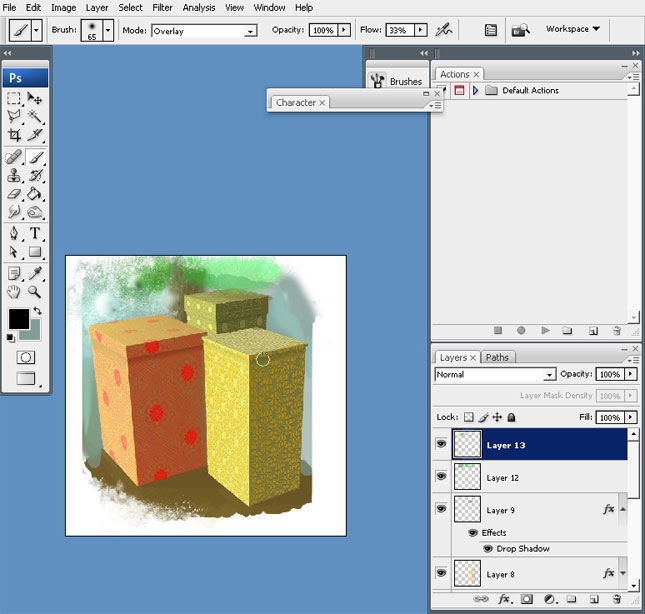
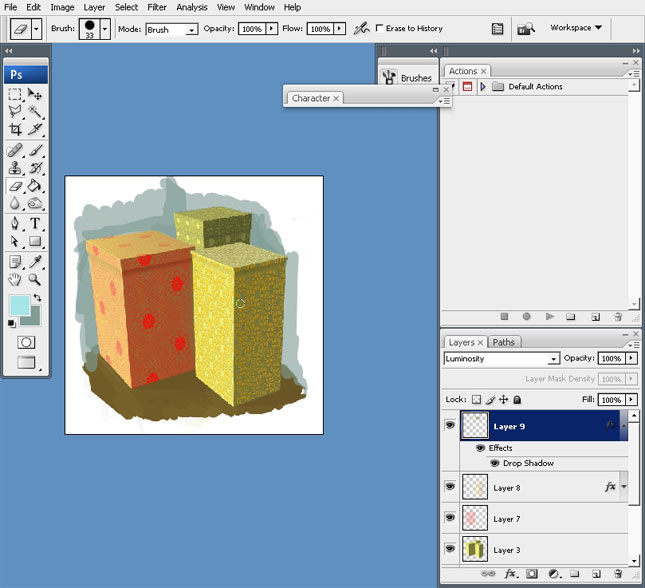
I’ve also exposed some effects using a mask.
So basically you can control your colors by using masks and black to white gradients: suggest you try it.
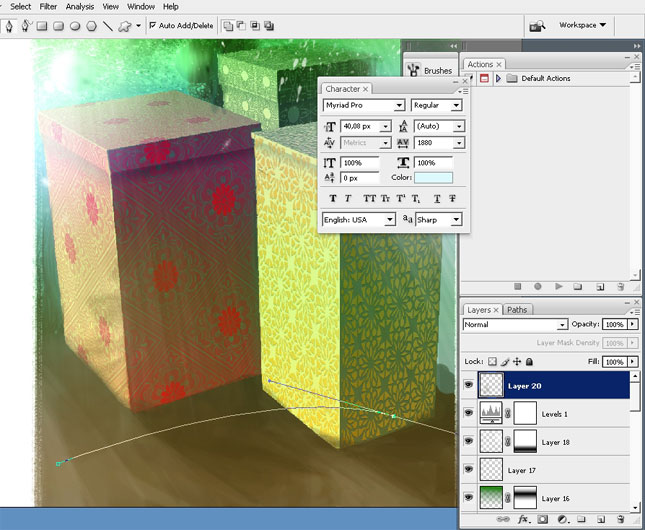
Another thing I really like to do here is to paste some text of course. This time I will put it on the curved patch. Draw a
curve using pen tool. Switch to Type Tool: when you are close to the curve the Type Tool icon will change: it means that you
can type text on the curve.
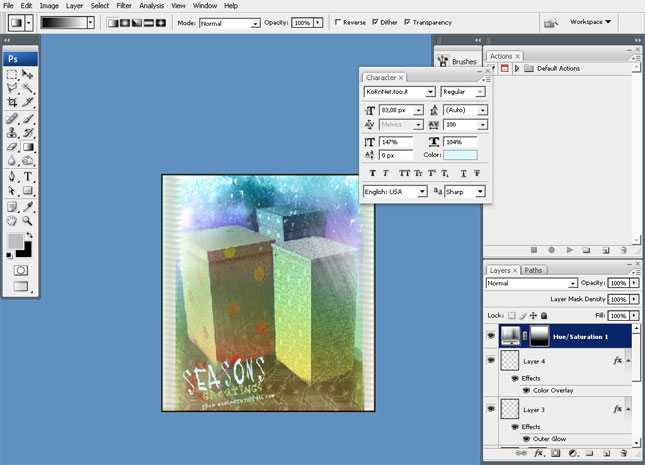
And this completes out tutorial. I also did some variants to this image.
This is a clean one:
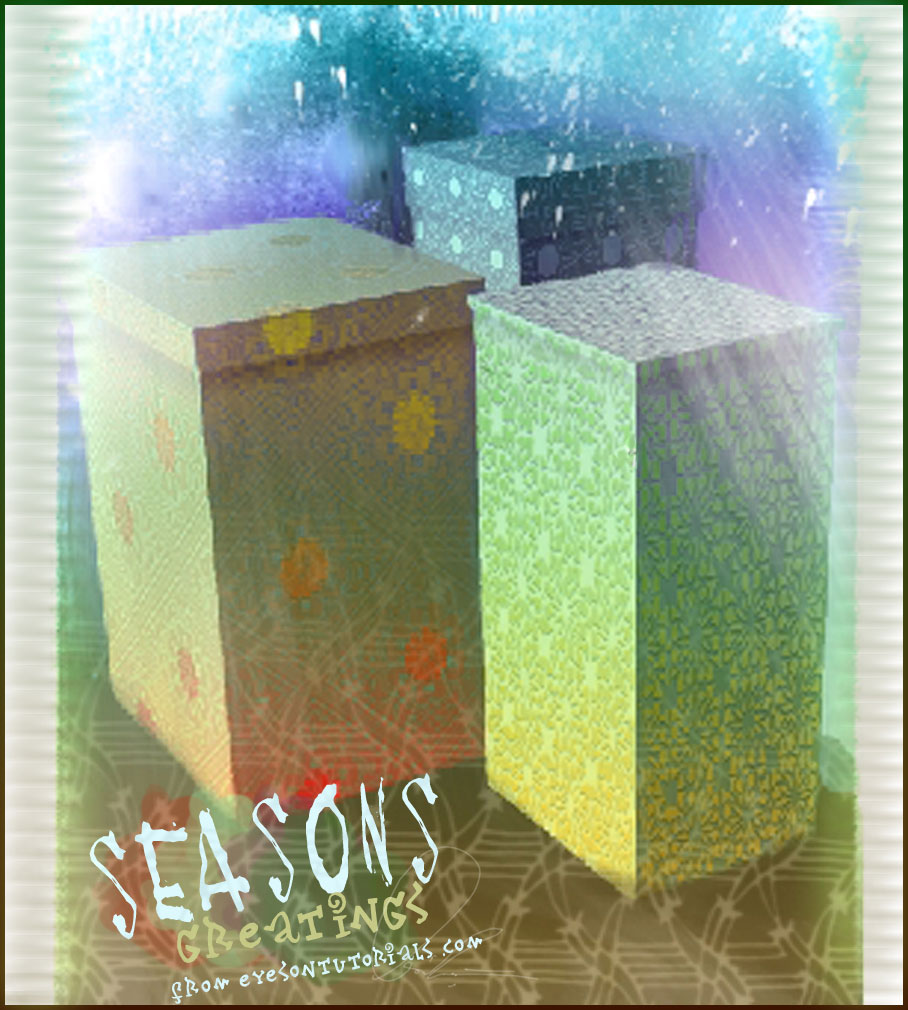
And this is the textured one.
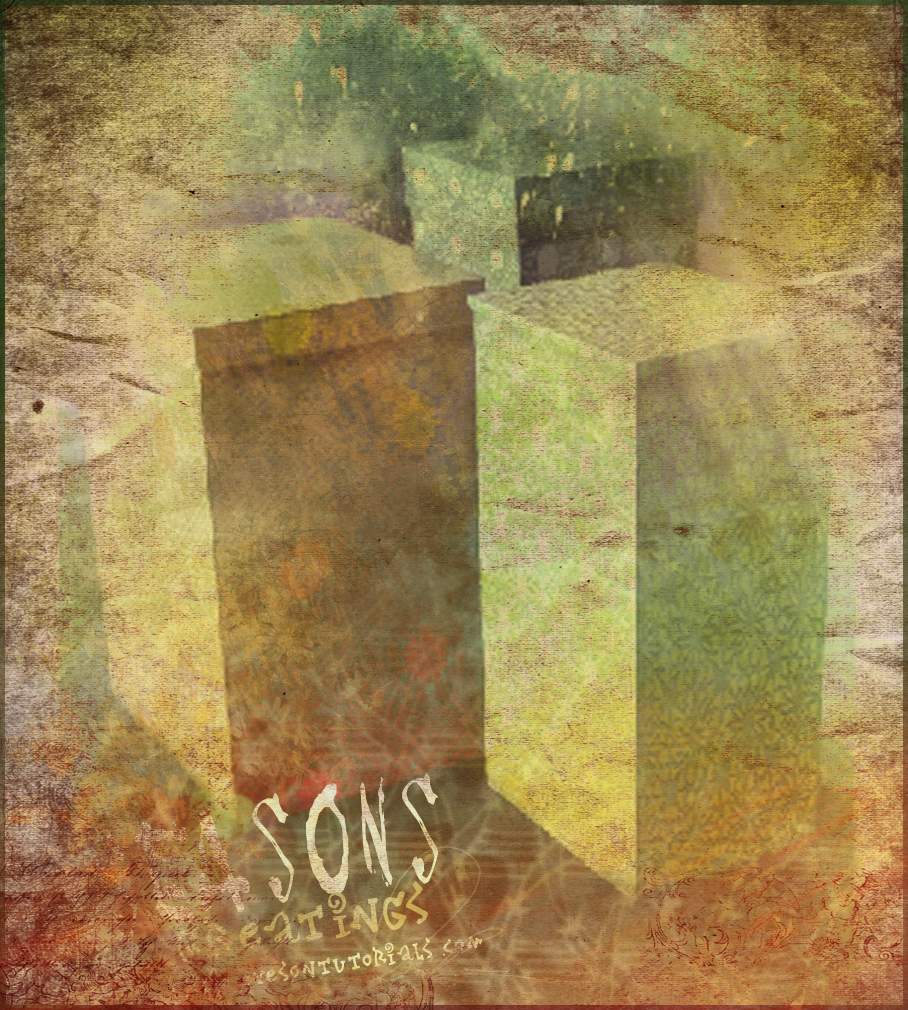
I’ve done it with the help of textures I’ve found in the internet.
So I hope you did learn something out of it. I’ve skipped the texture part but you should know that premade texture can save
you a lot of time and even make the result even better: well depending what you really want to see.
Download support files: textures and pattern
Comments