
China Dreamer
In this tutorial we’ll learn how to correct the skin’s color, make the grey hair, work with the color, create a wind’s effect, shadows and place above the photo any kind of pictures.
Open the girl’s photo.

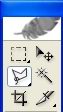
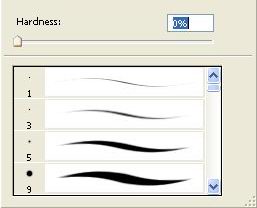
Take the instrument Polygonal Lasso Tool and outline her contour, using the command Edit – Сut (ctrl+x). Cut it out. Place it on a new layer: Edit ? Paste (ctrl+v), but erase the previous layer, using the button of fast erasing on Layers window. Use Smudge Tool and Brush’s hardness of 0% to paint over birthmarks and skin’s roughness.

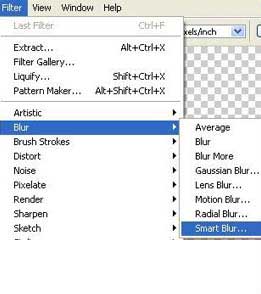
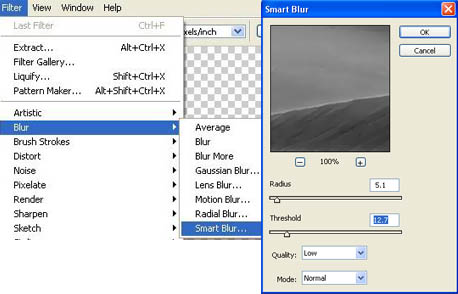
Apply Smart Blur filter.
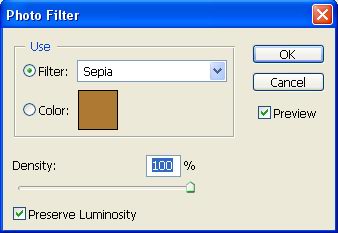
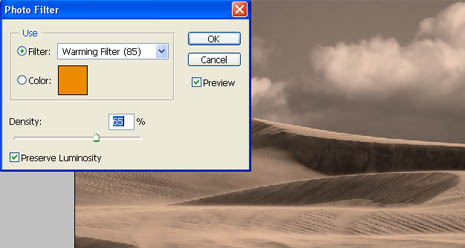
Make the picture lighter: Image – Аbjustments – Desaturate (shift+ctrl+u). Apply Image – Abjustments – Photo filter and the color Sepia.
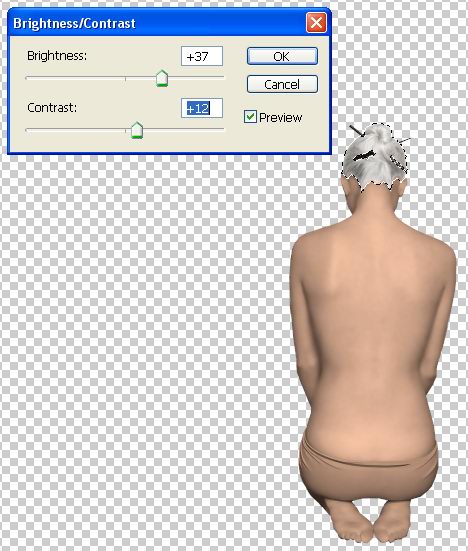
Using the already known Polygonal Lasso Tool, mark out the hair, and make them lighter the second time. Increase the brightness (Image – Abjustments – Brightness/Contrast), until they will remind of grey hair.
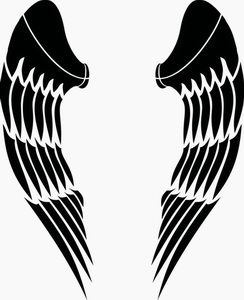
Take a pair of wings that were drawn separately and place them on a new layer. It is necessary to open them as a new file and mark them with Rectangular Marquee Tool. Copy them: Edit ? Copy (ctrl+c). Get back to the photo’s file that should be processed and insert the wings on a new layer: Edit ? Paste (ctrl+v).
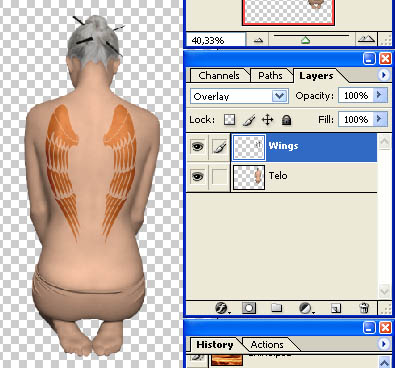
Copy their size with the next command: Edit – Free Transform (ctrl+t) and change the wings’ layer type on Overlay.
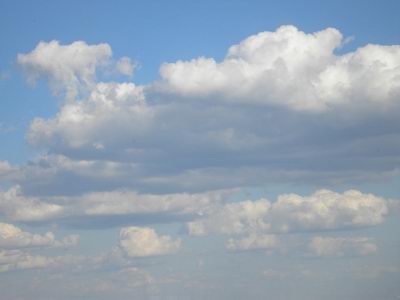
Place out a photo on a new layer, representing the desert.
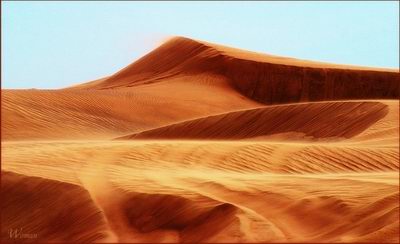
Place it on a layer under the girl. Click on it and holding it, place it where it is necessary. Give it the appropriate size, using the command Edit ? Free Transform (ctrl+t). Cut out everything that is not necessary on the photo ? in this case it is the sky. Insert the photo on a new layer with the sky that corresponds to our idea.
Place this layer under the sand’s layer and correct the size if it is necessary.
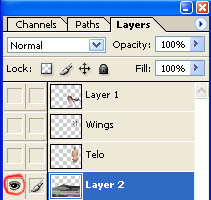
Hide temporarily the layers representing the girl and the wings, just not to impede us in our work in the future. It is possible to do it clicking on the eye next to the layer in the Layers window.
Apply the command of enlighten: Image ? Abjustments ? Desaturate (shift+ctrl+u) on the sky’s layer and on the desert’s layer. Apply the filter on both layers (Filter ? Blur ? Smart Blur)
Next apply the color filter on each layer: Image ? Abjustments – Photo Filter, giving an orange color to the sky and to the desert.
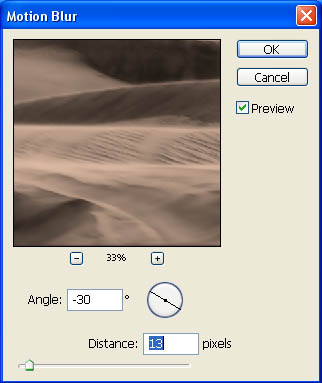
Make the sky darker and more contrasting: Image ? Abjustments ? Brightness/Contrast. Apply the filter on the sand’s layer (Filter ? Blur ? Motion Blur)
Blur the sand’s edges, where it touches lightly the sky, using the instrument Blur Tool.

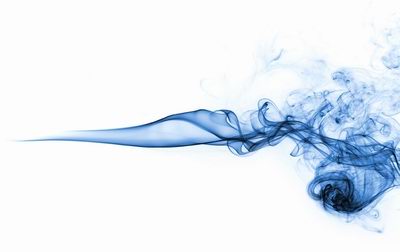
It is possible to combine these layers now. Mark out the upper layer, in our case it is the desert’s layer and use the command Layer ? Merge Down (ctrl+e). Connect again the visibility of the layers with the girl and the wings, clicking on the place that contained the eye, opposite the necessary layer and place the wings layer on the girl’s layer (ctrl+e). Next insert the picture representing the smoke on the new layer.
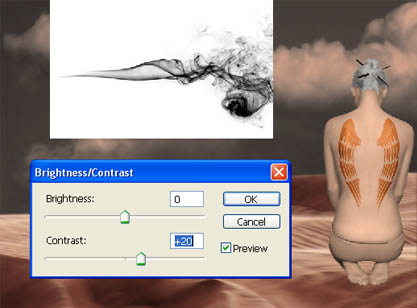
Make it lighter and increase the contrast the way that the smoke would become of black color (Image ? Abjustments ? Desaturate; Image ? Abjustments ? Brightness/Contrast).
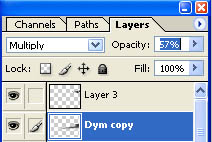
Change the layer’s type on Multiply and copy it several times with the command Layer ? Duplicate Layer. As a result we got six copies of the smoke layer and all of them should be different according to the size, color intensity and visibility. Change the size using the command Edit ? Free Transform. The color intensity – Filter ? Blur ? Gaussian Blur and regulate the visibility on Layers window.
Place the layers like shadows on the entire picture. Two of the layers should be very clear and wavy (Filter ? Liquify, making use of Twirl Clockwise Tool and Bloat Tool.)


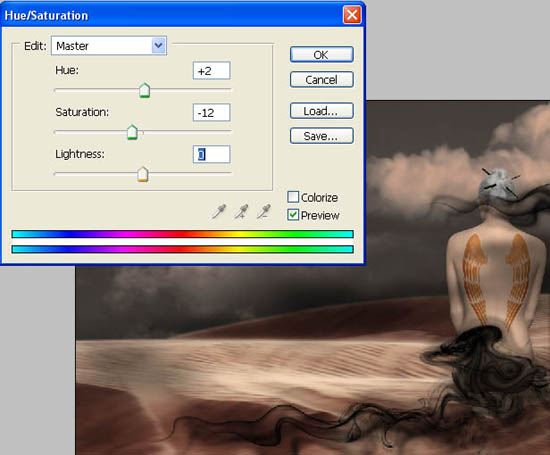
Combine all the layers with Layer ? Merge Visible (shift+ctrl+e) and finally correct the colors with the command Image ? Abjustments ? Hue/Saturation (ctrl+u).
Represent it into a frame if it is necessary using the instrument Crop and Rectangle Tool.
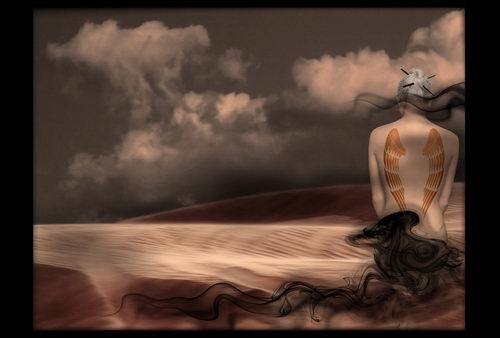
+ View full size image
That’s it!
Made by Sigma
Comments