
Character creation techniques
Today we will cover some of character creation techniques using a tablet.
In this tutorial we will create a character using Photoshop and Wacom tablet. Note the due to the thing that
there are no 2 similar artist you may get a little bit different result.
So let’s stop talking and start drawing.
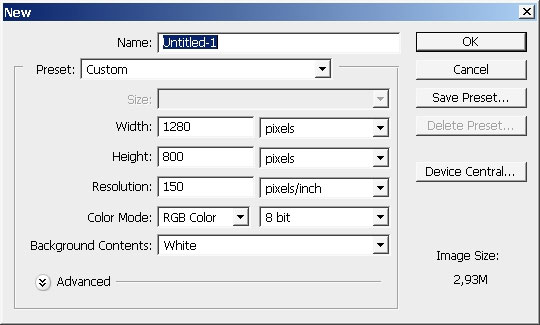
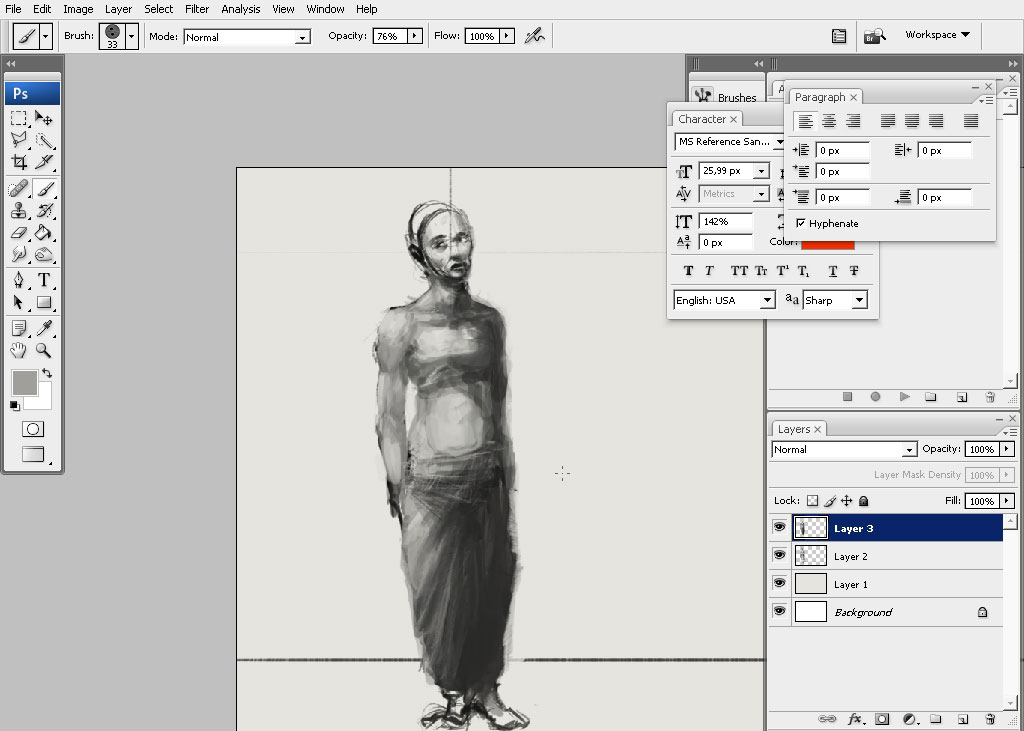
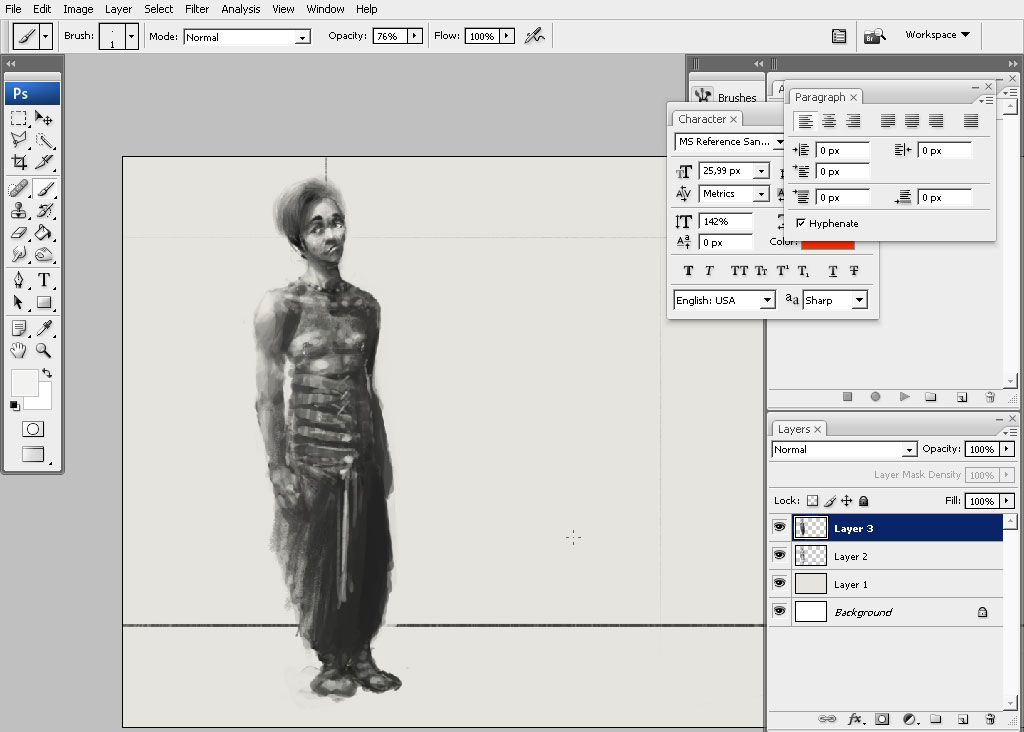
Here is the size of the document. Actually when you are drawing a character it is better to use document with

something like 800x1000px document. But this document (wide) is very good to use if would like to paint 2 poses –
front and side view. This is often use in concept art and as a basic concept and reference for the 3D guys.
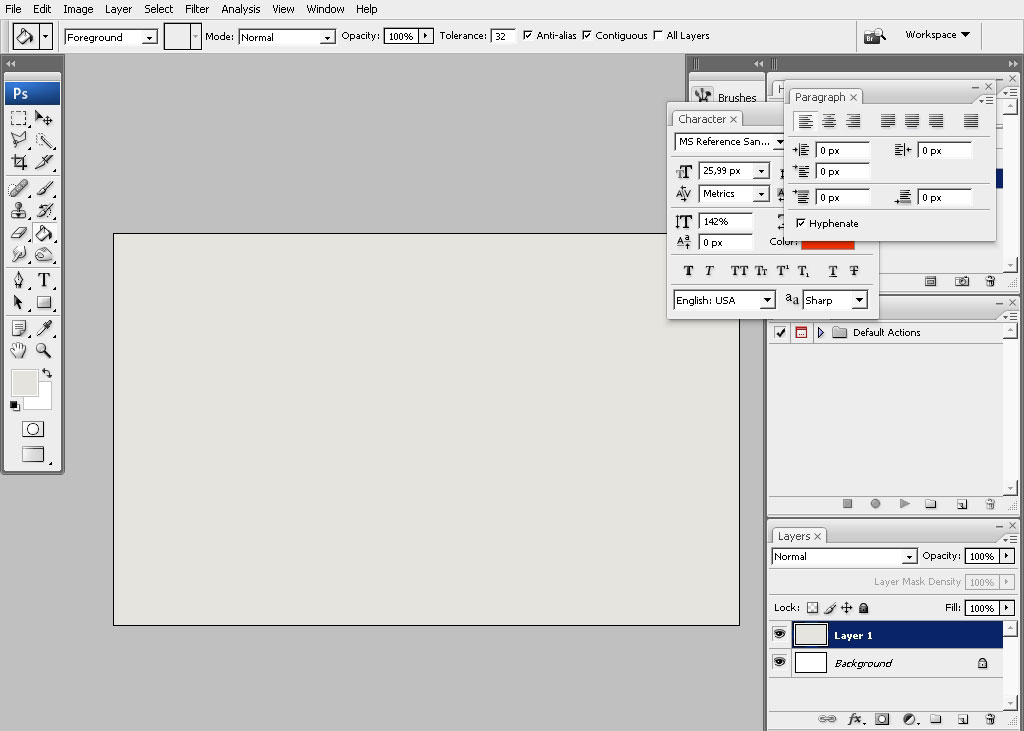
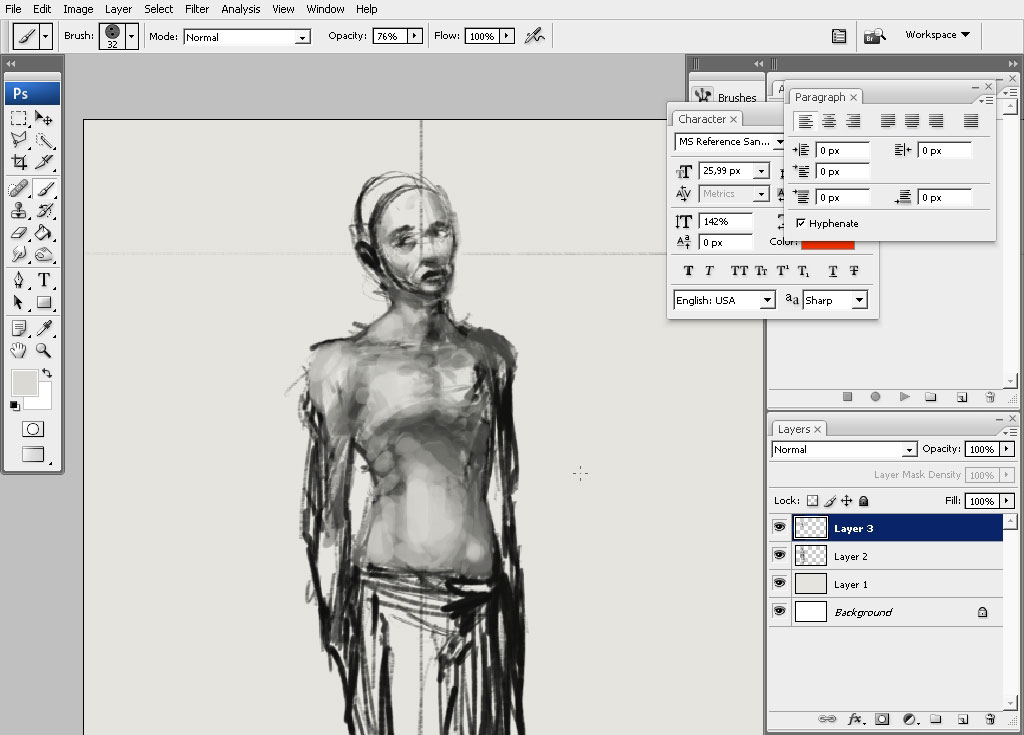
I always fill the background with a little bit darker tone than the white color. And this is a very great thing
to do because… Actually there are several problems with that. The most global is that you won’t get the
highlights and this very inconvenient. You have this white blinking into your eyes all the time.
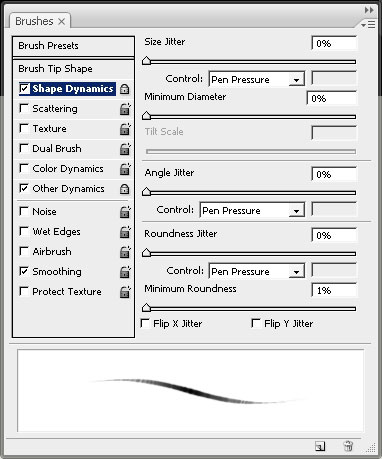
Choose basic round brush with size dynamics set to pen pressure.
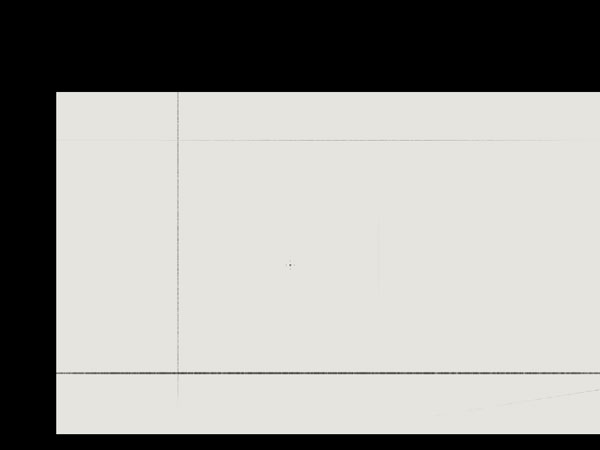
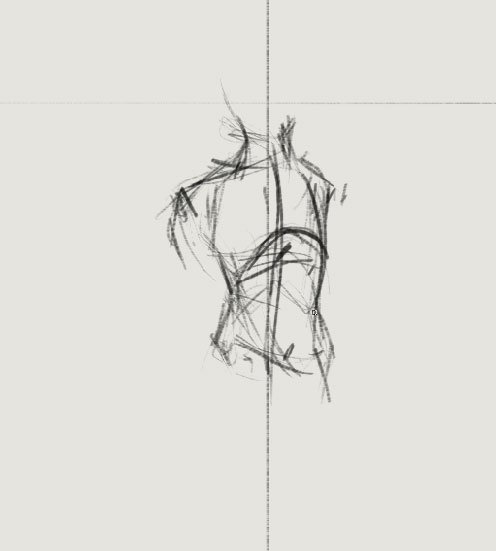
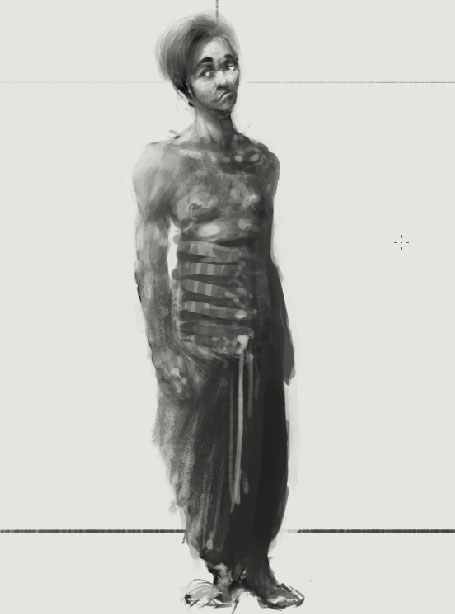
I would highly recommend you to draw at least 2 guide lines. This will help you to set the character pose and
weights rights.
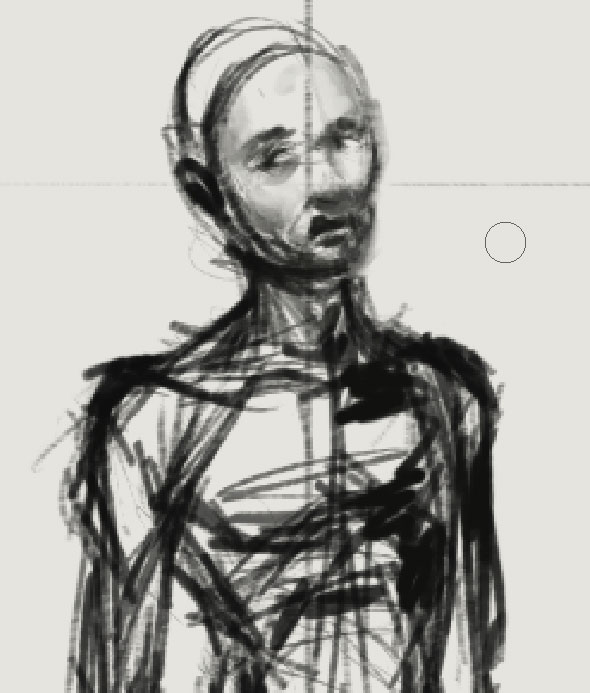
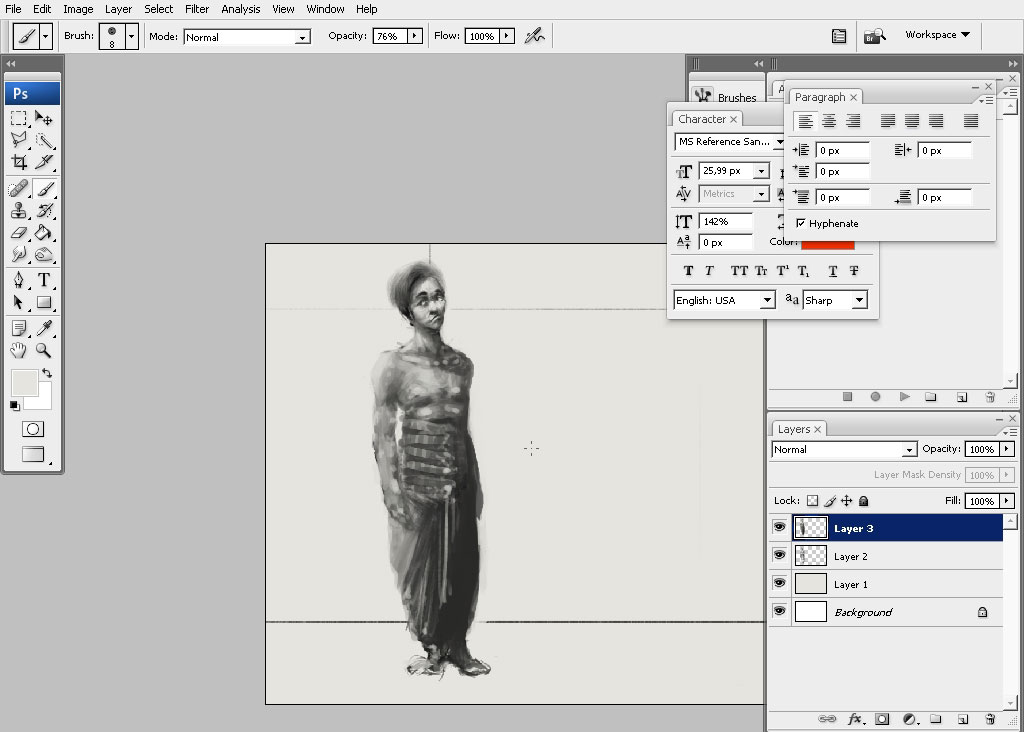
Let’s go. You actually have to know a lot from the drawing books and anatomy to do this. Many artists, especially
self taught break some rules. I’m not drawing the skeleton; only the ribcage.
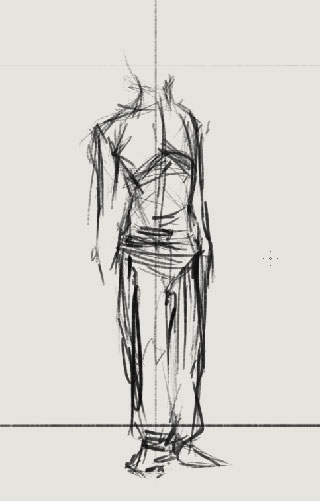
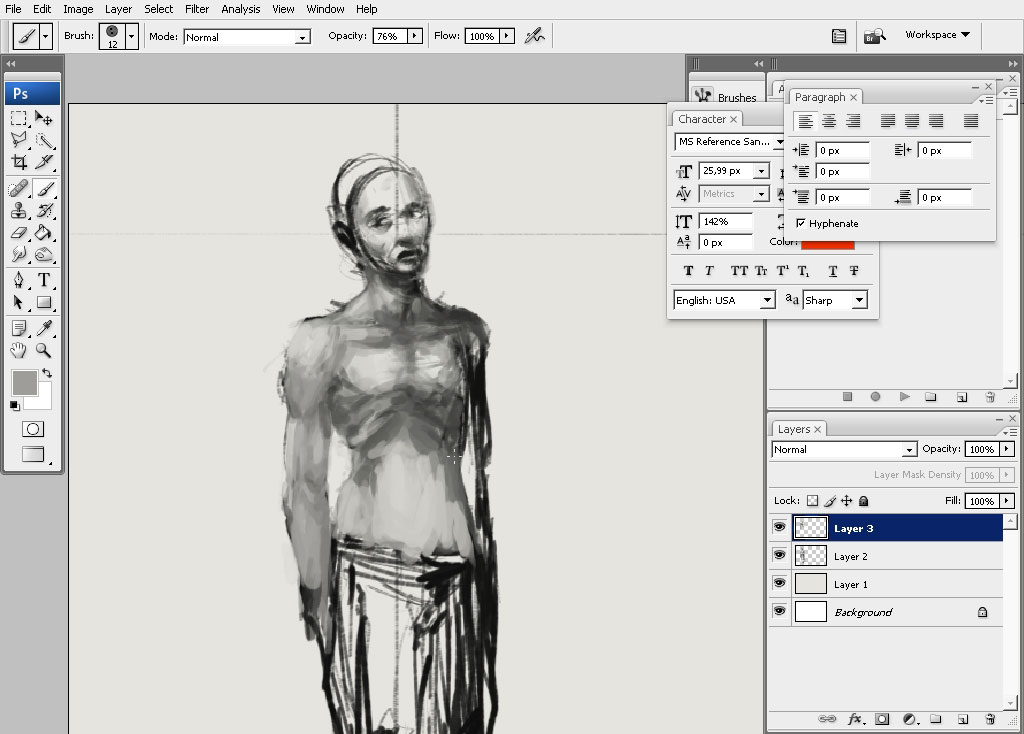
The further down to the leg;
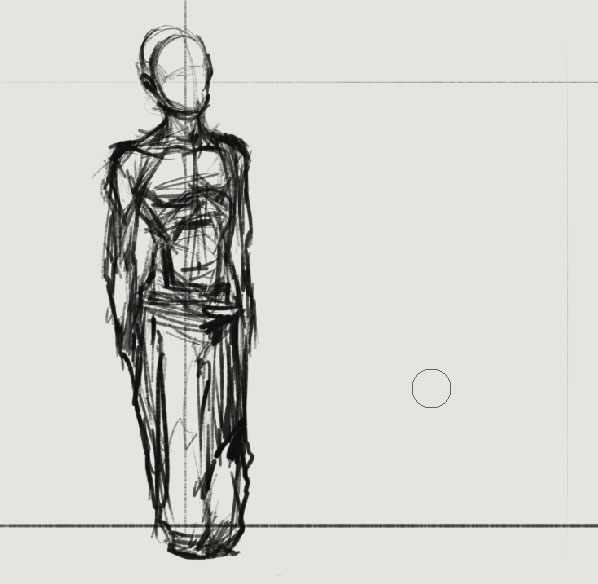
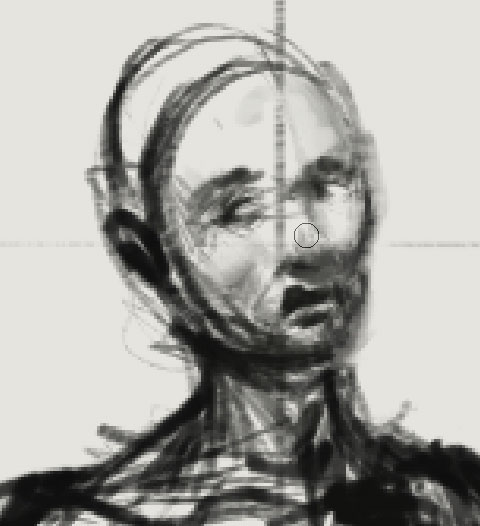
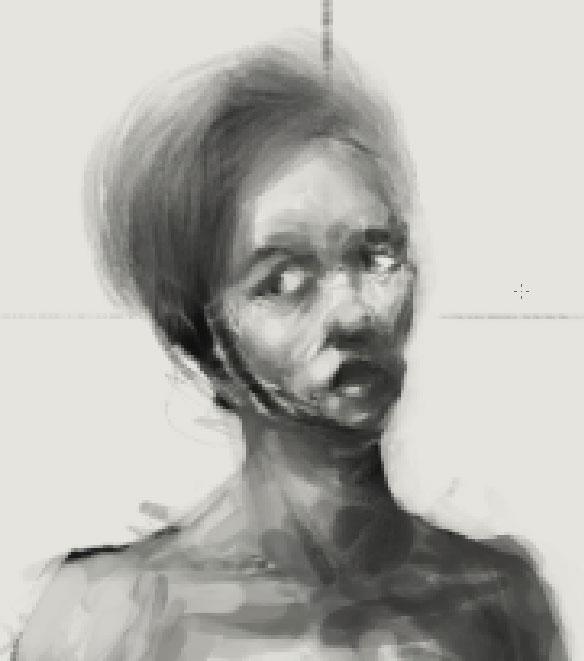
Quick head render (try to remember all the rules from art books; but do also draw like it will be more
convenient) example: I sometimes render the head even if the basic body shape is not ready.
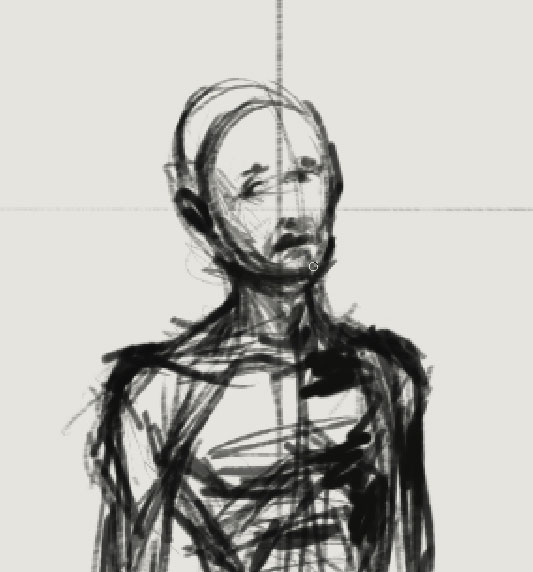
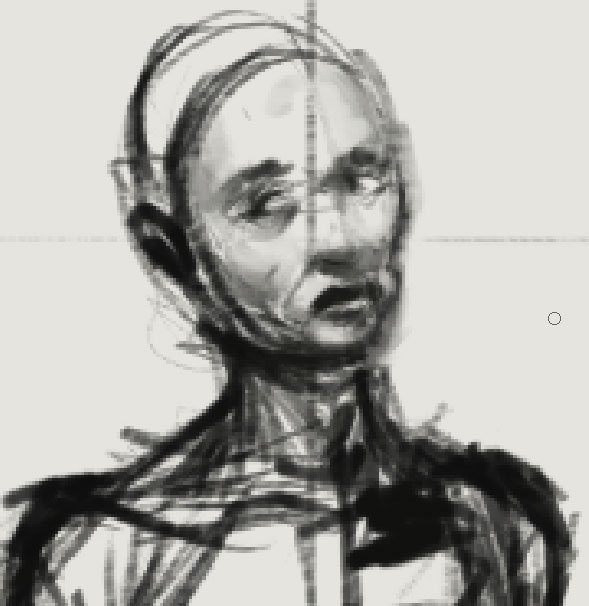
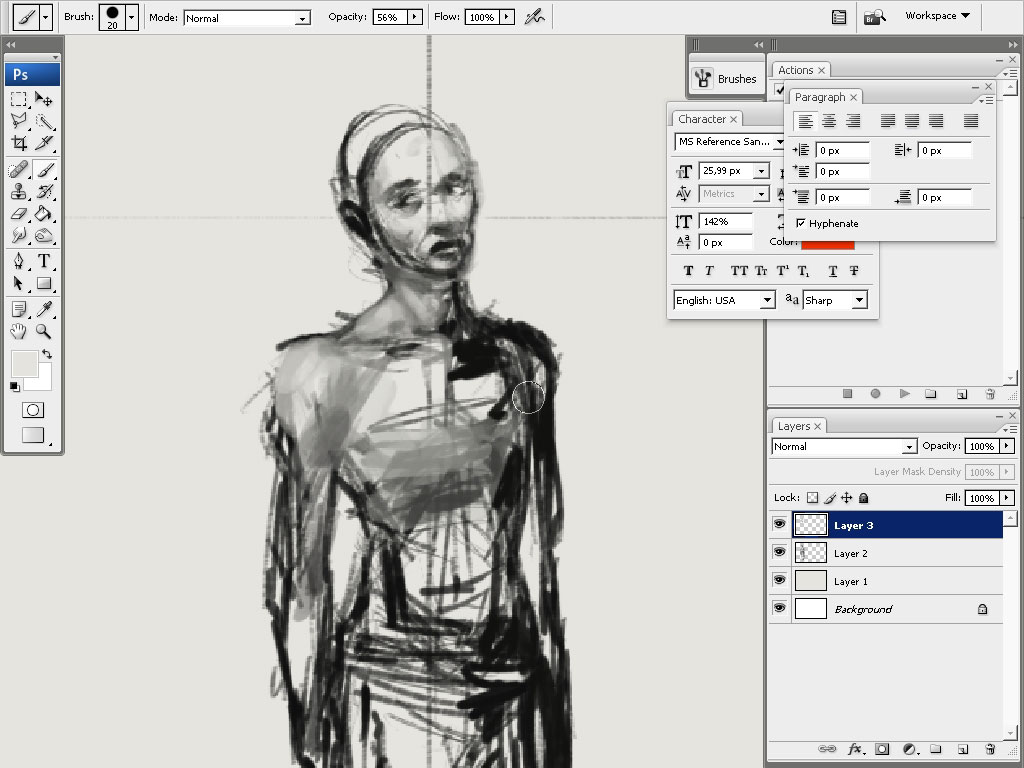
When filling the line drawing with color I often drop the opacity to about 50 -60%.

Create a new layer and begin to render.
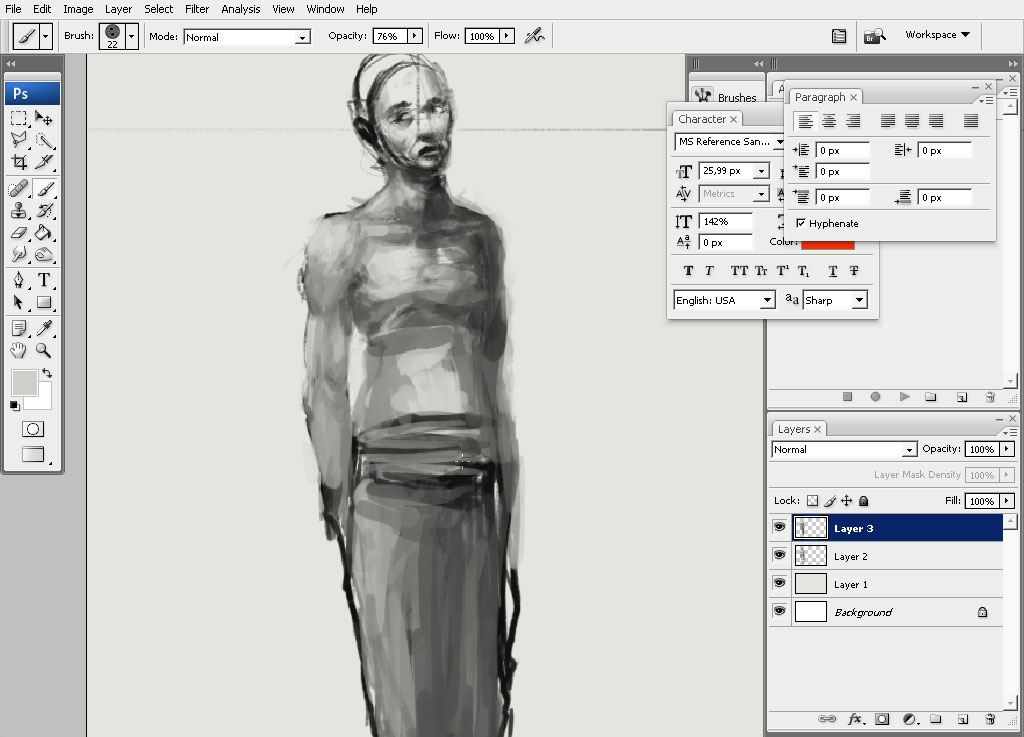

Giving the character that silly hair style and rendering the Look in the eyes.
Change those lips and the belly area.
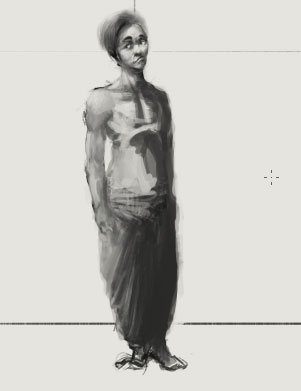
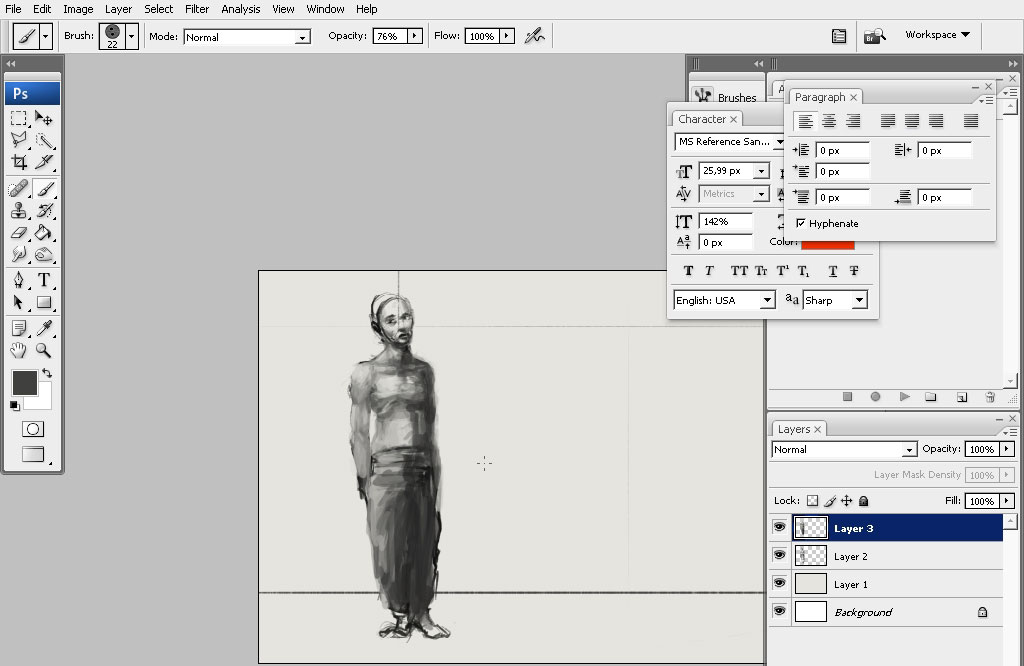
Feet work:
So this is it for character creation tutorial for now. We have created some kind of some bodies slave character:
we can see this even in his eyes.
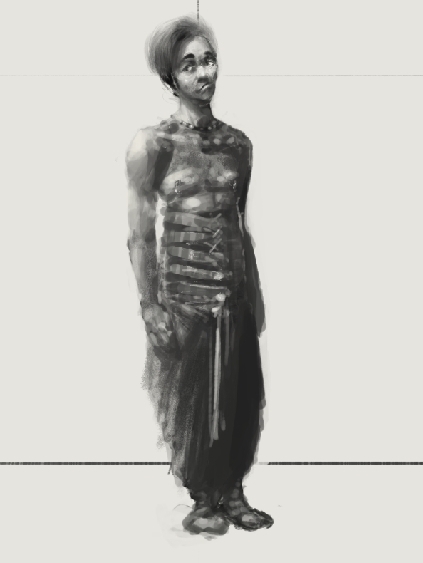
Moreover I will continue rendering and coloring this character in part 2 of this tutorial.
Comments