Casting Shadows in After Effects 6.5
Different types of shadows in 3D space
To make a truly believable 3D space in Adobe After Effects, you should make use of shadows in your composition. In this exercise, we’ll look at the three options for casting shadows (and light) in After Effects.
For this exercise, we’ll create an animated logo for an imaginary Japanese restaurant called “Zen Zero”. In addition to having the name of the restaurant in the shot, we will also the logo which happens to be three offset rings rotating around one another.
You can download the rings and the entire After Effects project at the end of this exercise.
Step 1: Create a New Composition (Command+N on the Mac, or Control+N on the PC). Name this Comp “Zen Zero”, use the DV NTSC Preset and set the length to 5:00.
Step 2: Create a New Solid (Command+Y on the Mac, or Control+Y on the PC). This will serve as the background in our animation, and since we will be using this layer in 3D space, let’s make it rather large – a value of 2000×1000 will work fine. Select a Dark Blue color for the layer and click the OK button.
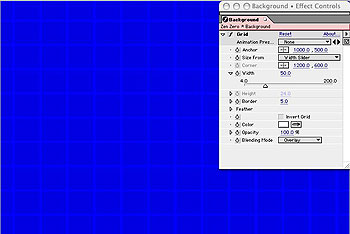
Step 3: To this layer apply the Grid effect (Effect>Render>Grid). Change the Size From selection to Width Slider and adjust the width amount to 50. To blend the white grid with the blue layer, change the Blending Mode to Overlay.
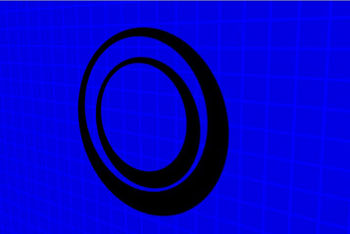
Step 4: I created a stylized ring in Illustrator that is slightly offset. Import this file (Ring.ai) and add it to the Timeline.
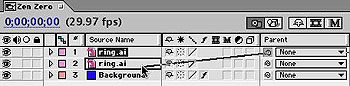
Step 5: Duplicate the Ring layer (Command+D on the Mac, Control+D on the PC). Parent the duplicate layer (uppermost layer) to the original Ring Layer. The easiest way to parent one layer to another is to use the Pickwhip icon.
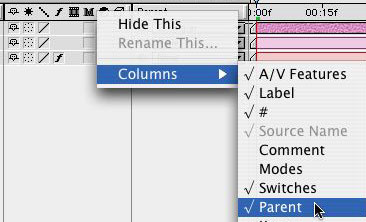
If you don’t have the Parent column present in the Timeline, place your cursor at the top of the Switches/Mode Column, Right+Click, and select Columns>Parent from the pop up window.
Click the Pickwhip icon and drag it to the original Ring layer.
 Step 6:
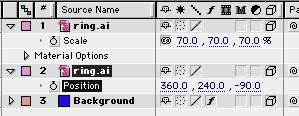
 With the uppermost ring layer selected, press the S key to bring up the Scale Property for the layer. Scale this layer to 70%.
Two rings are enough for this exercise, the final animation (and project file) uses three rings. You can repeat this process again for additional rings.
Step 7: Make all of the layers layer box for each layer.

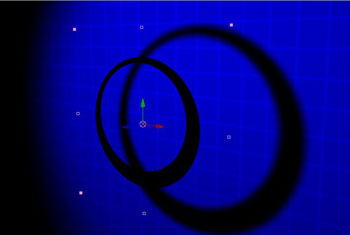
With the Parent Ring layer selected, change the Z-axis value to -90. This will move the Parent Ring and the Child Ring layers away from the background.
At this moment it is difficult to see the depth of our 3D composition without a camera and light.
Step 8: Create a Camera layer using the default camera set up. Position the camera at 1046, 80, -700 on the XYZ Axes. This gives us a nice angle to see the shadows we will cast.
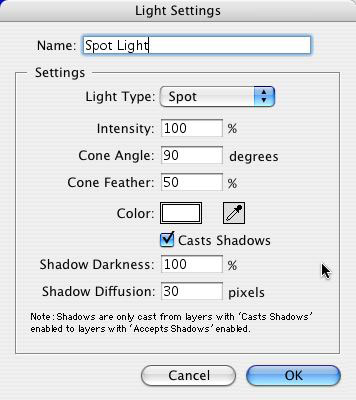
Step 9: Add a Light to the Composition using the following settings.
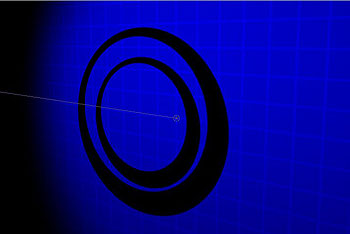
Position the light to achieve a result similar to the following image.
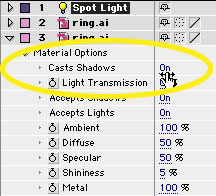
Step 10: Okay, now we are ready to create some shadows. Select the Parent Ring layer from the Timeline and press the AA button (that is the A button pressed twice quickly). This will bring up the Material Options for the layer where you can set how the layer reacts to light. With these settings you can create a very metallic looking surface with a lot of reflection and a tight specular highlight, or a surface that is more plastic with a wide specular highlight. You can also turn on and off shadow options for each layer.
For the Casts Shadows options change the setting from Off to On by clicking on the word Off. This now tells After Effects that the Ring Layer can cast shadows on other layers.
Many users are only aware of these two options; shadows can either be On or Off. However, if you click one more time, you will switch to the Only option. This makes the layer invisible, but still allows a cast shadow.
This feature is great not only for this exercise, but anytime you need to create a Gobo or cookie pattern to break up a background or add texture and depth to your project.
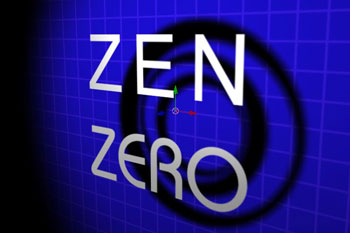
Step 11: To wrap this tutorial up, animate the Rotation Property for the Parent Ring layer. Create a text layer with the name of the restaurant, make it a 3D layer and position it in front of the ring layers.
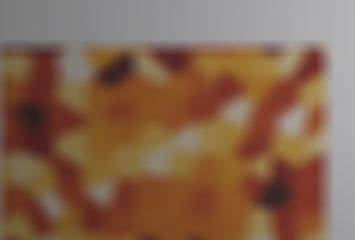
As I wrap up this exercise, I want to point out one cool feature you may not be aware of in regards to shadows. You can use them to cast colored light creating a stained glass effect.
With a multi-colored layer, increase the Light Transmission 100% and turn Casts Shadows to Only. This will cause the light to cast colored shadows on another layer similar to light streaming through a semi-transparent object.
You can download the complete Zen Zero project here
zenzero.sit.
Comments


Comments