
Car Desktop Themes
In this free tutorial we will show you how to quickly and easily create this picture that could be used as a wallpaper, web banner, flyer.
For the beginning create a new file with 1280×1024 px and 72 dpi. Next select the Rectangle Tool (U) to stretch out the rectangle on the whole file, applying for it the parameters indicated below:
Blending Options>Gradient Overlay
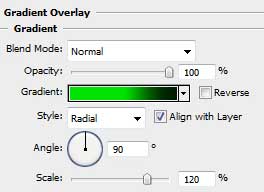
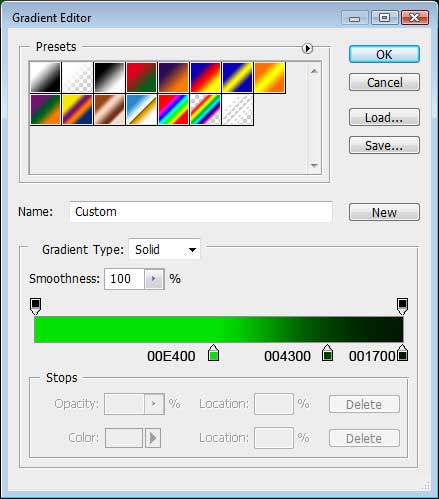
Gradient’s parameters:
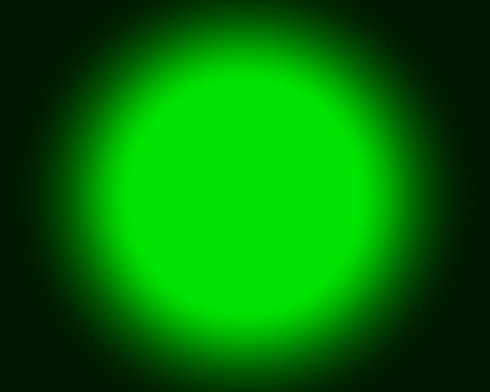
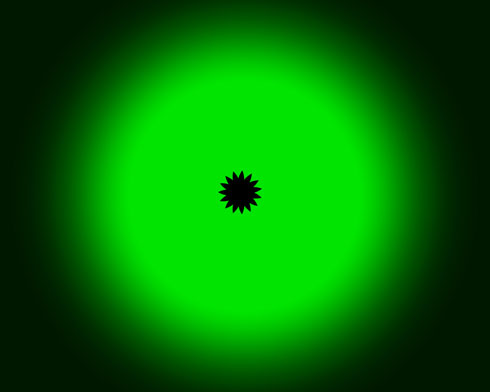
It’s the picture we need to get:

Now we should select the Custom Shape Tool (U) and the pattern Flower 2, situated on the top panel:
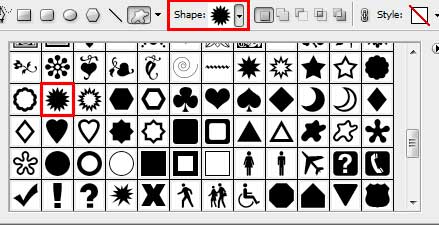
Place the obtained flower on the central part of the green circle:
Mark out the flower’s top points with the Direct Selection Tool (A), pressing simultaneously Shift button.

Press the combination of buttons Ctrl+T and select the option Maintain aspect ratio to increase the figure’s transformation uniformly till getting a star.

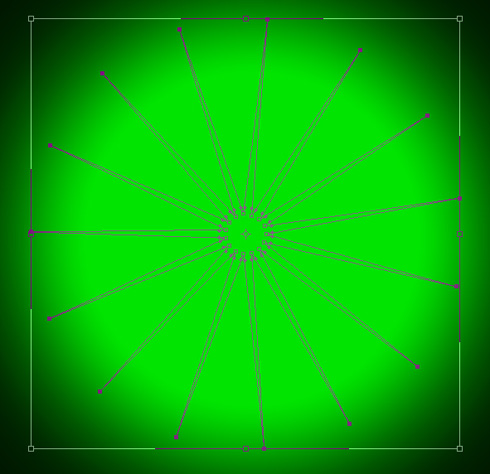
Make four copies of the new object Ctrl+J. Turn them around by clock’s hand and choose the Free Transform option for getting a star containing a lot of rays.
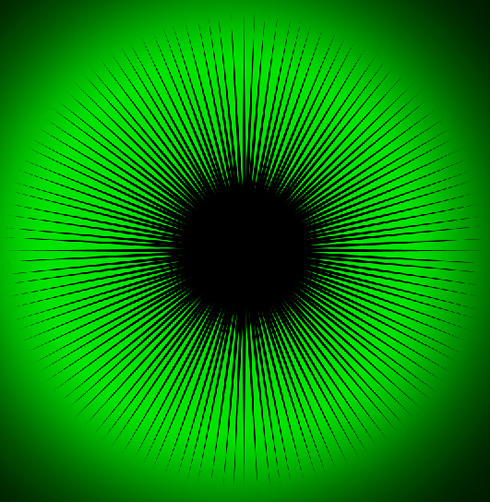
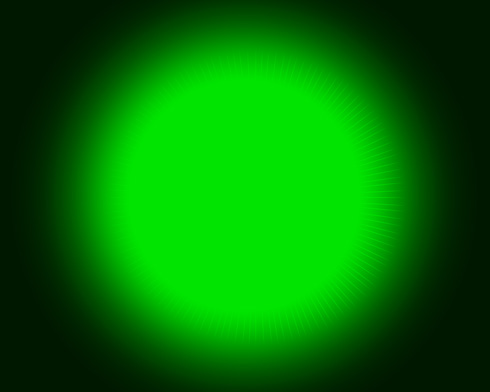
Set the color #00E400 for all the layers:
Comments