
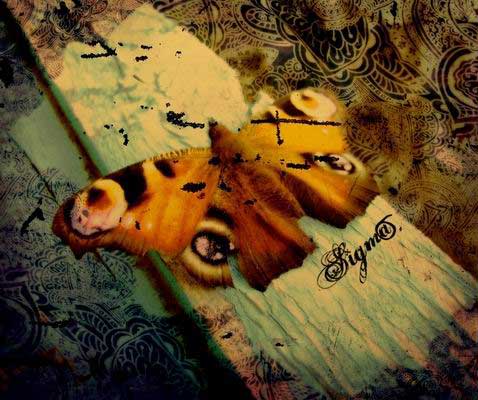
Butterfly Photo Editting
This task we’ll learn how to accentuate the front plan and to change the photo’s color, add more intensity and put over different textures.
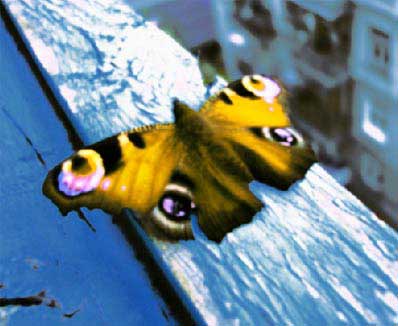
Open photo with butterfly: File ? Open?
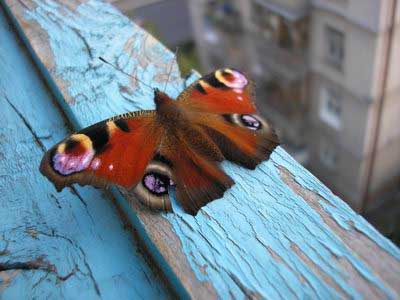
Crop it out from the right side a little, using Crop Tool. Blur out the things behind the window, using Blur Tool to accentuate our attention on the butterfly.

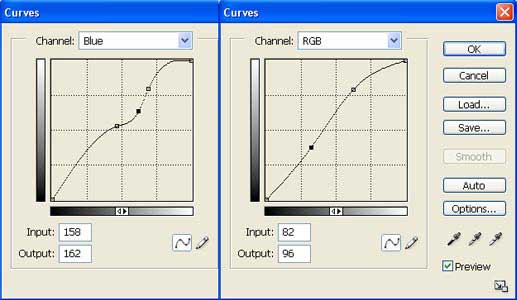
Make the shadows look grey, using Image ? Adjustments ? Curves (ctrl+m)

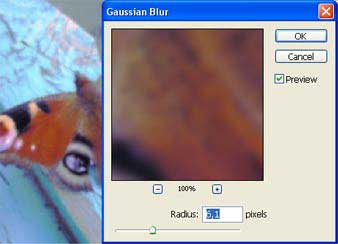
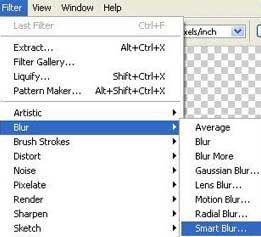
Copy the layer now (Layer ? Duplicate Layer) and blur it out with Filter ? Blur ? Gaussian Blur.
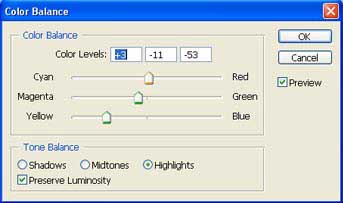
Change a little the color, using Image ? Adjustments ? Color Balance (ctrl+b)
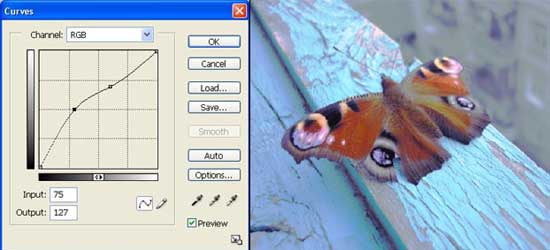
Increase the layer’s brightness and the contrast with Image ? Abjustment ? Curves (ctrl+m)
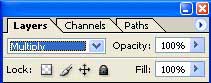
Change the layer’s type on Soft Light.
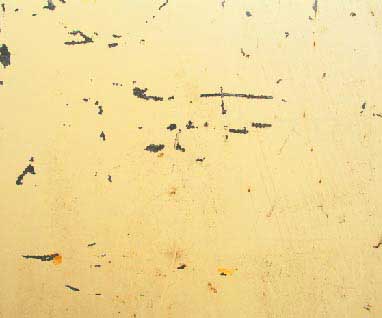
Place the wall’s texture on a new layer. Open it in a new file. Mark it out with Rectangular Marquee Tool and copy it: Edit ? Copy (ctrl+c). Get back to the photo’s file that is processed and place it on a new layer: Edit ? Paste (ctrl+v).
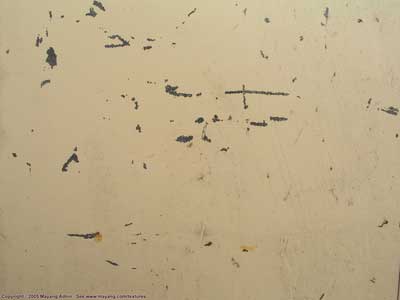
Increase the brightness and the contrast applying the next command: Image – Adjustment ? Curves (ctrl+m).
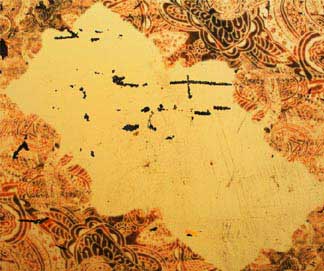
 Open the textile’s texture having an Indian design on a new layer.

Correct its size using Edit ? Free Transform (ctrl+t), depending on that if we need a large design or a small one. Increase the texture’s brightness and contrast.
Cut out arbitrary a hole in the center, using Polygonal Lasso Tool. Change the layer’s type on Multiply and merge it with the wall’s texture, applying the command Layer ? Merge Down (ctrl+e).
Change the new layer’s type on Multiply also.
To make the color look more intensive, copy the layer: Layer ? Duplicate Layer and merge the new layer that we’ve got with the previous one: Layer ? Merge Down (ctrl+e). Merge also the layers representing the butterflies.
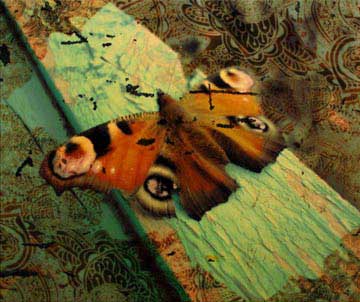
Merge the texture’s layer with the butterfly’s layer now: Layer ? Merge Down (ctrl+e) and make a definitive color correction, applying the next commands: Image – Abjustment ? Curves (ctrl+m) and Image – Abjustment ? Selective color.
+ View full size image
Finished!
Made by Sigma
Comments