
Burning Idea Photo Collage
The next lesson we’ll learn creating the background, represent the objects’ illumination, combine different pictures and different drawn picture’s parts. We’ll study also several methods of decolorizing the objects and learn working with the layers’ masks.
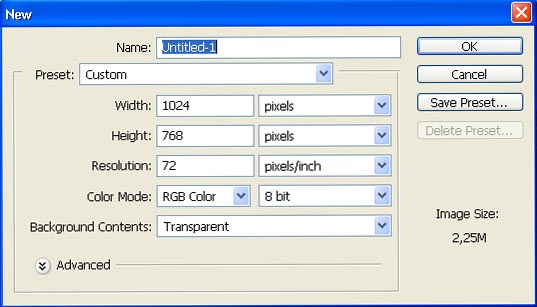
Create a new file of standard wallpapers’ size: File ? New (ctrl+n).
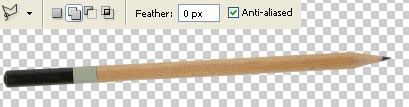
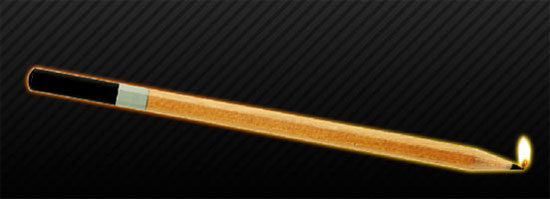
Open in a new window a pencil’s picture: File ? Open (ctrl+o).

Mark it out, applying the Polygonal Lasso Tool and make a copy of it: Edit ? Copy (ctrl+c). Get back to the wallpapers’ window and insert the pencil on a new layer: Edit ? Paste (ctrl+v).

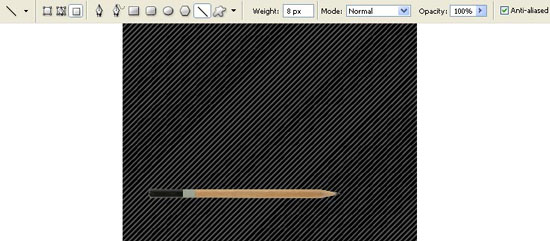
Make the corrections on its size and its placement, selecting Edit ? Free Transform (ctrl+t). The background’s layer should be painted with black color, choosing the Paint Bucket Tool. Create now a new layer: Layer ? New ? Layer and apply on it the Line Tool, pressing in the same time the shift button and try to draw an oblique stripe:
Change the layer’s Blending Mode on Soft Light and create a new layer situated between the background’s layer and the stripes’ layer. Choose the Gradient Tool to make lighter the upper part of the background.
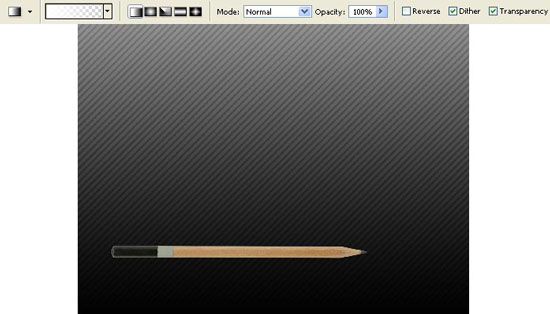
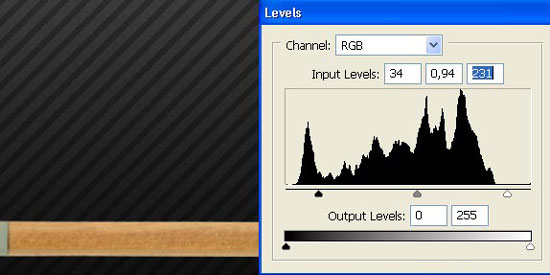
Make the corrections on the pencil’s layer’s brightness and contrast: Image ? Adjustments ? Levels (ctrl+l).
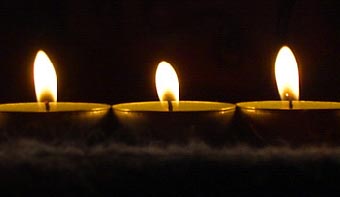
Open in a new window the picture of a burning candle (ctrl+o).
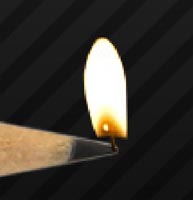
Mark it out and make a copy of it (ctrl+c). Insert the small light above the pencil’s layer (ctrl+v):
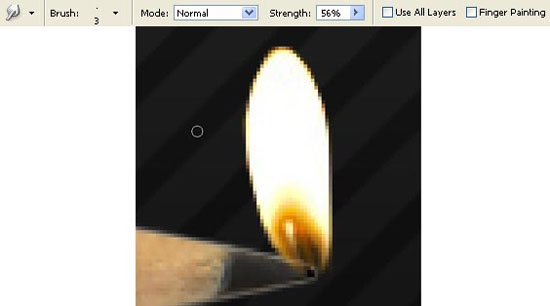
Make it look more natural by blurring out its edges, applying the Smudge Tool.
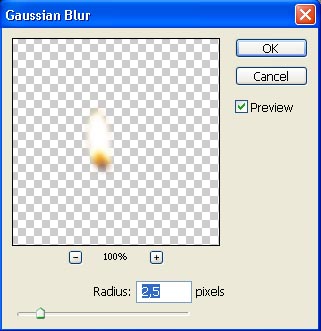
Make a copy of the small light’s layer: Layer ? Duplicate Layer (ctrl+j) and blur out the lowest copy, applying next option: Filter ? Blur ? Gaussian Blur.
Make a copy of the pencil’s layer and change the copy’s Blending Mode on Soft Light.

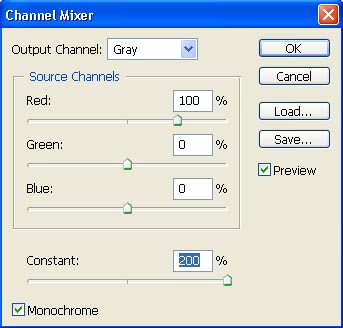
Merge down the layers containing the pencil and the small light: Layer ? Merge Down (ctrl+e) and make a copy of the new layer (ctrl+j). The lowest copy should be made of white color, applying Image ? Adjustments ? Channel Mixer.
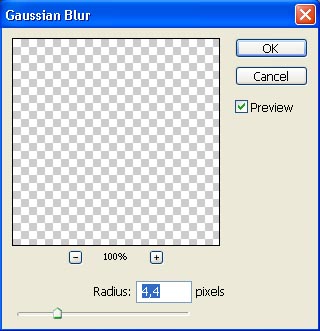
Blur out the layer, using the Gaussian Blur.
Then we have to create a new layer, situated above the first one and group them both out: Layer ? Create Clipping Mask (ctrl+g). Paint out the layer, applying the usual instrument ? Gradient Tool.
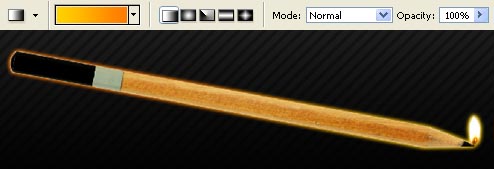
Create a new layer above the pencil’s one and group them out too (сtrl+g). Select the Pen Tool and mark out one of the pencil’s edge, choosing the Make Selection option and paint it in white color with the same Gradient Tool, but with a different gradient’s type.

Move off the markings: Select ? Deselect (ctrl+d) and change the layers’ Blending Mode on Soft Light.
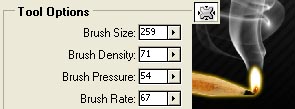
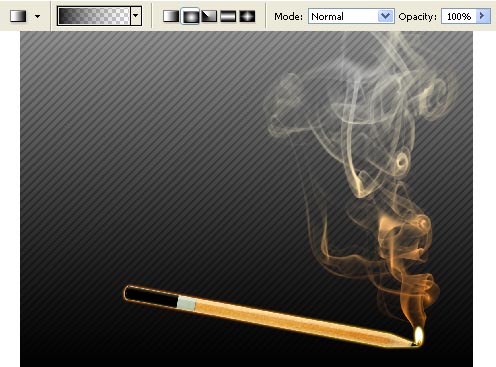
Select now the Brush Tool and download a set of ready to use brushes of smoke shape from the next address: (http://www.deviantart.com/deviation/29341959/?qo=12&q=by%3Afalln-brushes&qh=sort%3Atime+-in%3Ascraps). Insert it above the pencil’s layer (I’ve combined two types of brushes, using the Eraser Tool).
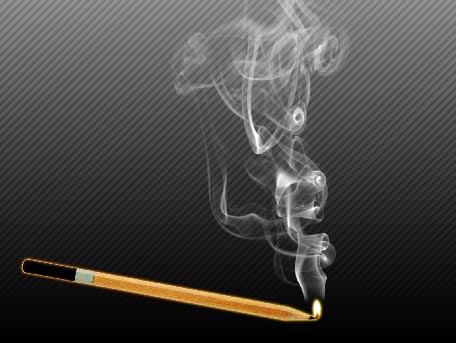
Pass to another window: Filter ? Liquefy (shift+ctrl+x) and select the Packer Tool to narrow out the smoke near the fire.
The new layer grouped with the smoke’s one must be painted with two colors gradient (apply the same colors used when creating the effect of pencil’s illumination).
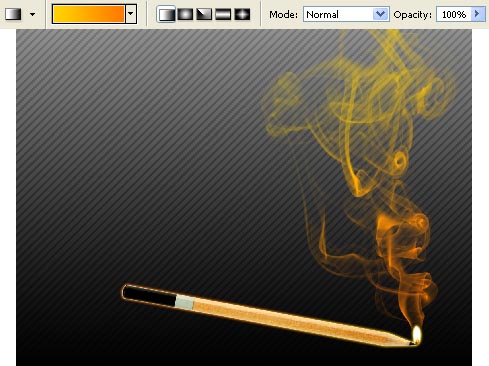
Create mask out of this layer now: Layer ? Add Layer Mask ? Reveal All and choose the Gradient Tool of black color to move off almost totally the layer’s visibility:
Merge down the grouped layers (ctrl+e) and open in a new window the picture of a burning paper (ctrl+o).
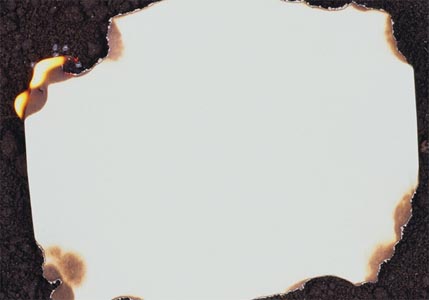
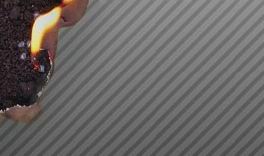
Make a copy of it and insert one of the paper’s corners on one of our wallpapers’ corners:

Change the layer’s Blending Mode on Multiply and erase the background’s layer with the Eraser Tool on that place where it is necessary just to make the fire visible.
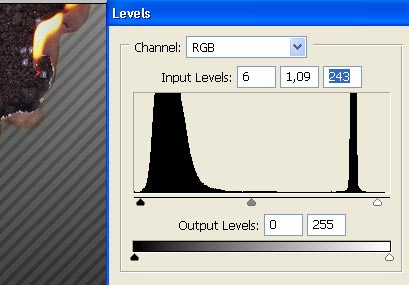
Make the corrections now on the burning paper’s layer concerning the brightness and the layer’s contrast (ctrl+l).
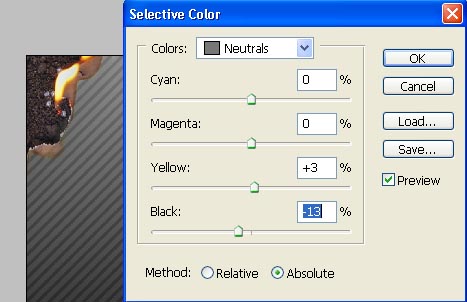
Make small corrections also on the color, applying Image ? Adjustments ? Selective Color.
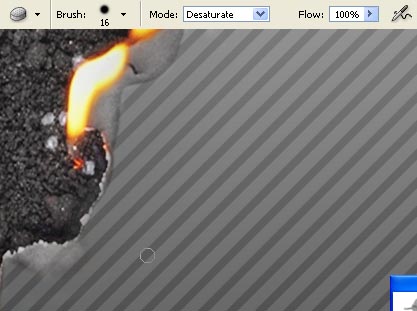
Decolorize everything now, except the fire, selecting the Sponge Tool.
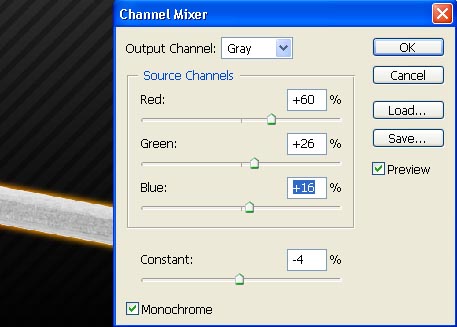
Make a copy now of the pencil’s layer and decolorize the copy, applying next option: Image ? Adjustments ? Channel Mixer.
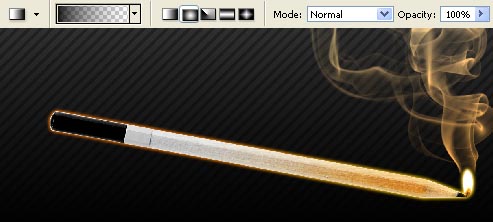
Using the layer’s mask and the Gradient Tool make that decolorized pencil’s half totally invisible:
Change now the pencil’s color: Image ? Adjustments ? Hue/Saturation (ctrl+u).
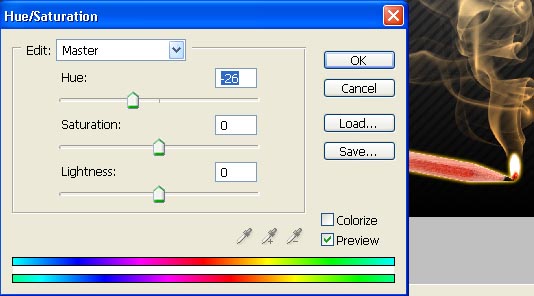
That is what we have got:
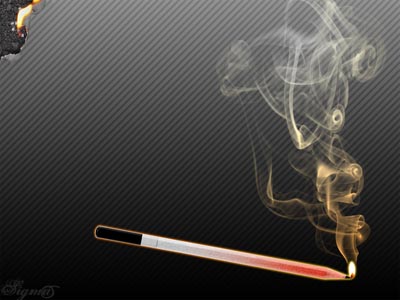
Finished!
Made by Sigma
Comments