
Building a web page in GoLive
Building a web page in GoLive
-
Open Adobe GoLive, and choose File > New Page. Name the page “index.html” and save it in the folder that contains the images folder.
Tip: Naming the main page “index.html” is the convention because doing so allows you to omit the name of the file from its web address. For example, when you enter http://www.bluemoongrocery.com in a browser, you’re actually going to http://www.bluemoongrocery.com/index.html.
-
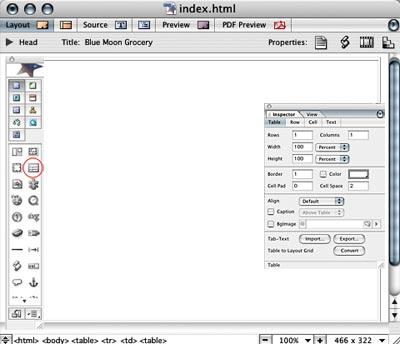
Fill in a title for your page in the Title field (we chose Blue Moon Grocery).
-
Drag a Table icon (this icon appears as an empty table) from the Objects palette into the Document window.
In the Inspector, set Rows to 1 and Columns to 1.
It’s often easier to use the Table palette when working with tables (Window > Table). Selecting the outer edge of the table selects the whole table; clicking inside a table cell selects only that cell. These selections are reflected in the Inspector.

Click inside the table cell; go to the Cell view in the Inspector.
Set the Vertical Alignment to middle and Horizontal Alignment to center. Set Width and Height to 100 Percent. Set Cell Pad and Cell Space to 0, but keep the Border at 1 (so the table is more visible as you work).
-
Drag a second table icon inside the first table. It will be nested in the first table. Set Rows to 2 and Columns to 2. Leave Width and Height as they are. Set Cell Pad and Cell Space to 0, but keep the Border at 1.
-
Drag an image icon (this icon appears as a square, triangle, and circle) from the Objects palette into each of the four cells of the inner table.
-
Select the first image icon in the table. Go to the Inspector palette and click on the folder icon to the right of the Source field. Browse to find the images folder containing the image files you made from the slices.
-
Select the first image file. The image will appear in the table cell. Repeat this process with each image until you have filled the four table cells with the images.
-
Select the inner table and in the Inspector, change the Border to 0. The table cells with the four images should come together to form a seamless splash area.
-
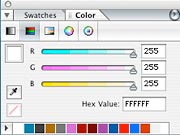
Select inside the cell of the outer table and go to the Cell view in the Inspector. Bring up the Color palette (Window > Color). GoLive CS automatically shows swatches of the colors recently used in your document. The selection tool will become an eyedropper when it hovers over the color swatches. Select a color swatch for the table cell. (This color will become the background color for the splash page.
-
With the cell of the outer table selected, go to the Inspector, and check the box next to the Color field. The outer table cell will fill with color creating a border around the splash area. Change the Border of the outer table to 0.

-
To fill the screen without showing white margins around the border, you’ll need to set some margin parameters in the Source. At the top of the Document window, switch from Layout mode to Source mode to view the HTML tags that compose the web page.
Locate the body tag near the top of the page:
<body bgcolor=”#ffffff”>
Edit the body tag to include margins parameters set to zero (0):
<body bgcolor=”#ffffff” leftmargin=”0″ topmargin=”0″ marginwidth=”0″ marginheight=”0″>
-
Return to Layout mode. The background color should now fill to the edges of the Document window. Save the document.
-
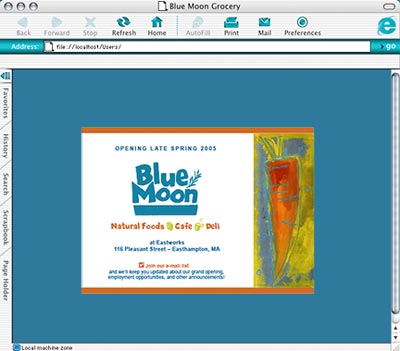
Test the page in a browser by selecting the Browser icon on the toolbar (or drag the index file into the browser window). The splash area should be centered in the browser window. It will “float” in the middle of the browser window whenever the window is resized.
-
When you’re satisfied with the design, upload the web page and images to the web server. Then get started building the website.
Comments