
Bugatti Veyron Photo Effects
This tutorial will be a tough one. We will add digital colors into the photo of Bugatti.
So let’s create take and existing 1024x768px photo and begin.

I let’s start with the wells. I want them spinning if like the car was going.
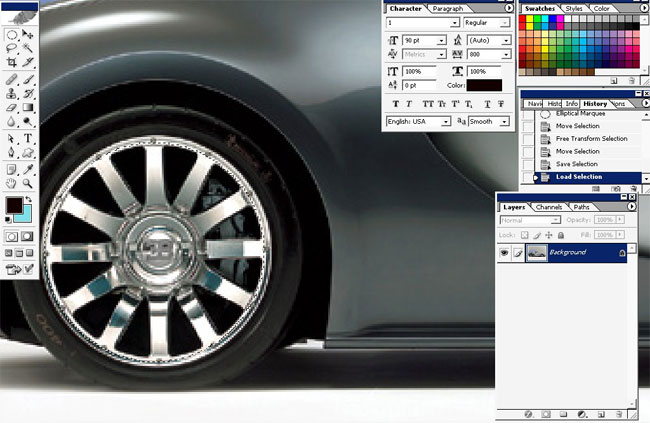
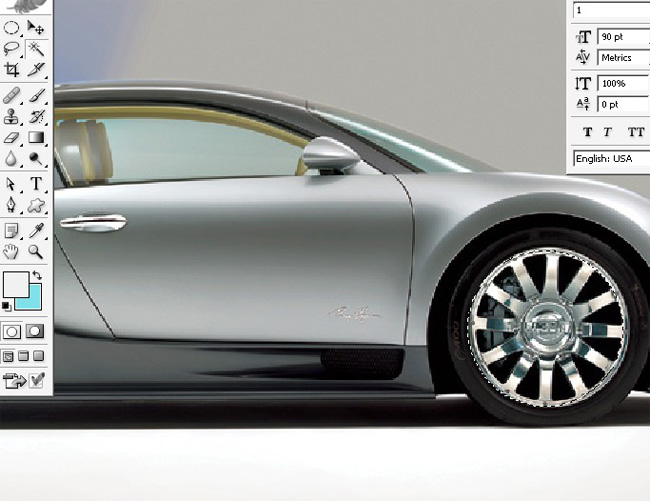
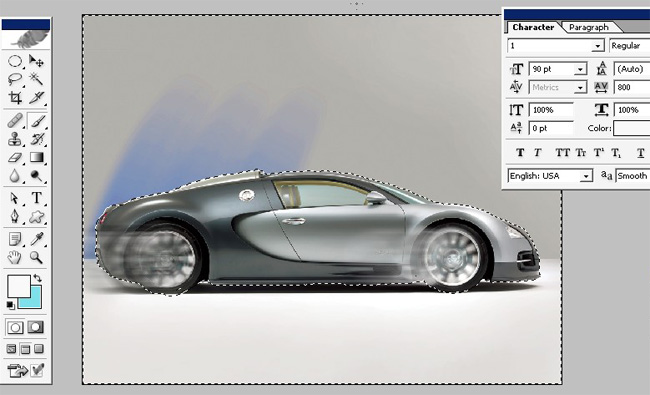
For this use the marquee tool and follow me.
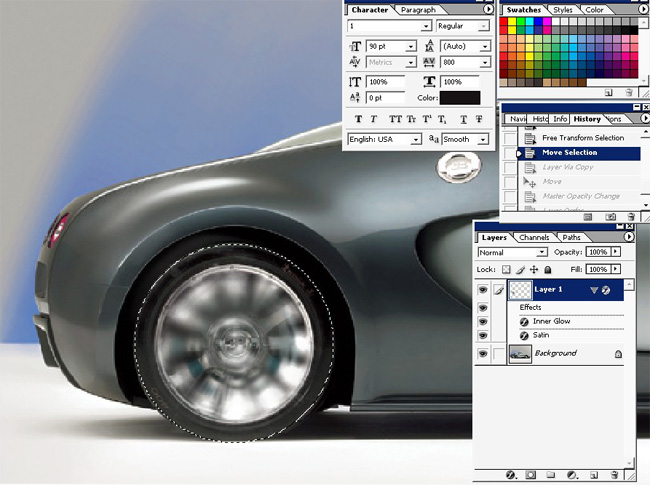
On this image the rear rim is selected.

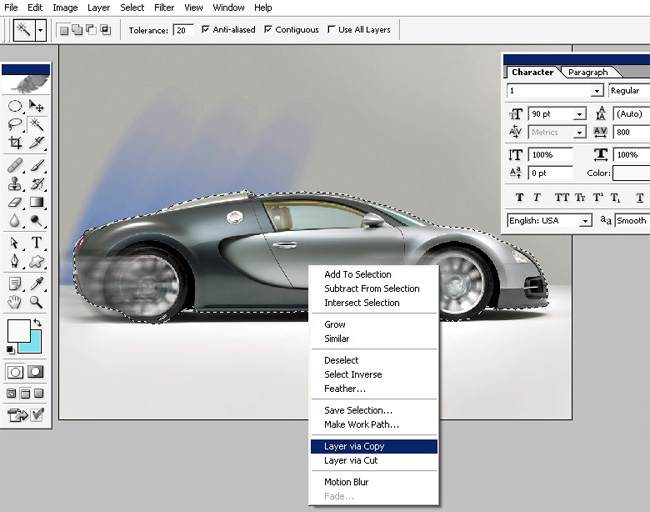
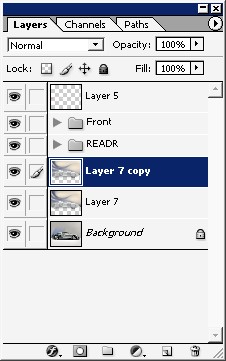
Create Layer via copy.
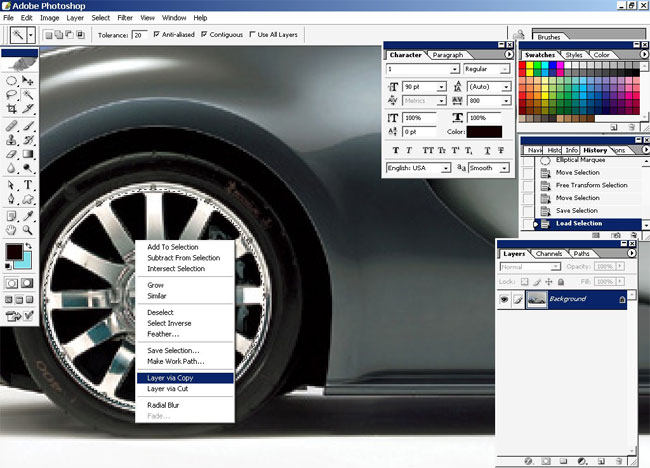
And we have 2 layers.
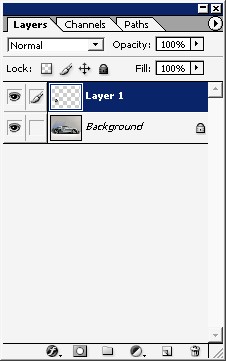
Alt+click on the layer and select it.
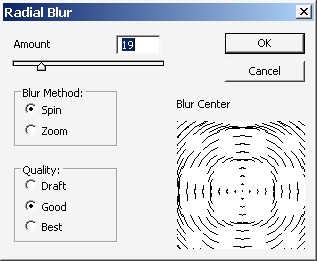
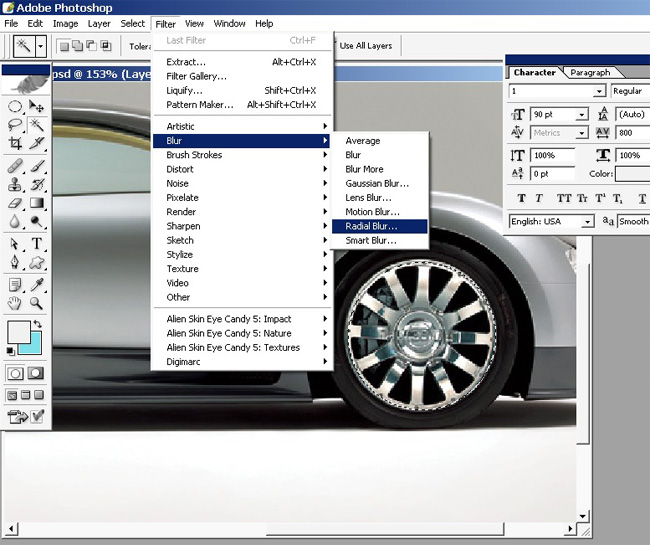
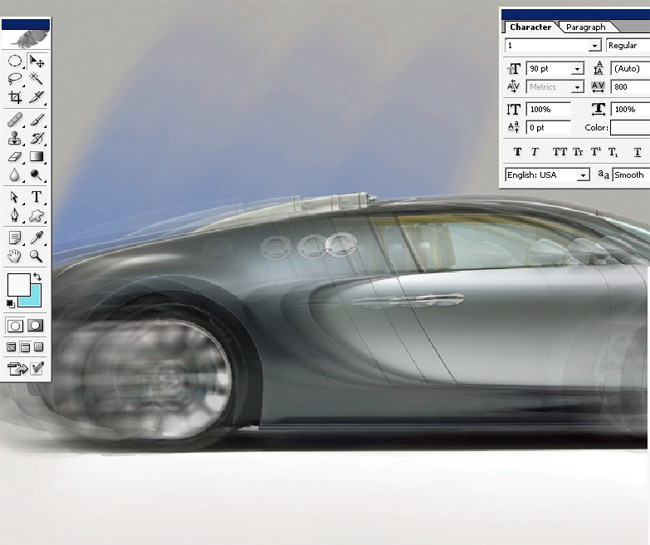
Now use radial blur on it.
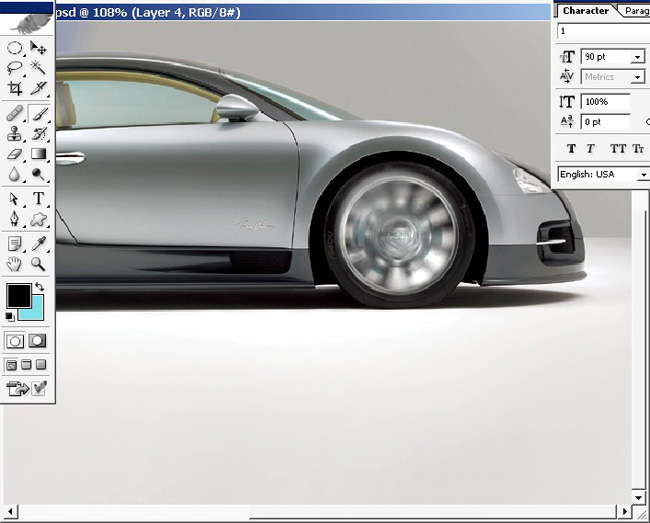
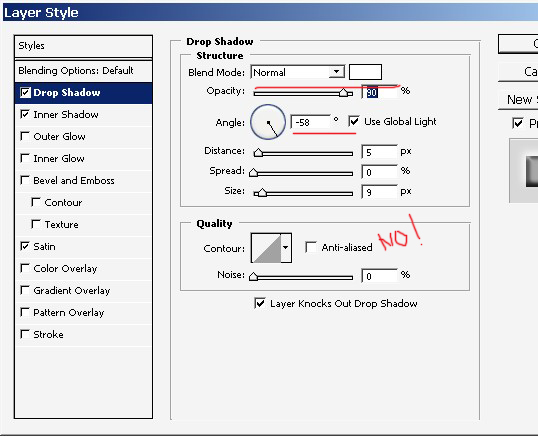
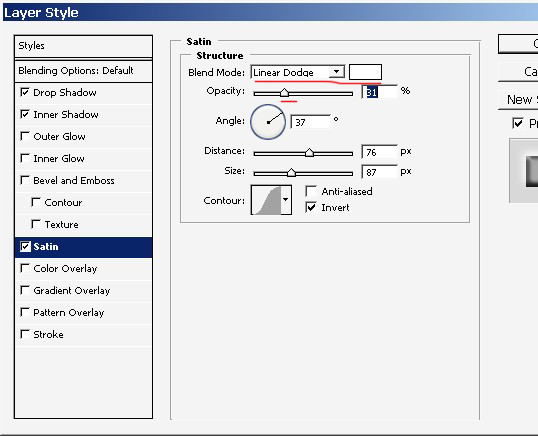
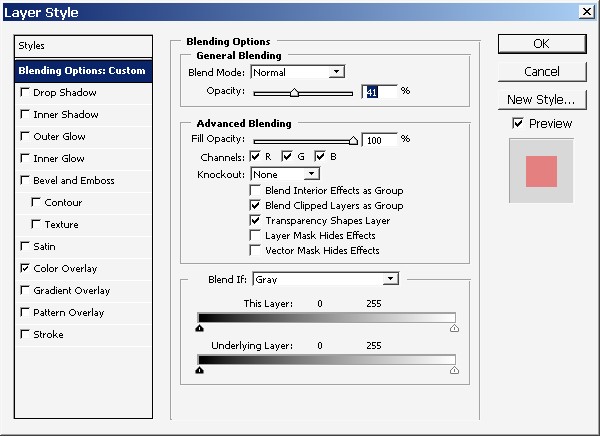
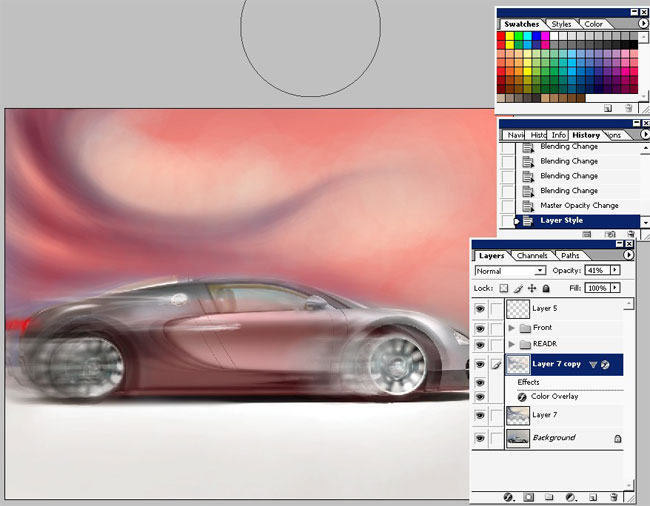
And ad a little bit of layer style.
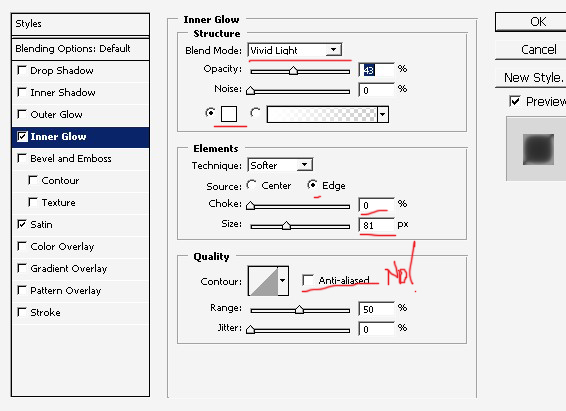
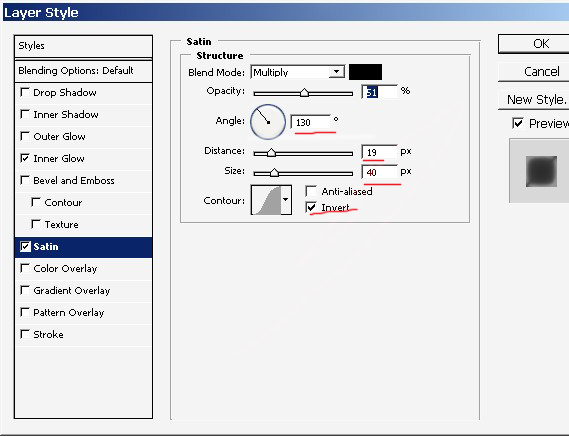
And we get this.

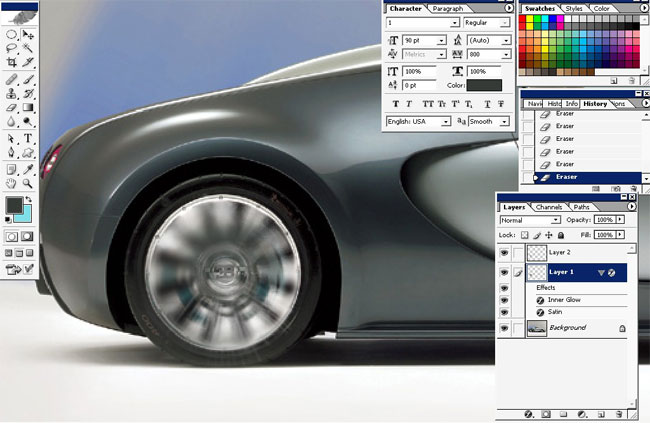
More details to see what’s happening. You can add color using brush tool.
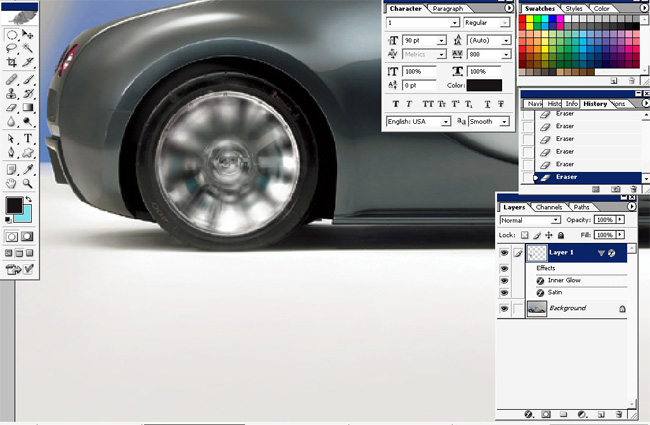
Now I will select the rear wheel and copy into anew layer.
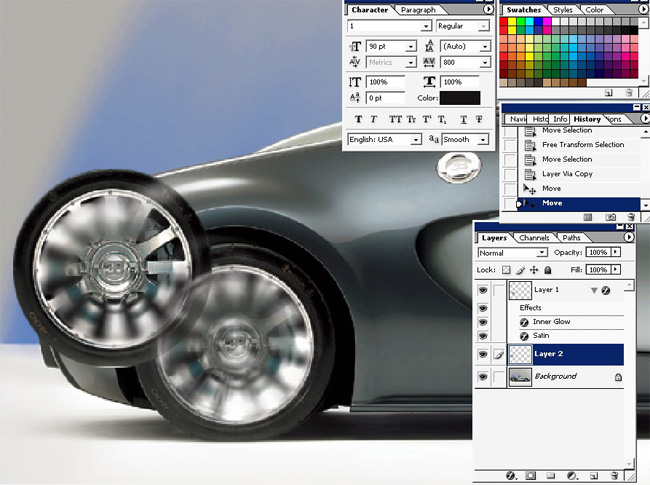
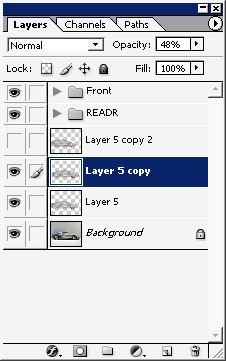
Set it’s position and use some effects.
Turn off a little bit of the opacity.
And use motion blur.

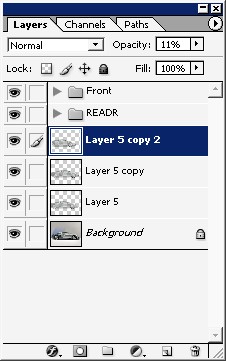
Make another copy of Blurred layer and turn off the opacity ass well.
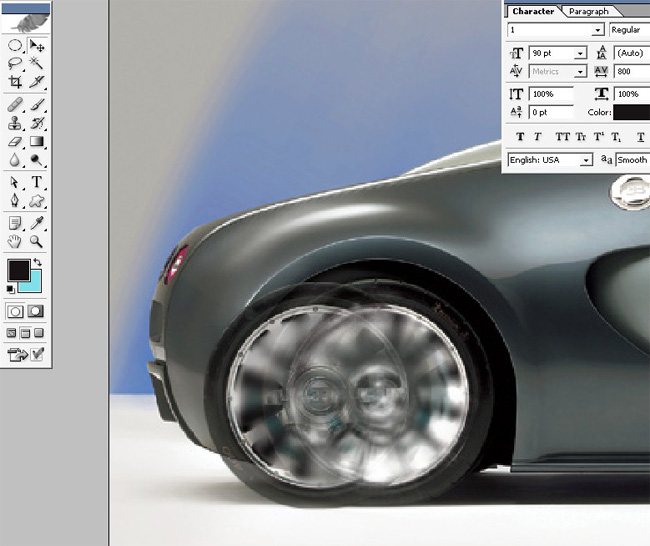
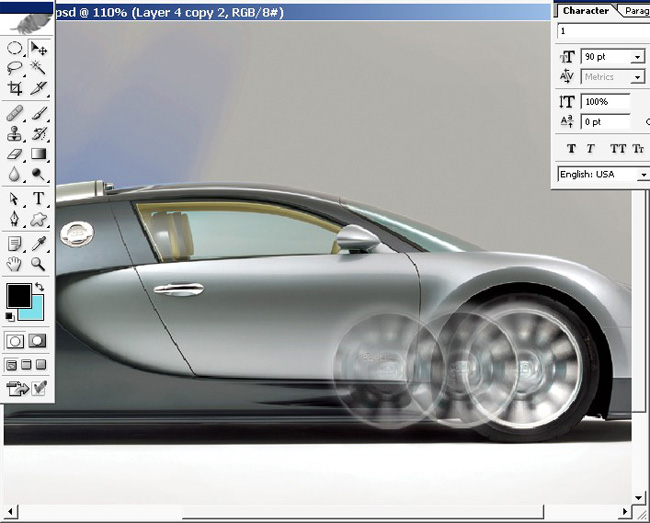
Now we will work with the front wheel.
Do the same things. Select:
Copy onto a new layer and blur the selected rim.
Use some effects too. This time we will use them a little bit different.

Lower the opacity and blur all the COPIES of the front wheel layer.
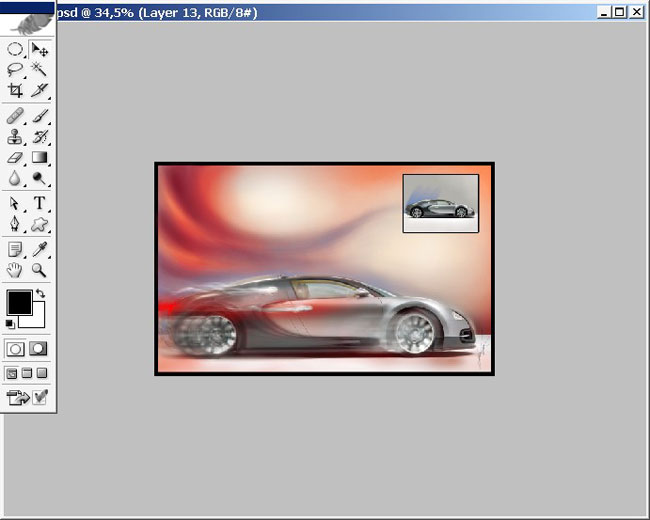
Now I want to separate the car from the background.
I will use quick mask for this (Q).

Use hard brush.
The most important is to fix the edges here.
Press Q.
Invert the selection.

And copy the selected car into a new layer.
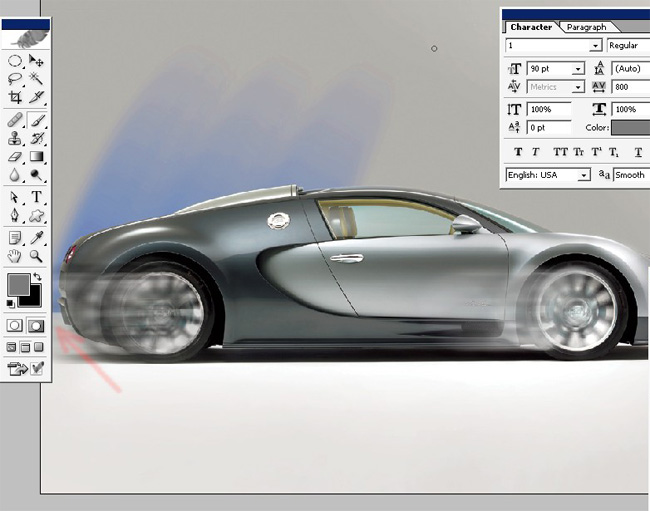
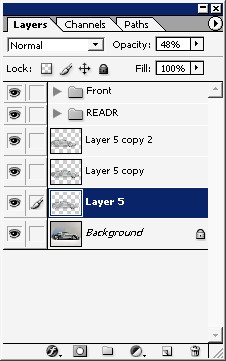
Now the same thing: Copy the car layer several times, the same as with the wheel. .
And set proper opacity to the layers.
Use motion blur:
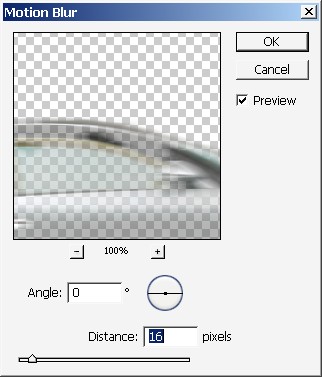
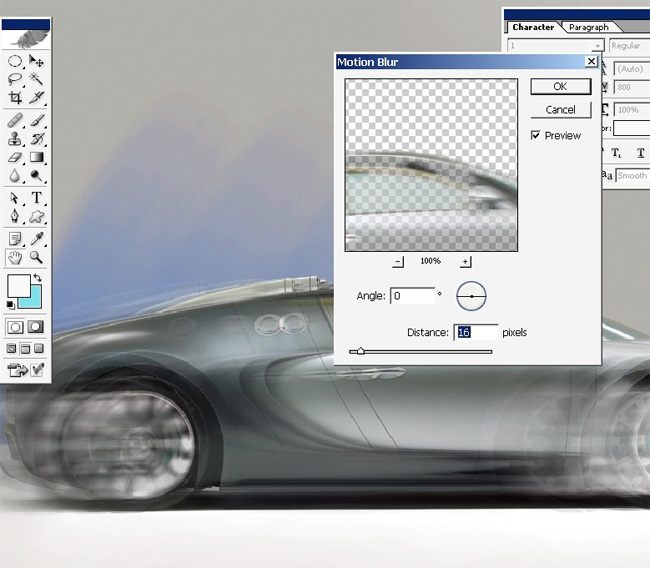
On this one too:

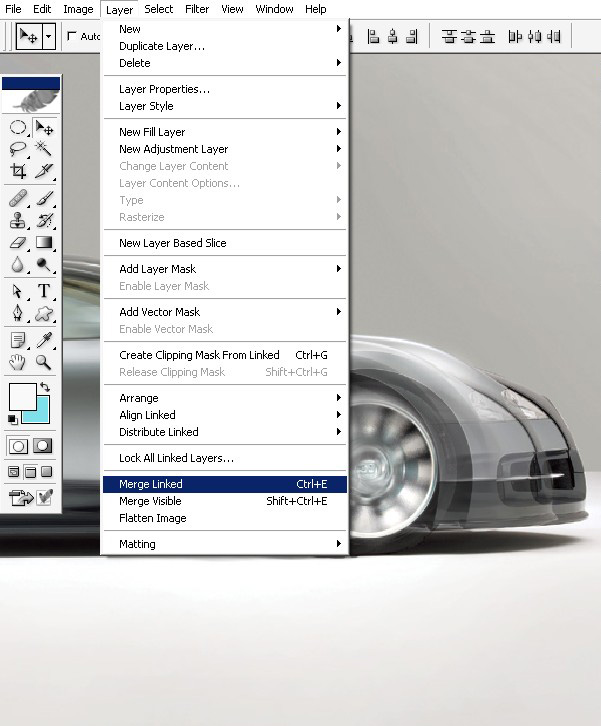
When the result is good link the layers and merge them down creating 1 single layer.
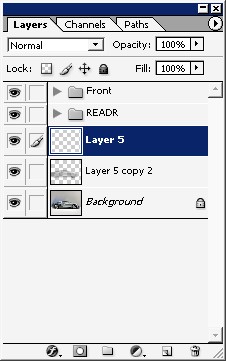
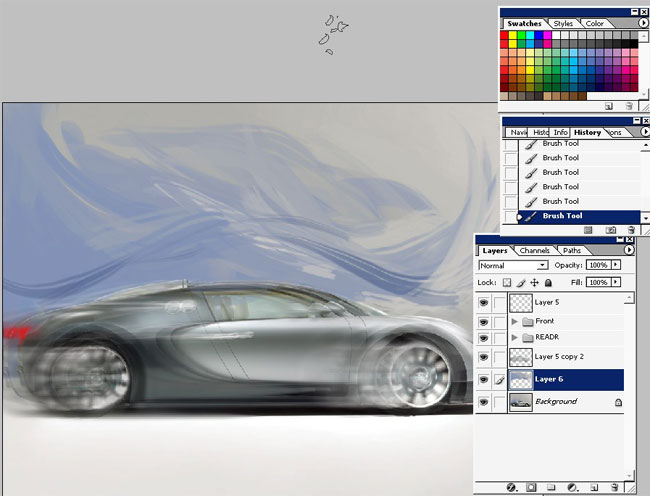
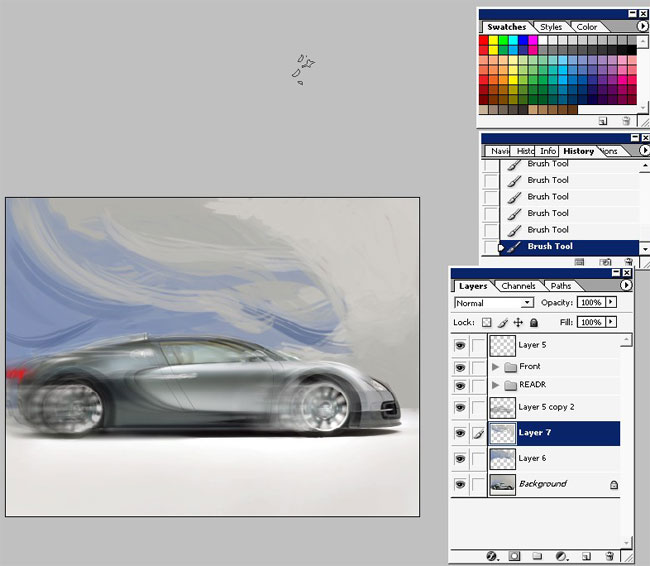
Create a new layer and click Yes ? it’s time to paint.
First object ? back lights.
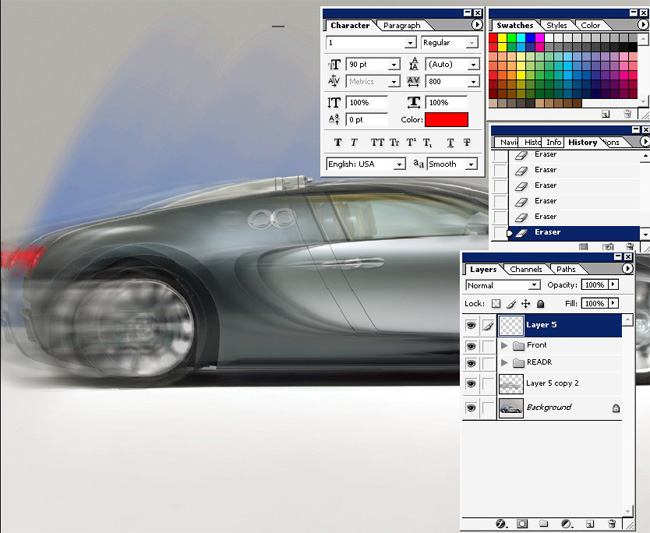
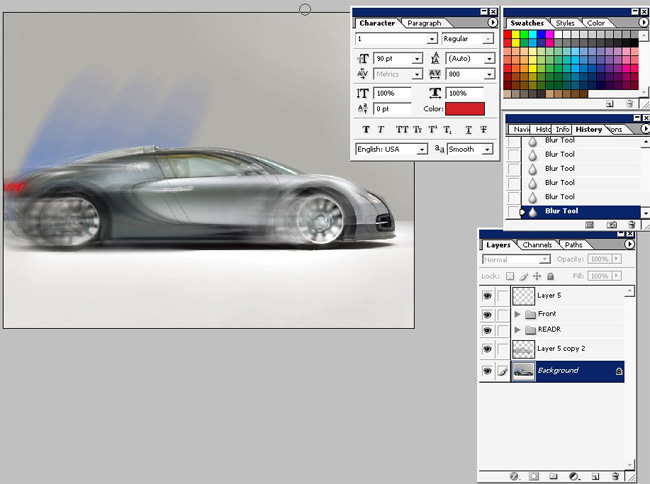
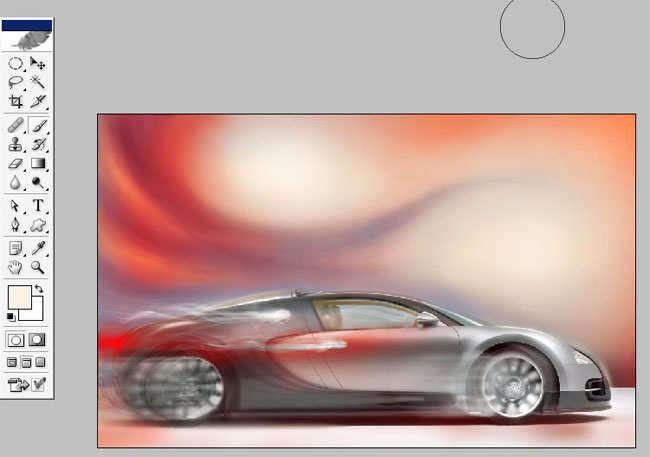
And the background.
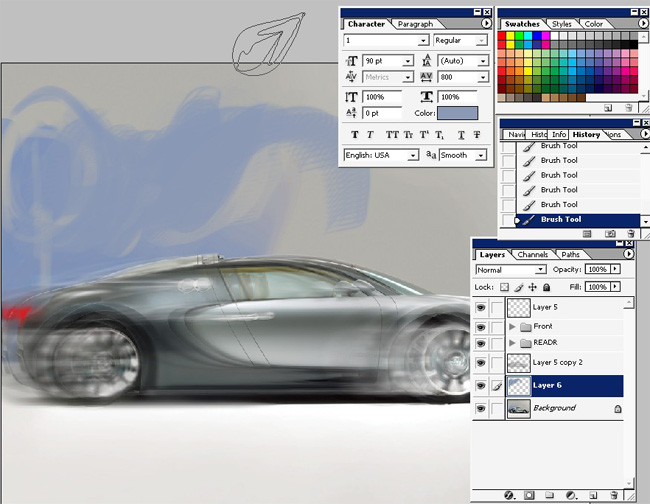
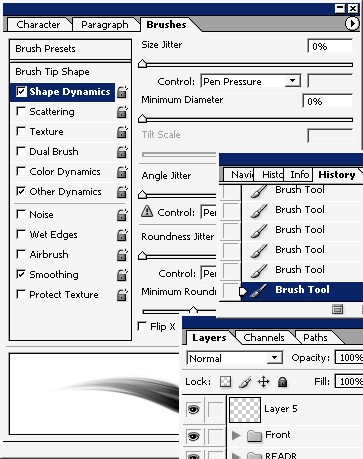
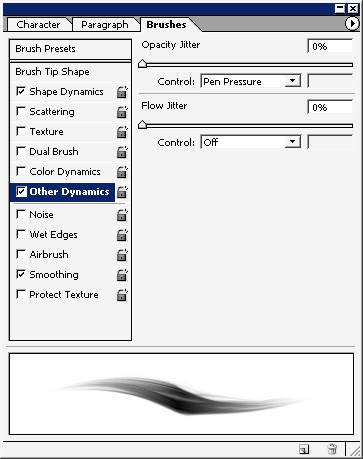
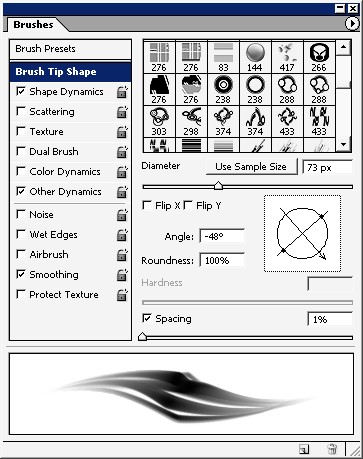
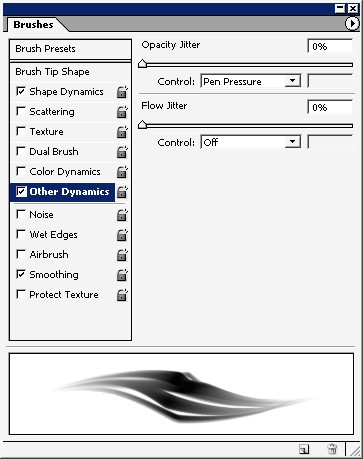
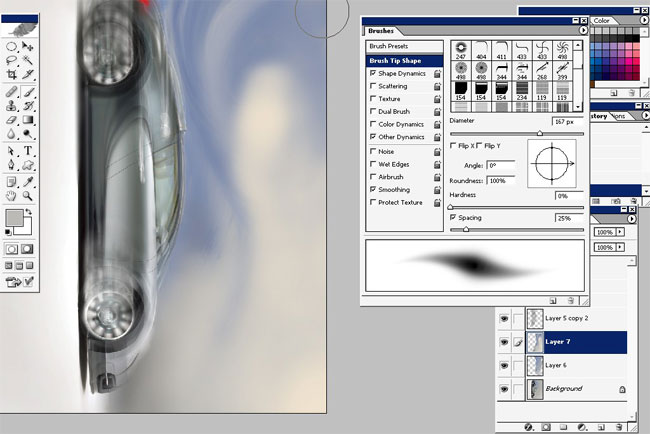
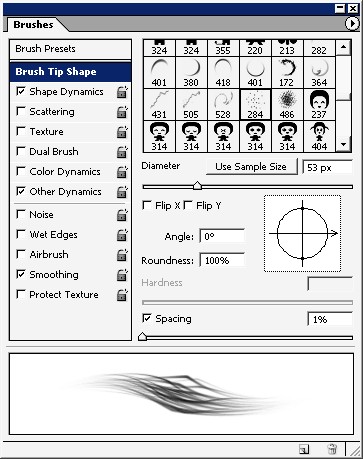
Use different brush.
I think these are interesting choices.

Try to fill the lines.
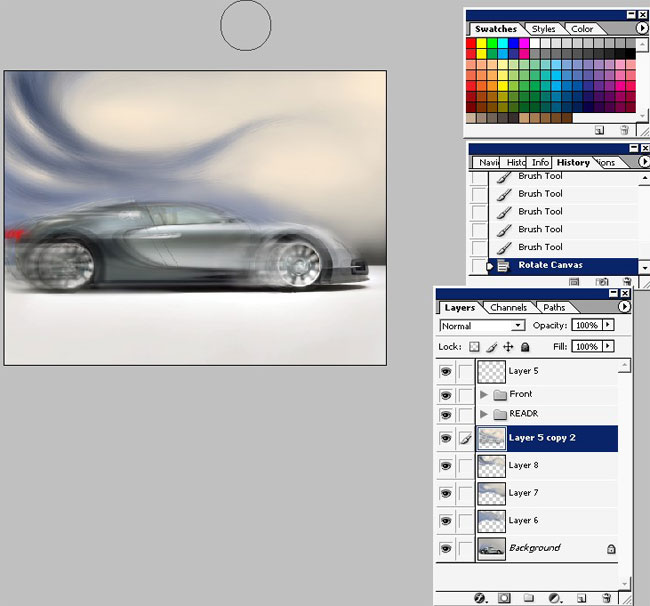
Zoom in, zoom out.
Flip the image.
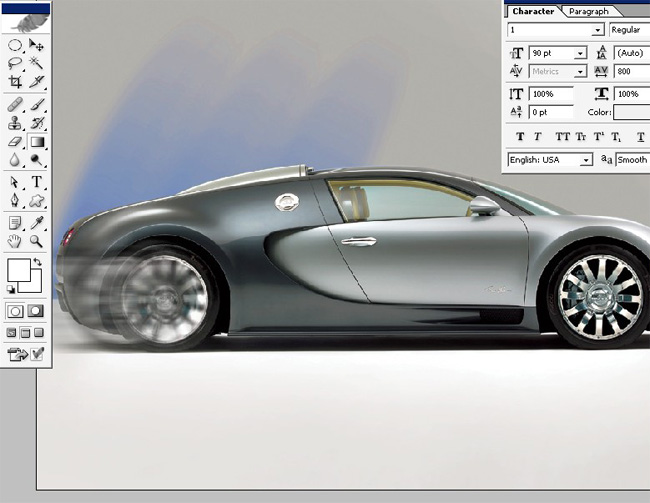
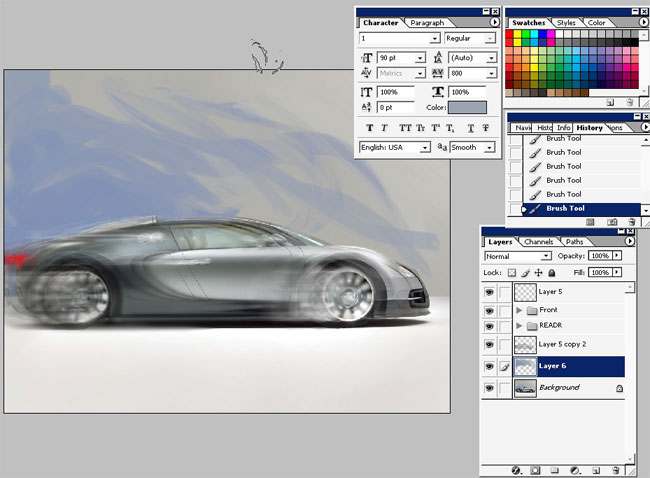
Blur the background.
And continue with his brush.
Make a copy of the layer.
Use this style. Yes on the whole background image.
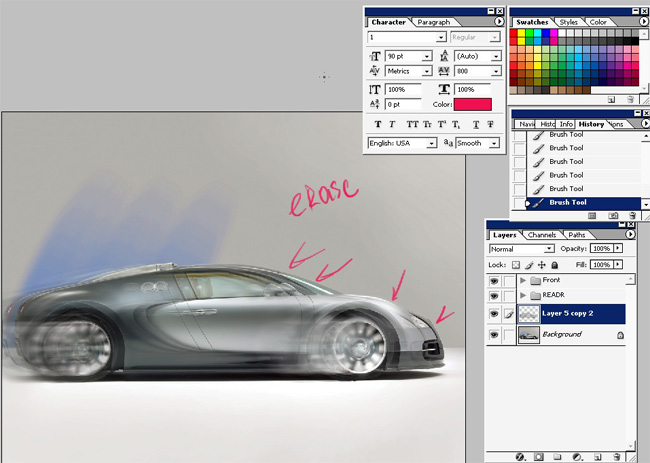
Erase a little bit.


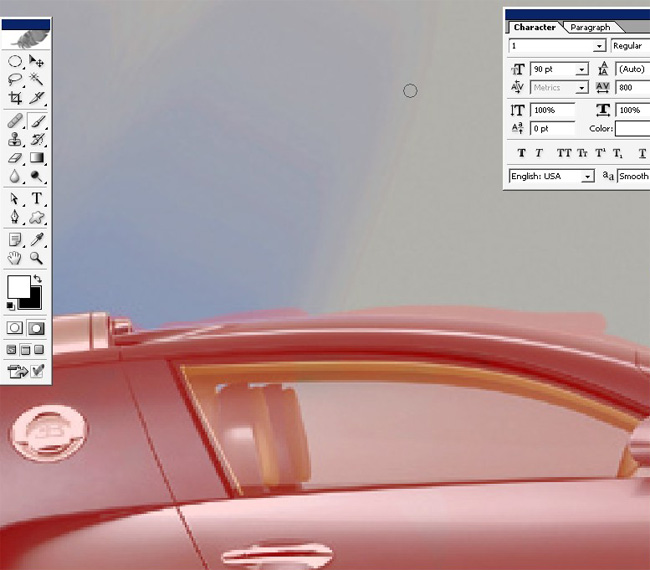
Final touch – the selective color layer:
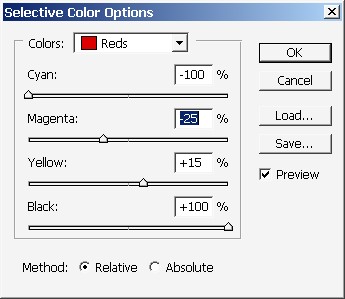
And we get simply amazing color.

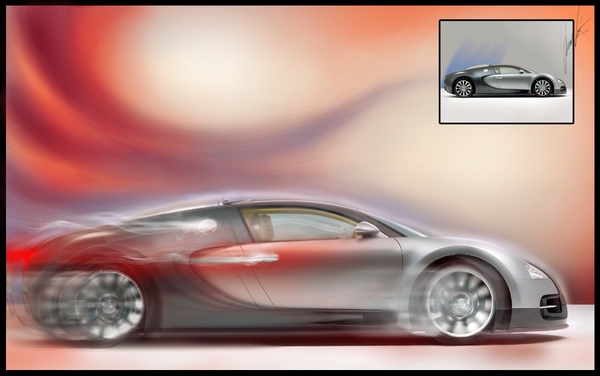
Done!
Comments